How to Install and Configure PHP 8.3 with PHP-FPM


Why PHP 8.3 and PHP-FPM
PHP 8.3 is the latest stable release of the PHP language and brings meaningful improvements over its predecessors. Typed class constants, new json_validate() and mb_str_pad() functions, improved unserialize() error handling, and the introduction of readonly property overrides all reduce the boilerplate you write every day. Under the hood, the JIT compiler has been refined further, leading to measurable throughput gains on CPU-intensive workloads.
PHP-FPM (FastCGI Process Manager) is the recommended way to run PHP in production. Unlike the older mod_php Apache module, PHP-FPM runs as a completely separate process pool. This isolation means your web server (Nginx or Apache with mod_proxy_fcgi) passes requests over a Unix socket or TCP port to PHP-FPM workers. The benefits are significant: each PHP pool can run under its own system user, memory limits apply per pool rather than globally, and you can restart PHP without touching the web server — or vice versa.
Together, PHP 8.3 and PHP-FPM form a battle-tested combination that powers millions of production websites. This guide walks through every step — from adding the correct package repository to verifying your configuration is healthy and ready to handle real traffic.
Prerequisites
- A VPS or dedicated server running Ubuntu 22.04 LTS or Ubuntu 24.04 LTS
- A non-root sudo user (or root access to create one)
- Nginx already installed, or familiarity with Apache if you prefer that stack
- Basic comfort with the Linux command line
Ubuntu 22.04 ships with PHP 8.1 in its default repositories, and Ubuntu 24.04 ships with PHP 8.3. If you are on 22.04, you will need to add Ondrej Sury's PPA — the canonical source for up-to-date PHP packages on Ubuntu and Debian. The PPA is well-maintained, widely trusted, and used by major hosting providers worldwide.
Before starting, make sure your package index is current and your system packages are up to date. Running on stale packages is a frequent source of dependency conflicts.
Installing PHP 8.3 on Ubuntu
Start by updating the system and installing the software-properties-common package, which provides the add-apt-repository command. Then add the Ondrej PPA and install PHP 8.3 along with the most commonly needed extensions.
After installation, PHP-FPM starts automatically as a systemd service. Confirm it is running before proceeding:
If the service is not active, check journalctl -u php8.3-fpm --no-pager for errors. The most common cause is a syntax error in a configuration file you have already modified, or a port conflict if you previously ran PHP-FPM on TCP rather than a Unix socket.
Configuring PHP-FPM Pool Settings
PHP-FPM organizes worker processes into pools. Each pool is defined by a configuration file in /etc/php/8.3/fpm/pool.d/. The default pool is named www.conf and listens on a Unix socket at /run/php/php8.3-fpm.sock.
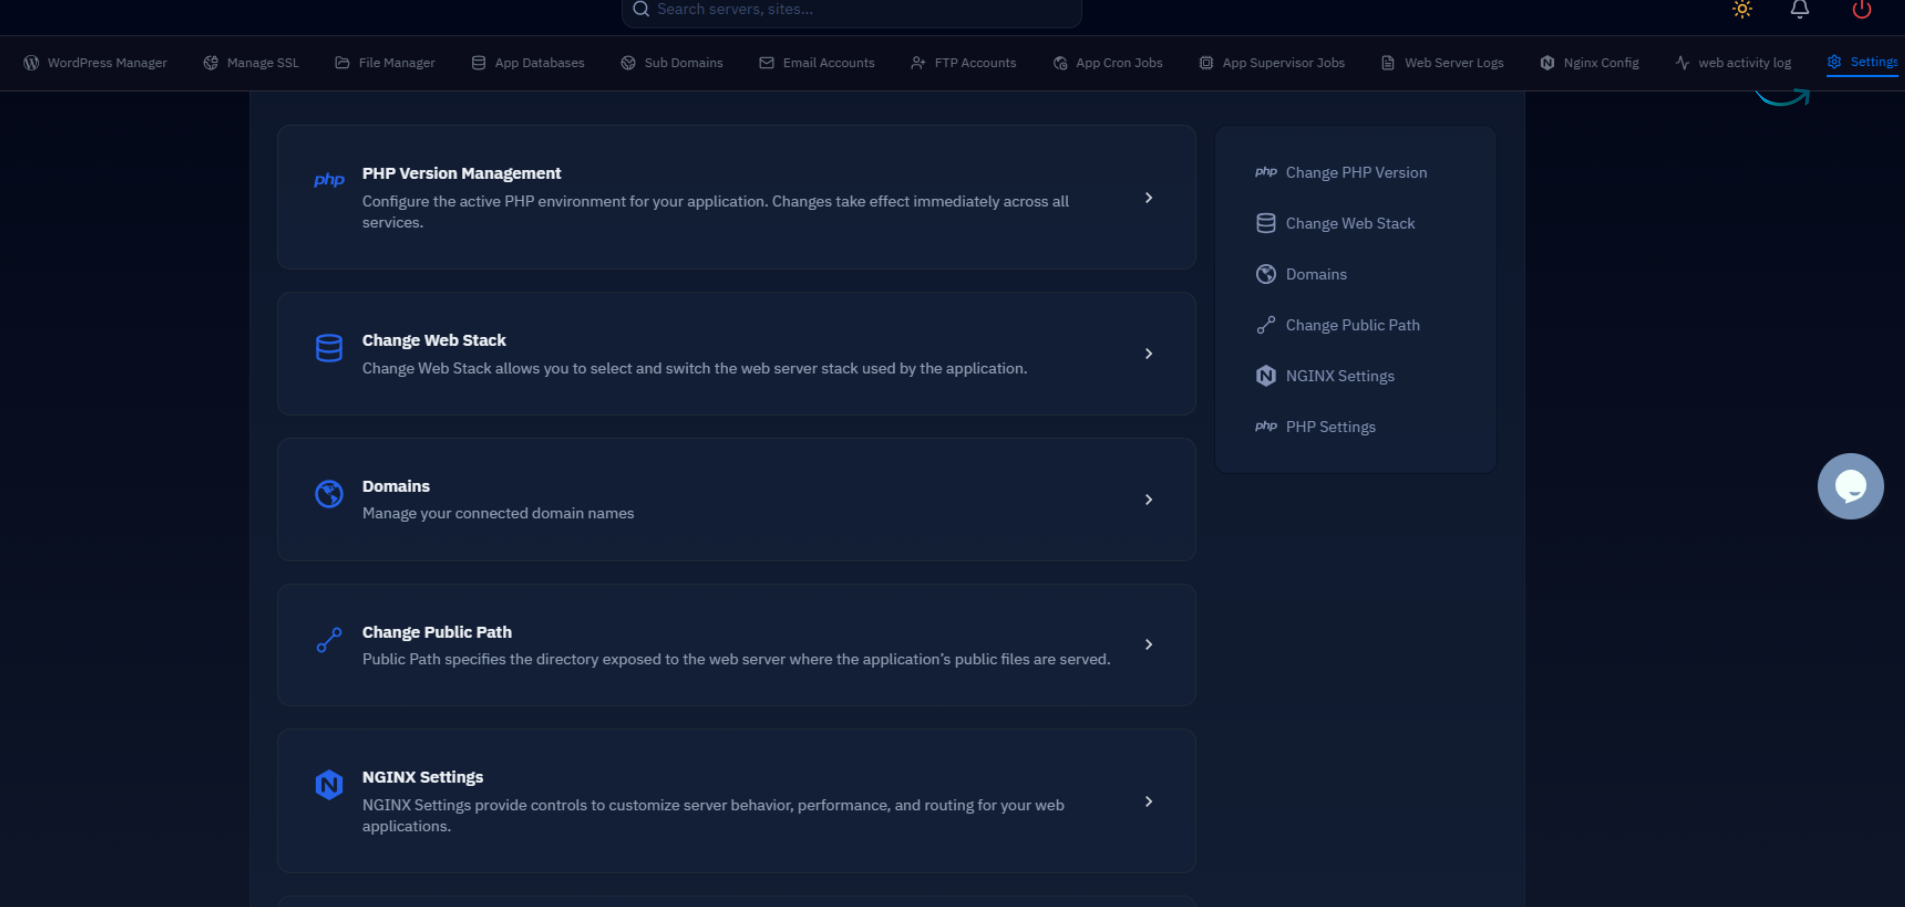
For a single-site server, the default pool works fine. For multi-site servers, best practice is to create one pool per site, each running under its own system user. This prevents one compromised site from reading files belonging to another. Tools like CloudStick handle this automatically — when you add a site through the dashboard, CloudStick's EasyPHP feature provisions a dedicated PHP-FPM pool with the correct Unix socket path and system user without any manual editing.
For a manually configured server, the key directives to understand and tune in www.conf are the process manager settings. The pm directive can be set to static, dynamic, or ondemand. For most production servers, dynamic is the right default:
The formula for pm.max_children is straightforward: take the total RAM you want PHP to consume, divide by the average memory footprint of one PHP worker. You can find the average worker size by running ps --no-headers -o rss,cmd -C php-fpm8.3 and dividing the total RSS by the process count. A typical WordPress worker consumes 30–60 MB; a Laravel API worker may consume 50–100 MB depending on the size of the application bootstrap.
After editing the pool configuration, always validate it before reloading the service:
Integrating PHP-FPM with Nginx
Nginx communicates with PHP-FPM through the FastCGI protocol. You configure this in your Nginx server block using a location ~ \.php$ block that proxies matching requests to the PHP-FPM socket.
After adding the server block, enable the site and reload Nginx:
To confirm PHP is executing correctly through the socket, drop a temporary info file into your web root:
Visit http://example.com/info.php and confirm the PHP version shows 8.3.x and the Server API shows FPM/FastCGI. Remove the file immediately after: sudo rm /var/www/example.com/public/info.php. Leaving phpinfo() accessible in production is a security risk.
Production Tuning and Verification
With PHP-FPM running and Nginx connected, there are several php.ini settings worth revisiting for a production deployment. The relevant ini file for FPM is at /etc/php/8.3/fpm/php.ini.
Changes to php.ini require a full service reload to take effect: sudo systemctl reload php8.3-fpm. Changes to pool files in pool.d/ also only require a reload, not a full restart, which means zero dropped connections.
The most impactful production ini settings to review are memory limit, upload limits, and OPcache. OPcache in particular has a dramatic effect on PHP performance by caching compiled bytecode in shared memory so the interpreter does not re-parse source files on every request:
Setting opcache.revalidate_freq = 60 tells OPcache to check the filesystem for changed files every 60 seconds. For a CI/CD environment where you deploy frequently you might lower this value; for a stable production server with infrequent deploys you can set it as high as 300 or even 0 and invalidate the cache manually after each deploy using sudo systemctl reload php8.3-fpm.
Finally, verify your entire PHP-FPM and php.ini configuration is consistent by running the built-in config test and then printing the active ini values from the CLI:
At this point you have a fully operational PHP 8.3 runtime backed by PHP-FPM, connected to Nginx via a Unix socket, and configured with sensible production defaults. The combination of a dedicated FPM pool, OPcache enabled, and appropriate memory limits gives you a stable foundation that can be scaled up by adjusting pm.max_children as your traffic grows.
For teams managing multiple servers, the companion articles below cover deeper PHP-FPM process manager tuning and the specific php.ini settings that matter most for WordPress — both relevant next steps regardless of whether you configure PHP manually or rely on a control panel to handle the provisioning.