How to Set Up Redis Object Caching for WordPress


Why Redis for Object Caching
Every uncached WordPress page request fires somewhere between 20 and 80 database queries. For a busy site — WooCommerce checkout pages, membership portals, high-traffic blogs — those queries compound into real latency. Redis object caching eliminates the majority of them by storing the results of expensive PHP computations and database lookups in memory, where they can be served back in under a millisecond.
The WordPress transient API and native WP_Object_Cache both write to the database by default, which means cache reads are still database reads. Redis replaces that storage backend entirely. Once a cache key is populated, WordPress retrieves it directly from RAM — no SQL, no disk I/O.
The practical result is measurable: sites typically see a 40–70% reduction in database query count per page load, with time-to-first-byte dropping from 400–800ms to under 100ms on well-optimised stacks. Combined with full-page caching at the Nginx layer, Redis object caching handles everything that a page cache misses — AJAX requests, logged-in user views, WooCommerce cart data, and dynamic shortcode output.
How Redis Object Cache Works in WordPress
WordPress has a built-in object cache that lives only for the duration of a single request — it is a per-request in-memory store that resets on every page load. Persistent object caching is the mechanism that survives across requests by connecting WordPress to an external storage engine. Redis is the most widely deployed choice for this role.
The mechanism works through a drop-in file: a file named object-cache.php placed in wp-content/. WordPress loads this file automatically on every bootstrap if it exists, replacing the default in-memory cache class with a Redis-backed implementation. The Redis Object Cache plugin handles writing this drop-in and managing the connection.
When WordPress calls wp_cache_get(), the drop-in checks Redis first. On a cache hit, the value is returned immediately. On a miss, the original query runs, and the result is stored in Redis with a configurable TTL for the next request to benefit from.
Redis stores data as key-value pairs entirely in RAM. Unlike Memcached, it also supports persistence, replication, and complex data types — making it the right choice for production WordPress deployments where cache durability matters during a server restart.
Install and Enable Redis on Your Server
You need root SSH access to your server (Ubuntu 22.04 LTS), a running WordPress installation managed by CloudStick, and a PHP version between 8.1 and 8.4. Redis will be installed as a system package — it does not conflict with CloudStick's namespaced Nginx or PHP packages.
Redis ships in Ubuntu 22.04's default apt repositories. The installation is straightforward. Connect to your server via SSH (or use the browser-based SSH terminal in the CloudStick dashboard under your server panel), then run:
By default, Redis listens on 127.0.0.1:6379 and is not exposed to the public internet — which is exactly what you want for a single-server WordPress setup. The default configuration in /etc/redis/redis.conf is suitable for most deployments without modification.
One configuration worth reviewing is maxmemory and maxmemory-policy. For WordPress object caching, set a sensible ceiling so Redis does not consume all available RAM, and choose an eviction policy that discards the least-recently-used keys when the limit is reached:
The allkeys-lru policy evicts the least-recently-used cache keys across all data when memory is full — the right behaviour for a cache store where fresh data is always more valuable than stale. Adjust the maxmemory value based on your server's total RAM; 256 MB is a reasonable starting point for servers with 4–8 GB RAM running a handful of WordPress sites.
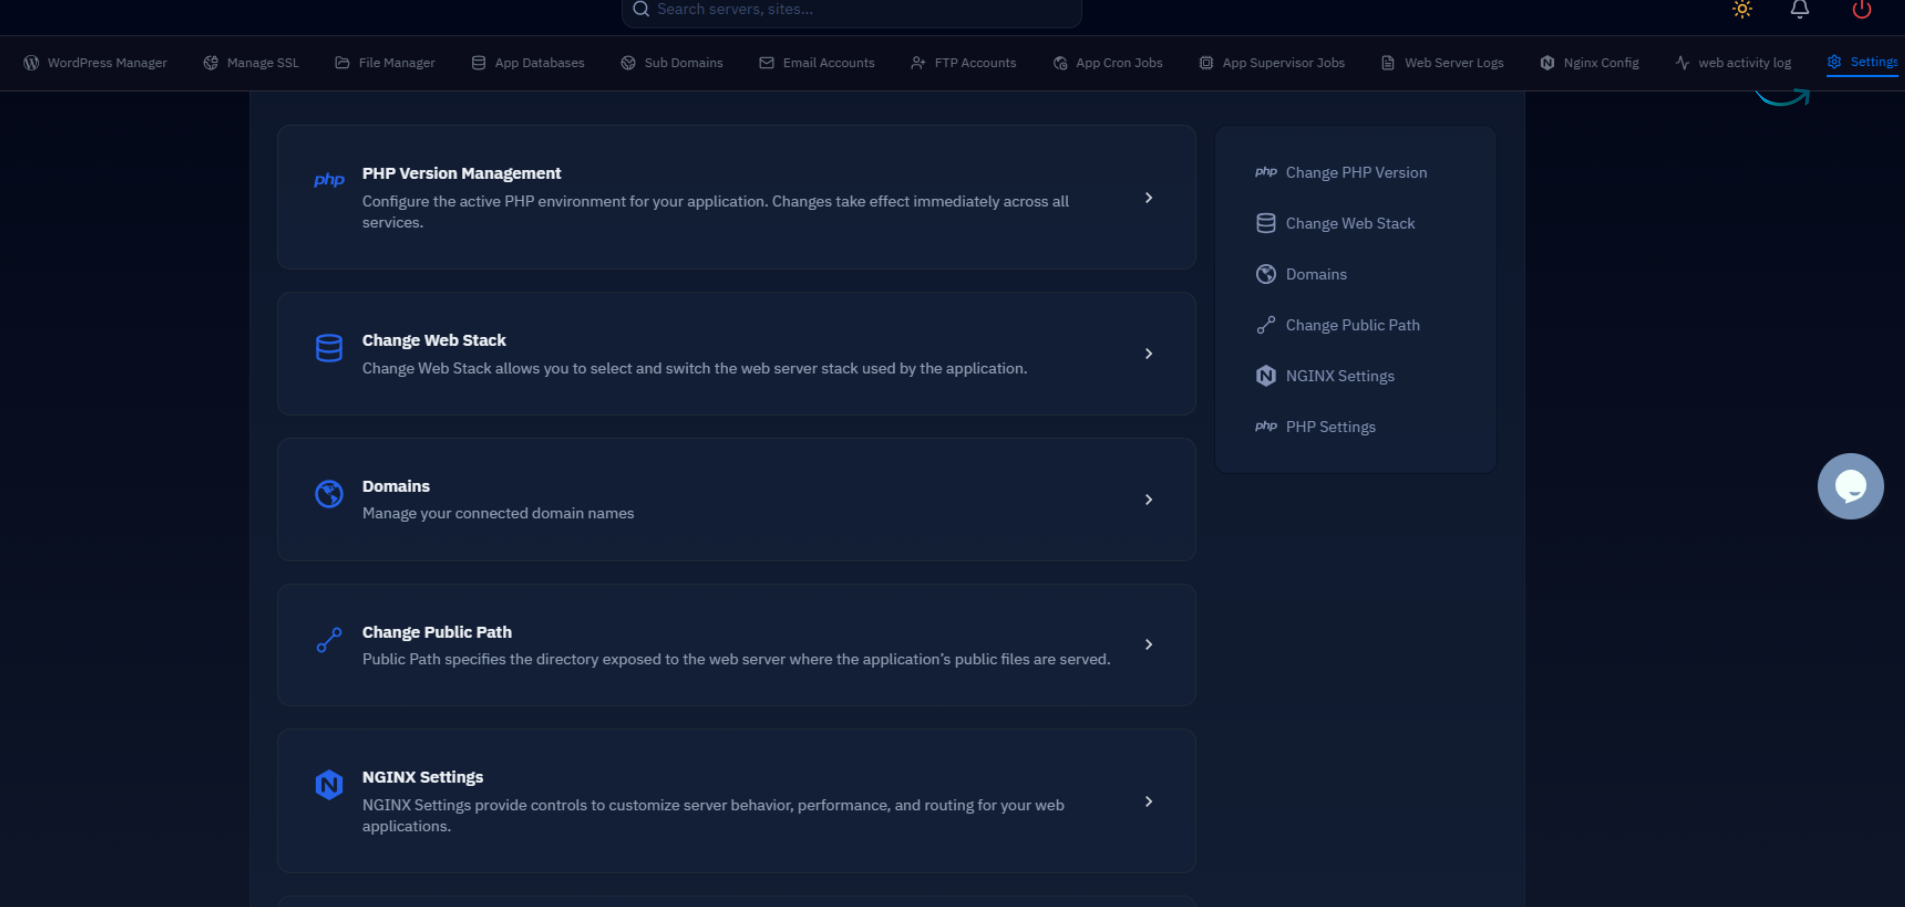
If you are managing multiple WordPress sites on the same server, you can also enable Redis from the CloudStick dashboard. Navigate to your server panel, find the Service Management section in the left-hand navigation, and toggle the Redis service on — CloudStick will start and enable it automatically without requiring SSH.
Install the PHP Redis Extension
Redis is running, but PHP cannot speak to it yet. The phpredis extension provides the native client library. Because CloudStick uses its own namespaced PHP-FPM packages under /CloudStick/Packages/, you install extensions through EasyPHP — CloudStick's built-in PHP extension manager — rather than through apt.
In the CloudStick dashboard, open your server panel and navigate to EasyPHP. Select the PHP version your WordPress site is running (8.1, 8.2, 8.3, or 8.4), find Redis in the extension list, and click install. CloudStick compiles and enables the extension against the correct PHP-FPM binary and reloads the pool automatically.
If you prefer to verify the extension from the command line after installation:
If the extension does not appear, return to EasyPHP and confirm the correct PHP version was targeted. Each PHP-FPM version (php81cs, php82cs, php83cs, php84cs) maintains its own extension set — installing Redis for PHP 8.3 does not automatically enable it for PHP 8.2 pools.
Do not install php-redis via apt on a CloudStick server. The system PHP packages and CloudStick's namespaced PHP packages are completely separate binaries. An apt-installed extension will load against the wrong PHP binary and have no effect on your sites.
Configure the WordPress Plugin
With Redis running and the PHP extension installed, the final step is wiring WordPress to it. The Redis Object Cache plugin by Till Krüss is the standard, actively maintained solution. Install it from the WordPress plugin directory (Plugins → Add New → search "Redis Object Cache"), then activate it.
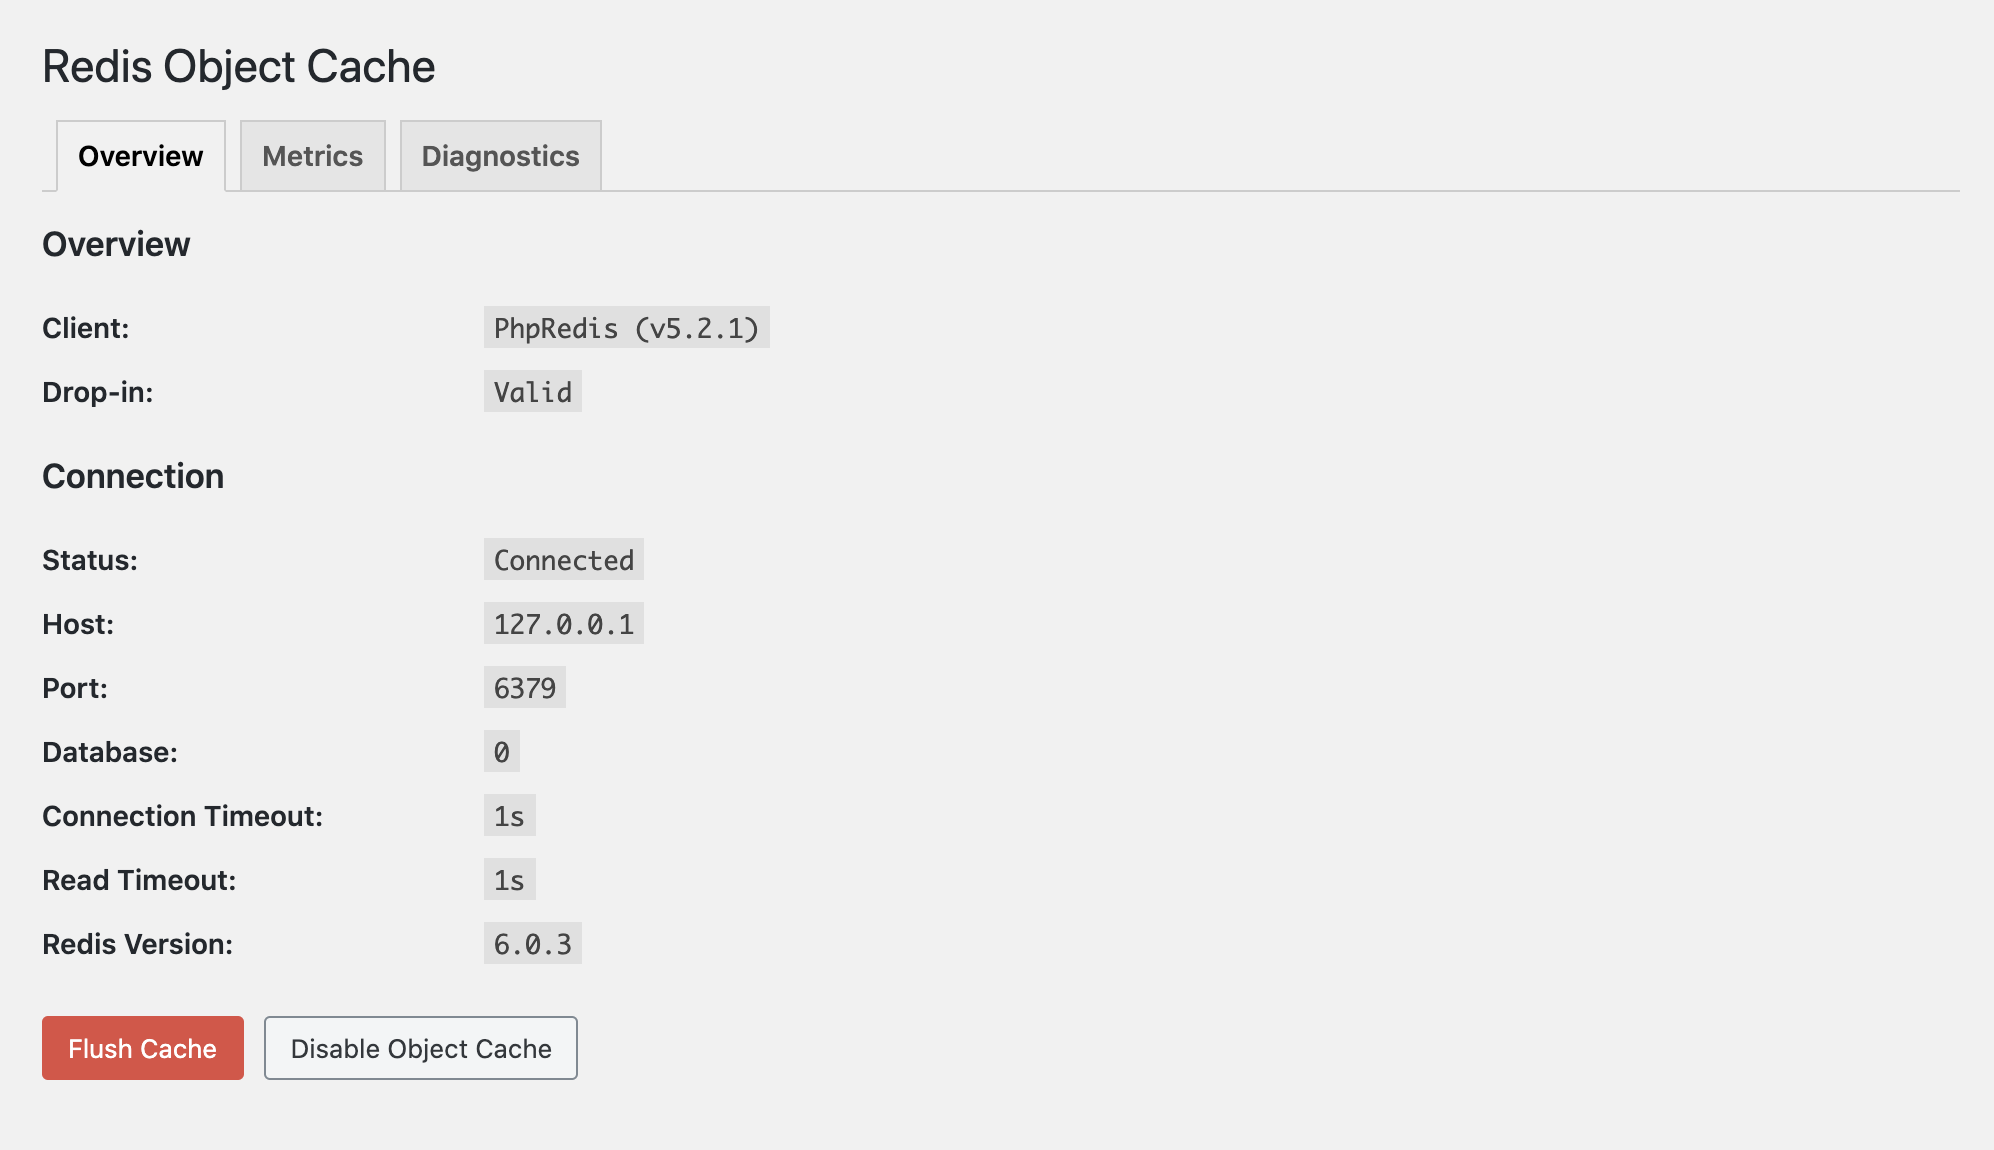
After activation, navigate to Settings → Redis in your WordPress admin. The plugin will report the connection status. If Redis is running on the default 127.0.0.1:6379, it should connect without any configuration. Click Enable Object Cache to write the drop-in file.
For production deployments, define the connection parameters explicitly in wp-config.php — this gives you control over which Redis database index is used (useful when multiple WordPress sites share one Redis instance) and sets a connection timeout that prevents a slow Redis from blocking PHP:
The WP_REDIS_PREFIX constant is particularly important when multiple WordPress sites share the same Redis instance. Without a unique prefix, sites will share — and potentially invalidate — each other's cache keys. Assign a different prefix to each site and a different database index (0 through 15) for clean separation.
The wp-config.php file for your site lives at /home/<username>/apps/<sitename>/wp-config.php. You can edit it via the CloudStick file manager, SFTP, or SSH. After saving, return to Settings → Redis in WordPress admin and confirm the status shows Connected.
Verify and Tune Redis Performance
Connection confirmed does not mean the cache is actually working at scale. The Redis CLI provides real-time insight into cache hit rates and memory usage — metrics that reveal whether Redis is delivering meaningful gains or just sitting idle:
A healthy Redis object cache for WordPress typically shows a hit rate above 85% once the cache has warmed up after a few minutes of traffic. If you see a consistently low hit rate, the most common cause is cache invalidation happening too frequently — often triggered by a plugin that calls wp_cache_flush() on every page load, or a WooCommerce configuration that does not support persistent caching cleanly.
For WooCommerce specifically, the Redis Object Cache plugin includes a selective flush mechanism that invalidates only the keys related to changed products or orders — not the entire cache store. This selective invalidation is enabled by default in recent plugin versions and is one of the reasons the Redis Object Cache plugin is preferred over older alternatives.
One final tuning consideration: the CloudStick PHP-FPM pool for each site runs with pm = ondemand and a default memory_limit of 256 MB per process. The Redis PHP client holds a persistent connection per FPM worker. On a server with many concurrent PHP workers, this means Redis may hold multiple simultaneous connections. Redis handles this efficiently (each connection uses roughly 50 KB), but it is worth monitoring with redis-cli info clients under load to confirm the connection count stays within expected bounds.
Use WP-CLI to flush the Redis cache without needing to log into WordPress admin: wp cache flush — run from your site root. This is safe to add to a deployment hook or post-push script so the cache clears automatically after code deployments.
Next Steps
Redis object caching is one layer of a complete WordPress performance stack. With it active, PHP spends far less time querying the database — but uncached anonymous page views still go through the full PHP execution path. Pairing Redis with full-page caching at the Nginx layer means those anonymous requests are served as static HTML without touching PHP or the database at all.
The complementary setup is Nginx FastCGI caching, which stores rendered HTML pages on disk and serves them directly from Nginx — bypassing both Apache and PHP-FPM entirely. Redis handles dynamic, user-specific, and logged-in views; FastCGI caching handles the public-facing page surface. Together they cover virtually every performance-critical scenario a WordPress site encounters.
Additional steps worth taking after Redis is confirmed working:
- Enable PHP OPcache if not already active — CloudStick enables it by default, but verify it is on in EasyPHP for your PHP version
- Configure Cloudflare as a CDN in front of your CloudStick server to offload static assets and add an additional layer of edge caching
- Run a before/after benchmark with
aborwrkto quantify the improvement and confirm the cache is working under concurrent load - Set up a cron job (via CloudStick's CronJobs manager) to periodically run
redis-cli infoand log the output, so you have a baseline for troubleshooting future memory pressure
Redis is production-ready from the moment it connects. The gains are immediate, the setup is reversible (remove the drop-in file to revert), and the ongoing maintenance cost is near zero. It is one of the highest-return performance investments available on a self-managed WordPress server.