How to Switch PHP Versions for a Single Website


Why Switch PHP Per Site?
Modern web servers routinely host a mix of applications that have different PHP version requirements. A legacy e-commerce platform may depend on PHP 7.4 for compatibility with older extensions, while a freshly deployed WordPress site performs best on PHP 8.3 and a custom Laravel application requires the strict typing features introduced in PHP 8.1. If every site on the server shared a single global PHP version, upgrading one application would risk breaking another.
PHP-FPM (FastCGI Process Manager) solves this elegantly. Each PHP version you install gets its own set of worker pools, and each pool listens on a unique Unix socket or TCP port. Nginx (or Apache) can then direct traffic from different virtual hosts to completely independent PHP processes — meaning site A runs PHP 8.3 while site B stays on PHP 7.4, with no interaction between them.
This guide walks you through the complete process on Ubuntu 22.04 or 24.04: installing multiple PHP versions side by side, creating an isolated PHP-FPM pool for the target site, updating the Nginx virtual host to use that pool, and verifying the change went through cleanly. The same pattern applies whether you are upgrading from PHP 8.1 to 8.3 or downgrading a site that broke after an unplanned update.
Install Multiple PHP Versions Side by Side
Ubuntu's default repositories only ship one PHP version, so you need the Ondrej Sury PPA — the de-facto standard for multi-version PHP on Debian-based systems. Once the PPA is added, you can install any combination of PHP versions without them conflicting.
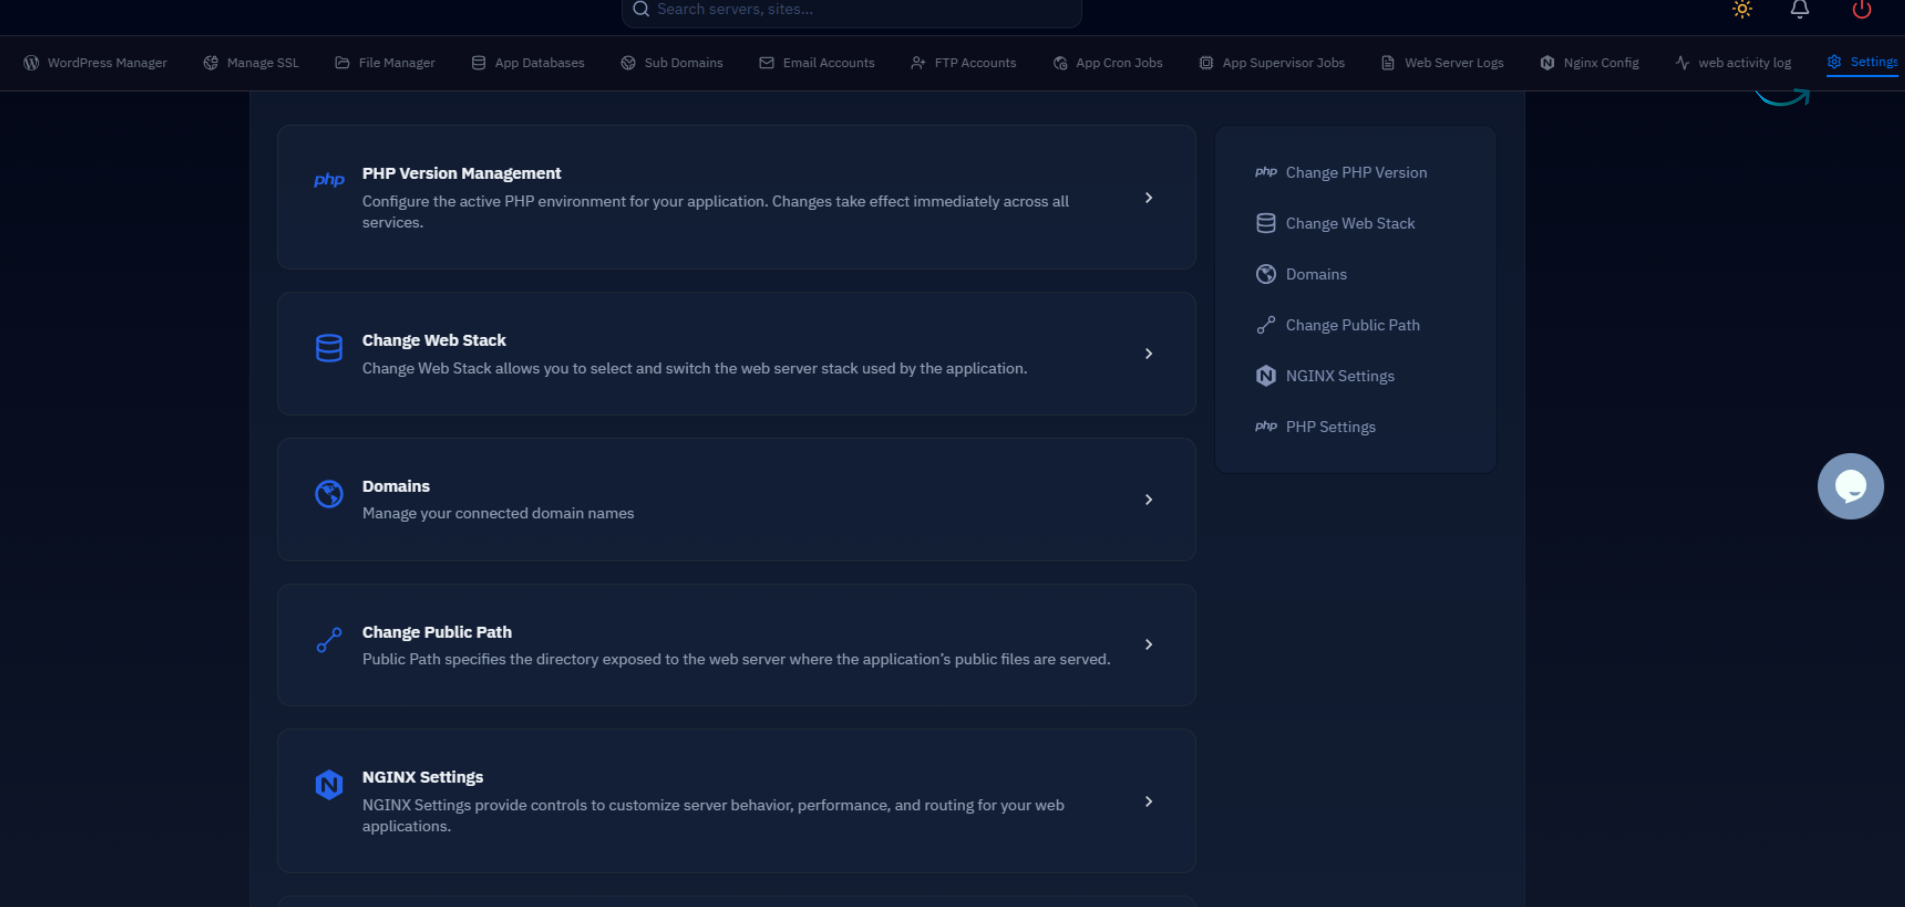
You need root or sudo access on the server and Nginx already configured as the web server. If you manage servers through CloudStick, PHP version management is available directly from the website settings panel under EasyPHP — no manual commands required. The steps below are for those managing servers directly via SSH.
Add the Ondrej PPA and install the PHP versions you need — in this example PHP 8.1 (currently installed) alongside PHP 8.3 (the target version for the new site):
After running the status command you should see both services listed as active (running). The extension list above covers the most common requirements for WordPress, Laravel, and general PHP applications — add or remove packages to match your application's composer.json requirements.
Configure a Dedicated PHP-FPM Pool for the Site
Each installed PHP-FPM version ships with a default pool named www, which listens on /run/php/phpX.Y-fpm.sock. While you could point your site directly at this default socket, the cleanest approach is to create a dedicated pool for each site. This gives you per-site process isolation, independent resource limits, and a unique socket path that cannot accidentally be reused by another virtual host.
PHP-FPM pool configuration files live in /etc/php/8.3/fpm/pool.d/. Create a new file named after your site — for example example.com.conf:
Create the log directory and reload PHP-FPM to activate the new pool:
If the --test flag returns OK: configuration file is valid and the socket file is present, the pool is ready to accept connections.
Point the Nginx Virtual Host to the New Pool
With the PHP-FPM pool running, the last configuration step is telling Nginx to pass PHP requests for this specific site to the new socket. Open the virtual host config for your site — typically located at /etc/nginx/sites-available/example.com — and locate the fastcgi_pass directive inside the PHP location block.
Change the fastcgi_pass value from the old socket to the new one you created in the previous step:
After saving the file, test the Nginx configuration for syntax errors before applying it. An invalid config that is reloaded without testing will take your site offline immediately.
At this point your site is being served through the PHP 8.3 pool. All other virtual hosts on the server continue using their existing PHP-FPM sockets completely unchanged — only the configuration for example.com was modified.
Verify the PHP Version Change
Never assume the change worked — always confirm the running PHP version from the browser or via the CLI. The fastest browser-side check is to create a temporary phpinfo.php file, load it, confirm the version, and then delete it immediately. Leaving phpinfo pages publicly accessible is a security risk.
For a server-side check without touching the web root, use the PHP-FPM status page or simply inspect which socket Nginx is actually connecting to via the access log:
Check the site's error log at /var/log/php/example.com.error.log for any extension-not-found or class-not-found errors. PHP version upgrades frequently expose code that relied on deprecated functions or extensions that need to be separately installed for the new version.
If you run WordPress, install the Health Check & Troubleshooting plugin before upgrading PHP versions. It lets you switch the PHP version in a private browser session only, so you can test compatibility without affecting live visitors — a workflow nearly identical to how CloudStick's EasyPHP handles per-site PHP switching in its dashboard.
Rollback and Troubleshooting
Because each site has its own fastcgi_pass line, rolling back a PHP version change is a two-minute operation: edit the virtual host to point back to the previous socket, test, and reload Nginx. You do not need to uninstall any PHP version or touch any other site.
The most common issues you will encounter after a PHP version switch are missing extensions, deprecated function calls, and strict type errors introduced in newer PHP versions. Here is a quick diagnostic checklist:
- 502 Bad Gateway — the PHP-FPM socket does not exist or the pool failed to start. Run
systemctl status php8.3-fpmand check/var/log/php8.3-fpm.log. - PHP Fatal error: Call to undefined function — a required extension is not installed for the new PHP version. Install the missing package with
apt install php8.3-<extension>. - Deprecated warnings flood the log — enable
error_reporting = E_ALL & ~E_DEPRECATEDtemporarily in the pool config while you audit the codebase, then re-enable full reporting. - Permission denied on socket — verify that
listen.ownerandlisten.groupin the pool config match the user Nginx runs as (typicallywww-data).
Once you have confirmed the site is stable on the new PHP version, you can optionally remove the old PHP version entirely with apt purge php8.1* — but only after verifying no other site on the server still references its socket. As a rule, keep the old version installed for at least one full week of production traffic before purging it. The disk footprint of an unused PHP-FPM installation is minimal (roughly 30–50 MB), so there is no urgency to remove it immediately.