How to Create a MySQL Database and User from the Command Line


Log into MySQL as Root
Every database and user creation task starts with an authenticated MySQL session. On a freshly provisioned Ubuntu 24.04 server, MySQL 8.0 uses the auth_socket plugin for the root account by default, which means you authenticate through the operating system rather than a password.
Open your terminal and run the following to enter the MySQL shell with root privileges:
Once connected you will see the mysql> prompt. All SQL statements from this point forward are typed at that prompt and must end with a semicolon. If you ever need to exit the shell, type EXIT; or press Ctrl+D.
MySQL 8.0 or MariaDB 10.6+ must already be installed on your server. If you are starting fresh, install MySQL with sudo apt install mysql-server on Ubuntu 24.04 before proceeding.
Create the Database
Creating a database is a single SQL statement. The name you choose must be unique within the MySQL instance and should be lowercase with underscores — avoid hyphens, spaces, or special characters, as these require backtick quoting every time you reference the database.
At the mysql> prompt, run:
You can also create a database with an explicit character set and collation. For modern web applications, utf8mb4 with utf8mb4_unicode_ci is the recommended pairing. It handles the full Unicode range including emoji, which the older utf8 alias does not:
WordPress, Laravel, and most PHP frameworks expect utf8mb4_unicode_ci or utf8mb4_general_ci. Setting this at database creation time is far easier than altering it later on a populated table.
Create a Dedicated User
Never connect your application directly as the MySQL root user. Root has unrestricted access to every database on the server — a compromised application credential would give an attacker full control over all your data. Instead, create a dedicated user scoped to a single database.
The CREATE USER syntax in MySQL 8.0 takes the form 'username'@'host'. The host portion controls which machines are permitted to connect with this credential:
The % wildcard as the host — 'myapp_user'@'%' — allows connections from any host. Use it only when your application servers are on a private network and your firewall already restricts port 3306 externally. For single-server stacks where the application and database share the same machine, always use localhost.
For password strength, MySQL 8.0 ships with the validate_password component enabled by default. It requires a minimum of eight characters, mixed case, a number, and a special character. Passwords that do not meet policy are rejected outright rather than silently stored as-is.
Grant Privileges
Creating a user does not automatically give them access to any database. Privileges must be granted explicitly. For a typical web application, the user needs SELECT, INSERT, UPDATE, DELETE, and CREATE — but rarely more:
The ON myapp_production.* clause scopes the privileges to every table inside the myapp_production database only. The user cannot read or write any other database on the server, even if they somehow obtained a connection.
If the application needs to install its own schema on first run — as Laravel migrations and WordPress's famous five-minute install do — include CREATE, ALTER, and DROP in the grant. For read-only reporting users or data warehouse consumers, grant only SELECT.
Avoid GRANT ALL PRIVILEGES ON *.* TO ... for application users. This grants global root-level access across every database on the instance. Reserve ALL PRIVILEGES only for administrator or backup accounts, and always scope it to a specific database or table where possible.
To review what privileges a user currently holds, run SHOW GRANTS FOR 'myapp_user'@'localhost';. The output lists each explicit grant statement, making it easy to audit without having to dig into the mysql.user system tables directly.
Verify and Test Access
Before hardcoding the credentials into your application config, confirm the user can actually log in and reach the target database. Exit the root session and open a new connection as the newly created user:
The SHOW DATABASES output for a correctly scoped user will list only the databases they have at least one privilege on, plus information_schema which MySQL exposes to all authenticated users. If you can see every database on the server, the grant was too broad.
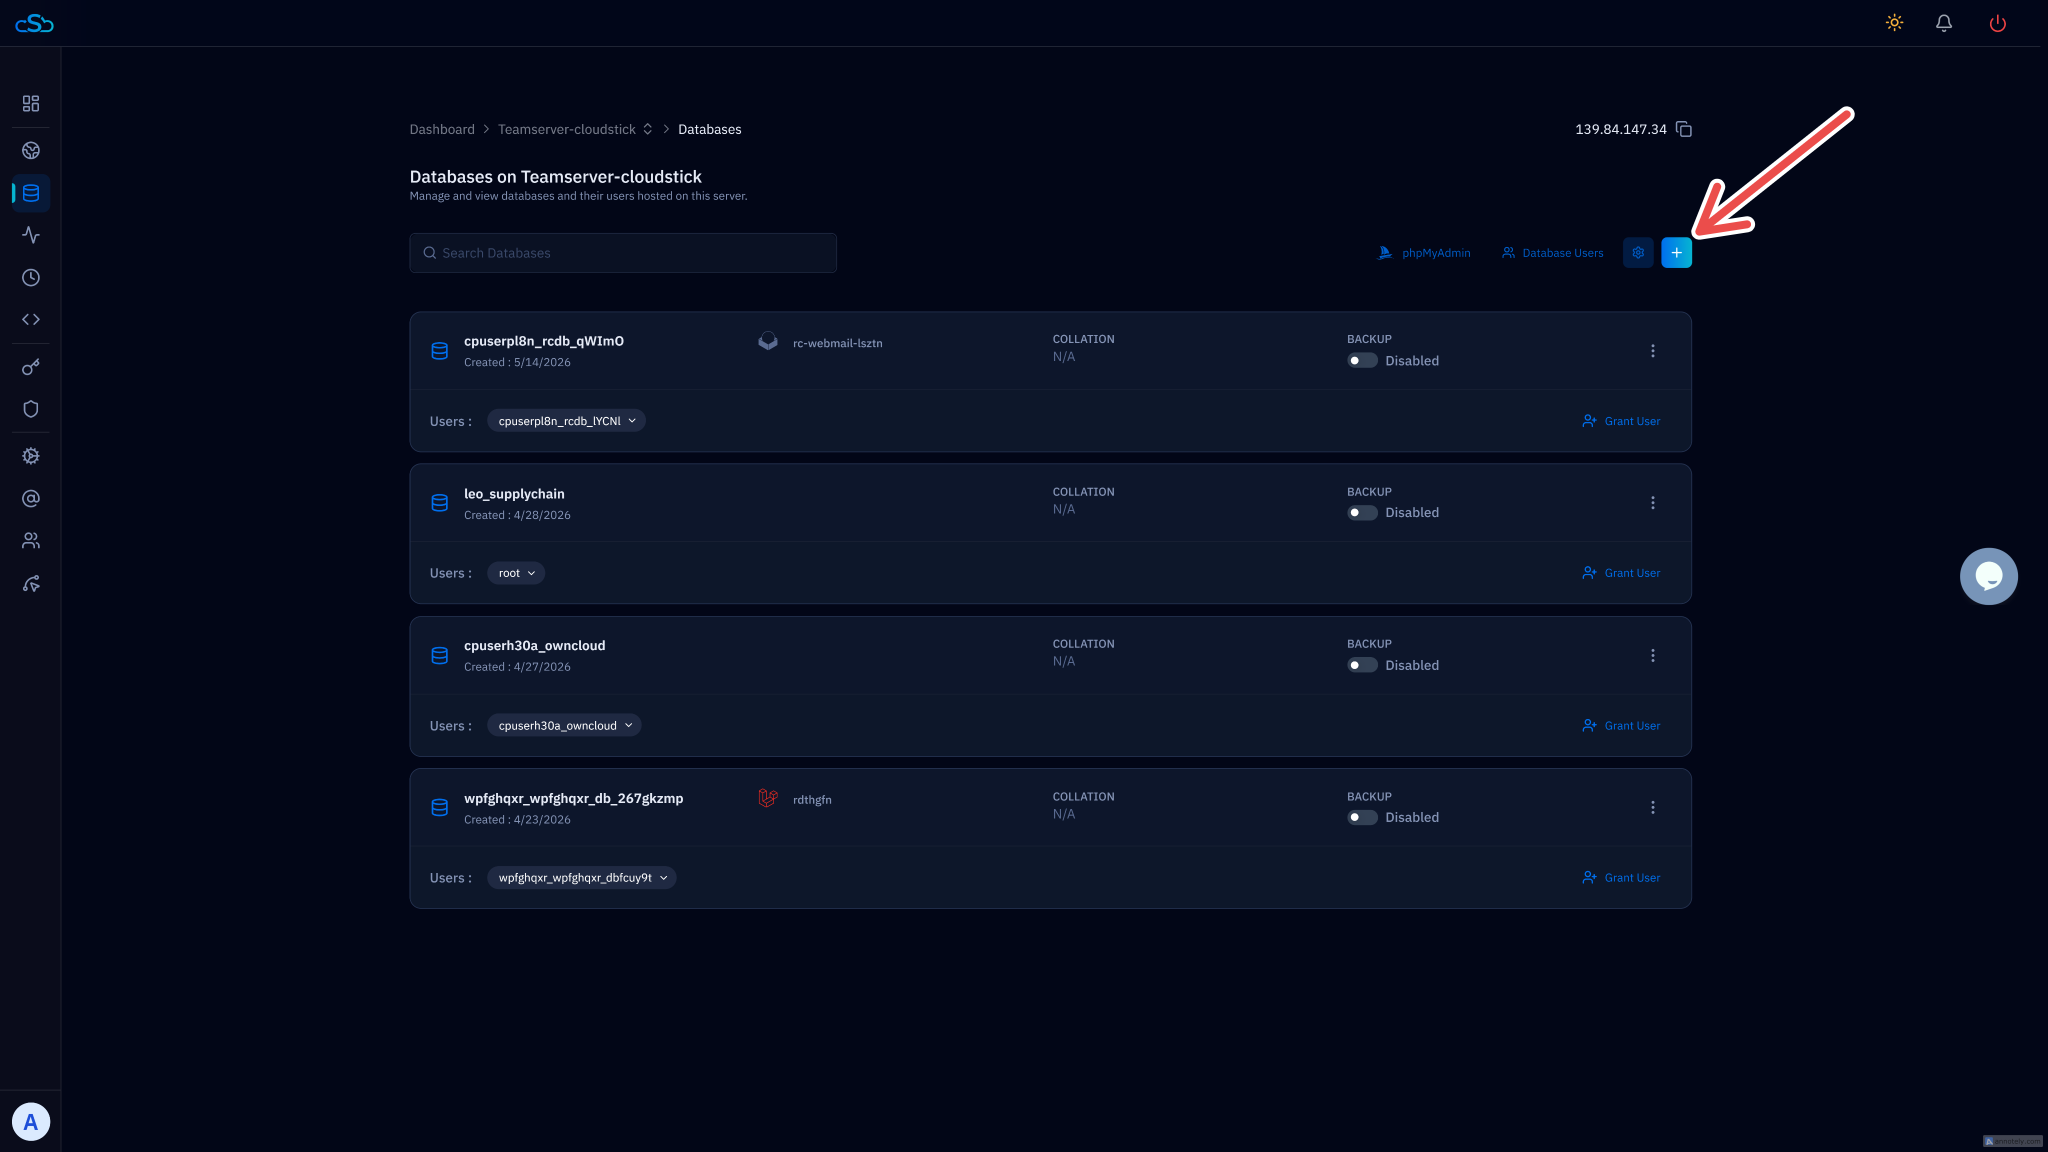
For teams managing multiple applications across multiple servers, CloudStick provides a built-in database manager that lets you create databases and users from a clean UI — automatically scoping privileges correctly and logging every change. It is particularly useful for agency workflows where a developer needs to spin up a new client database without SSH access.
Security Best Practices
Correct privilege scoping is the foundation, but a few additional habits close the most common attack vectors against MySQL installations.
One user per application. Resist the temptation to reuse a single database user across multiple applications. If one application is compromised, the blast radius extends only to its own database. Creating a fresh user per app takes thirty seconds and dramatically limits lateral movement.
Rotate passwords on access revocation. When a developer leaves your team or a deployment key is rotated, change the database password immediately. The ALTER USER statement handles this without needing to drop and recreate the user:
Bind MySQL to localhost. Unless you have a specific need for remote database connections, confirm MySQL is not listening on a public interface. Check the current binding with ss -tlnp | grep 3306. The output should show 127.0.0.1:3306 — not 0.0.0.0:3306. If you see the latter, set bind-address = 127.0.0.1 in /etc/mysql/mysql.conf.d/mysqld.cnf and restart the service.
Never store credentials in version control. Database passwords belong in environment variables or secrets managers — not in .env files committed to Git, not in wp-config.php tracked in a repository, and not in deployment scripts. A single accidental public push can expose credentials that have been live for years.
Drop users you no longer need. Abandoned application users are dead code at the database layer — they accumulate over time and create unnecessary attack surface. Audit periodically with SELECT User, Host FROM mysql.user; and remove any accounts that have no active application behind them using DROP USER 'old_user'@'localhost';.
After completing these steps, run SHOW GRANTS FOR 'myapp_user'@'localhost'; one final time and save the output somewhere accessible. It serves as a quick reference if you ever need to recreate the user on a new server or document the access model during a security review.