How to Set Up Remote MySQL Database Access Safely


Why Remote MySQL Access Is High Risk by Default
MySQL listens on port 3306. On a fresh Ubuntu 24.04 install, that port is bound to 127.0.0.1 only, which means no remote connections are possible at all. The moment you change that to accept external connections — whether by adjusting bind-address or opening port 3306 on your firewall — you dramatically expand your attack surface.
Port 3306 is actively scanned by automated bots within minutes of being exposed. Brute-force attempts against MySQL root are common, and a misconfigured user grant — one that says GRANT ALL ON *.* TO 'user'@'%' — gives any attacker who cracks the password full read/write access to every database on the server.
This guide covers two legitimate use cases for remote MySQL access — connecting a remote application server to a dedicated database server, and connecting a local GUI client like TablePlus or DBeaver to a production database — and the safest way to handle each.
You need root or sudo access to the server running MySQL or MariaDB, and you should already have ufw or iptables active. This guide is written against Ubuntu 24.04 with MySQL 8.0 or MariaDB 10.11, but the concepts apply to any recent Debian/Ubuntu system.
Step 1 — Change the bind-address in MySQL
By default, bind-address = 127.0.0.1 is set in the MySQL configuration. To allow connections from other servers, you need to change this to either your server's private IP address (preferred) or 0.0.0.0 (listens on all interfaces — less preferred).
The configuration file location differs slightly between MySQL and MariaDB:
Binding to a specific private IP rather than 0.0.0.0 means MySQL only accepts connections arriving on that interface. If your app server and database server are on the same private network (as they should be), this is the right choice — the database never listens on the public internet even if your firewall rules are misconfigured.
Step 2 — Create a Scoped Remote MySQL User
Changing the bind address alone is not enough — MySQL user accounts include the host from which the connection is allowed. A user created as user@localhost can only connect from the local machine. To allow remote access, you create a separate account with a specific IP address, not the wildcard %.
Replace 10.0.0.10 with the actual private IP of the machine that needs to connect. If you absolutely must use a wildcard host (for example, connecting from a dynamic IP), use % but pair it with a strong password and strict firewall rules that compensate for the broader access.
Never grant ALL PRIVILEGES ON *.* to a remote user. Scope the privileges to the exact database the application needs, and only include the operations that application actually performs. A read-only reporting tool needs SELECT only — not DROP or DELETE.
Step 3 — Lock Down Firewall Rules for Port 3306
Even with bind-address set to a private IP and user accounts scoped to specific hosts, you should add an explicit firewall rule that only permits traffic to port 3306 from known IP addresses. This provides defense in depth — if any configuration is wrong, the firewall rule is the last line of defense preventing unauthorized connections.
The output of ufw status verbose should show your specific allow rules for port 3306 and nothing that permits connections from Anywhere on that port. If you see 3306 ALLOW Anywhere, remove that rule immediately with sudo ufw delete allow 3306.
Never open port 3306 to the public internet (0.0.0.0/0). Automated scanners will find the port within minutes and begin credential-stuffing attacks. If you are running MySQL on a cloud provider, use security groups or VPC firewall rules at the network level in addition to ufw on the host.
SSH Tunnel: The Safer Alternative for GUI Clients
For developers connecting a local GUI client — TablePlus, DBeaver, DataGrip, or MySQL Workbench — there is a better approach than opening port 3306 at all. An SSH tunnel encrypts the MySQL traffic through an existing SSH connection and forwards it to a local port on your machine. MySQL stays bound to 127.0.0.1 on the server with no firewall changes required.
With this setup, your MySQL server never needs to expose port 3306 externally. The tunnel authenticates with your SSH key, the traffic is encrypted end-to-end by SSH, and the database user can remain scoped to localhost. Most GUI clients (TablePlus, DBeaver, Sequel Pro) have built-in SSH tunnel support — enter your SSH credentials in the connection dialog and the client manages the tunnel automatically.
The SSH tunnel approach is also the right answer when you are on a dynamic IP and cannot pre-define a firewall rule for your workstation. Since you authenticate via SSH key rather than a password, the tunnel is as secure as your SSH key management — far stronger than relying on a MySQL password alone.
Add the tunnel as a Host entry in your ~/.ssh/config file with LocalForward 3307 127.0.0.1:3306 so you can reconnect with a single ssh db-tunnel command instead of typing the full flags each time.
Verifying Remote Connectivity and Common Issues
After configuring the bind-address, creating the remote user, and updating firewall rules, test the connection from the remote machine before declaring it working. Connection failures usually fall into one of three categories: bind-address not updated, the user account host does not match the connecting IP, or a firewall rule is blocking the connection.
A "connection refused" error means the socket is not open — MySQL is not listening on the target IP or port. A "connection timed out" error means a firewall is silently dropping packets before they reach MySQL. An "access denied" error means MySQL received the connection but rejected it at the authentication stage — the user account, password, or host does not match.
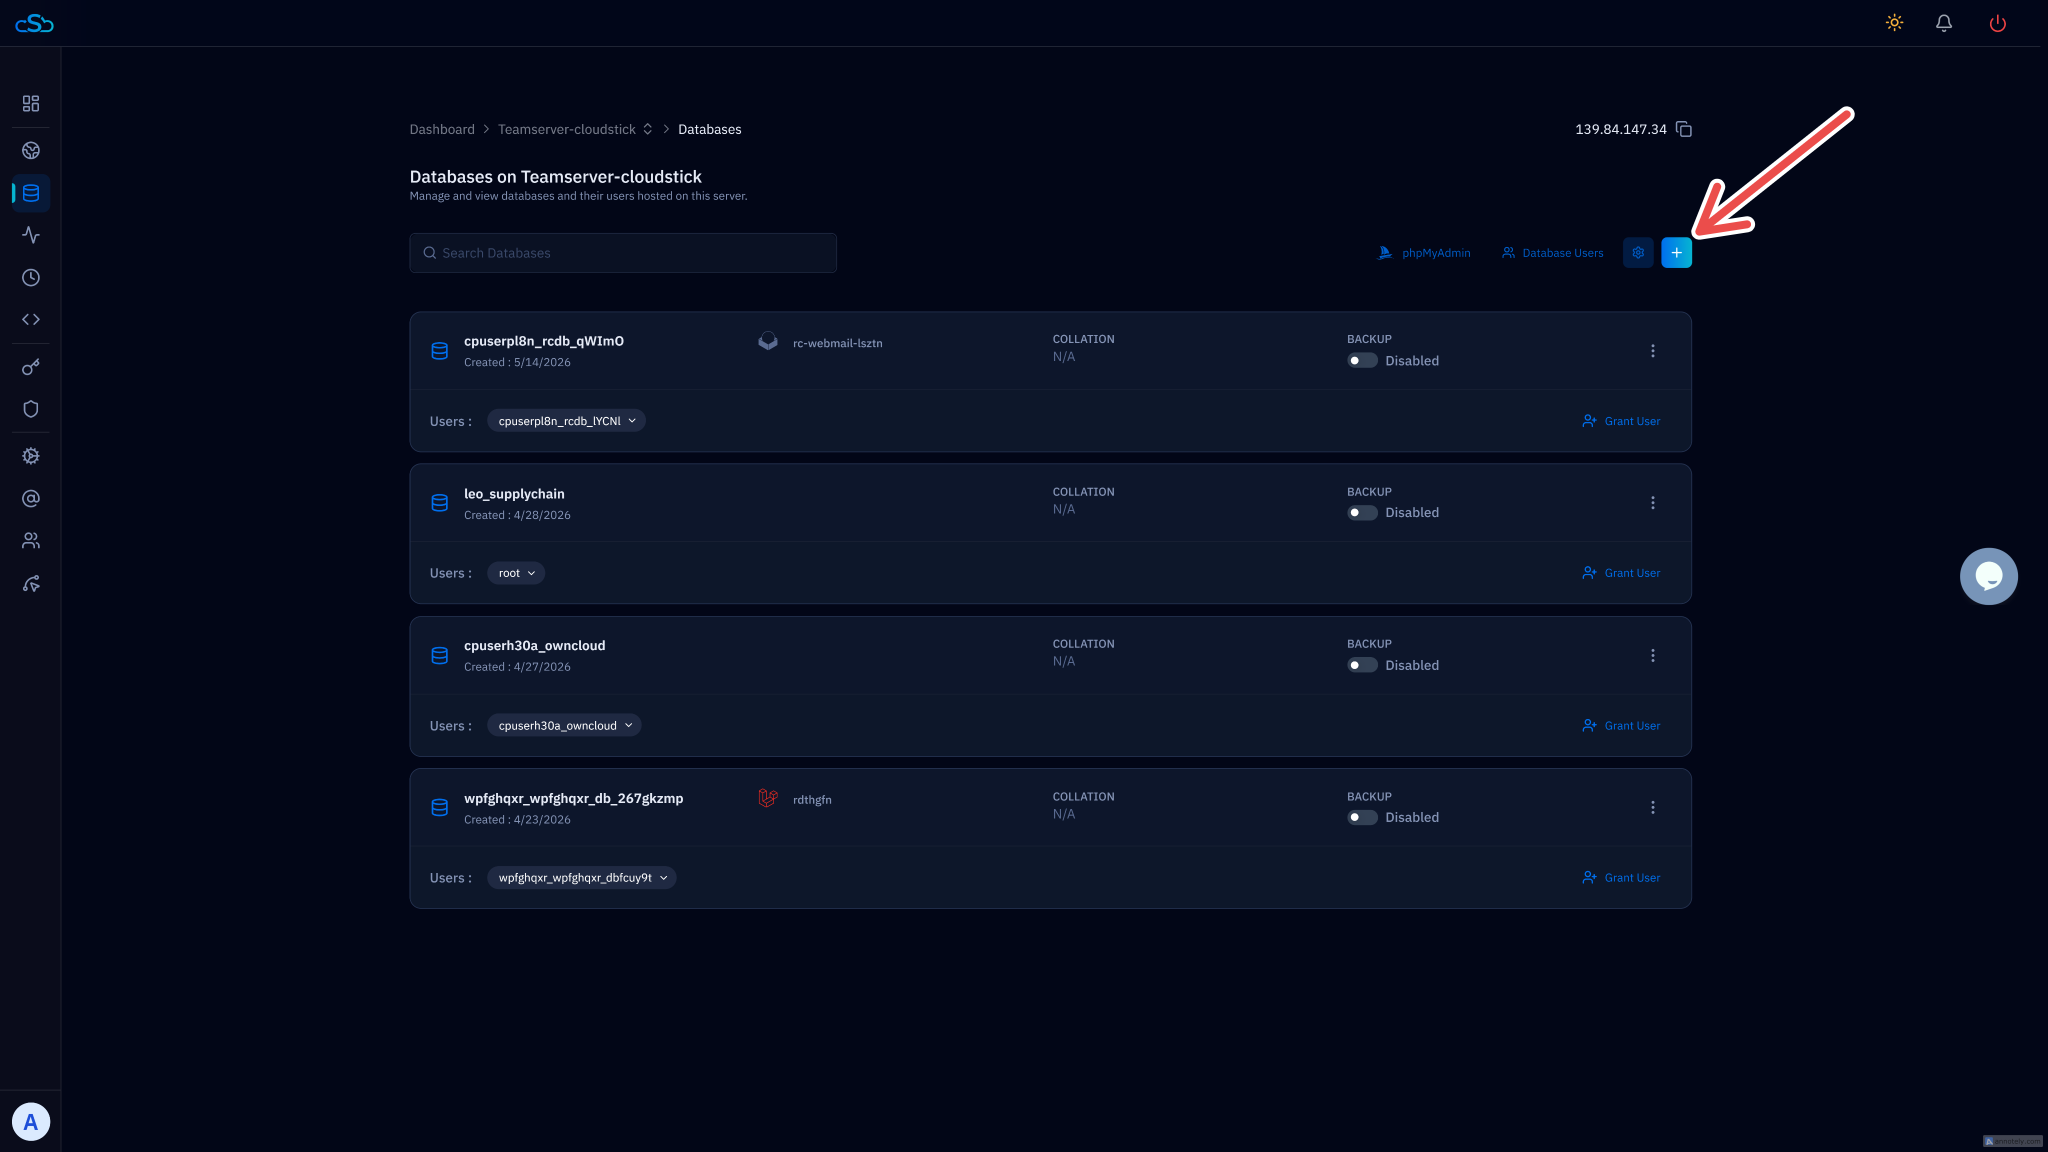
If you are managing multiple servers, CloudStick gives you a visual database manager in the dashboard that removes the need to open port 3306 at all. You can create databases, manage users, inspect tables, and run queries entirely through the CloudStick interface — which connects over the secure CloudStick agent channel rather than exposing MySQL to the network. For teams that need occasional database access without the overhead of SSH tunnels and firewall management, this is a practical middle ground.
For production setups where an application server genuinely needs persistent remote database access — microservices architectures, separate app and database tiers, or read replicas — keep the bind-address on a private network interface, scope the user grant to the exact database and operations required, enforce the firewall rules at both the host and network level, and rotate the password on a schedule. These four controls together eliminate the most common attack vectors against exposed MySQL instances.