How to Deploy a Laravel App to a VPS (Step-by-Step)

%203.png&w=256&q=75)
Prepare the Ubuntu server
Deploying Laravel to a VPS comes down to seven moves: prepare an Ubuntu server, install PHP 8.3 with the extensions Laravel needs, add Composer 2 and MySQL, clone your repository, configure the environment, cache everything, and point Nginx at the public directory. None of the steps is hard on its own — deployments go wrong when steps are skipped or done out of order, so this guide runs through all of them in sequence on a fresh Ubuntu 22.04 or 24.04 VPS from any provider: DigitalOcean, Hetzner, Vultr, Linode, or bare metal.
Connect over SSH as a sudo-capable user, bring the package index up to date, and open only the ports you need. If you would rather not assemble the stack by hand at all, connecting the server to CloudStick installs and hardens this entire baseline automatically — the CloudStick knowledge base guide How to Deploy Your Own Server walks through connecting a fresh VPS step by step. Either way, the goal is identical: an updated Ubuntu system with SSH, HTTP, and HTTPS reachable and everything else closed.
You need a VPS running Ubuntu 22.04 or 24.04 with at least 1 GB of RAM, root or sudo SSH access, a domain with an A record pointed at the server's IP, and your Laravel app pushed to a Git repository (GitHub, GitLab, or Bitbucket).
Install PHP 8.3, Composer 2, and MySQL
Laravel 11 and 12 require PHP 8.2 or newer, and PHP 8.3 is the sensible production choice today. Ubuntu's default repositories lag behind, so add the well-maintained ondrej/php PPA and install PHP-FPM plus the extensions Laravel depends on: mbstring, xml, curl, zip, bcmath, intl, gd, and the MySQL driver.
Next, install Composer 2 globally, then MySQL and Nginx from the standard repositories, and create a dedicated database and user for the app. Never let the application connect as root.
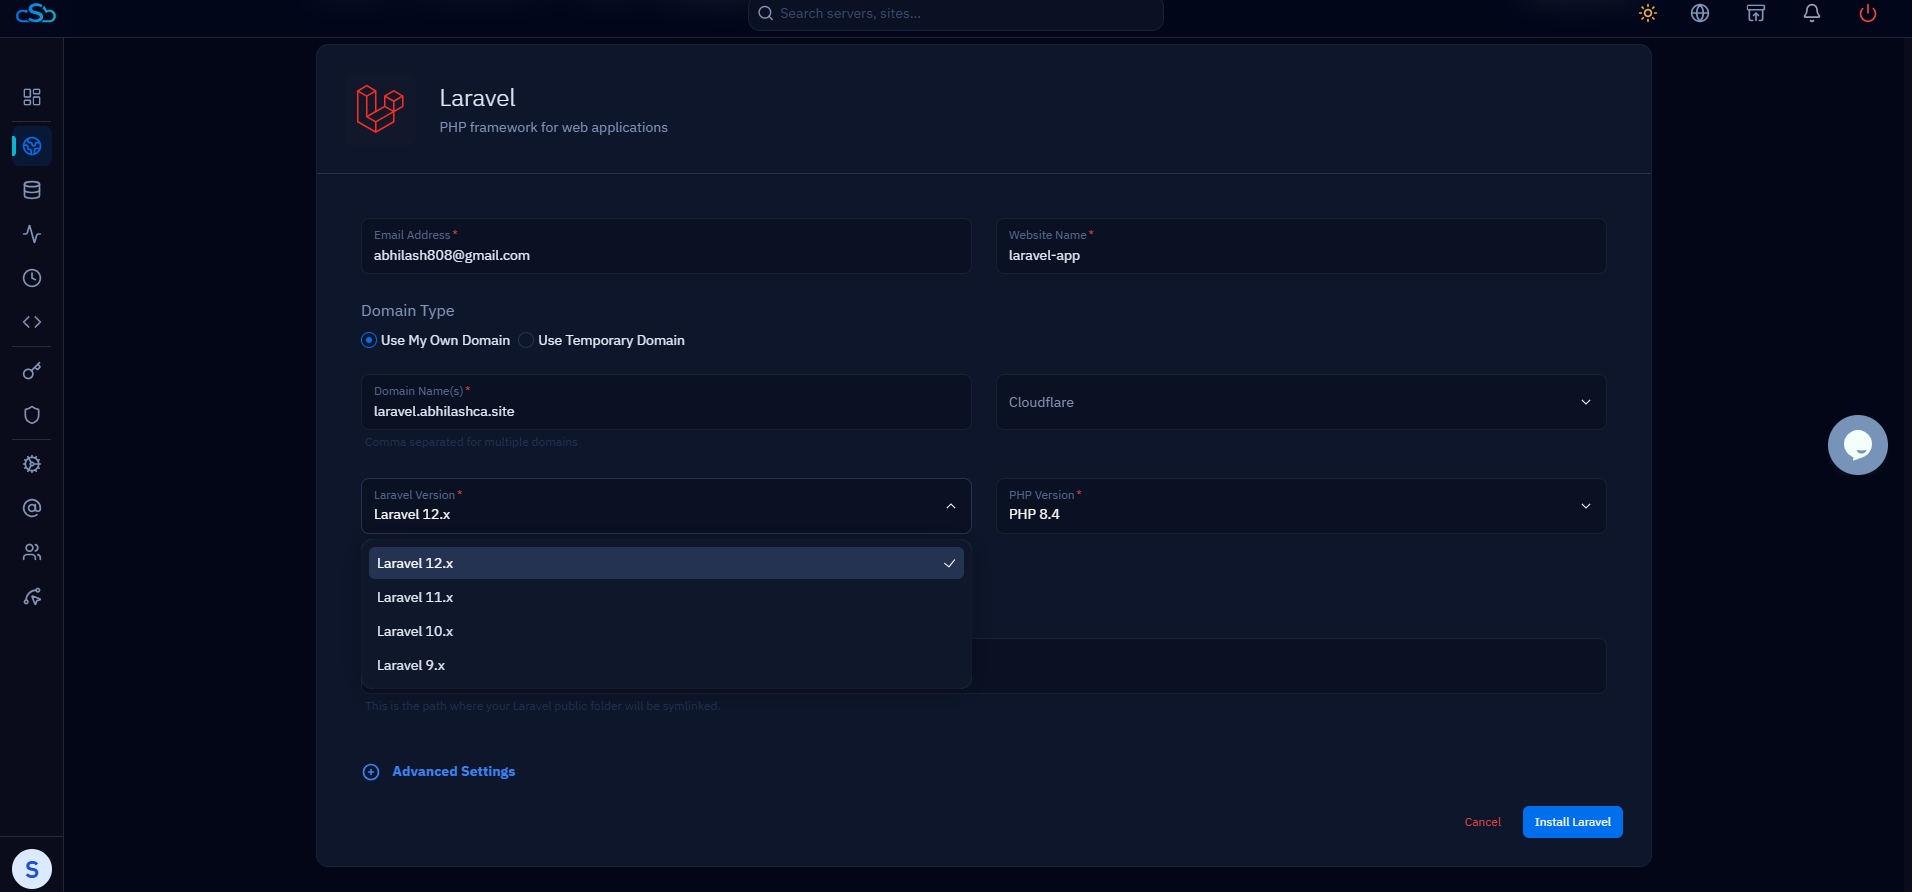
This is the part of the process CloudStick compresses the most: creating a website in the dashboard provisions an isolated system user and a per-site PHP-FPM pool in one click, and EasyPHP lets you add or remove PHP extensions from the UI instead of hunting for apt package names — with multiple PHP versions available side by side per site.
Clone the repository and install dependencies
Put the code in /var/www and install dependencies with the two flags that matter in production: --no-dev skips development packages like PHPUnit and Pint, and --optimize-autoloader builds a classmap so PHP resolves classes without scanning the filesystem on every request.
For a private repository, add a deploy key on the server (ssh-keygen, then paste the public key into your Git host's deploy-key settings) before cloning. If the server runs under CloudStick, the Git Deployment feature handles this handshake for you — connect the repository once and every subsequent push can trigger a pull and your deployment script automatically.
Configure .env, permissions, and migrations
Copy the example environment file, generate the application key, and set the production values — most importantly APP_ENV, APP_DEBUG, and the database credentials you created earlier. The key encrypts sessions and cookies; the app will refuse to boot without it.
Laravel writes logs, compiled views, sessions, and caches to storage and bootstrap/cache, so those two paths — and only those two — need to be writable by the web server user. Then run the migrations; the --force flag confirms you intend to run them in production, since artisan would otherwise prompt interactively.
Never leave APP_DEBUG=true on a public server. Debug mode renders full stack traces — including environment variables, database credentials, and API keys — to anyone who triggers an error page. It is one of the most common ways Laravel apps leak secrets.
Cache config, routes, and views
Caching is the single cheapest performance win in a Laravel deployment: config:cache collapses every config file and the .env values into one compiled file, route:cache pre-compiles the route table, and view:cache pre-renders Blade templates so first visitors never pay the compilation cost. Run all of them on every deploy, after the code and .env are final.
Two caveats worth knowing. Once config is cached, env() calls outside the config files return null — always read settings through config() in application code. And if you change .env later, the change does nothing until you run config:cache again, which is the root cause of a whole category of "my .env edit is being ignored" confusion.
Point Nginx at /public and enable SSL
The document root must be the app's public subdirectory — never the project root. Serving the project root exposes .env, composer.json, and the entire codebase to the internet. Create the server block at /etc/nginx/sites-available/yourapp:
Enable the site, test the config, reload Nginx, then issue a free Let's Encrypt certificate with certbot, which also rewrites the server block to redirect HTTP to HTTPS:
On a CloudStick-managed server both of these steps disappear: site creation writes a correct vhost pointed at your app automatically, and free Let's Encrypt SSL is a single click in the dashboard with auto-renewal handled for you.
Deployment checklist and next steps
Before calling the deployment done, verify the essentials: the site loads over HTTPS and HTTP redirects to it; APP_DEBUG is false and APP_ENV is production; storage and bootstrap/cache are group-writable by www-data and nothing else in the project is; migrations ran cleanly; and config, route, and view caches were rebuilt after the final .env edit. A two-minute pass through that list catches nearly every first-deploy failure.
From here, two follow-ups turn a working deployment into a production-grade one. If your app dispatches jobs or sends mail, queue workers need a process manager so they survive reboots and crashes — that is its own setup, covered in our guide to Laravel queues and workers in production. And the minimal Nginx block above is deliberately lean; tuning fastcgi buffers, gzip, and static-asset caching for Laravel specifically is covered in our Nginx configuration guide.
Repeat deploys are just a subset of this guide: pull, composer install, migrate --force, rebuild the caches, reload PHP-FPM. Script those five commands now — future you will run them a hundred times.