How to Hide and Protect the WordPress Login Page


Why Hiding wp-login.php Isn't Real Security
Moving your login URL away from /wp-login.php is security through obscurity, not real access control — it reduces automated noise but does nothing to stop a targeted attacker who finds the new URL through a leaked link, a misconfigured redirect, or by simply requesting /wp-admin/, which WordPress still redirects to the login form regardless of what you rename it to.
That doesn't mean it's pointless. The vast majority of WordPress attacks are not targeted — they're botnets scanning millions of sites for the default wp-login.php path and throwing credential lists at it. Relocating the URL removes your site from that automated sweep and cuts server load from junk requests. The correct mental model is: hiding the URL is one layer, and it only earns its keep when it's stacked with IP restrictions, HTTP authentication, and login rate limiting — the layers covered below.
Move the Login URL
There are two ways to do this: a lightweight plugin (like WPS Hide Login) that intercepts requests inside WordPress, or a server-level Nginx rewrite that blocks the real path before it ever reaches PHP. The Nginx approach is stronger because bots requesting the original wp-login.php get rejected at the web server layer, never touching PHP-FPM or WordPress at all.
Add this to your site's server block, inside the location context, choosing your own secret slug in place of secure-portal-92:
Test the config with sudo nginx -t and reload with sudo systemctl reload nginx. Note that WordPress core still generates internal links to wp-login.php for password resets and logout actions — a pure Nginx rewrite breaks those flows, which is why most production sites pair this with a plugin that rewrites those internal links too, rather than relying on Nginx alone for a fully seamless experience.
Restrict /wp-admin and wp-login.php by IP
If your team logs in from a known office, VPN, or a small set of home IPs, an Nginx allowlist is the single strongest control on this list — it blocks unauthorized requests before WordPress even loads, regardless of whether the attacker knows your login URL or has valid credentials.
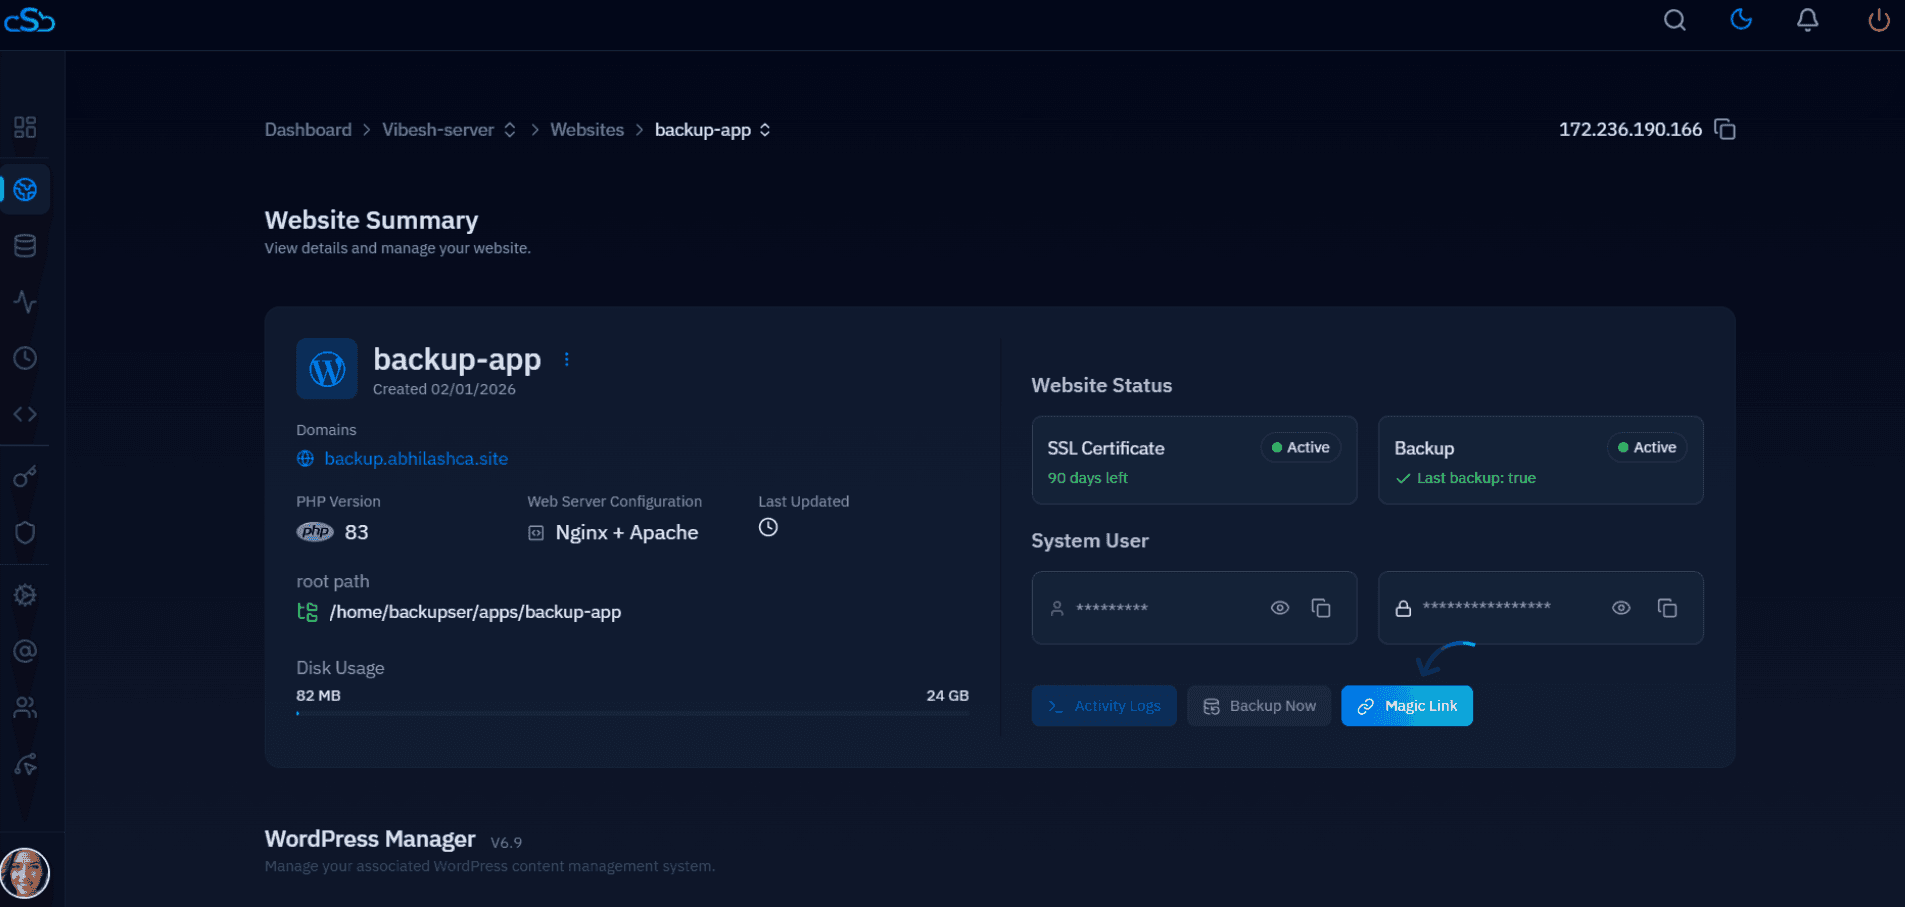
Requests from anywhere outside the allowlist receive a 403 before Nginx even proxies to PHP-FPM. The downside is obvious: if you or your editors work from changing IPs, this becomes a maintenance burden and you'll lock yourself out from a coffee shop. For teams on dynamic IPs, CloudStick's server-level firewall lets you manage IP allow rules and SSH access from the dashboard instead of hand-editing Nginx on every server, and its SSH Vault keeps the credentials needed to make those changes out of anyone's local terminal history.
Add HTTP Basic Auth in Front of wp-login.php
HTTP basic auth adds a second password prompt — served entirely by Nginx, before WordPress loads — so a bot or attacker needs to defeat two independent credential checks instead of one. It works well for dynamic-IP teams who can't maintain an allowlist but still want a hard gate in front of the login form.
You'll need apache2-utils installed for the htpasswd command on Ubuntu 24.04. Install it first with sudo apt install apache2-utils -y if it isn't already on the server.
Generate a password file, then reference it in the login location block:
Reload Nginx and visitors hitting the login path get a browser-native credential prompt first. Since basic auth sends credentials base64-encoded rather than encrypted on their own, this layer is only safe over HTTPS — CloudStick issues and auto-renews free SSL on every connected site by default, so login traffic (and the basic auth handshake) is encrypted end to end without any manual certificate work.
Enable Login Lockdown for Repeated Failures
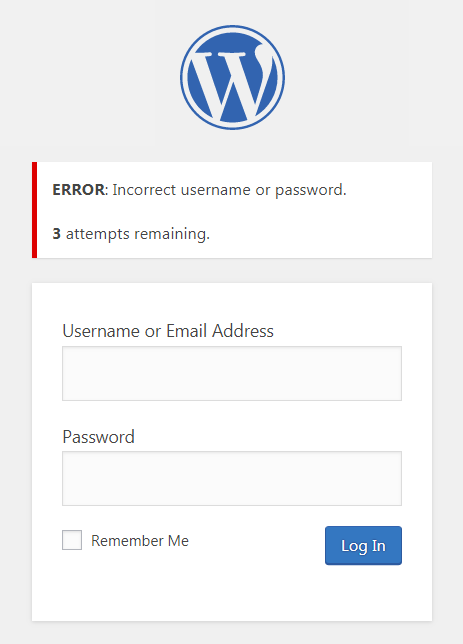
WordPress core does not lock out repeated failed logins by default — a bot that gets past your IP allowlist or basic auth prompt can otherwise attempt unlimited password guesses against a single account. A limit-login plugin (Limit Login Attempts Reloaded or similar) or an mu-plugin using the wp_login_failed hook closes this gap by tracking failures per username and IP, then locking the account out for a configurable window after a threshold is crossed.
A sane default is 5 failed attempts within 5 minutes triggers a 20-minute lockout, with the lockout duration doubling on repeat offenders. This is a WordPress-application-layer control, so it still applies even if an attacker somehow reaches the login form — it's the layer that stops credential-stuffing after the URL, IP, and basic-auth gates have all been passed.
Layered Login Security Checklist
No single control on this page is sufficient by itself. Treat login protection as a stack, applied in this order:
1) Move the login URL to cut automated scanner noise. 2) Restrict /wp-admin and the login path by IP wherever your team's IPs are stable. 3) Add HTTP basic auth as a fallback gate for dynamic-IP users, always over HTTPS. 4) Enable login lockdown so credential-stuffing fails even if an attacker reaches the form. 5) Keep WordPress core, themes, and plugins patched — a hidden, IP-restricted login page still runs vulnerable code if updates lag. 6) Use strong, unique passwords and enable two-factor authentication on every admin account as the final backstop. Run this stack on a server with a properly configured firewall and automatic SSL underneath it — CloudStick handles the firewall and certificate layer automatically for every connected server, so these WordPress-level controls aren't undermined by an open port or an expired certificate elsewhere in the stack.