How to Stop WordPress Brute-Force and Bot Attacks


How Brute-Force and Bot Attacks Work
Brute-force login attempts and bot scans are constant background noise on any public WordPress site — the fix is layered rate-limiting and banning, not a single plugin. Within minutes of a new WordPress install going live, automated botnets begin POSTing credential pairs to /wp-login.php, cycling through leaked username/password lists from prior breaches (credential stuffing) or trying common admin usernames with dictionary passwords.
A second, quieter attack path is /xmlrpc.php. Because XML-RPC accepts a system.multicall request, an attacker can bundle hundreds of login attempts into a single HTTP request — turning what looks like one hit in your access log into hundreds of password guesses server-side. This is why xmlrpc.php floods are often more damaging than raw wp-login.php hammering, despite generating far fewer log lines.
Separately from credential attacks, generic bots crawl every WordPress install on the internet looking for known plugin/theme vulnerabilities, exposed wp-config.php.bak files, and default admin paths. These requests carry no credentials at all — they are reconnaissance, and they consume PHP-FPM workers and MySQL connections just like real traffic, which is why the defense has to happen before requests reach PHP, not just at the login form.
Rate-Limit the Login Endpoint at Nginx
The most effective single change is throttling requests to wp-login.php before they ever reach PHP-FPM, using Nginx's built-in limit_req_zone module. Define the zone in the http context (on a CloudStick-managed site this goes in /etc/nginx-cs/conf.d/ or a snippet included from there), then apply it to the login location block:
rate=2r/m allows two requests per minute per IP with a small burst to avoid tripping up a real user who mistypes a password once. Setting limit_req_status 444 makes Nginx drop the connection outright instead of returning a normal error page, which denies bots the response codes they use to fingerprint a target. Test the config with sudo nginx -t before reloading with sudo systemctl reload nginx-cs if you are on a CloudStick server, or nginx on a standard install.
Build a Fail2Ban Jail That Watches Real Login Failures
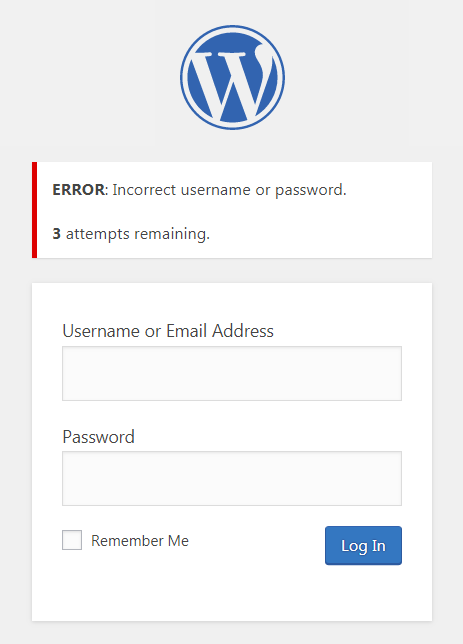
A common mistake is writing a Fail2Ban filter that watches the Nginx access log for repeated POST /wp-login.php lines returning HTTP 200 — WordPress returns a 200 status on both a failed and a successful login (the failure page is still a 200-rendered HTML form), so that pattern bans nothing reliably and risks banning legitimate users who reload the page. The accurate approach is to make WordPress itself log authentication failures to a dedicated file that Fail2Ban can parse unambiguously.
Drop this into a small must-use plugin at wp-content/mu-plugins/wp-login-log.php — it hooks the wp_login_failed action and writes one line per failed attempt with the source IP:
Create the log path and grant the PHP-FPM pool user write access, then build a matching Fail2Ban filter at /etc/fail2ban/filter.d/wordpress-auth.conf:
Then wire the jail in jail.local:
Reload with sudo systemctl reload fail2ban and confirm it picked up the new jail with sudo fail2ban-client status wordpress-auth. If you would rather not maintain a custom logging hook, an alternative is banning known bot user-agents at Nginx directly with a map block matching strings like empty user-agents, python-requests, or masscan, then returning 403 before the request reaches wp-login.php at all — useful against dumb scanners, though it does nothing against attackers who spoof a normal browser user-agent string.
Every CloudStick-connected server ships with Fail2Ban and CSF firewall preconfigured at agent install time, so this baseline is already in place before you write a single custom jail — the wordpress-auth jail above simply extends that existing protection to cover application-level login failures.
Limit Login Attempts at the Application Level
Server-level rate limiting stops the volume; application-level lockouts stop the specific account from being guessed even within the allowed request rate. A lightweight login-limiting plugin — such as Limit Login Attempts Reloaded — tracks failed attempts per username and per IP inside WordPress, locking an account out after a configurable threshold (commonly 4-6 failures) for a set cooldown, and can email the site admin when a lockout occurs.
This layer matters because Nginx rate limiting is IP-based: an attacker rotating through a botnet of thousands of residential IPs, each sending only one or two requests per minute, slides under any reasonable limit_req_zone threshold. An application-level lock keyed on the targeted username (usually admin or the site owner's email-derived login) closes that gap regardless of how many source IPs are involved.
Pair this with enforcing strong, unique passwords via a policy plugin and, where the audience allows it, two-factor authentication on the wp-admin login form. Two-factor turns a successful credential guess into a dead end rather than a compromised site, and it costs nothing in server resources since it only runs on the rare request that actually gets a correct password.
Disable XML-RPC If You Don't Need It
Most sites don't use XML-RPC at all — it exists for the legacy WordPress mobile app and some Jetpack/remote-publishing integrations. If none of those apply, blocking the endpoint entirely at Nginx (returning 403 for any request to /xmlrpc.php) removes the multicall amplification path outright rather than just rate-limiting it. Because a small number of plugins do depend on it (some caching and SEO tools ping it), test after disabling. This deserves its own walkthrough — see the CloudStick guide on hiding and hardening the WordPress login surface for the full set of steps.
The Layered Defense Checklist
No single control stops every attack pattern — brute force, credential stuffing, and reconnaissance bots each behave differently, so the defense has to stack:
1. limit_req_zone on wp-login.php and xmlrpc.php to cap requests per IP before PHP-FPM ever spins up.
2. A Fail2Ban jail watching a dedicated WordPress auth-failure log, banning repeat offenders at the firewall for an hour or more.
3. An application-level login limiter keyed on username, to catch distributed attempts that spread across many IPs.
4. XML-RPC disabled unless a specific integration requires it, removing the multicall amplification vector.
5. CSF firewall and Fail2Ban running at the OS level as the baseline, catching everything that slips past the application layer.
On a CloudStick-managed server, steps 4 and 5 are already handled — CSF and Fail2Ban are configured automatically when the agent is installed, and WordPress deployments go out through CloudStick's one-click installer with sane defaults. That leaves the Nginx rate-limiting rules and the WordPress-specific jail above as the two pieces worth adding manually to a site that's taking real traffic, and both take under fifteen minutes to put in place.