How to Import and Export Large MySQL Databases


Why Large Database Exports Fail
The default mysqldump command works fine for databases under a few hundred megabytes. Once you cross into multi-gigabyte territory, several things can go wrong: the process runs out of memory because it tries to buffer an entire table, the SSH session times out mid-export, the receiving server hits its max_allowed_packet limit and rejects large INSERT statements, or the import stalls because MySQL is writing to the binary log for every single row.
Understanding why these failures happen is the fastest way to prevent them. Memory issues come from mysqldump loading entire result sets into RAM before writing them out. Timeout issues come from the SSH or MySQL wait_timeout dropping idle connections. Import slowness comes from InnoDB flushing the redo log after every committed transaction, from foreign key checks running on every inserted row, and from the binary log recording each statement for replication.
Each of these has a specific fix. The sections below cover them in order: how to export safely, how to use a parallel dumper when mysqldump is too slow, and how to tune MySQL so imports complete quickly rather than crawling through gigabytes one statement at a time.
Exporting a Large Database with mysqldump
The right flags turn mysqldump from a memory hog into a streaming, low-impact export tool. The two most important are --single-transaction (takes a consistent InnoDB snapshot without locking tables) and --quick (writes rows to the output file as they arrive from the server instead of buffering them all in memory first).
Run this on the source server as a user with SELECT, LOCK TABLES, SHOW VIEW, TRIGGER, and EVENT privileges. For databases larger than 5 GB, run the command inside a screen or tmux session so a dropped SSH connection does not abort the export.
A few flags here deserve explanation. --max-allowed-packet=512M raises the packet size cap so large BLOB or TEXT fields are not silently truncated. --set-gtid-purged=OFF omits the GTID SET statement from the dump header, which causes import errors on servers where GTIDs are not configured identically. --events --routines --triggers ensures stored procedures, functions, and event scheduler jobs are included — they are omitted from the default dump.
Piping directly into gzip is almost always worth it. A typical MySQL dump compresses to 10–20% of its original size, which cuts both storage cost and transfer time. For an 8 GB database, that often means a 900 MB compressed file instead.
Faster Exports with mydumper (Parallel Threads)
When mysqldump is too slow for your timeline, mydumper is the right tool. It is a multi-threaded dumper that exports multiple tables in parallel and writes each table to a separate file. On a server with four or more CPU cores, a database that takes 45 minutes to dump with mysqldump often completes in under 10 minutes with mydumper using four threads.
The --chunk-filesize=256 flag splits large tables into 256 MB chunks. This is critical for databases that have a handful of enormous tables — without chunking, one thread blocks while it finishes a 10 GB table while the other threads sit idle. Chunking keeps all threads busy throughout the dump.
The output directory will contain one metadata file, one schema SQL file per table, and one or more data files per table. This structure also makes partial restores easy: you can restore a single table by pointing myloader at the directory and using the --tables-list flag to name just the table you need, rather than replaying the entire dump.
Importing a Large SQL Dump
A plain mysql -u root -p my_database < dump.sql works for small dumps. For large ones, it will be slow and may fail mid-import if MySQL drops the connection. The safer approach is to pipe a compressed dump through gunzip, combine it with session-level variable overrides that disable the safety rails that slow imports down, and run it inside a persistent terminal session.
Each of the three session variables here has a specific performance impact. foreign_key_checks=0 disables referential integrity checks during the import, which allows tables to be inserted in dump order rather than in dependency order. unique_checks=0 skips duplicate-key validation as rows are inserted into indexes. sql_log_bin=0 stops MySQL from writing every inserted row to the binary log, which is critical on servers configured for replication or GTID mode — the binary log write overhead can double import time.
Only disable foreign_key_checks and unique_checks when importing from a trusted, verified dump. If the source data contains integrity violations, they will be silently loaded and corrupt your new database. These settings revert automatically at the end of the session.
Tuning MySQL Server Variables for Faster Imports
Session-level variables only go so far. For the biggest speed gains on a dedicated import server, you need to temporarily adjust global MySQL configuration. The most impactful settings are innodb_flush_log_at_trx_commit and innodb_buffer_pool_size.
By default, innodb_flush_log_at_trx_commit=1 flushes the InnoDB redo log to disk after every single committed transaction. This is the safest setting for production use but adds a disk I/O operation for every commit during an import. Setting it to 2 writes to the OS buffer once per second instead, which can cut import time by 50–70% on spinning disks and 20–40% even on SSDs.
The buffer pool size matters because InnoDB uses it as a read/write cache. During an import, data being inserted needs to flow through the buffer pool before it is written to the tablespace files. A larger buffer pool means more data is cached in RAM, fewer intermediate disk flushes, and a significantly faster overall import. Set it to 70–80% of available RAM on a server that is otherwise idle during the import.
The net_read_timeout and net_write_timeout values prevent MySQL from dropping the connection when the import pipeline stalls briefly due to disk pressure. The default value of 30 seconds is easily exceeded when MySQL is writing a large batch of rows and the disk is saturated. Setting these to 3600 seconds (one hour) gives the import more than enough breathing room.
To monitor import progress in real time without a GUI, open a second terminal and run: watch -n 5 "mysql -u root -p -e 'SHOW PROCESSLIST;'" — this refreshes every 5 seconds and shows the current state of the import thread, including how many rows have been processed and whether it is waiting on a lock.
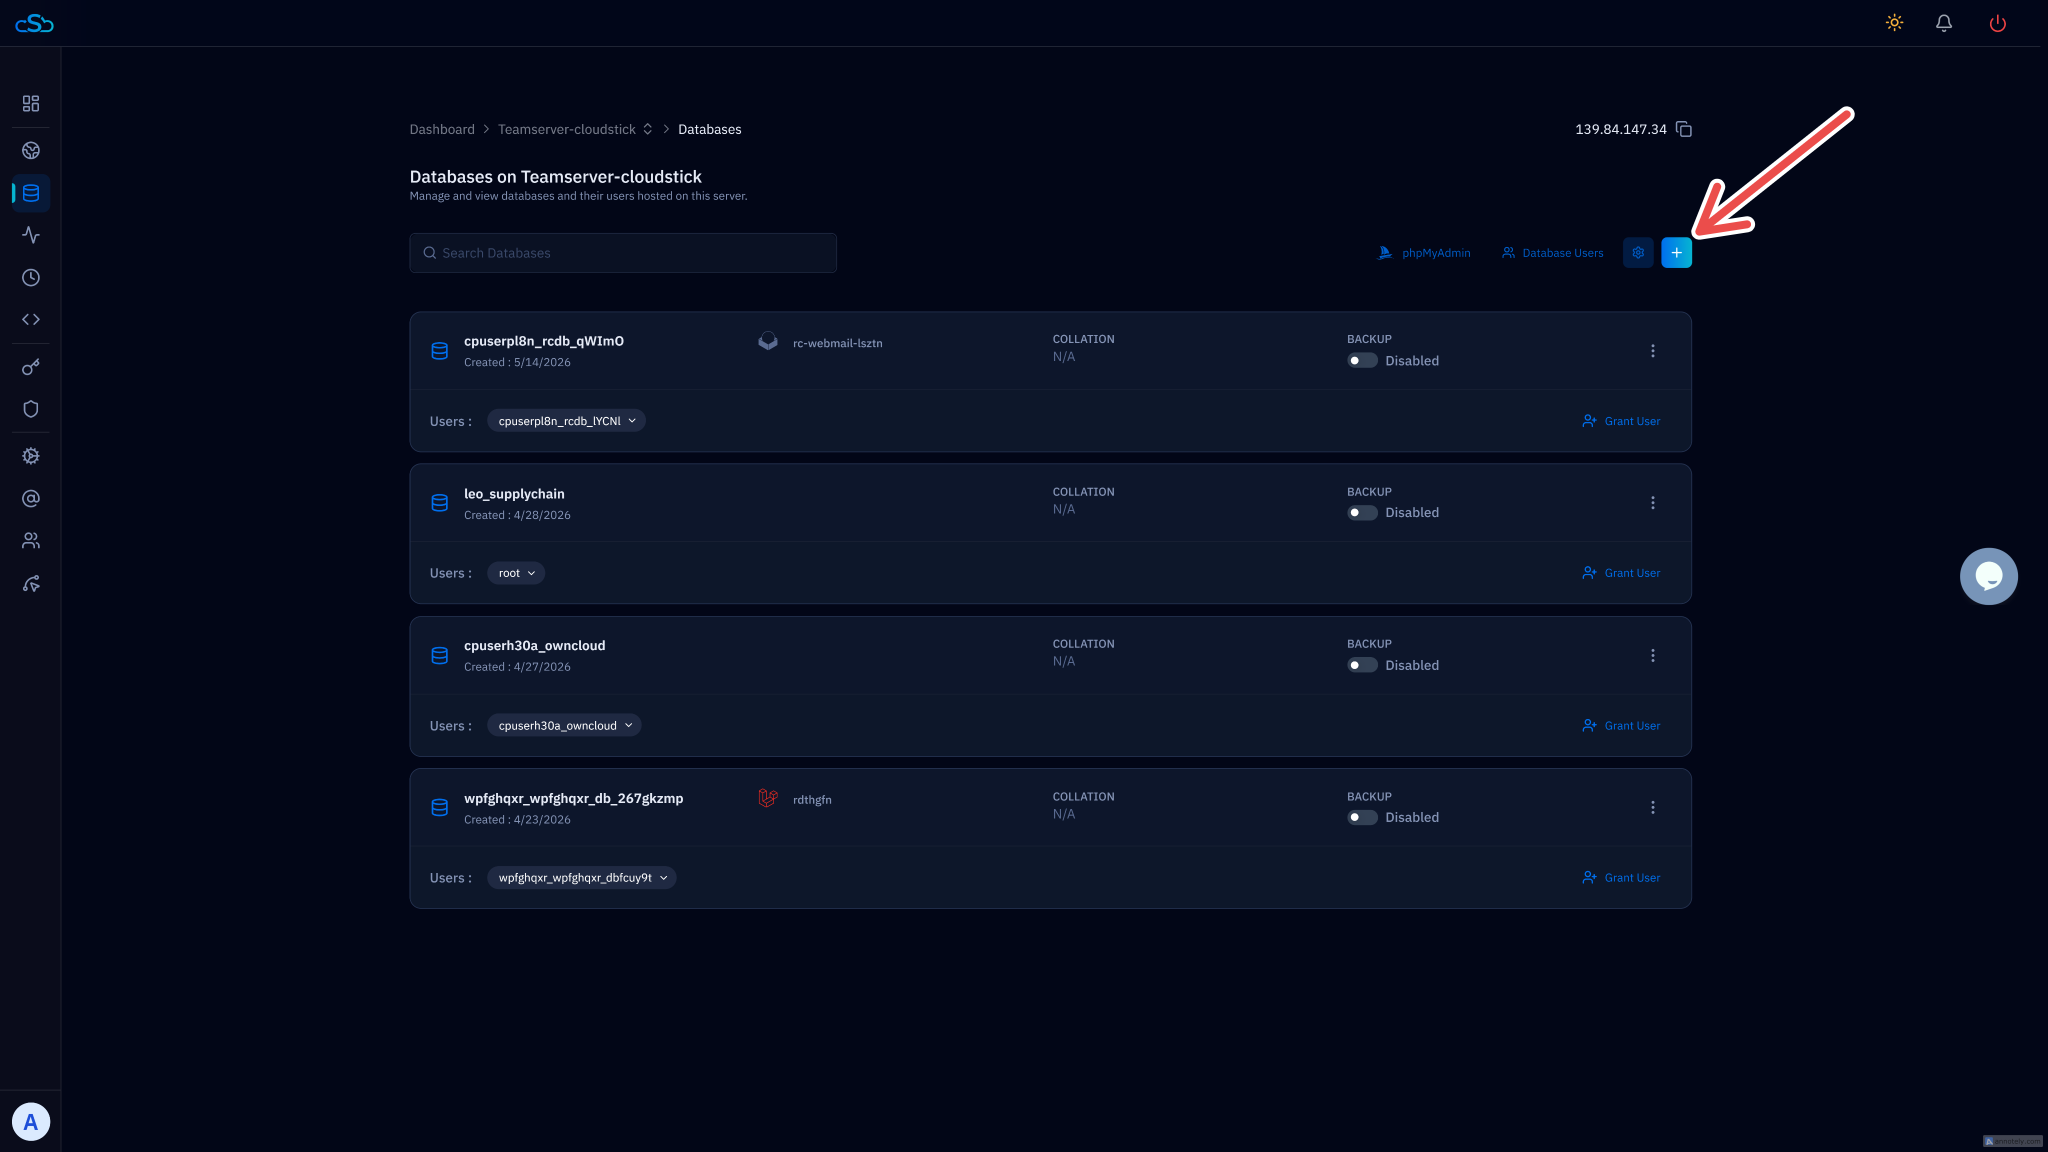
Managing Databases in CloudStick
For ongoing backup and restore workflows, CloudStick's built-in Database Manager removes the need to run any of these commands manually. From the Databases section in your server panel, you can create and drop databases, manage users and permissions, and enable per-database automated backups with configurable schedules and retention periods — all without touching the command line.
The command-line techniques in this article remain the right tool for one-time migrations between servers, for very large databases that exceed typical backup storage quotas, and for situations where you need fine-grained control over every mysqldump flag. But for day-to-day database safety on a live server, the CloudStick Database Backups section is the more reliable path: it runs on schedule, stores dumps offsite, and lets you download any historical backup by date directly from the dashboard.
If you are migrating to a new server and need to move the database as part of that process, CloudStick's Server Transfer feature handles the full migration flow. For database-specific backup configuration, see the CloudStick knowledge base article on How to Enable Database Backup.