How to Repair a Corrupted MySQL Database


Signs of Database Corruption
Database corruption announces itself in a handful of distinct ways. The most common symptom is a query that previously ran without issue suddenly returning an error like ERROR 1005 (HY000): Can't create table, Table './db/tablename' is marked as crashed, or Got error 134 from storage engine. Applications may start throwing generic database connection errors, WordPress might display a white screen or "Error establishing a database connection", and MySQL itself may refuse to start after a server crash.
Corruption happens for several reasons. An abrupt power failure or kernel panic while MySQL is writing to disk leaves data files in a partially committed state. A full disk prevents MySQL from completing a write, corrupting the page it was working on. Hardware failures — failing drives, faulty RAM, or a bad RAID controller — introduce silent write errors. In rarer cases, a MySQL or MariaDB bug in a specific version can corrupt index files or the InnoDB data dictionary.
The first thing to do when you suspect corruption is check the MySQL error log. On Ubuntu 24.04 with MariaDB the log is at /var/log/mysql/error.log. Look for lines containing InnoDB: Database page corruption, Corrupted page, or table is marked as crashed. The exact error message tells you which storage engine is affected — InnoDB and MyISAM require different repair approaches.
It is also worth distinguishing between index corruption and data file corruption. Index corruption is common, largely recoverable, and repaired by rebuilding the index. Data file corruption means actual row data is damaged — recovery depends on how many pages are affected and whether InnoDB's crash recovery can reconstruct them. In the worst cases, you are restoring from a backup rather than repairing in place.
Before You Repair: Back Up First
Repair operations modify data files. If a repair goes wrong on an already-damaged database, you can make an unrecoverable situation worse. Always take a file-level copy of the affected database directory before running any repair command.
Stop your application before copying database files. Copying an active InnoDB database at the file system level while MySQL is running will produce an inconsistent snapshot. Either stop MySQL first and copy the files, or use mysqldump with the --single-transaction flag to take a consistent logical backup while MySQL is still running.
If MySQL cannot start at all — meaning the data files are so damaged that MariaDB crashes on startup — you will not be able to use mysqldump. In that case, copy /var/lib/mysql to a safe location before attempting anything else. You want a rollback point before you start the InnoDB recovery process described in the next sections.
Repair with mysqlcheck
mysqlcheck is the standard first-line repair tool for MySQL and MariaDB. It connects to a running MySQL instance and issues CHECK TABLE, ANALYZE TABLE, OPTIMIZE TABLE, and REPAIR TABLE SQL commands on your behalf. Because it runs over a live connection, MySQL must be running for this to work.
Start by checking all databases to identify which tables are corrupted, then run a targeted repair. Running a check first is safer than jumping straight to repair — it gives you a list of problem tables without modifying anything.
The output of mysqlcheck lists each table followed by its status. A healthy table shows OK. A corrupted one shows error or Table is marked as crashed and should be repaired. After running the repair, tables that were successfully fixed show repaired in the output.
One important caveat: REPAIR TABLE is only supported for MyISAM, ARCHIVE, and CSV storage engines. Running it against an InnoDB table returns a note saying the engine does not support repair. For InnoDB, you need a different strategy — covered in the next section. Most modern MySQL and MariaDB tables use InnoDB, so if your application was created in the last several years, mysqlcheck will likely confirm corruption but not fix it directly.
InnoDB Recovery Mode
InnoDB handles corruption recovery through a special startup mode controlled by the innodb_force_recovery variable. This variable accepts values from 1 to 6, each progressively more aggressive in how much of the damaged data it skips to get MySQL to start. Use the lowest value that gets MySQL running — higher values may cause data loss by skipping pages MySQL would otherwise attempt to read.
The recovery levels are:
1 (SRV_FORCE_IGNORE_CORRUPT): Lets MySQL start even if corrupted pages are detected. MySQL will skip corrupt rows when reading them. Use this first.
2 (SRV_FORCE_NO_BACKGROUND): Prevents the background master thread from running. Use this if MySQL crashes immediately after starting at level 1.
3 (SRV_FORCE_NO_TRX_UNDO): Does not run transaction rollbacks after crash recovery. Useful when the undo log is damaged.
4–6: Increasingly destructive. Level 6 skips all consistency checks and will start MySQL in almost any state, but may silently drop corrupt pages. Only use level 6 as a last resort when all you want is to extract whatever rows are still readable.
The goal when using innodb_force_recovery is to get MySQL running just long enough to dump your data. Once you have the dump, create a fresh database, import the dump into it, and let InnoDB rebuild its data structures from scratch. This is far more reliable than trying to repair the existing InnoDB tablespace files in place.
If a specific table is so damaged that mysqldump hangs on it, dump the other tables first using --ignore-table=dbname.tablename, then attempt to extract the problem table separately with innodb_force_recovery = 6. Accept that some rows in that table may be unrecoverable.
Never leave innodb_force_recovery set to any non-zero value in production. Running MariaDB with this flag active prevents normal write operations — any INSERT or UPDATE will fail with an error. It is a diagnostic mode only. Remove the flag from the config file and restart MySQL as soon as you have extracted your data.
Repairing MyISAM Tables
MyISAM tables are still common in legacy applications, some system tables, and full-text search workloads. Unlike InnoDB, MyISAM does not have crash recovery or transaction support, which makes it more vulnerable to corruption — but also easier to repair because the repair tools work directly on the table files.
Each MyISAM table on disk consists of three files: a .frm file (table definition), a .MYD file (data), and a .MYI file (indexes). Most MyISAM corruption affects only the index file. Rebuilding the index is fast and safe because the actual row data in .MYD is untouched.
The myisamchk command-line tool repairs MyISAM tables directly at the file level. Because it works on the files rather than through a live MySQL connection, MySQL must be stopped before running it — otherwise myisamchk and MySQL will conflict over the same files.
The --recover flag handles most index corruption. If it fails, --safe-recover uses a slower row-by-row method that can recover data even when the index is completely unreadable. Add --force to overwrite the index file even if myisamchk thinks it is newer than expected — this is commonly needed after an unclean shutdown.
If your application is still running MyISAM for user data tables, this is a good time to plan a migration to InnoDB. MyISAM's lack of crash recovery means the same corruption scenario will repeat after any future server crash. Converting to InnoDB is a one-time operation: ALTER TABLE tablename ENGINE=InnoDB; handles the conversion while MySQL is running.
After the Repair: Verify and Prevent Recurrence
Once the repair is complete, run a full check across all databases to confirm there are no remaining corrupted tables before bringing your application back online. A clean bill of health from mysqlcheck does not guarantee all data is intact — it means the structural integrity of the tables is sound — but it is the right baseline to establish before resuming writes.
To prevent future corruption, address the root cause. If the server crashed due to a power failure, ensure your VPS provider has UPS-backed infrastructure — or enable InnoDB's doublewrite buffer if it was disabled for performance reasons (innodb_doublewrite = ON is the default and should not be changed in production). If the disk was full, set up disk usage alerts at 80% capacity. If a hardware failure was involved, migrate to a fresh server before the drive fails completely.
Equally important: validate that your backup system is actually working. Many database corruption incidents expose the uncomfortable fact that backups were not running, were silently failing, or the backup files themselves are corrupt. A healthy recovery workflow should include both automated backups and periodic restore tests.
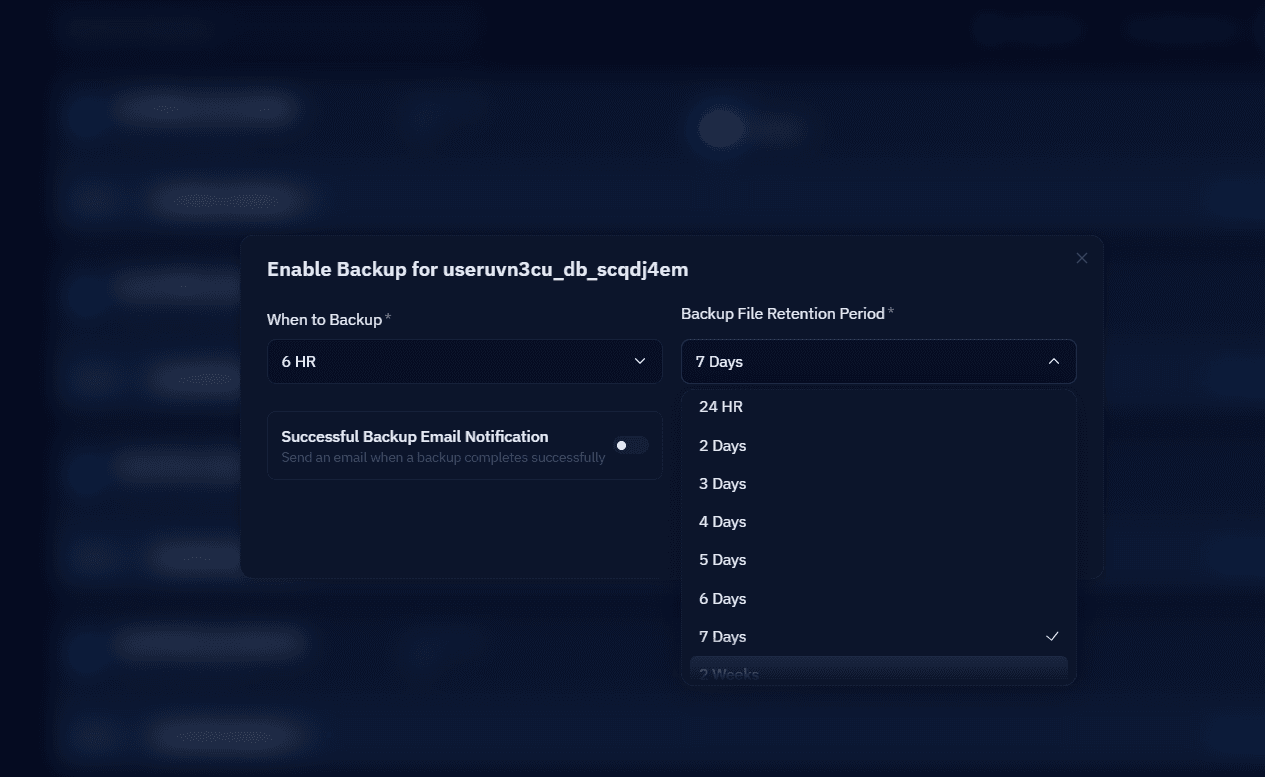
If your server is managed through CloudStick, you can enable automated database backups directly from the Backups section of your server panel. CloudStick lets you configure backup schedules, set retention periods, and download individual database backup files by date — so if corruption does strike again, you have a clean restore point ready without any manual scripting.
Database corruption is stressful, but it is rarely a total data loss event when you act methodically. The workflow is consistent: check the error log to identify the affected tables and engine, back up the data directory before touching anything, use mysqlcheck for surface-level repairs, escalate to innodb_force_recovery if MySQL cannot start, and dump and reimport as the most reliable path to a clean database state. Most corruption incidents — even severe ones — can be resolved without permanent data loss if the right steps are taken in order.