How to Integrate Hetzner with CloudStick
Overview
Integrating Hetzner with CloudStick links your Hetzner Cloud account to the CloudStick dashboard, enabling you to provision and manage Hetzner servers without leaving CloudStick. Hetzner is known for its high-performance, cost-effective European infrastructure — connecting it to CloudStick means you get the power of Hetzner hardware with the simplicity of CloudStick's server management tools.
This guide covers the full process: creating a Hetzner Cloud project, generating an API token with the right permissions, and registering that token in your CloudStick account via the Third Party Integrations section.
You must have an active Hetzner account before starting. If you do not have one, sign up at hetzner.com and verify your account before proceeding.
Step 1: Access Hetzner Cloud Console
Start by logging into your Hetzner account and switching to the Hetzner Cloud console, which is where projects and servers are managed.
1. Log into your Hetzner account and click on the App Switcher menu in the top-right corner of the dashboard.
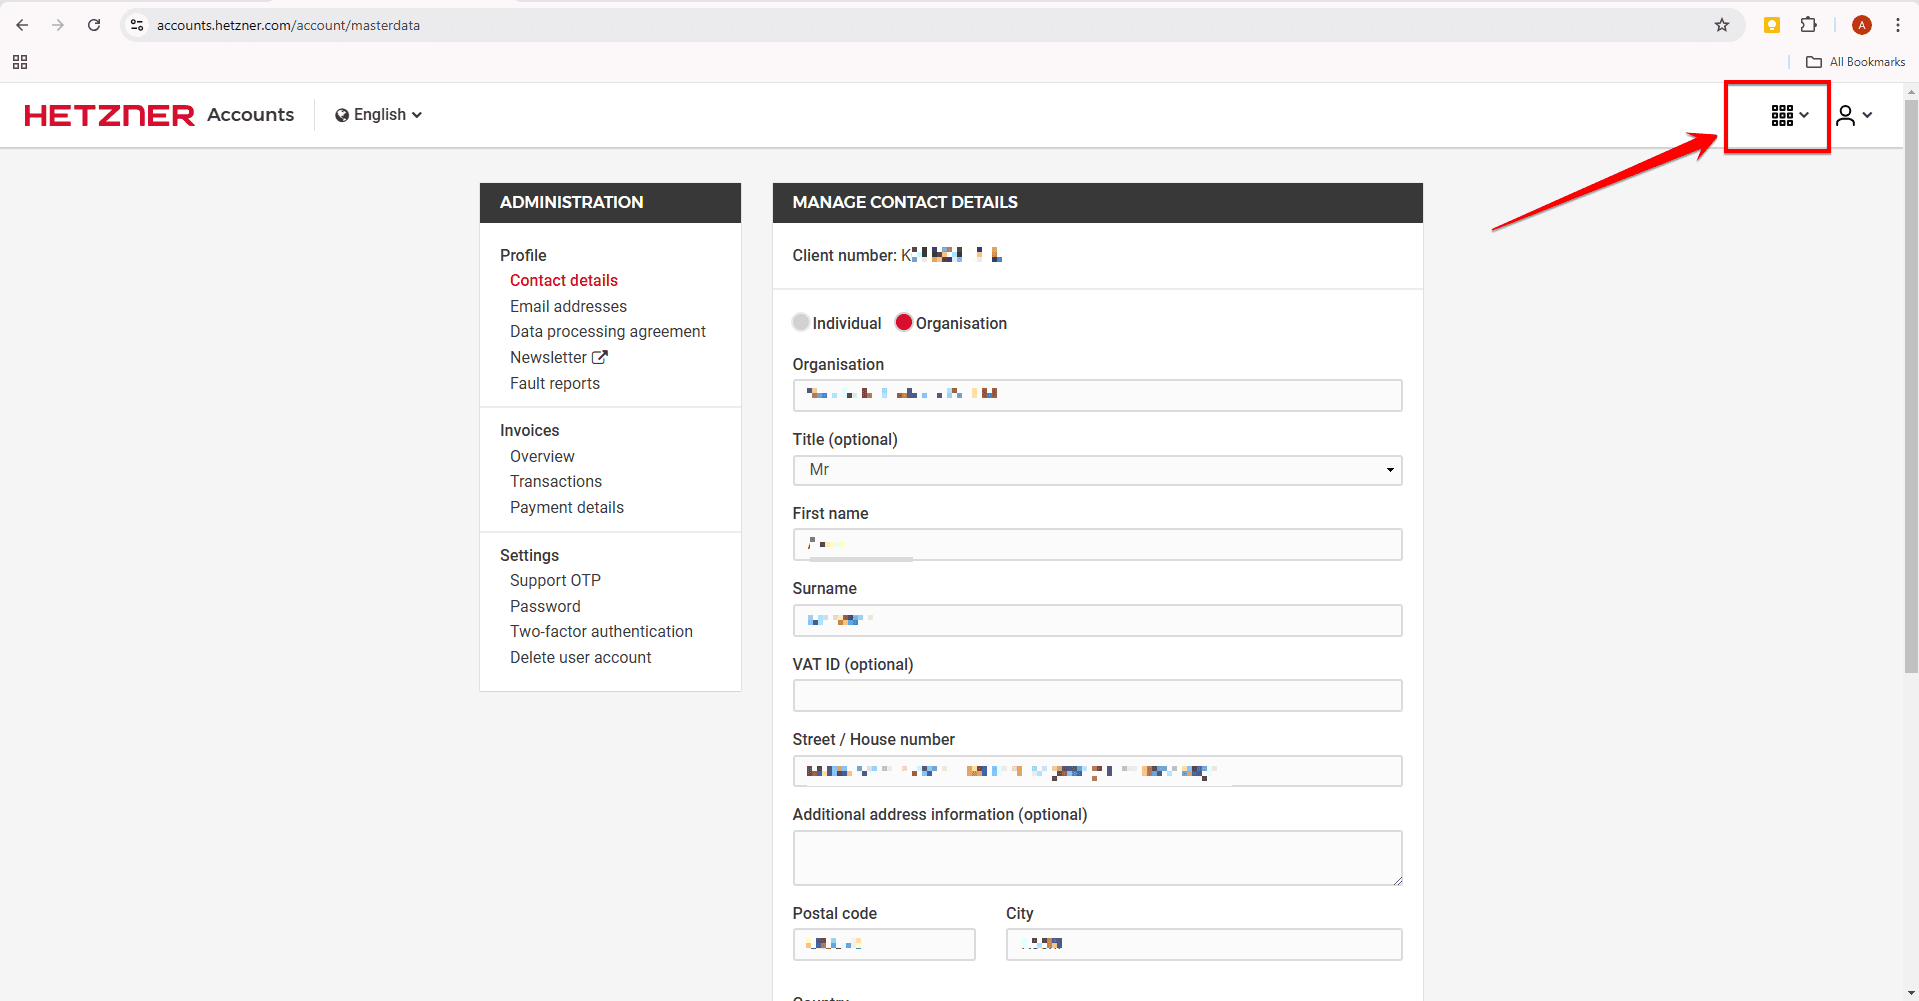
Fig. 01 — Hetzner dashboard showing the App Switcher menu in the top-right corner.
2. The dropdown will open — select Cloud from the options to be redirected to the Hetzner Cloud console.
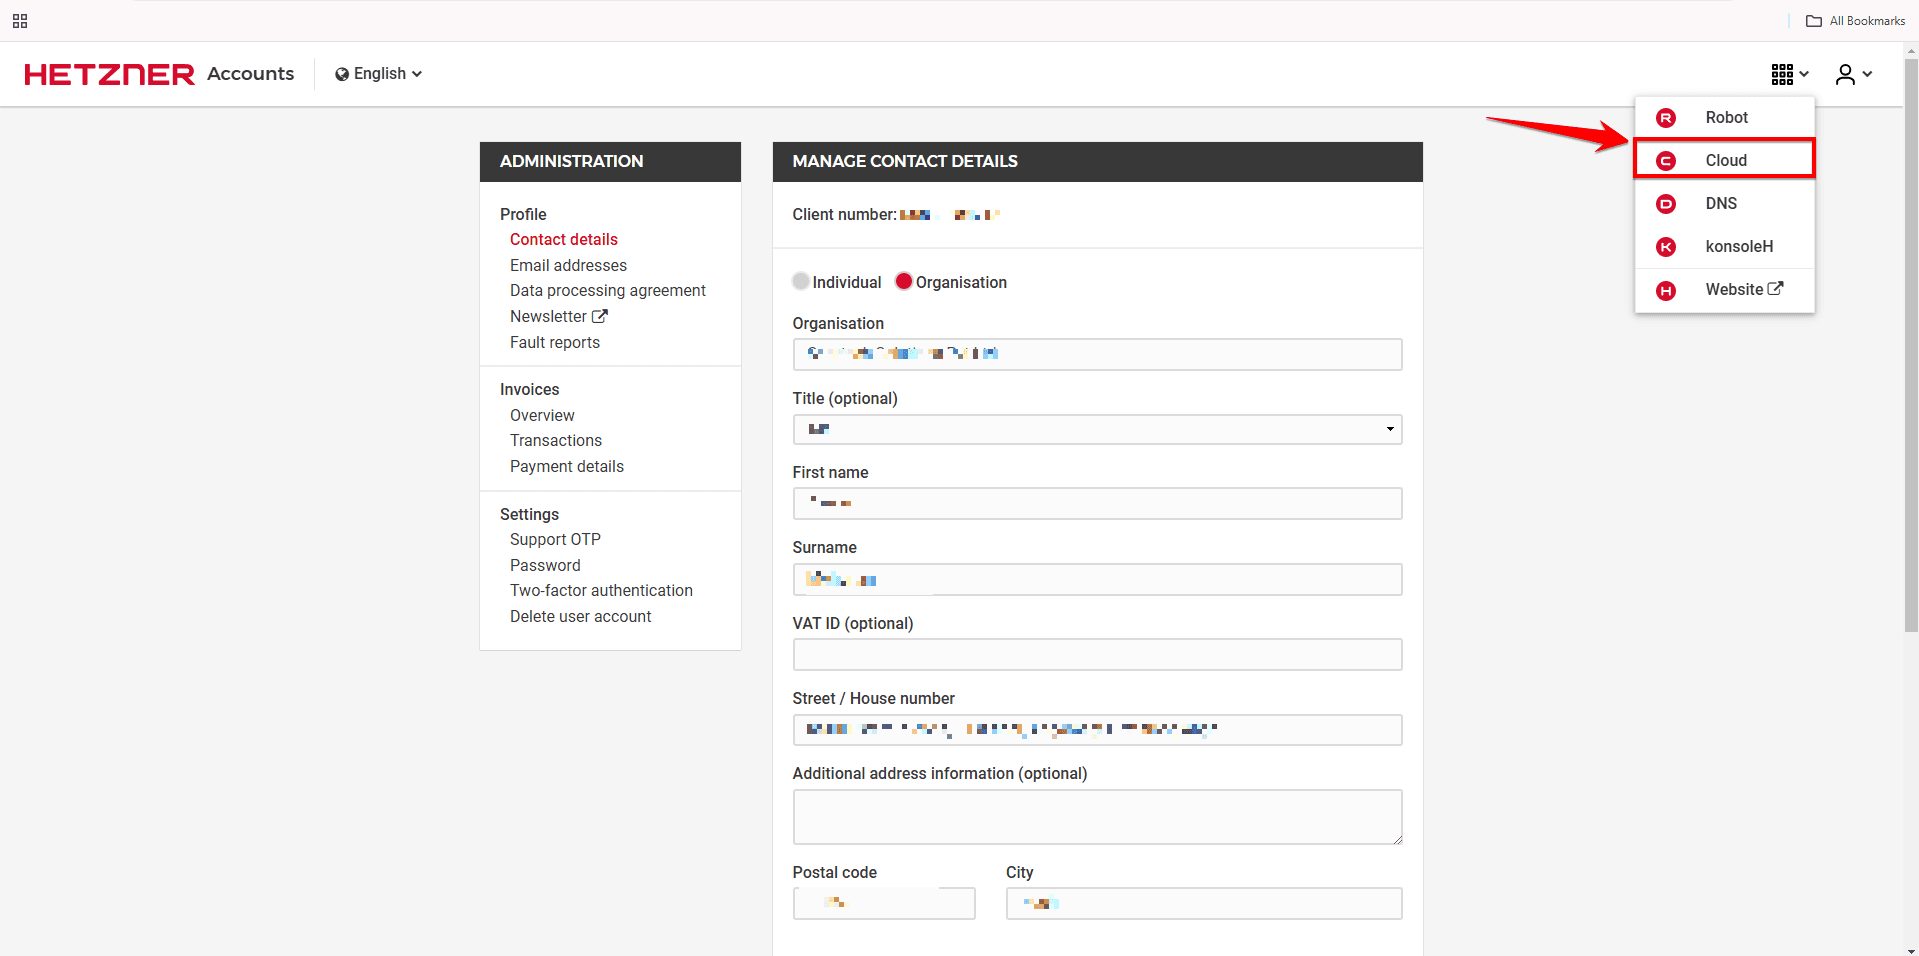
Fig. 02 — App Switcher dropdown opened with the Cloud option highlighted.
Step 2: Create a New Project
Hetzner Cloud organises servers and API tokens within projects. Create a dedicated project so the API token you generate is scoped to it.
1. Navigate to the New Project tab and click it.
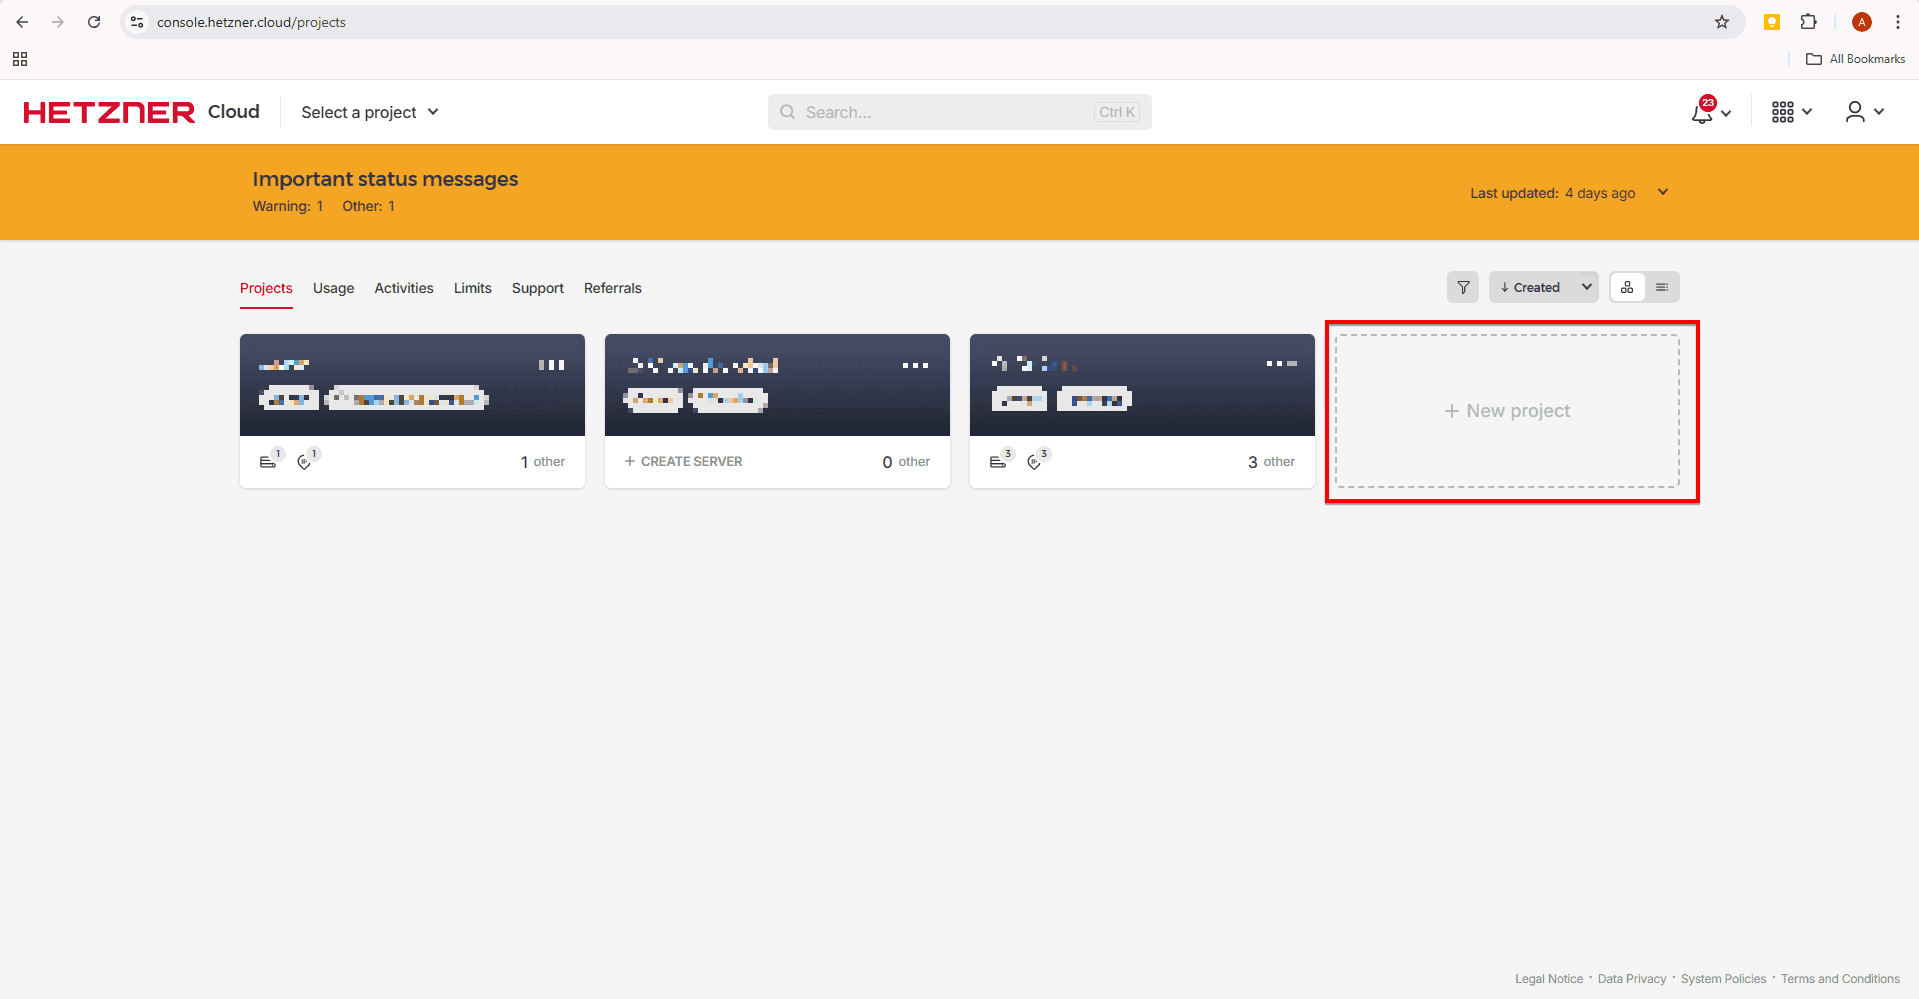
Fig. 03 — Hetzner Cloud console showing the New Project tab.
2. Give an appropriate name for the project and click the Add Project button.
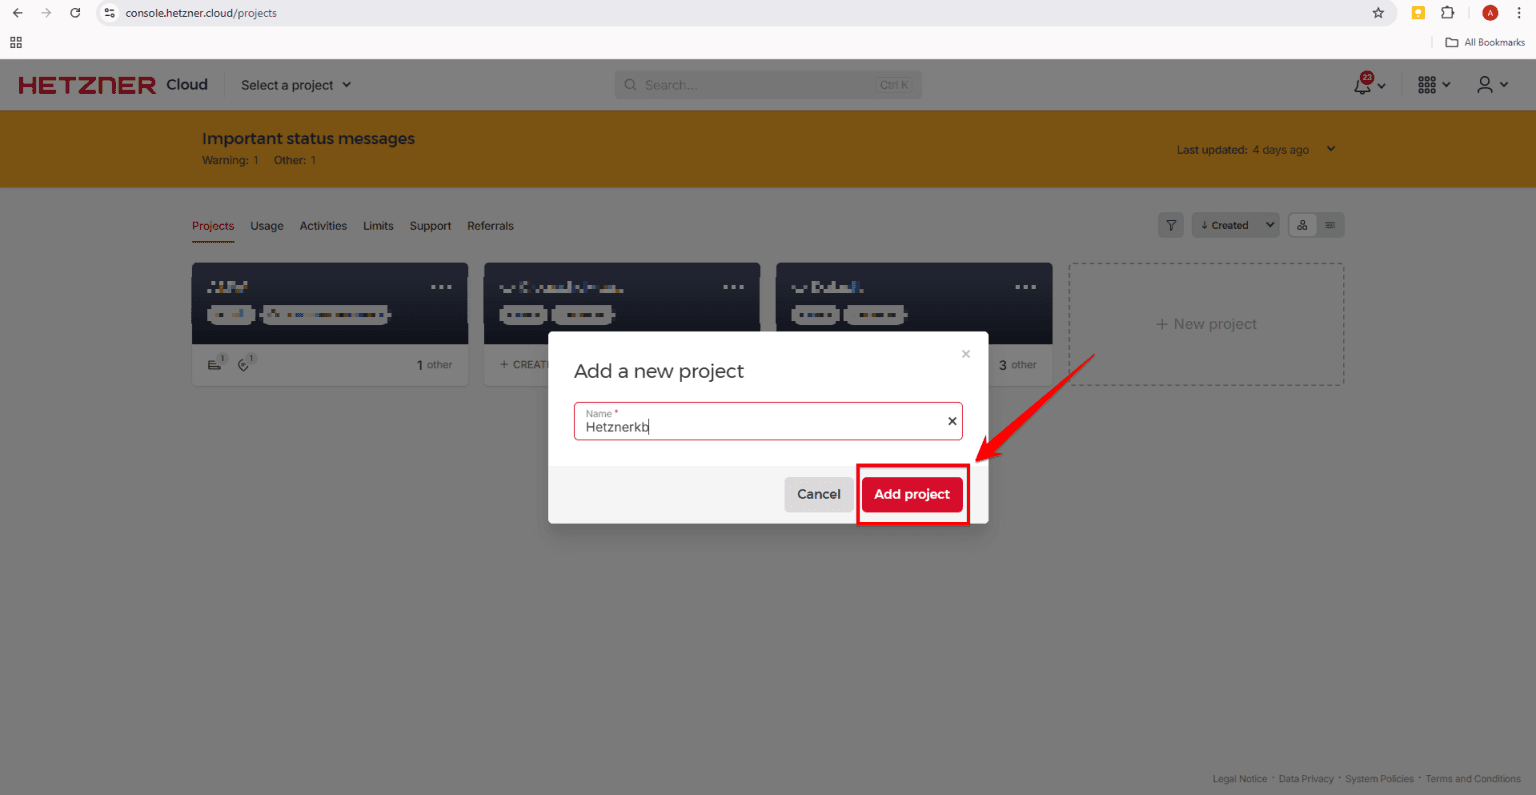
Fig. 04 — New project form with name entered and the Add Project button.
3. A popup will confirm 'New project has been created' and the project name will be visible under the Projects menu.
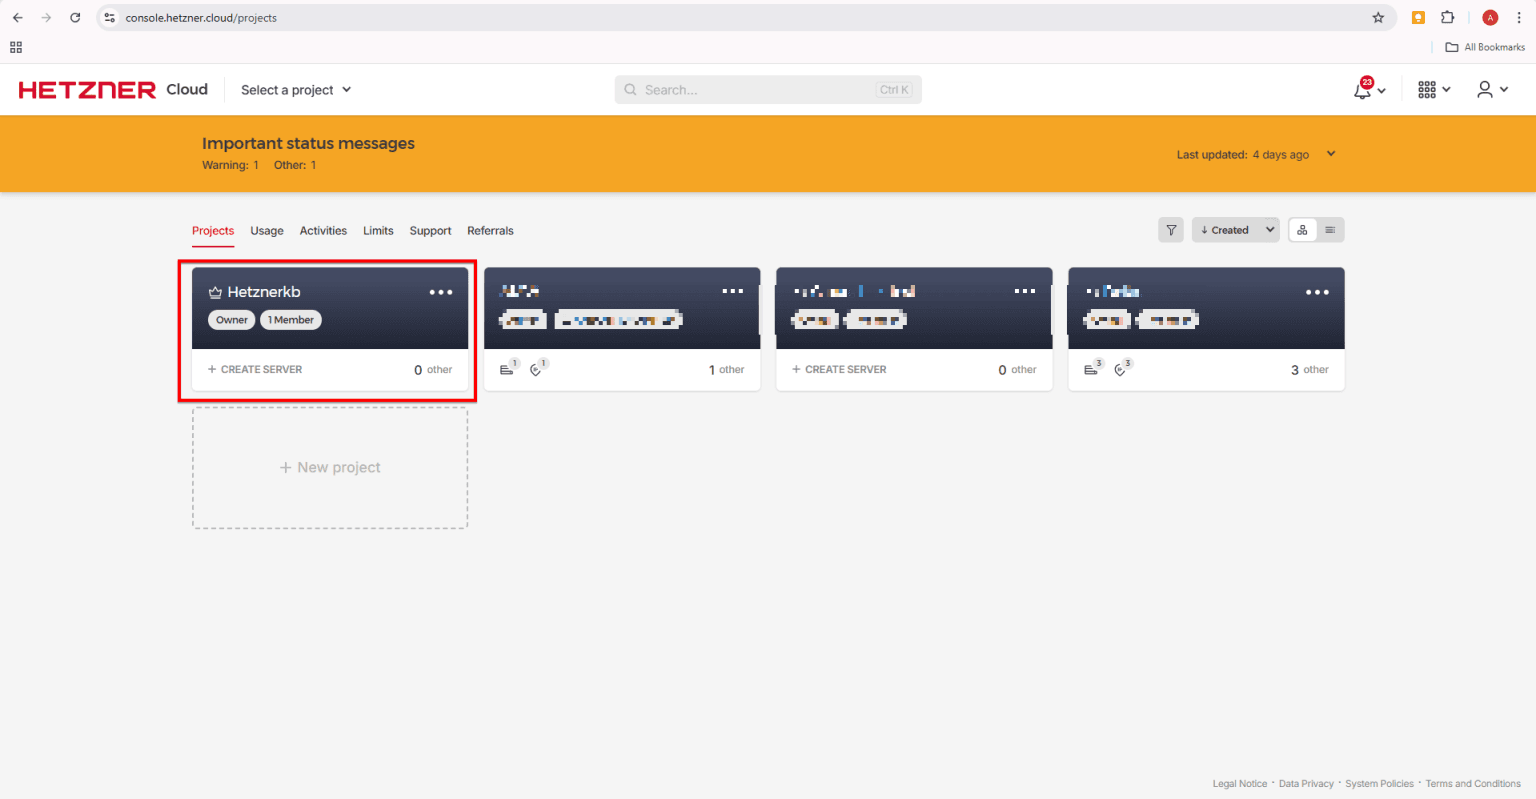
Fig. 05 — Success popup confirming project creation, with the project now listed under Projects.
Step 3: Navigate to Security & API Tokens
Inside your project, navigate to the Security section to access API token management.
1. Click on the project and then click the Security option from the servers menu in the bottom-left corner.
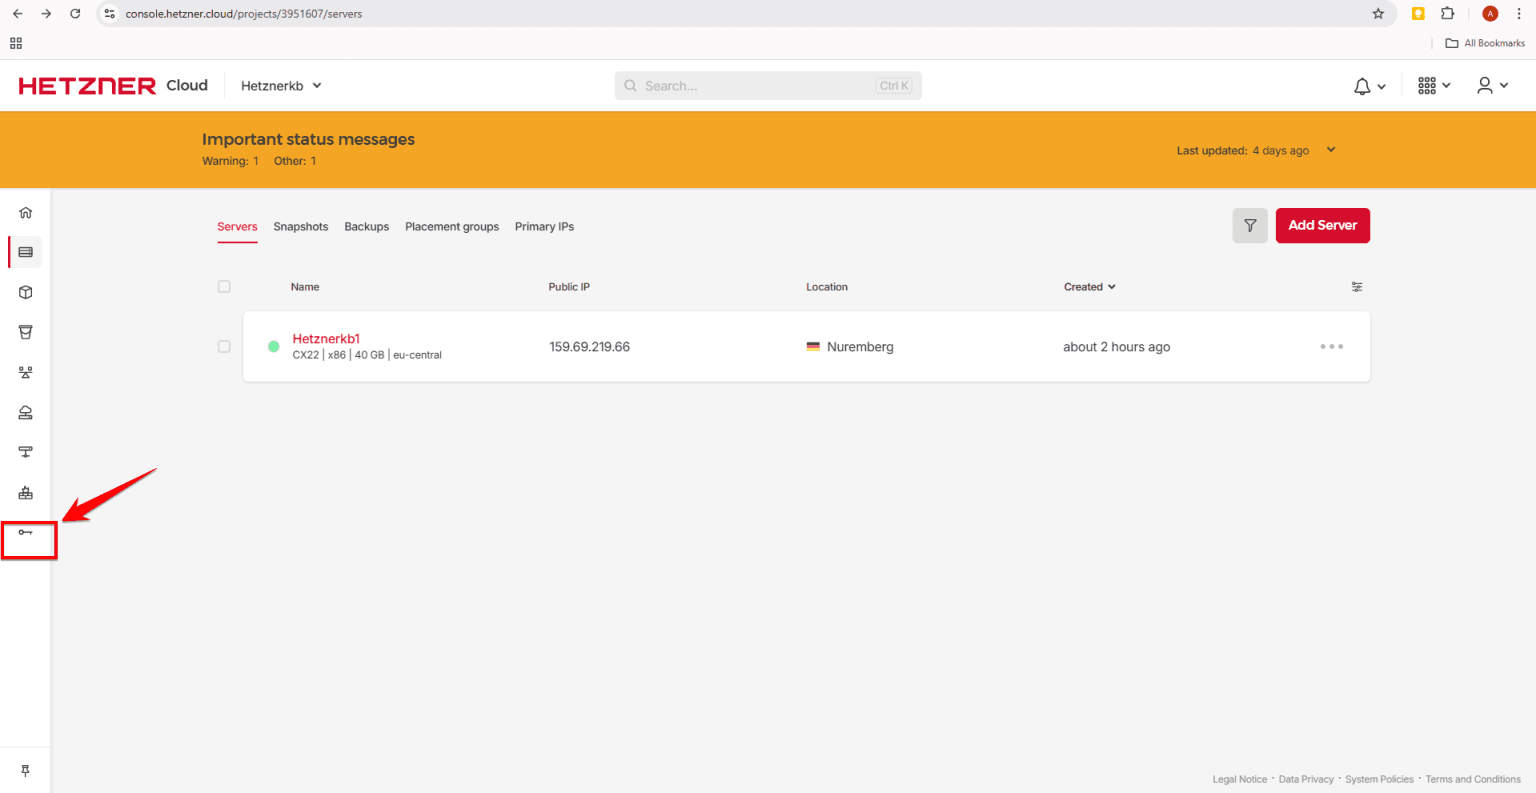
Fig. 06 — Project dashboard with the Security option highlighted in the bottom-left menu.
2. Click on the API Tokens tab and then click Generate API Token.
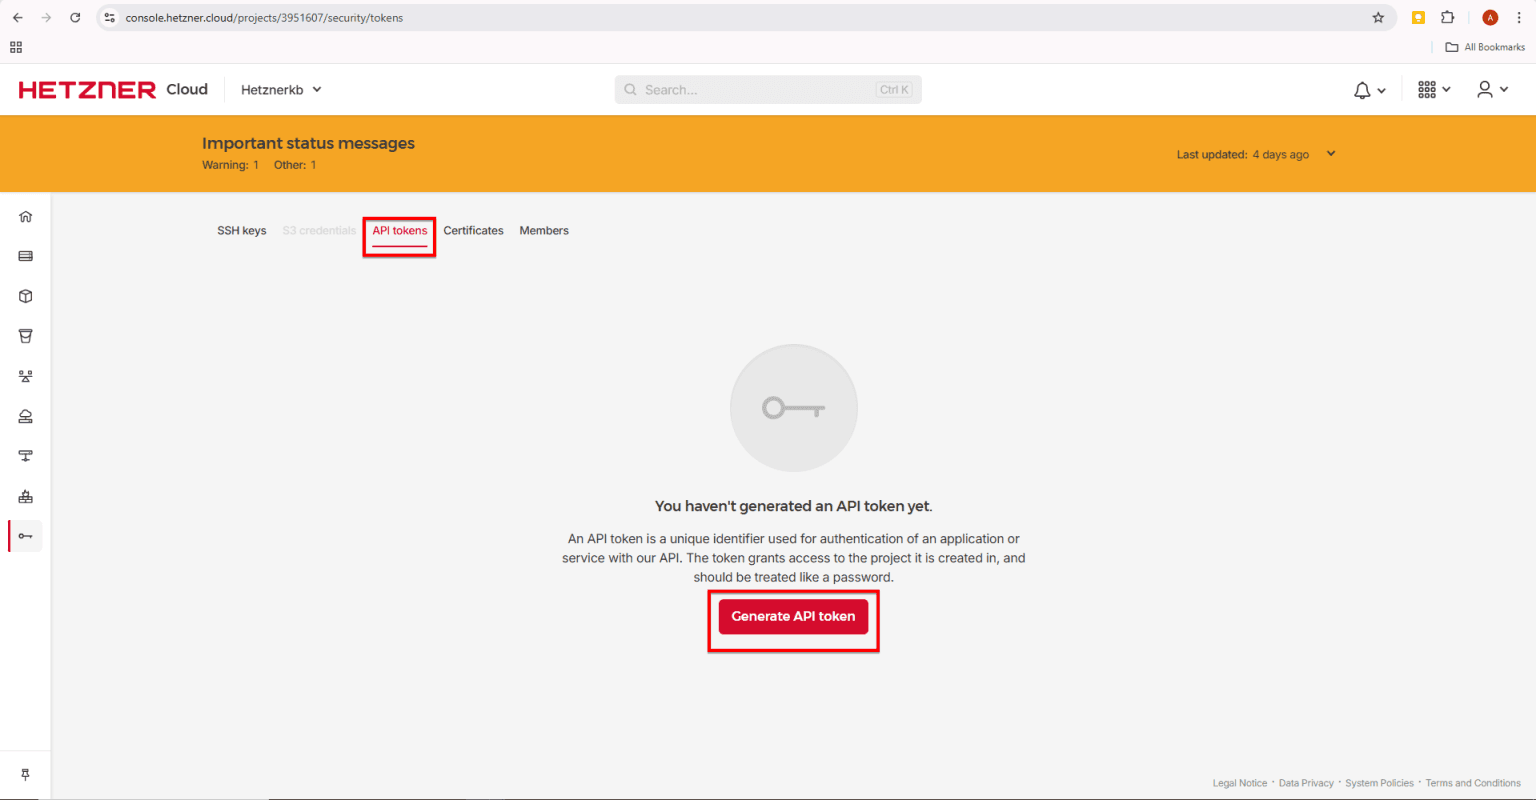
Fig. 07 — Security section showing the API Tokens tab and the Generate API Token button.
Step 4: Generate and Copy the API Token
Configure and generate the token, then copy it immediately — Hetzner shows it only once.
1. Give a suitable description, select the permission appropriate for your use, and click Generate API Token.
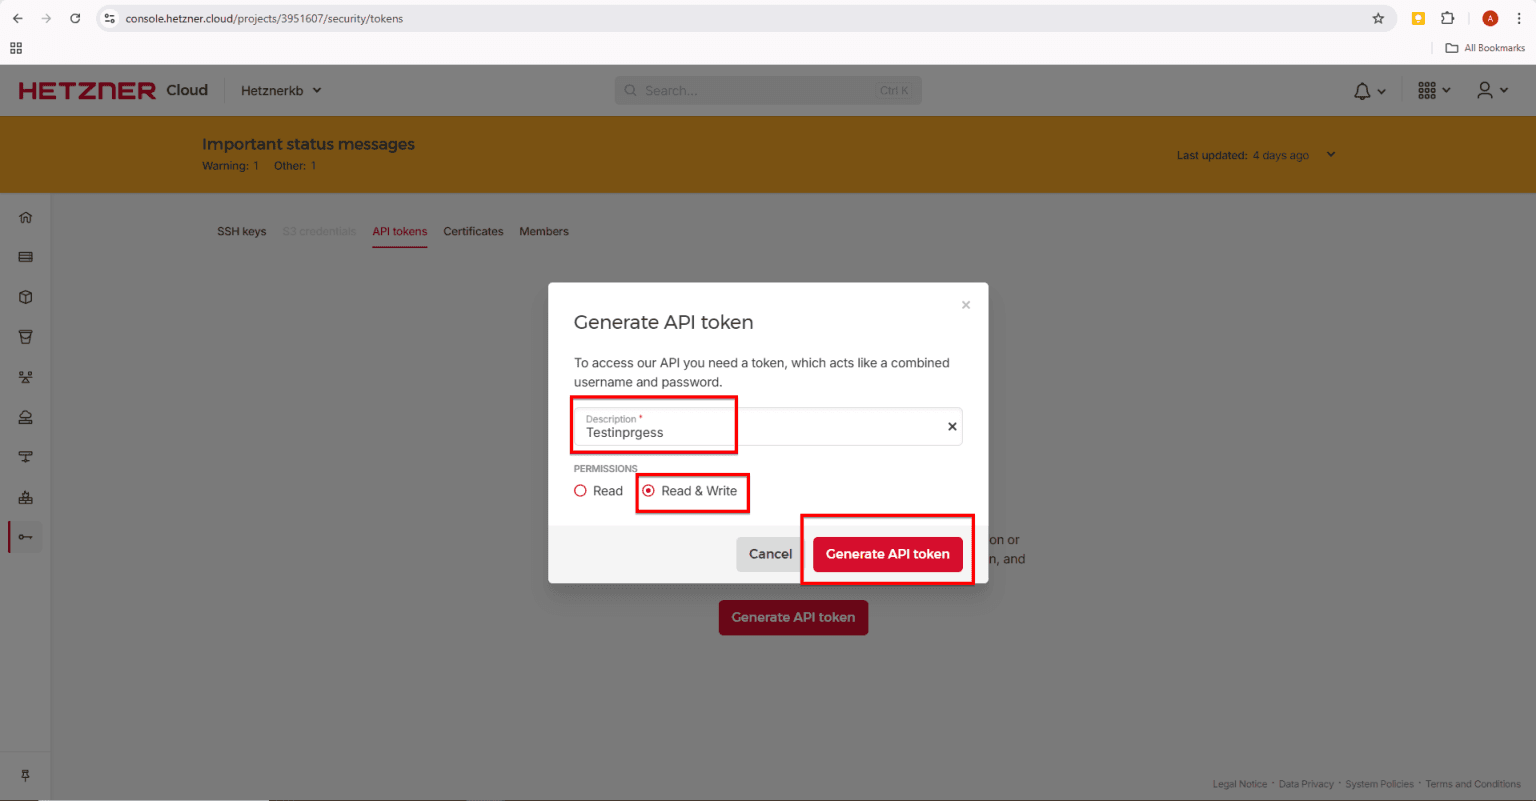
Fig. 08 — Token creation form showing the description field and permissions selector.
2. The API token will be created — click 'Click to show' and copy the API key to your clipboard.
This token is displayed only once. Copy it immediately and store it somewhere secure such as a password manager before closing this page.
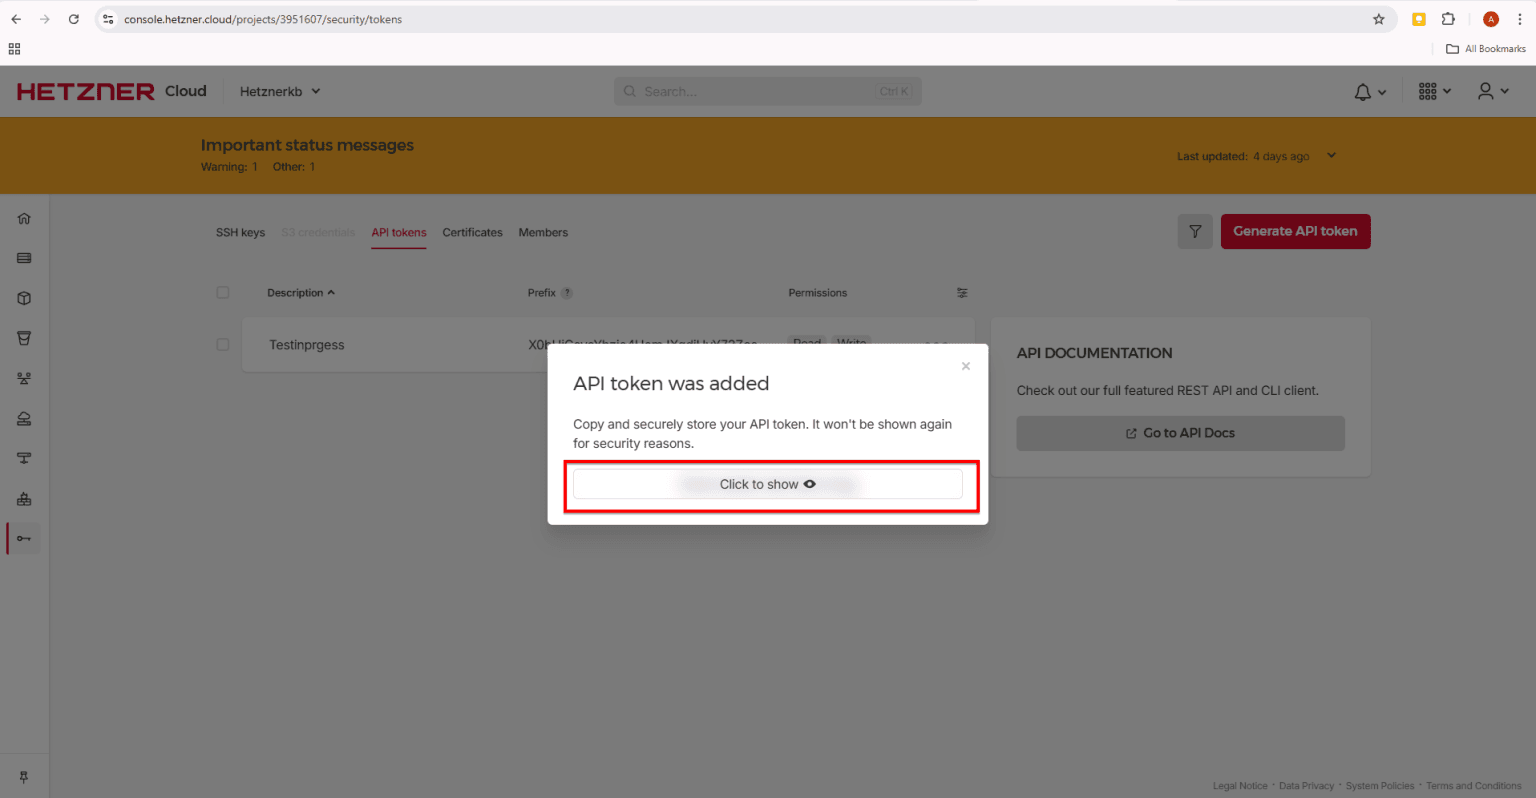
Fig. 09 — Generated API token with the 'Click to show' option to reveal and copy the key.
Step 5: Add Hetzner Integration in CloudStick
With the API token copied, switch to CloudStick and complete the integration from the 3rd Party Integrations section.
1. Log into your CloudStick account and click on '3rd party Integrations' in the Dashboard.
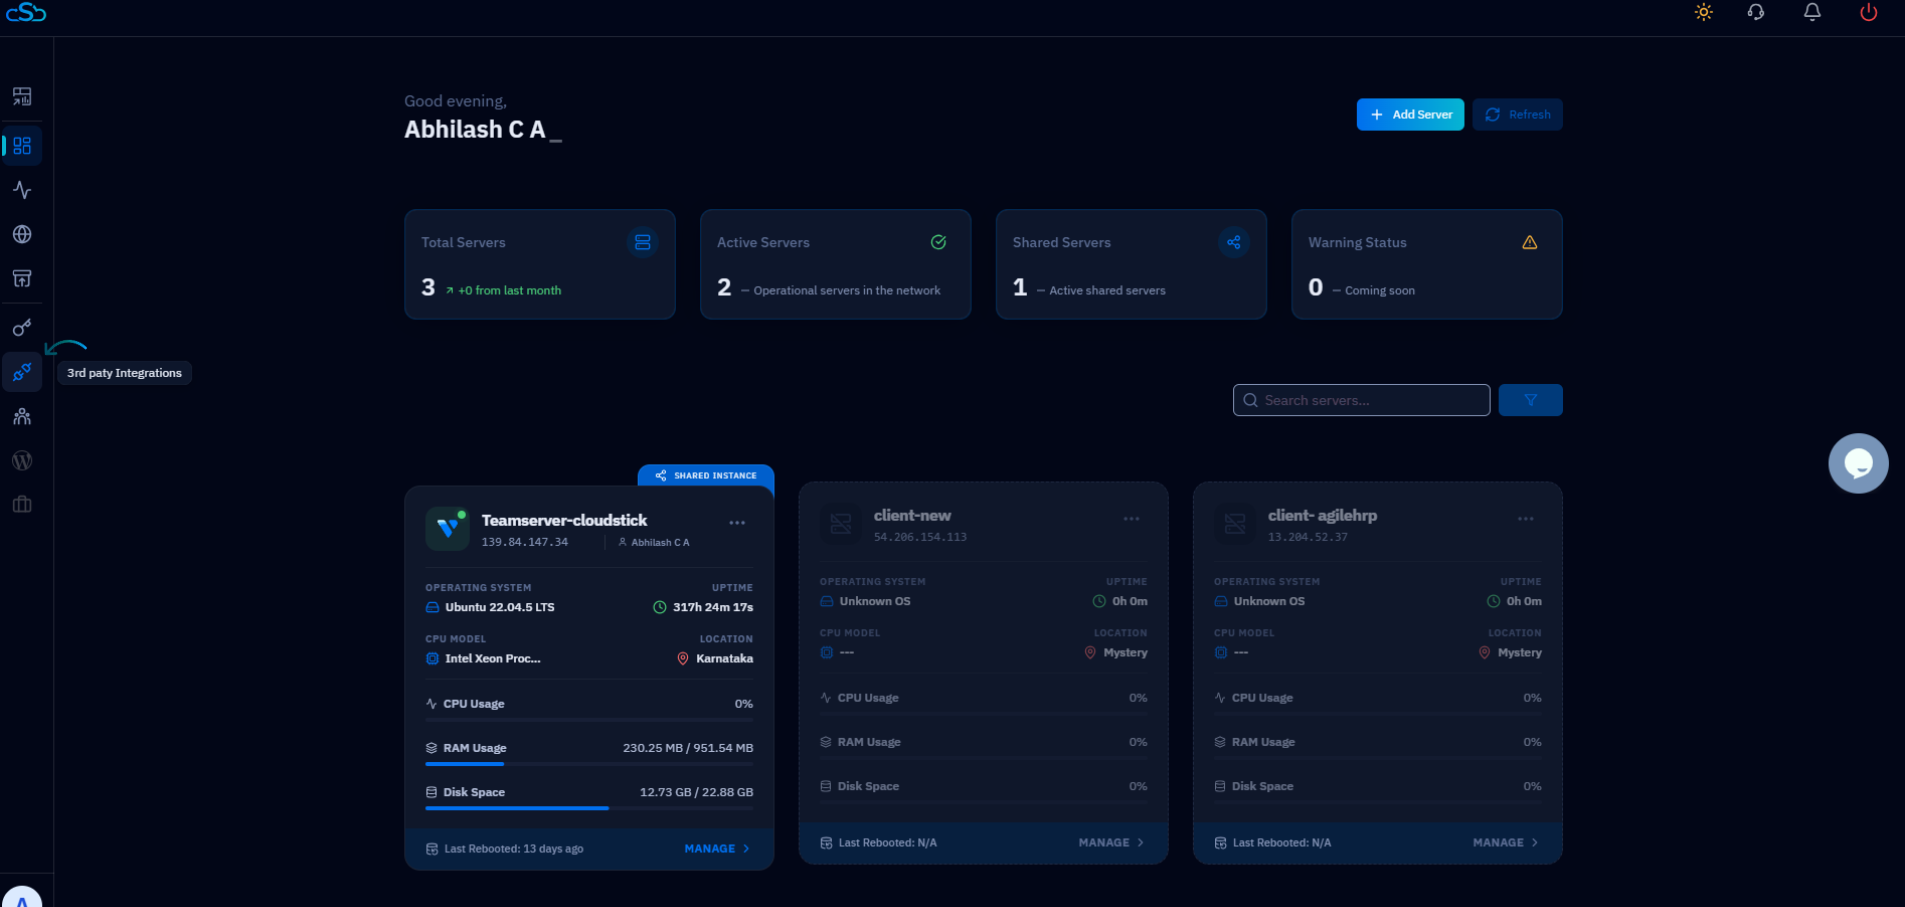
Fig. 10 — CloudStick dashboard with the 3rd party Integrations option highlighted.
2. Under 'All integration', click on Add Integrations against Hetzner.
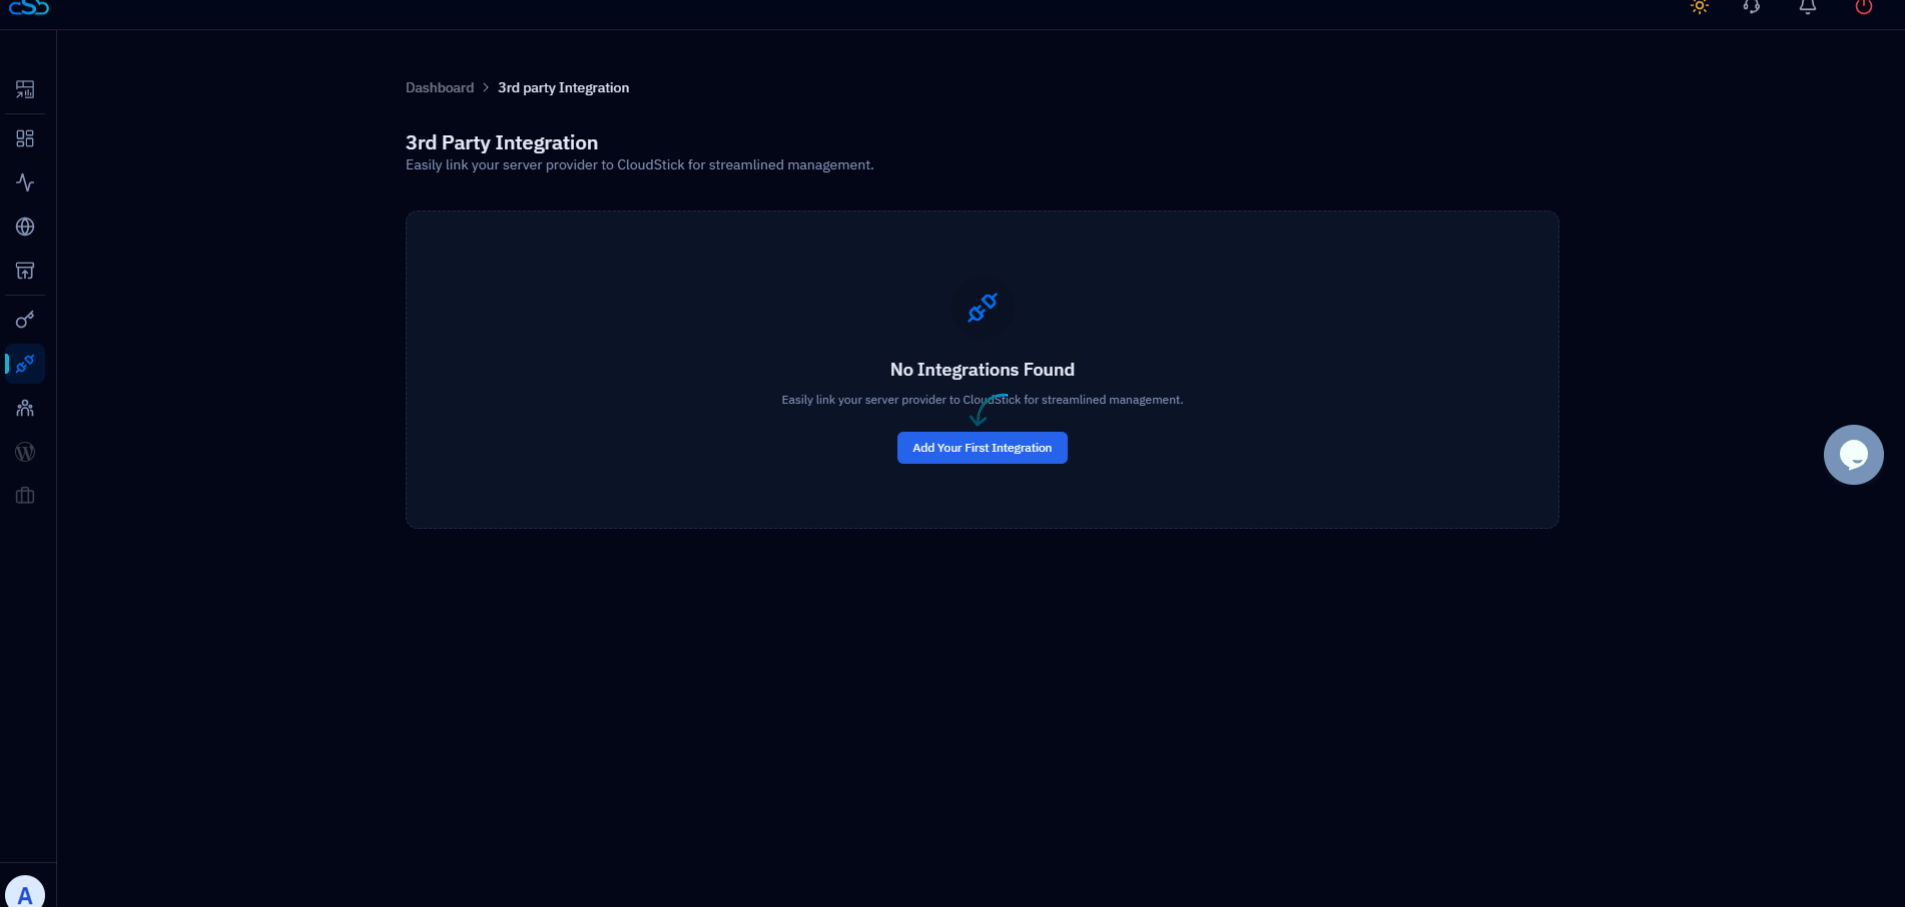
Fig. 11 — All Integrations listing with the Add Integrations button for Hetzner.
3. Give the appropriate label, enter your Hetzner account username and the API key copied from Hetzner, then click Add API key.
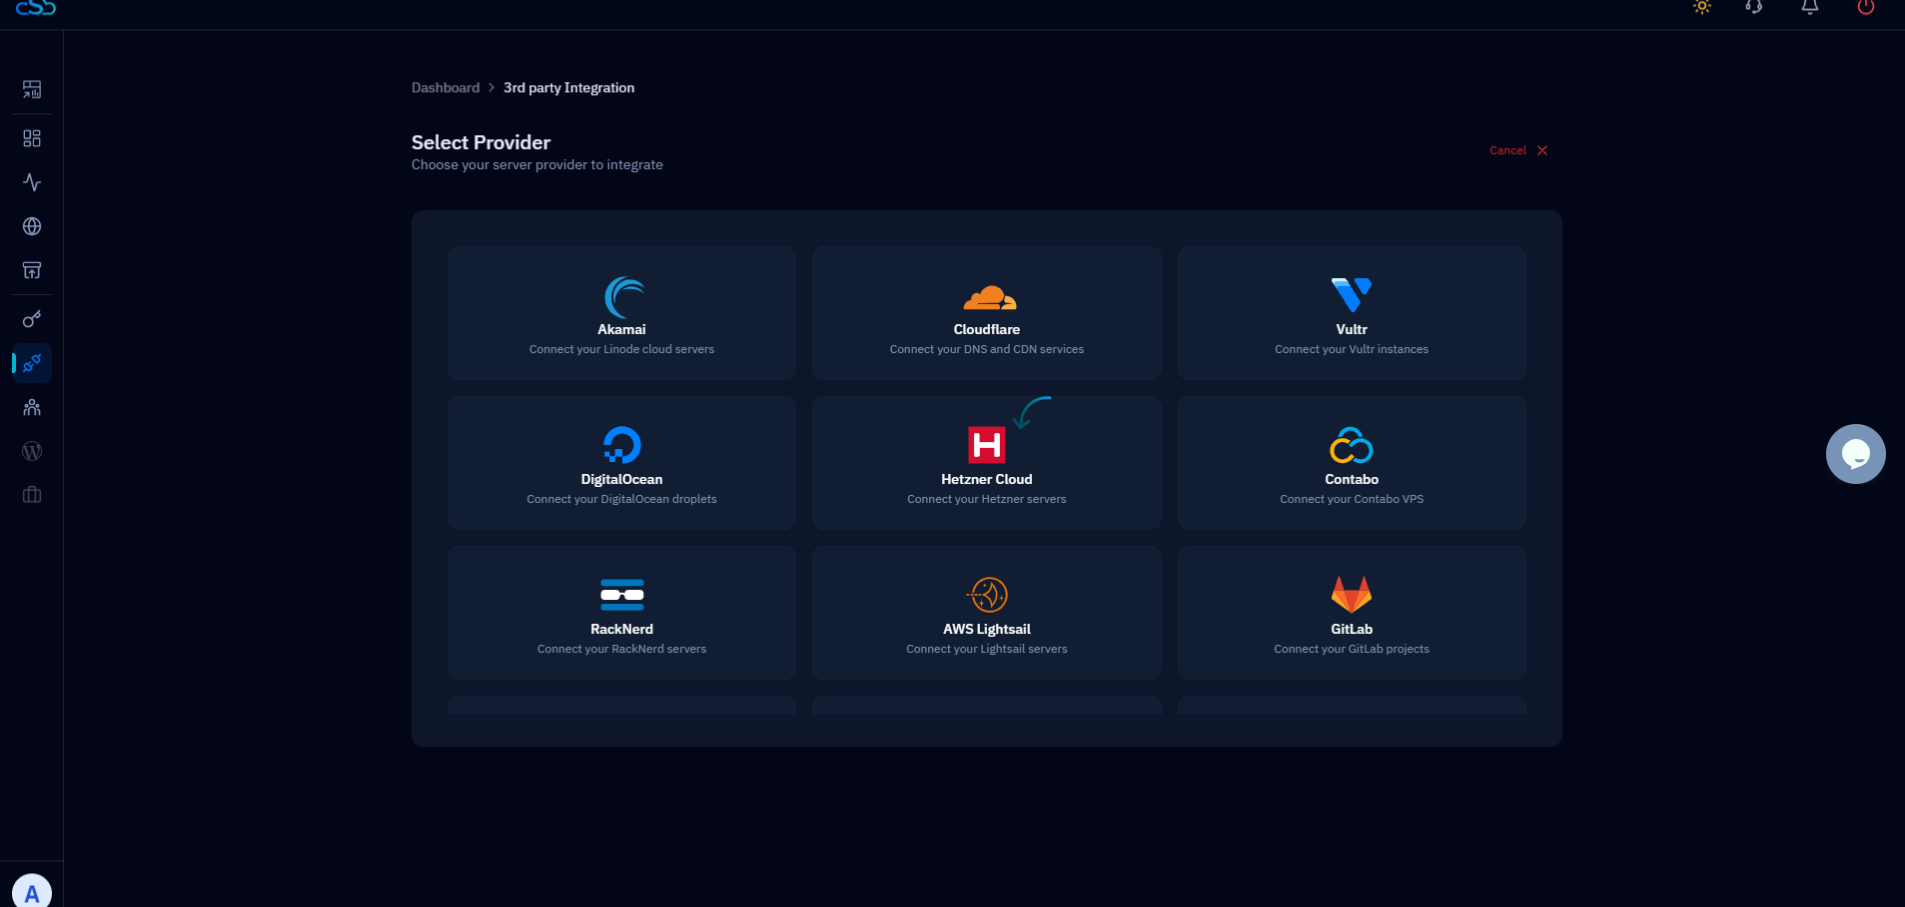
Fig. 12 — Integration form showing the label, Hetzner username, and API key fields.
You will see a success message confirming the integration is complete.
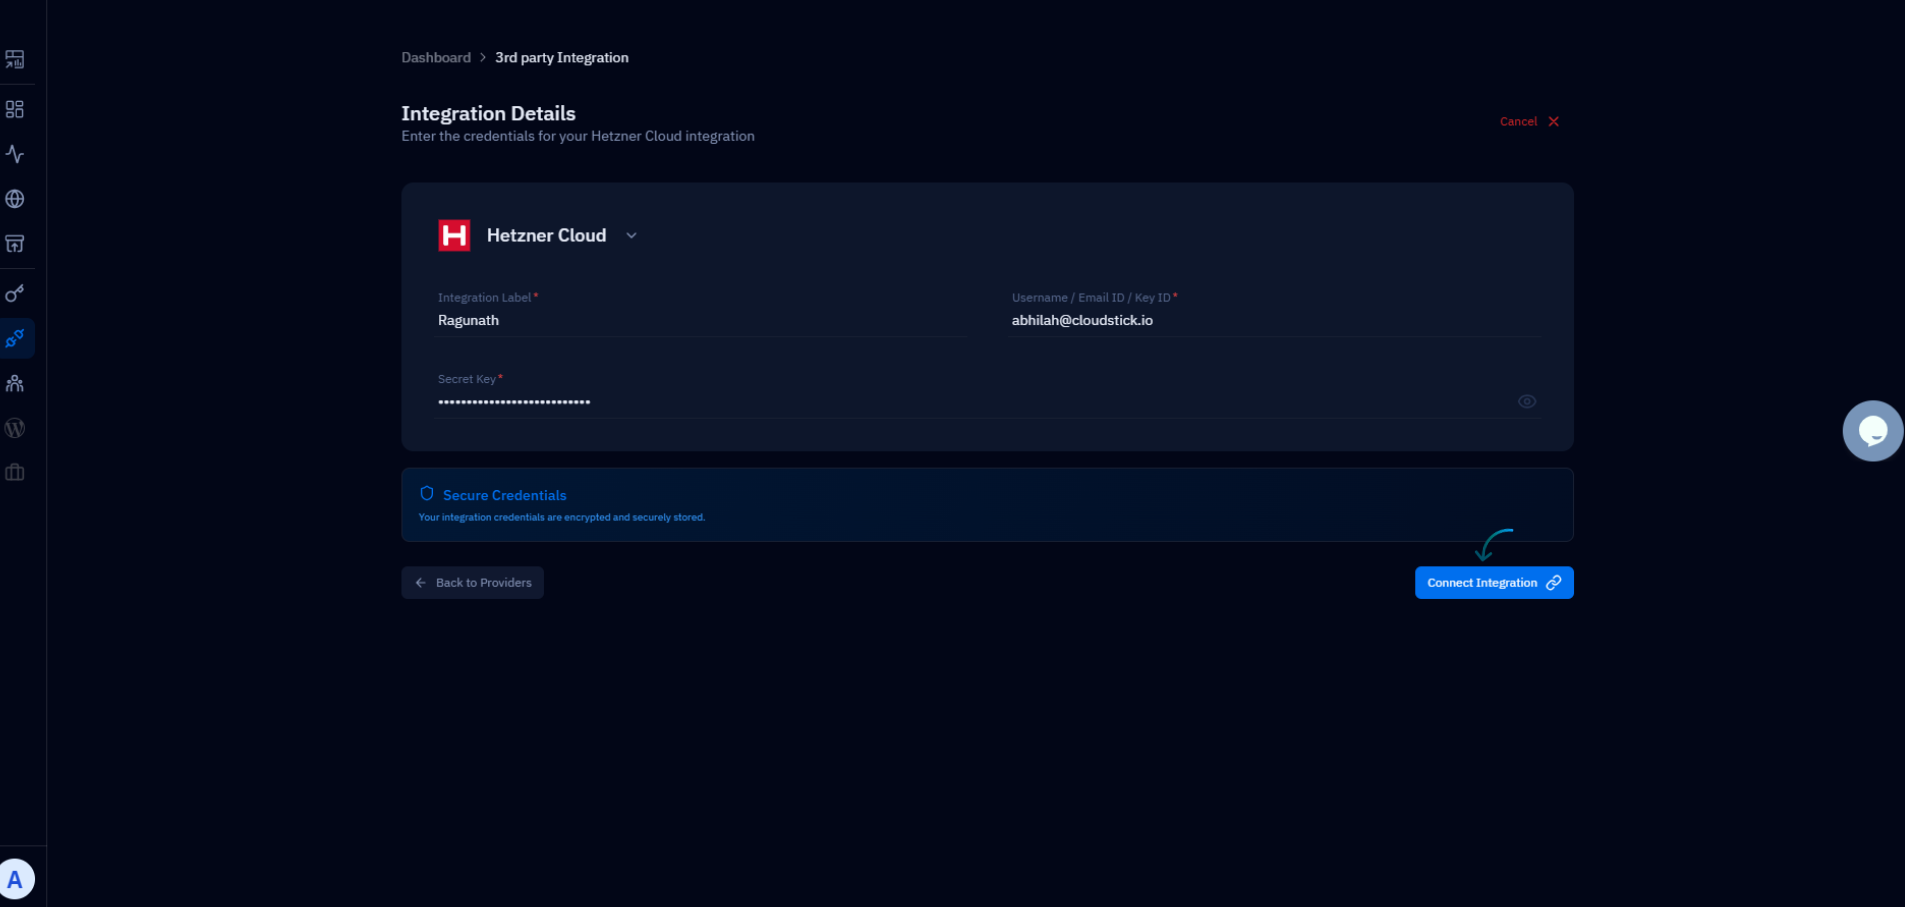
Fig. 13 — Hetzner is now integrated with your CloudStick account.