How to Integrate Vultr with CloudStick
Overview
Integrating Vultr with CloudStick connects your Vultr cloud account directly to the CloudStick dashboard, allowing CloudStick to automatically provision, manage, and monitor your Vultr servers without switching between platforms. Once the integration is active, you can deploy new Vultr servers and manage existing ones entirely from within CloudStick.
This guide walks you through the two-part process: generating your Vultr API key from the Vultr control panel, then adding it to your CloudStick account via the Third Party Integrations section.
You must have an active Vultr account before starting. If you do not have one, sign up at vultr.com and add a payment method before generating an API key.
Step 1: Access Vultr API Settings
The first step takes place in your Vultr account. You need to navigate to the API settings section where Vultr manages access keys for external integrations.
1. Log into your Vultr account: Go to my.vultr.com and sign in with your credentials.
2. Open the account dropdown: Click on your account name or avatar in the top-right corner of the Vultr dashboard to reveal the dropdown menu.
3. Select API: From the dropdown, click API to be redirected to the API settings page.

Fig. 01 — Vultr account dropdown with the API option highlighted.

Fig. 02 — Vultr API settings page showing the API key management section.
Step 2: Copy Your API Key
On the Vultr API settings page, your personal API key is displayed. This key is what CloudStick uses to authenticate with Vultr on your behalf — keep it secure and never share it publicly.
1. Locate the API key: Your Vultr API key is listed on the API settings page. If no key exists yet, Vultr will provide an option to generate one.
2. Click the copy symbol: Click the copy icon next to your API key to copy it to your clipboard. You will paste this into CloudStick in a later step.
Keep this browser tab open after copying — you may need to refer back to the key if the clipboard is cleared.
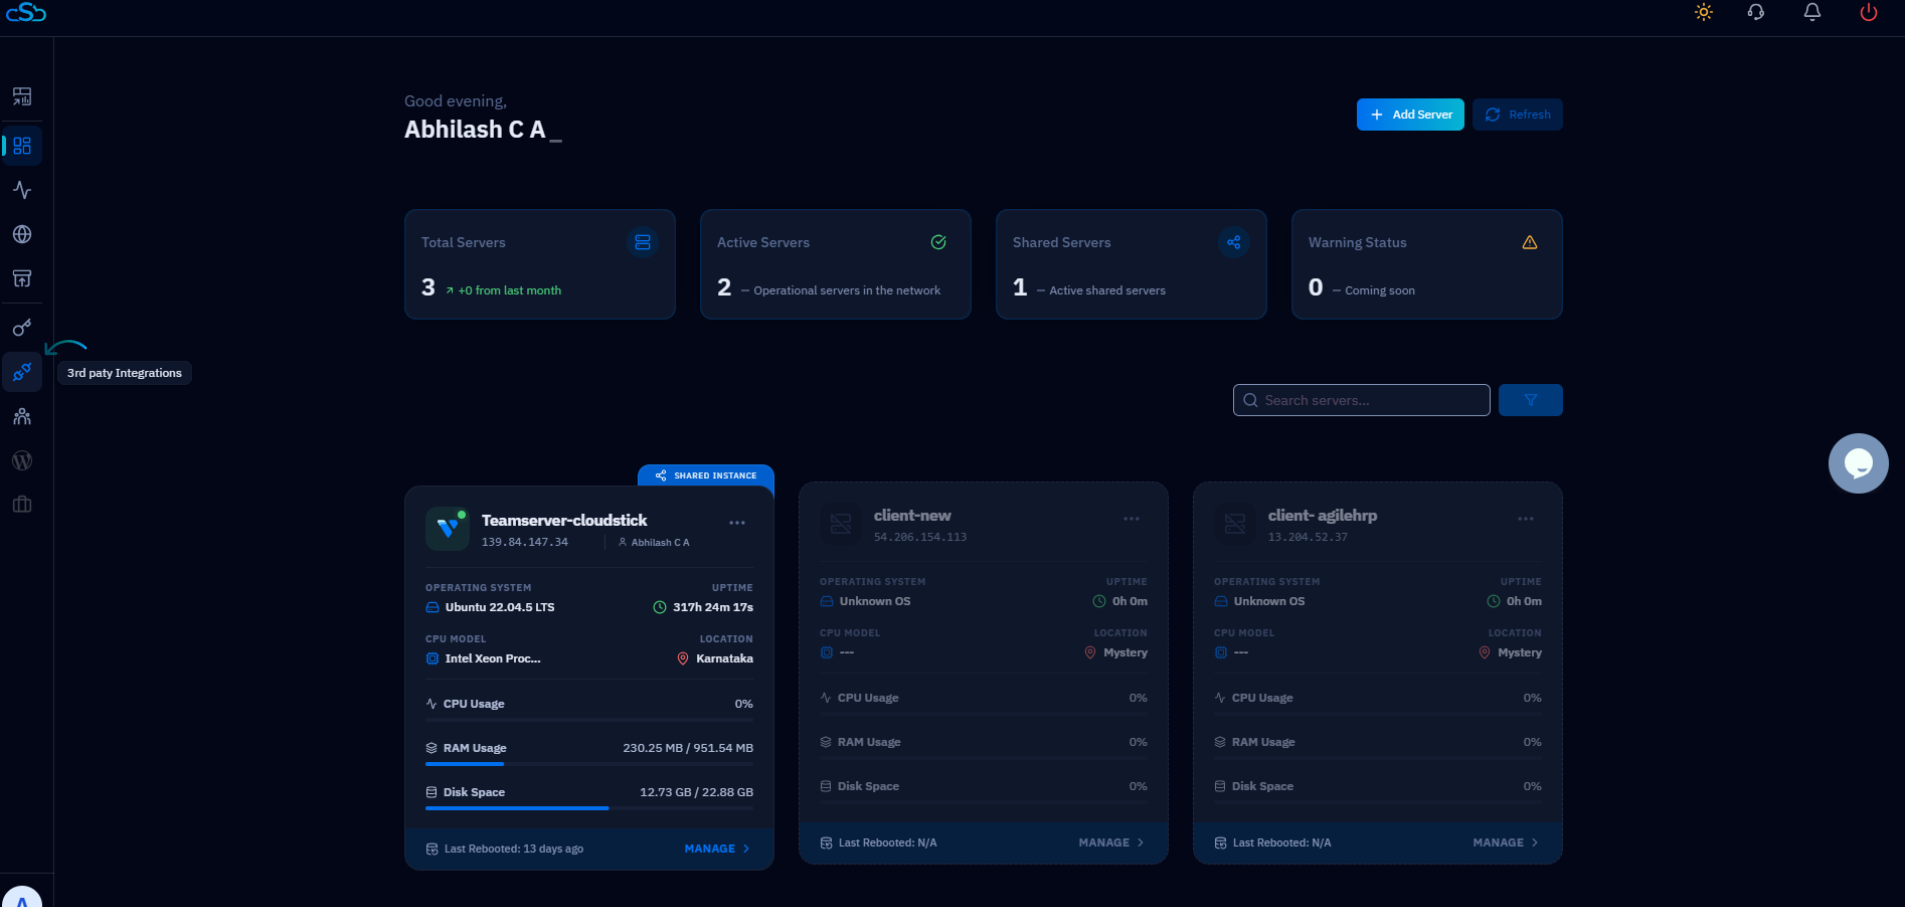
Fig. 03 — Vultr API key with the copy icon highlighted.
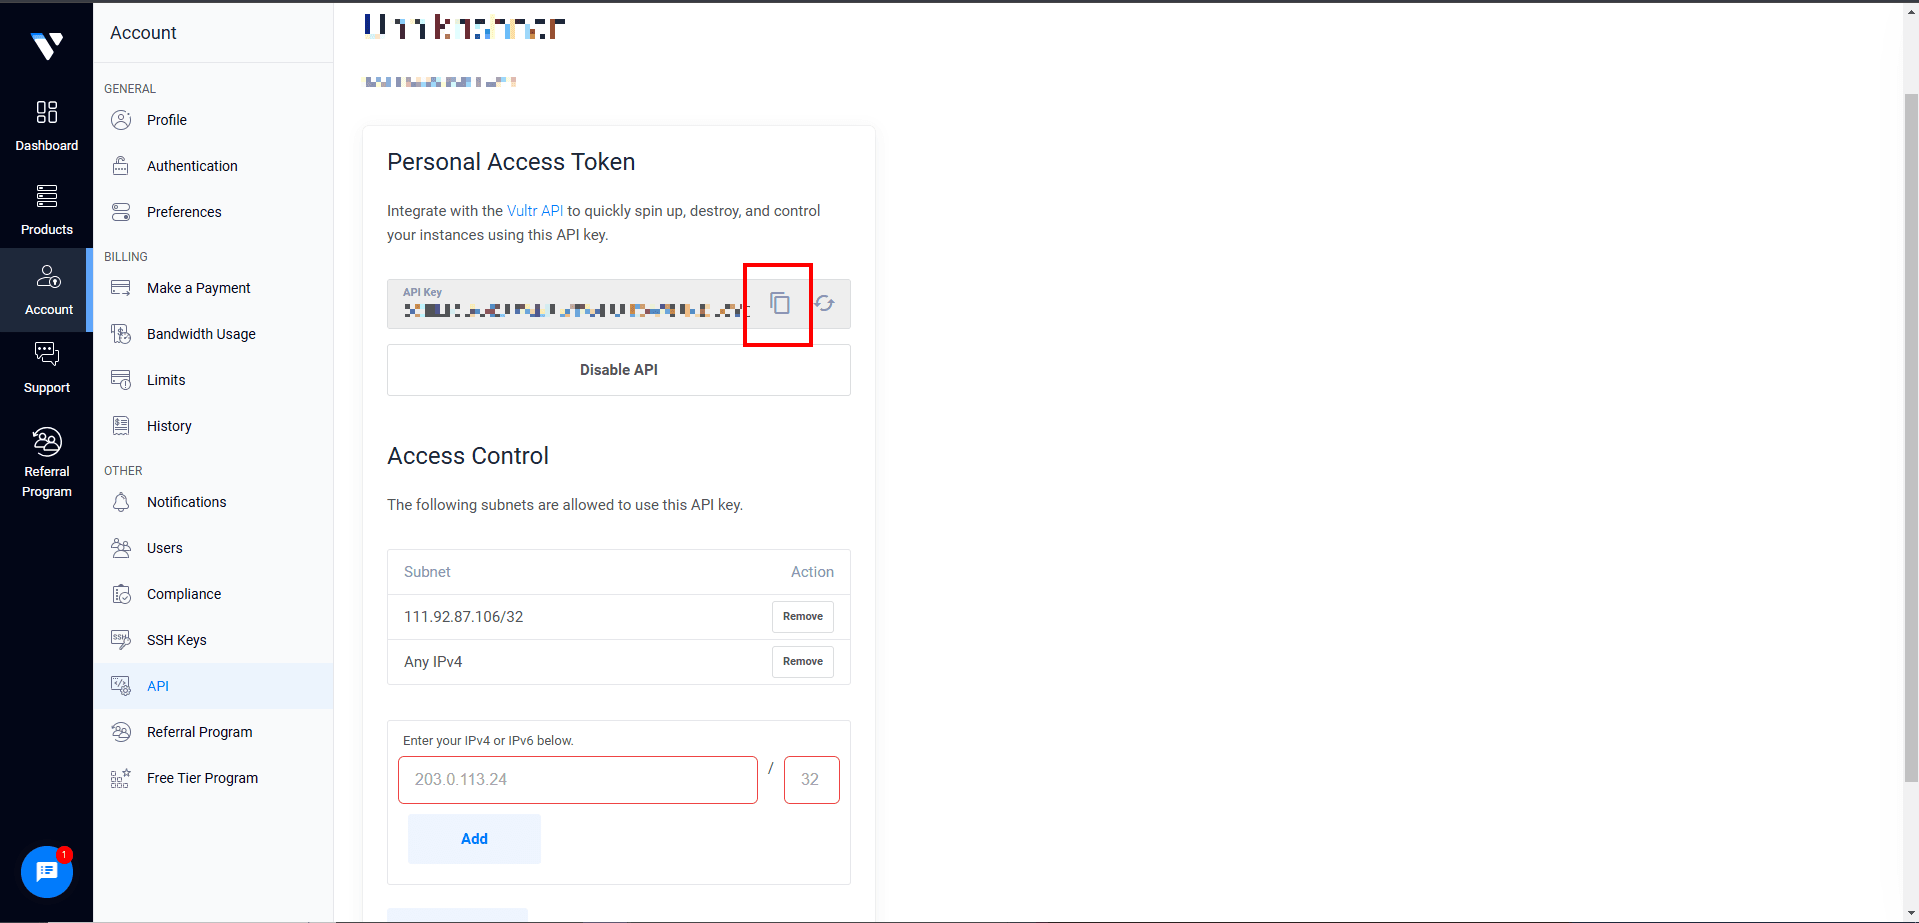
Fig. 04 — API key copied confirmation on the Vultr API settings page.
Step 3: Open Third Party Integrations in CloudStick
With your API key copied, switch back to your CloudStick account. The integration is managed from the 3rd Party Integrations section on the main dashboard.
1. Log into CloudStick: Go to app.cloudstick.io and sign in to your account.
2. Click '3rd party Integrations': From the main CloudStick dashboard, locate and click the 3rd party Integrations option in the left-hand navigation or dashboard menu.
3. Find the Vultr integration: On the integrations page, you will see a list of all available integrations under 'All Integrations'. Locate the Vultr entry.
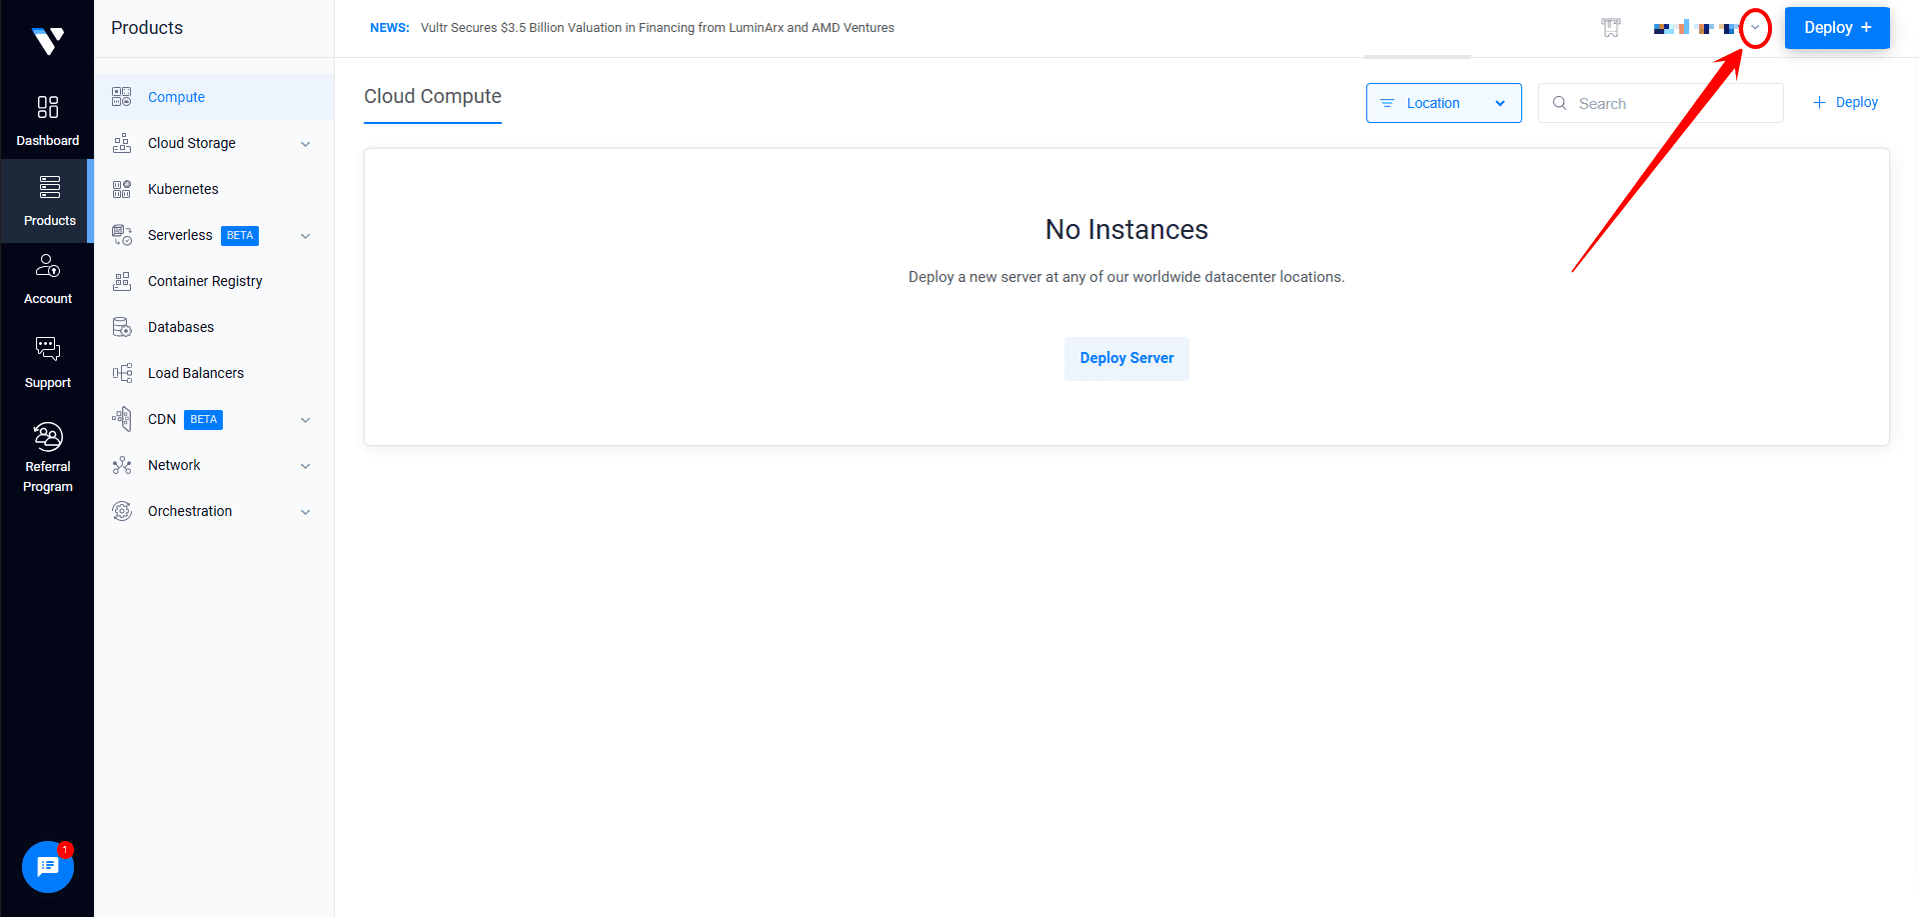
Fig. 05 — CloudStick dashboard with the 3rd party Integrations section highlighted.
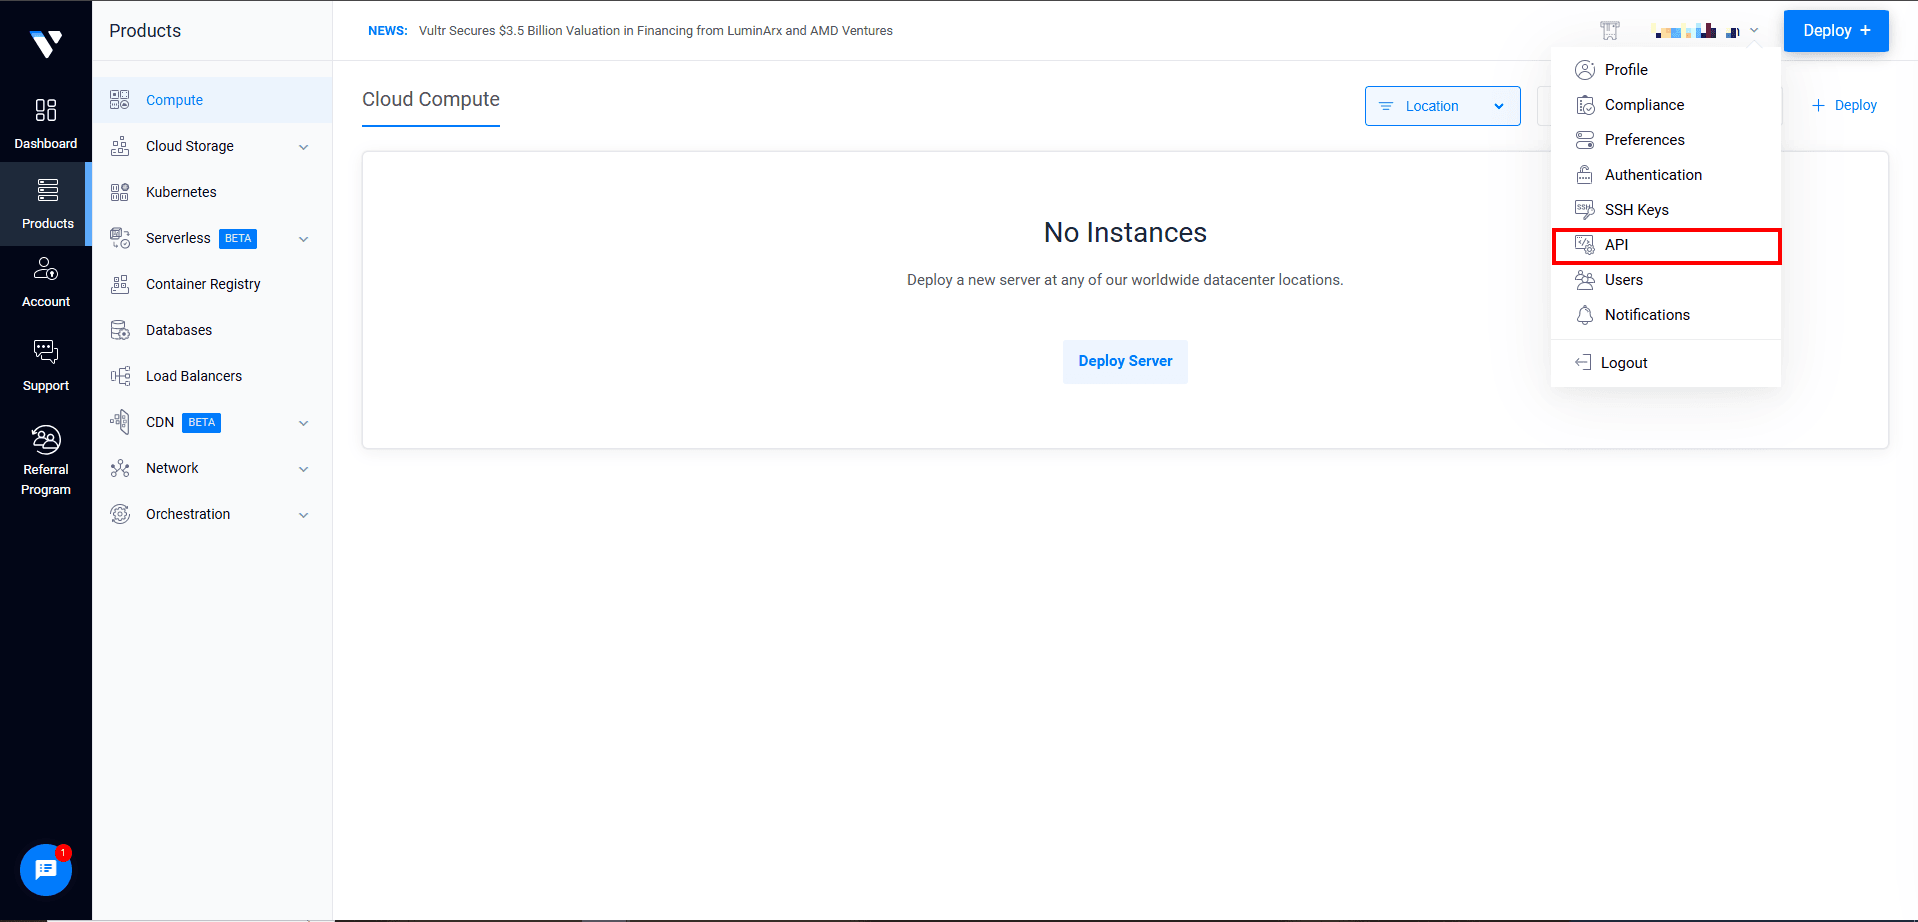
Fig. 06 — All Integrations listing showing available third-party providers including Vultr.
Step 4: Add and Confirm the Vultr Integration
The final step is to submit your Vultr credentials to CloudStick. Once saved, the integration becomes active immediately and Vultr will appear as a connected provider in your account.
1. Click 'Add Integrations': Next to the Vultr entry in the All Integrations list, click the Add Integrations button to open the connection form.
2. Enter a label: Give the integration a recognisable name (for example, 'My Vultr Account') to identify it if you connect multiple accounts later.
3. Enter your Vultr account username: Type in the email address associated with your Vultr account.
4. Paste the API key: Paste the API key you copied from Vultr into the API Key field.
5. Click 'Add API key': Submit the form. CloudStick will validate the key against Vultr's API.
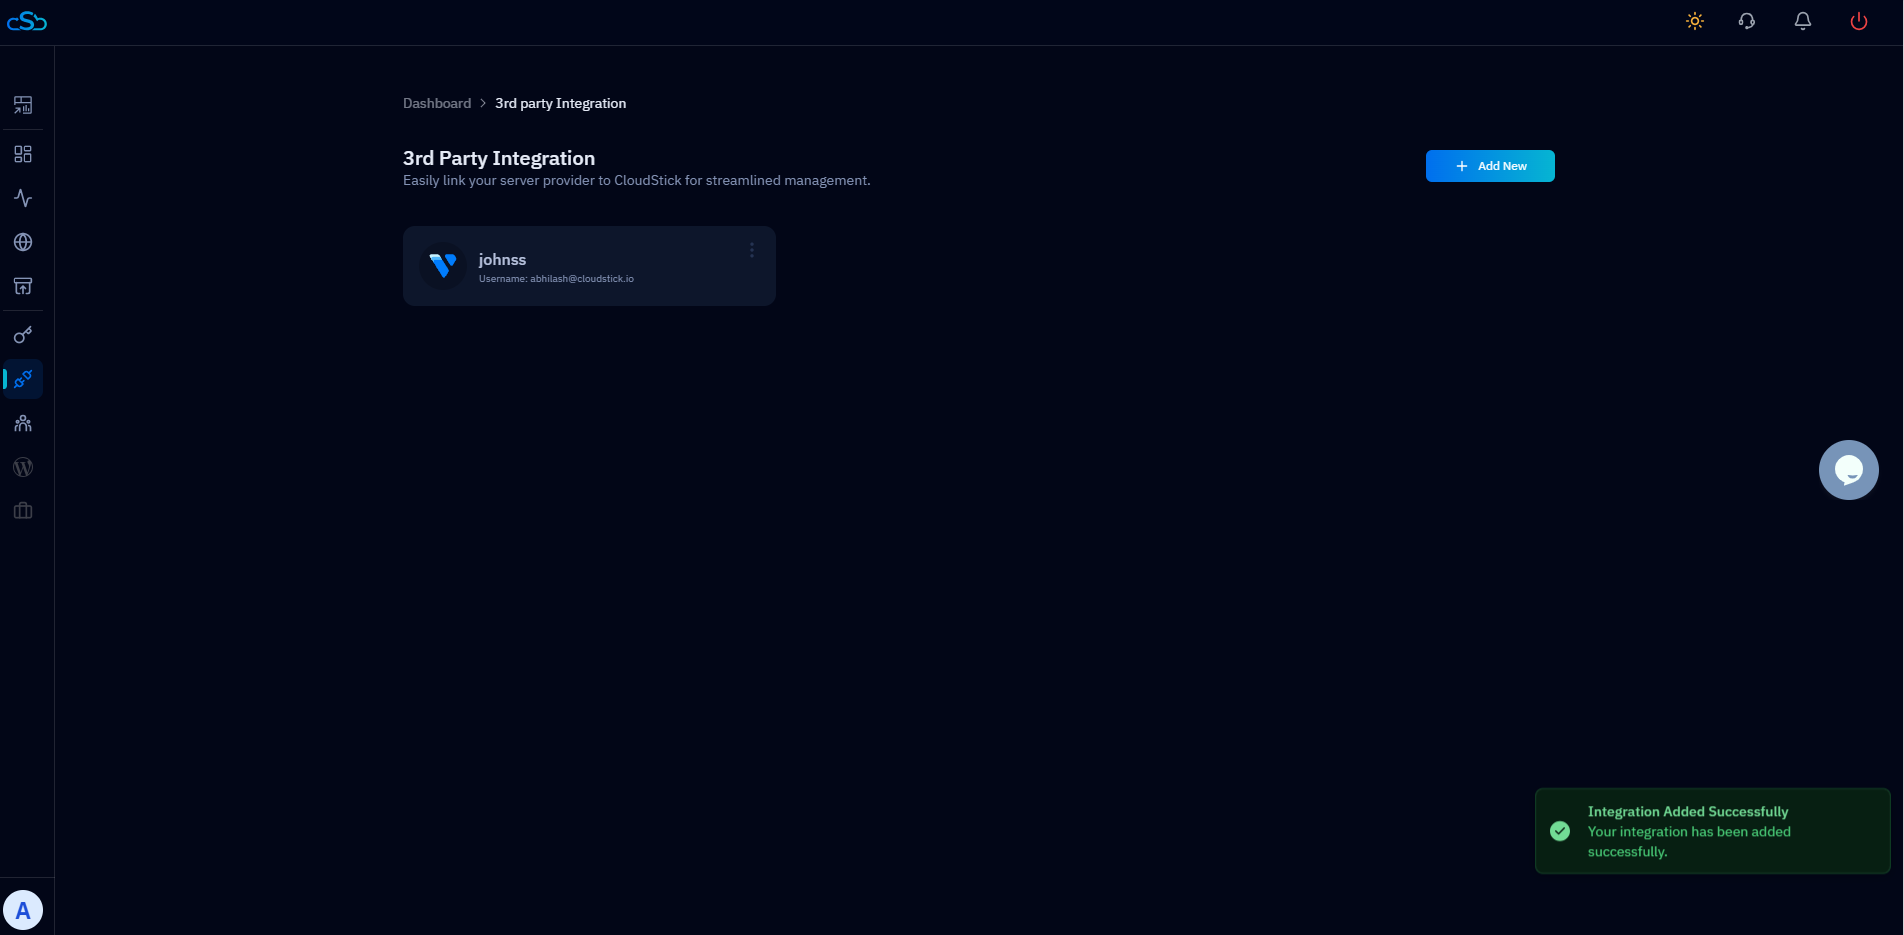
Fig. 07 — Add Integration form showing the label, username, and API key fields for Vultr.
A success message confirms the integration is complete. Vultr is now connected to your CloudStick account and you can begin provisioning Vultr servers directly from the dashboard.

Fig. 08 — Success message confirming Vultr has been integrated with CloudStick.