How to Configure the SpamAssassin Spam Score
Overview
This guide explains how to configure the SpamAssassin Spam Score in CloudStick. CloudStick Spam Protection allows you to control how aggressively incoming mail is filtered for spam using SpamAssassin — this feature lets you adjust the filtering sensitivity directly from the server's Spam Protection settings, alongside the blacklist and whitelist controls.
The Spam Score determines the sensitivity of spam filtering. You can configure the Spam Score from the server's Spam Protection settings and apply the updated sensitivity to your server's mail. A lower score makes the spam filtering more aggressive, while a higher score makes the filtering less aggressive.
This setting applies server-wide, changing how strictly every mailbox on the server is filtered. If you only need to trust or block a specific sender rather than change the overall sensitivity, see how to whitelist or how to blacklist an email address or domain instead.
Step 1: Select Your Server
The Spam Score is configured per server, so start by opening the server you want to manage from your CloudStick dashboard.
Log in to your CloudStick Dashboard: Sign in with your account credentials.
Locate the server: From the server list, find the server where you want to configure Spam Protection.
Click Manage: Click Manage on the required server to open its server panel.
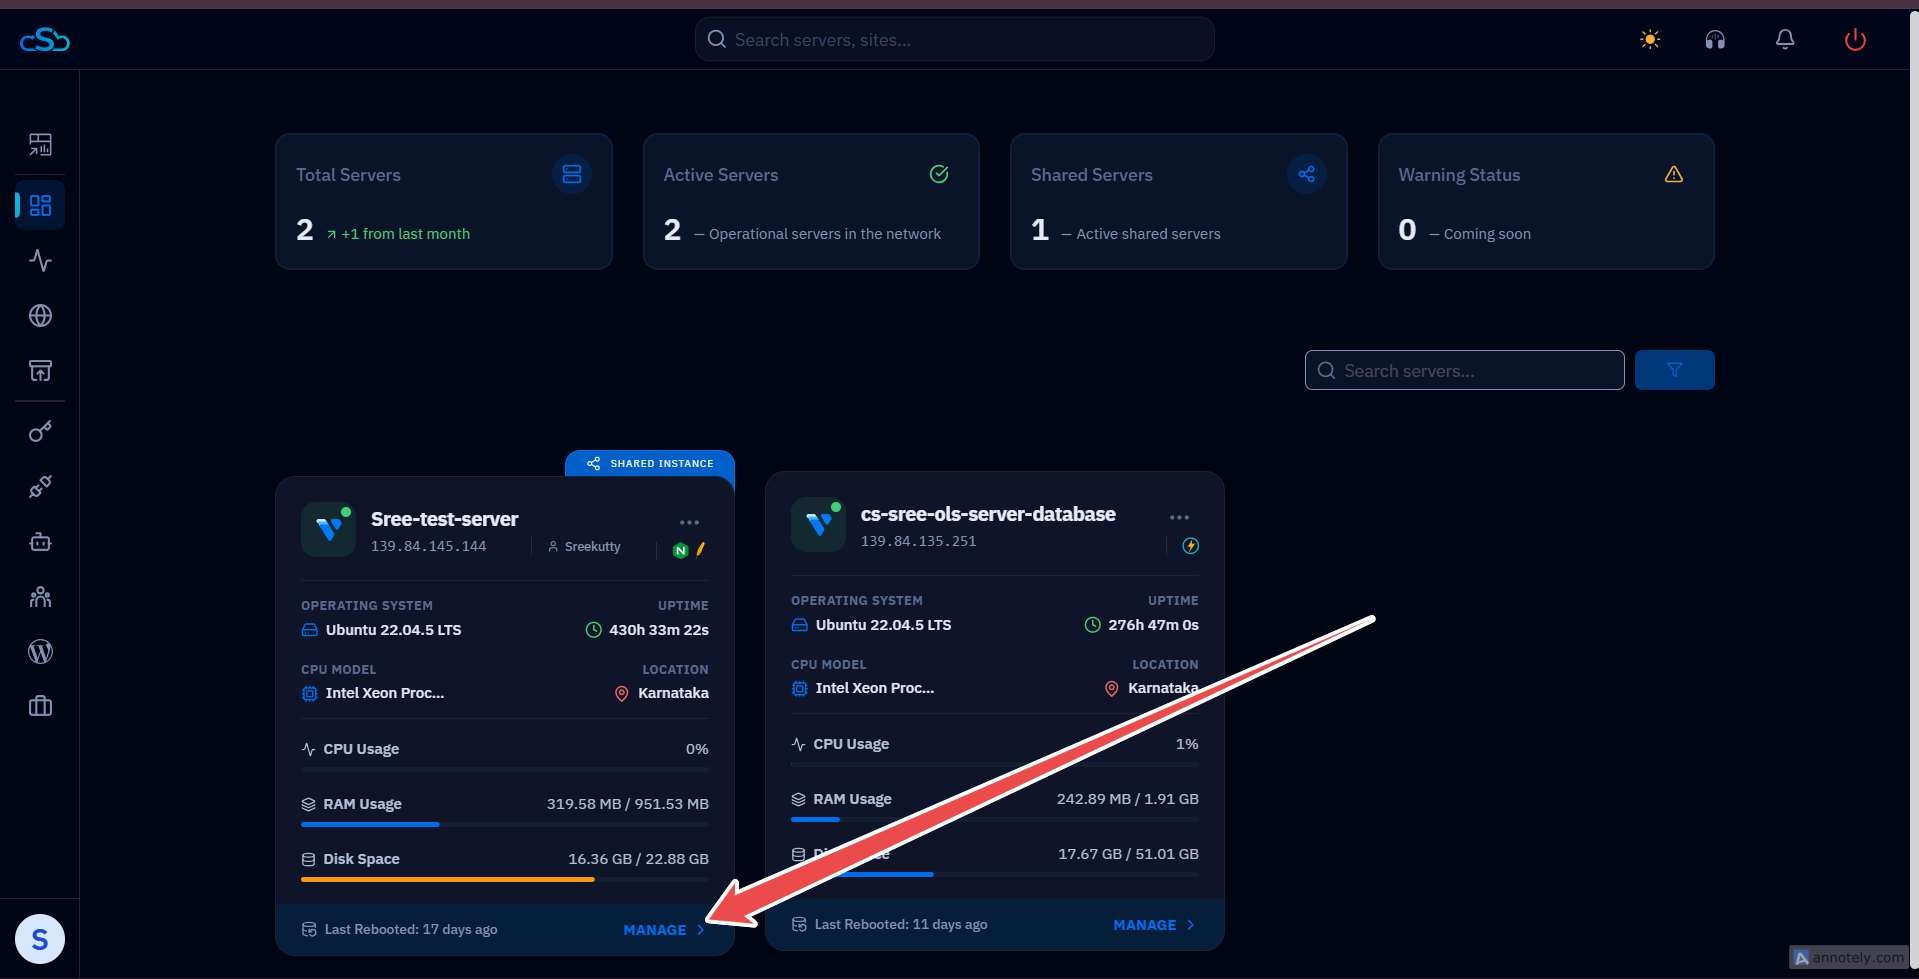
Fig. 01 — CloudStick server list showing the available servers and the Manage option.
Step 2: Open Server Settings
Spam Protection lives among the server-level settings, alongside options like Change PHP CLI Version, Auto Update, and Change Provider.
Open Server Settings: From the server panel, navigate to the Server Settings area.
Locate Spam Protection: Find the Spam Protection card — it controls how aggressively Exim/SpamAssassin tags incoming mail as spam, and lets you block or trust specific senders and domains server-wide.
Click Manage: Click Manage on the Spam Protection card to open its settings.
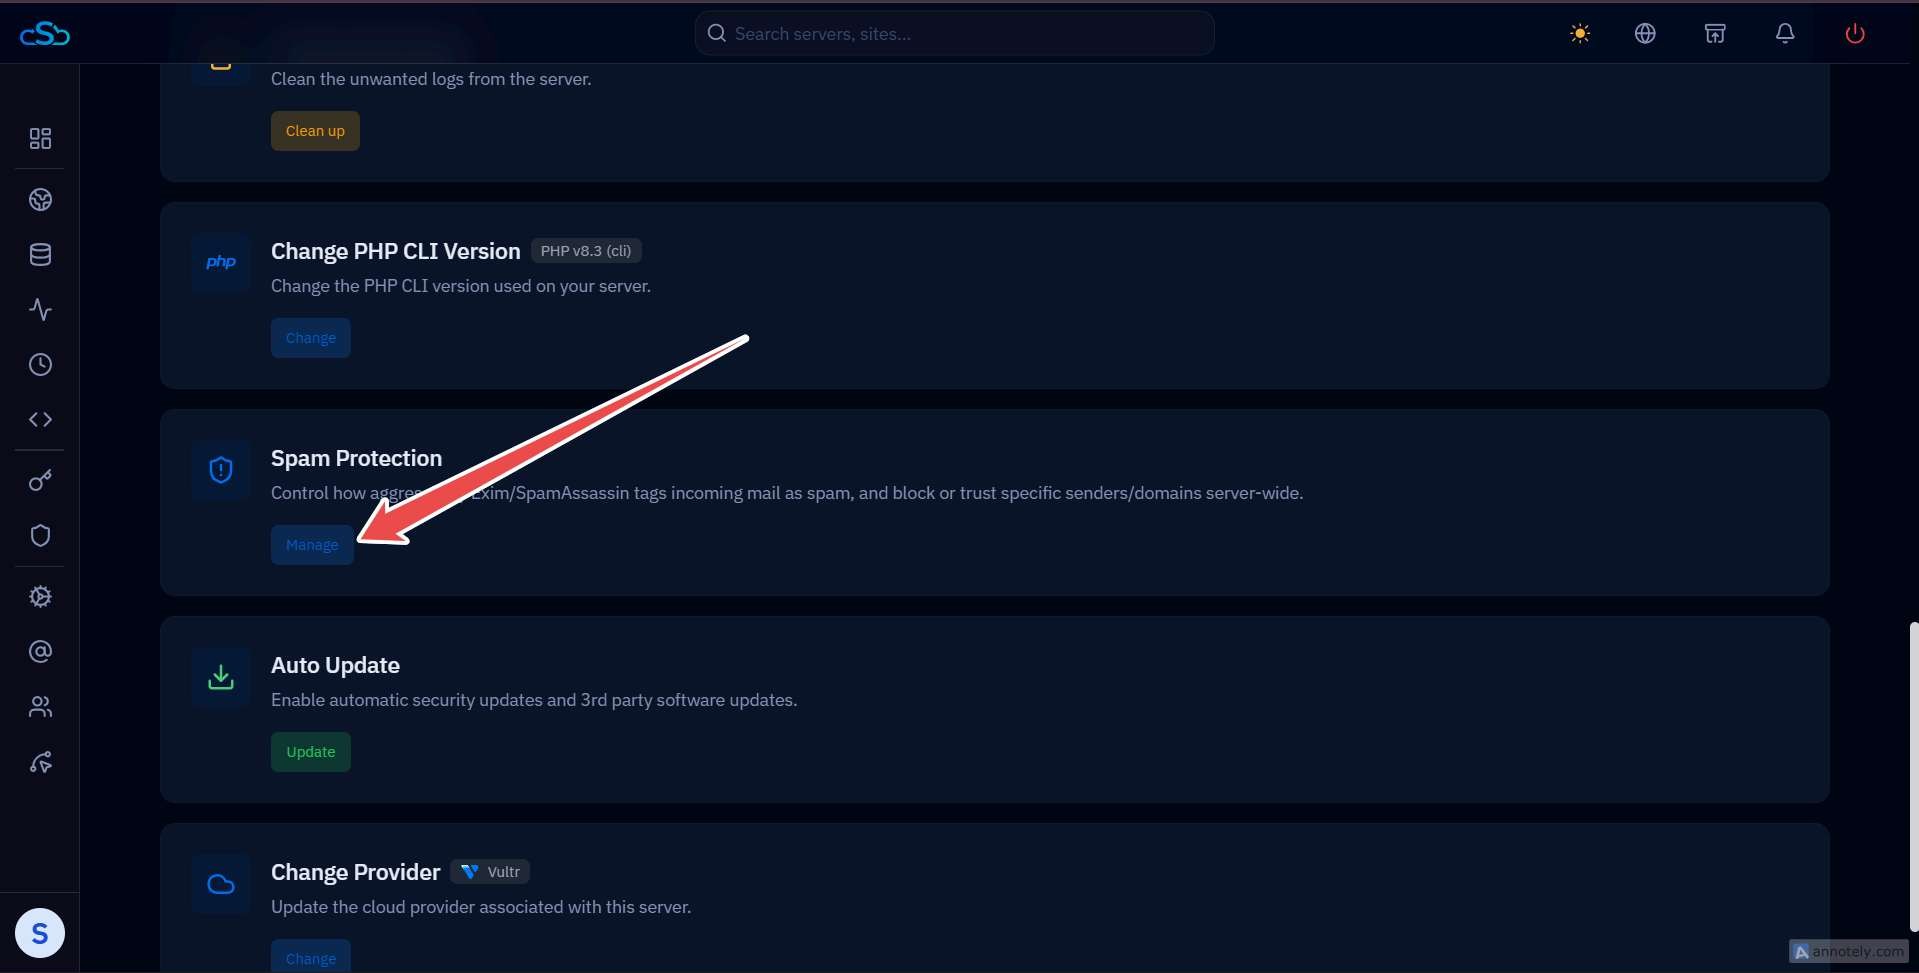
Fig. 02 — Server Settings showing the Spam Protection option and Manage button.
Step 3: Adjust the Spam Score
The Spam Protection panel opens with Filtering Sensitivity at the top, above the Blacklist and Whitelist fields.
Locate Filtering Sensitivity: Find the SPAM_SCORE field, which accepts a value from 10 to 100.
Enter the new score: A lower score makes SpamAssassin flag mail as spam more aggressively; a higher score makes it less aggressive.
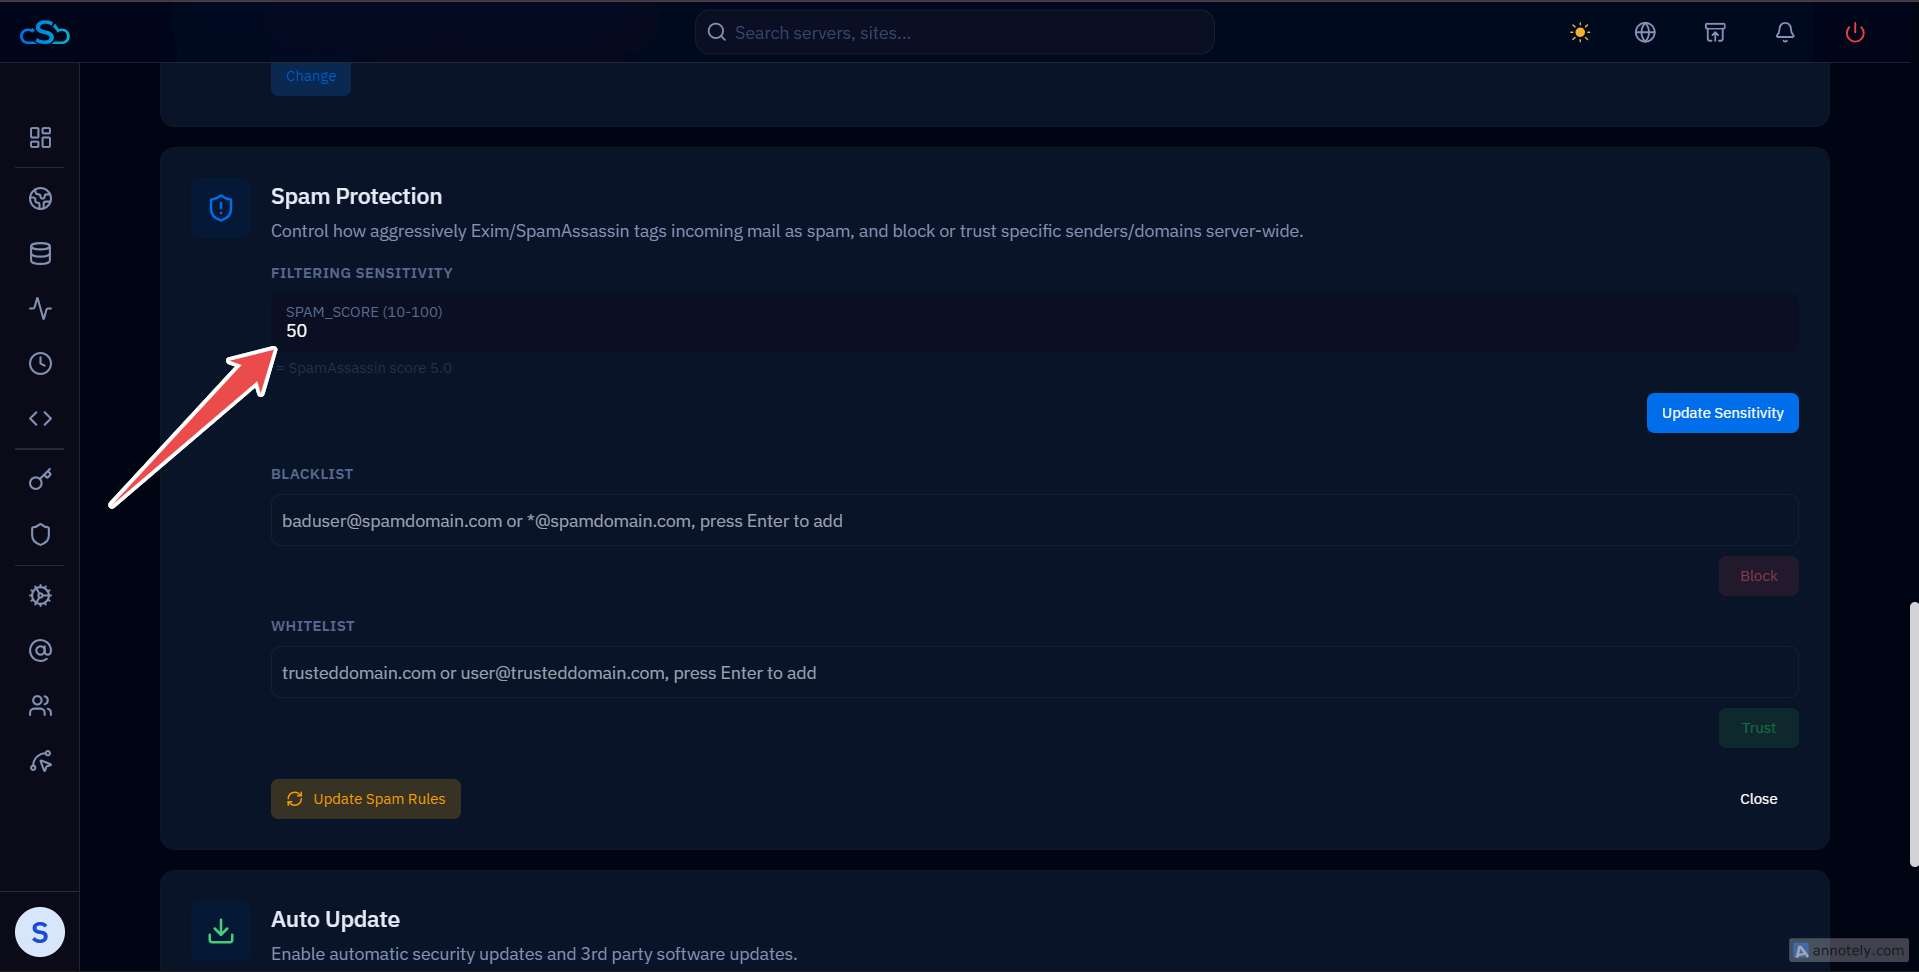
Fig. 03 — Spam Protection settings showing the Spam Score and Filtering Sensitivity configuration.
Step 4: Apply the Updated Sensitivity
After entering the new score, the change needs to be applied before it takes effect on incoming mail.
Review the new Spam Score value to confirm it's correct.
Click Update Sensitivity to apply the change.
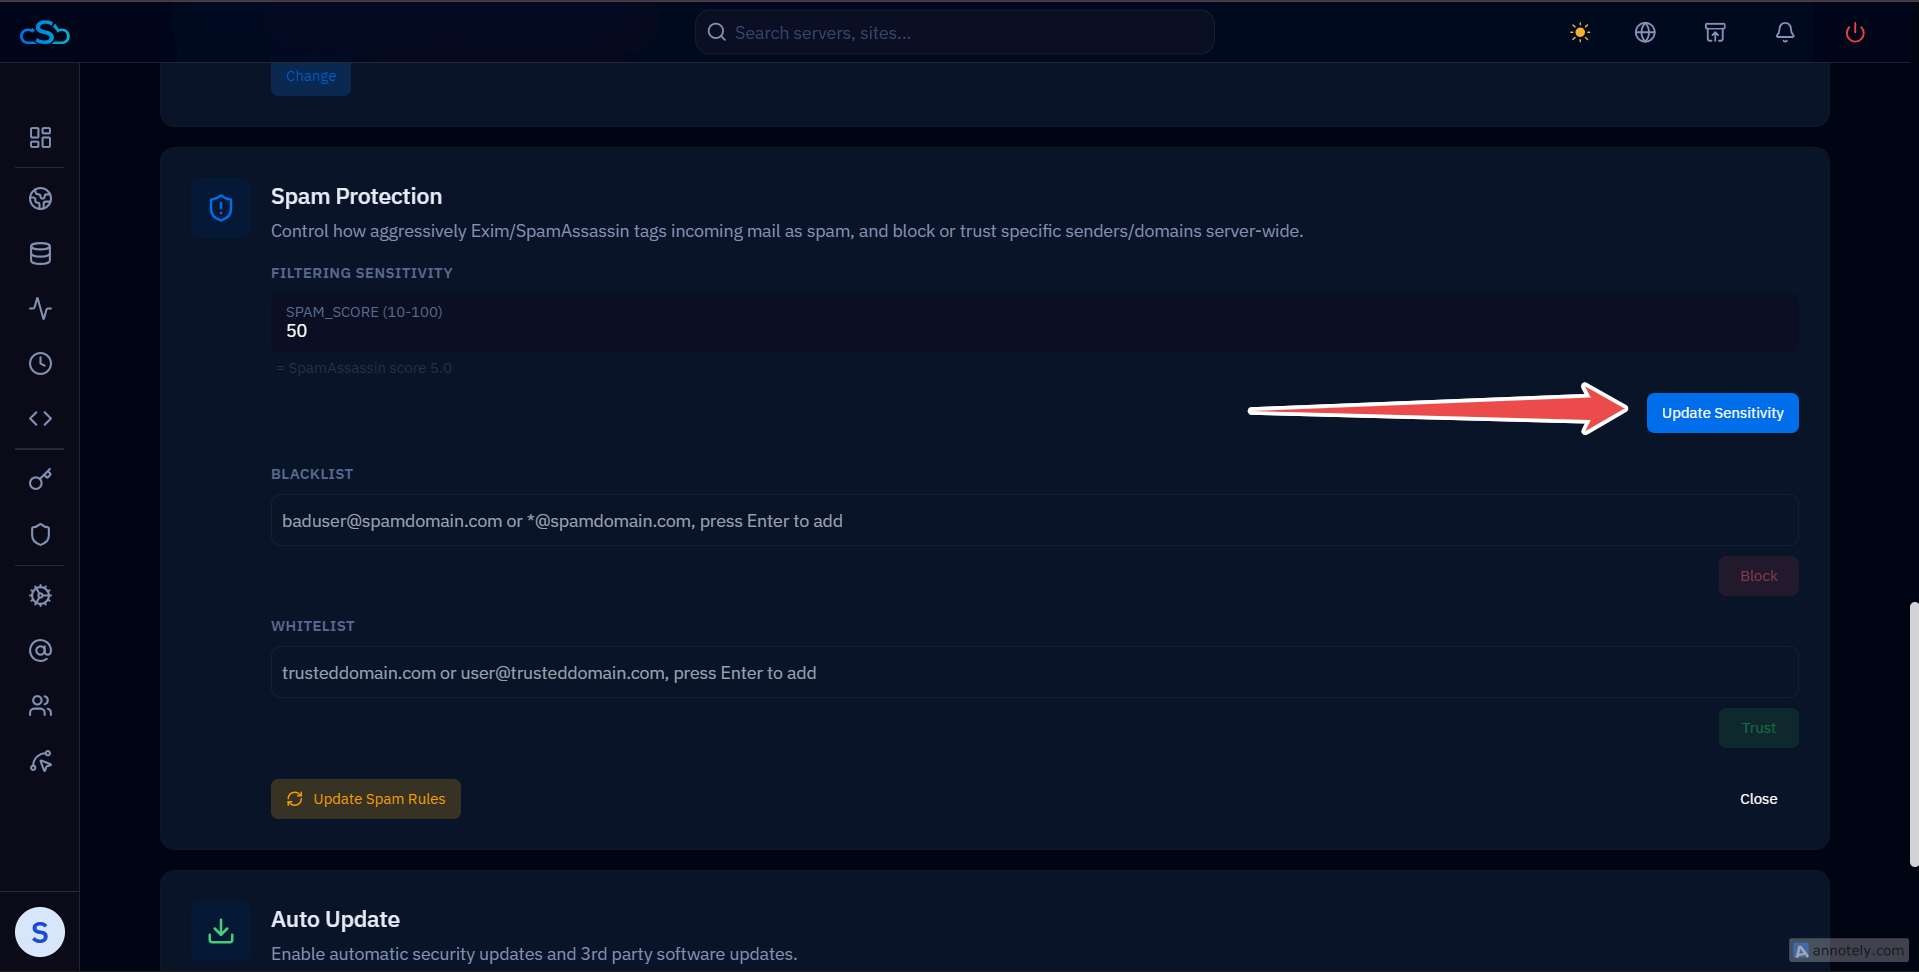
Fig. 04 — Update Sensitivity button used to apply the new Spam Score.
The new Spam Score will be applied to the server's spam filtering configuration, changing how aggressively SpamAssassin tags incoming mail across every mailbox on the server.