How to View and Set Up SPF, DKIM, and DMARC Records
Overview
SPF, DKIM, and DMARC are DNS records that prove your outgoing email actually comes from your domain. Mailbox providers like Gmail and Outlook check these records on every message — without them, mail you send from your CloudStick-hosted website is far more likely to land in spam or be rejected outright.
CloudStick generates the correct SPF, DKIM, and DMARC values for your domain automatically and surfaces them in one place under Email Authentication. This guide walks through locating that screen, reading the records it produces, and adding them to your DNS — either by copying them into a third-party DNS provider, or with a single click if your domain's DNS is managed through CloudStick's Cloudflare integration.
You'll need at least one website created on a connected server, with Email Accounts set up for that website's domain, before Email Authentication has records to display.
Step 1: Log In and Select Your Server
Email authentication records are configured per website, so the first step is opening the server that hosts the domain you want to authenticate.
Sign in to CloudStick: Log in to your account to land on the dashboard, which lists every server connected to it.
Select your server: Click the server card for the server that hosts the website whose email you want to authenticate.
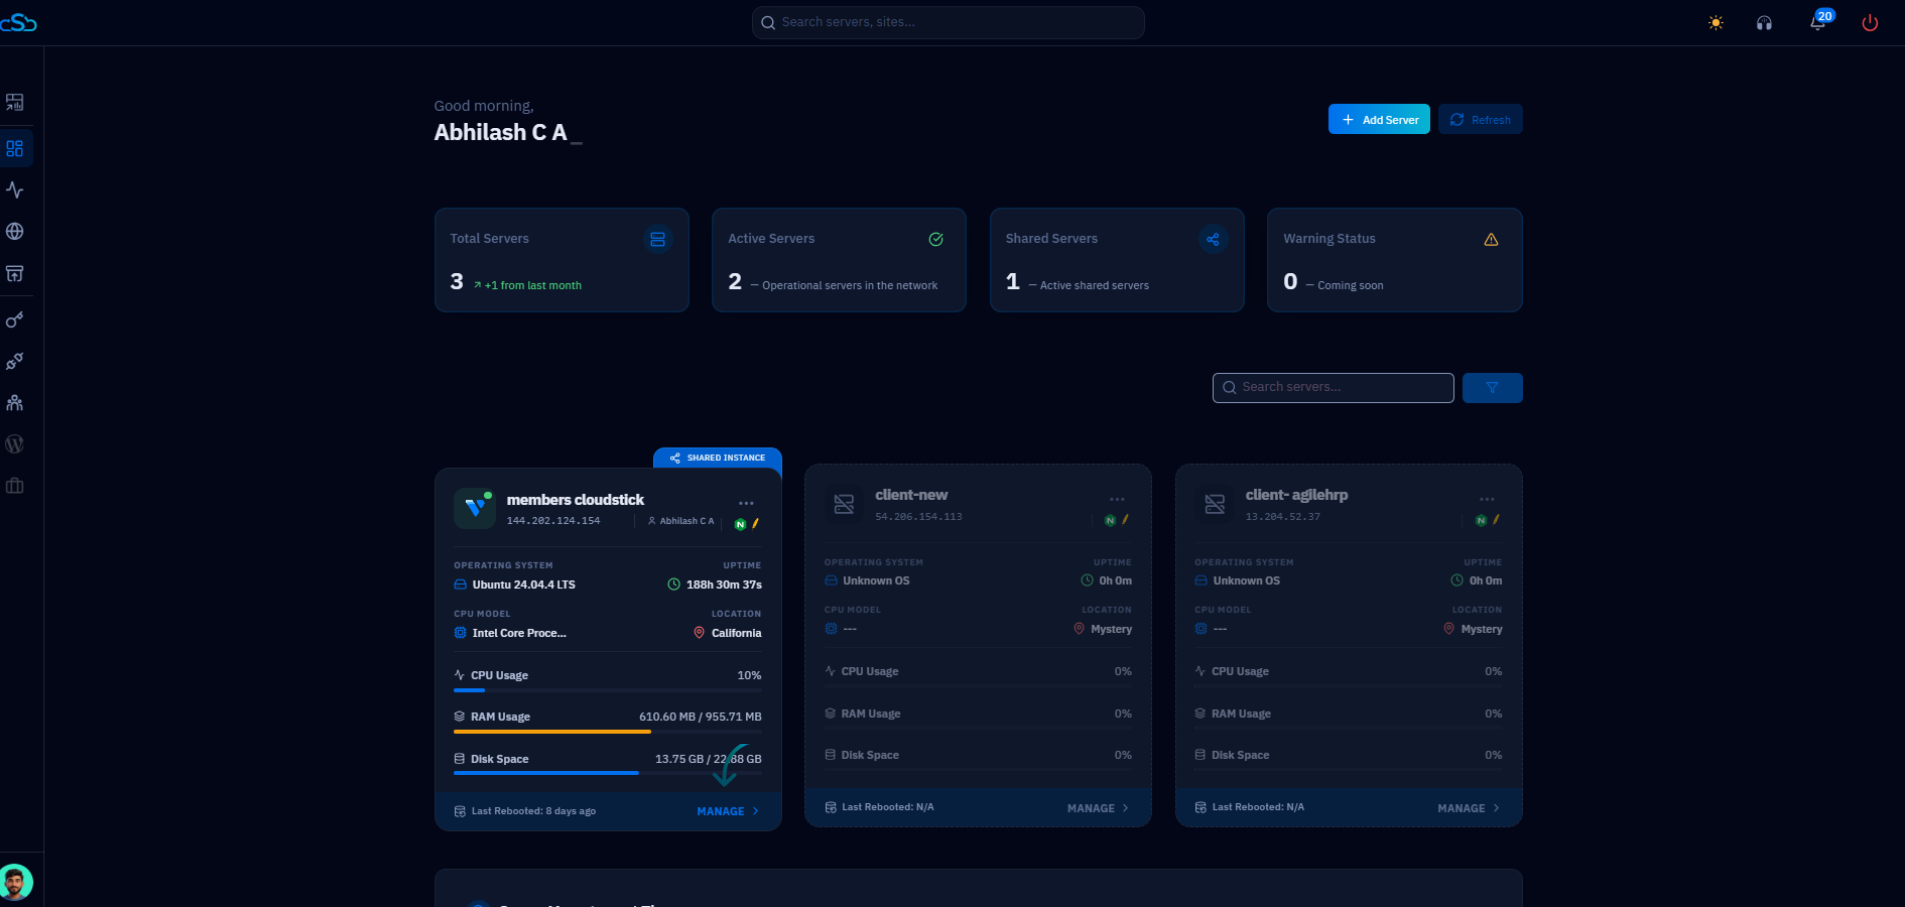
Fig. 01 — The CloudStick dashboard listing connected servers; click a server card to open it.
Step 2: Open the Websites Section
Inside the server panel, the left-hand navigation gives you access to every resource on that server, including the websites running on it.
Open the server panel: You'll land on the Overview tab, showing system uptime, CPU, memory, and disk usage.
Click Websites: Select the Websites icon in the left-hand navigation, or the Websites card under Server Resources, to view every site hosted on this server.
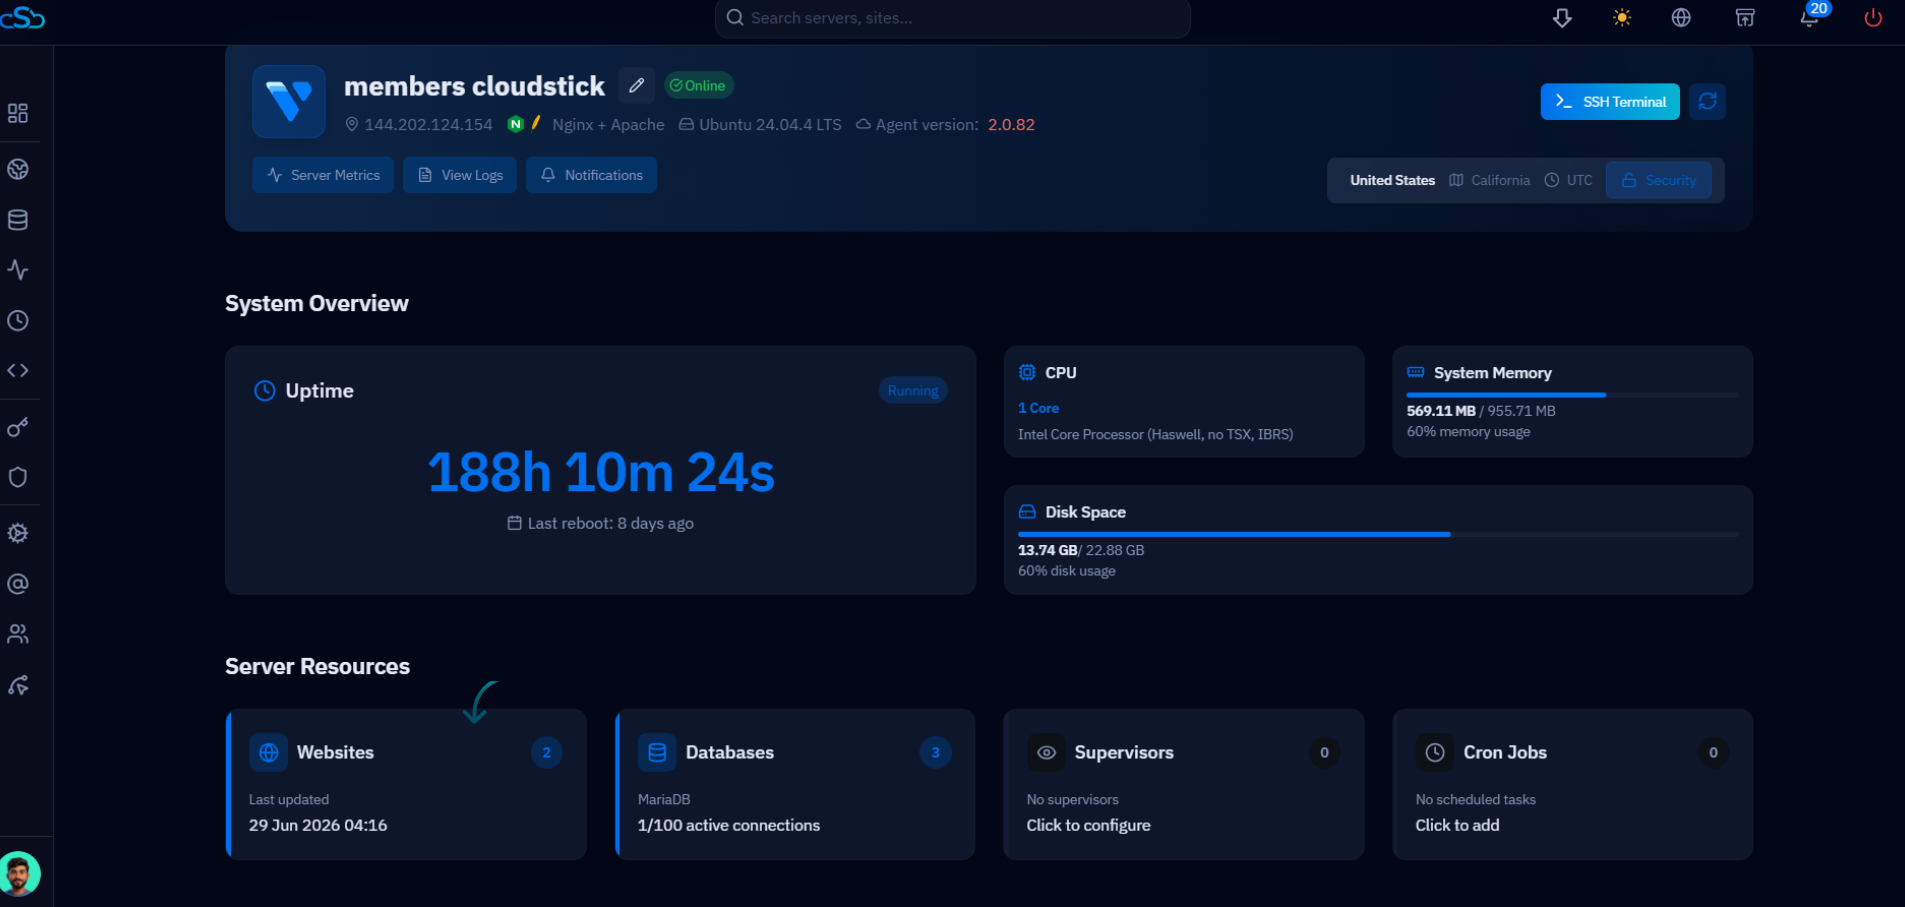
Fig. 02 — The server panel Overview tab; the Websites card under Server Resources opens the websites list.
Step 3: Select Your Website
The Websites List shows every site on the server along with its domain, system user, web stack, and PHP version.
Find your website: Locate the website whose domain you want to set up email authentication for.
Click the website: Click its name or row to open the website's management page.

Fig. 03 — The Websites List, showing each site's domain, system user, web stack, and PHP version.
Step 4: Open Email Authentication
The website's management page has its own Email Accounts tab, where email authentication is configured alongside mailbox management and webmail access.
Click Email Accounts: Open the Email Accounts tab from the top navigation of the website page.
Click Email Authentication: In the Email Accounts section, click the Email Authentication button to open the SPF, DKIM, and DMARC setup screen.
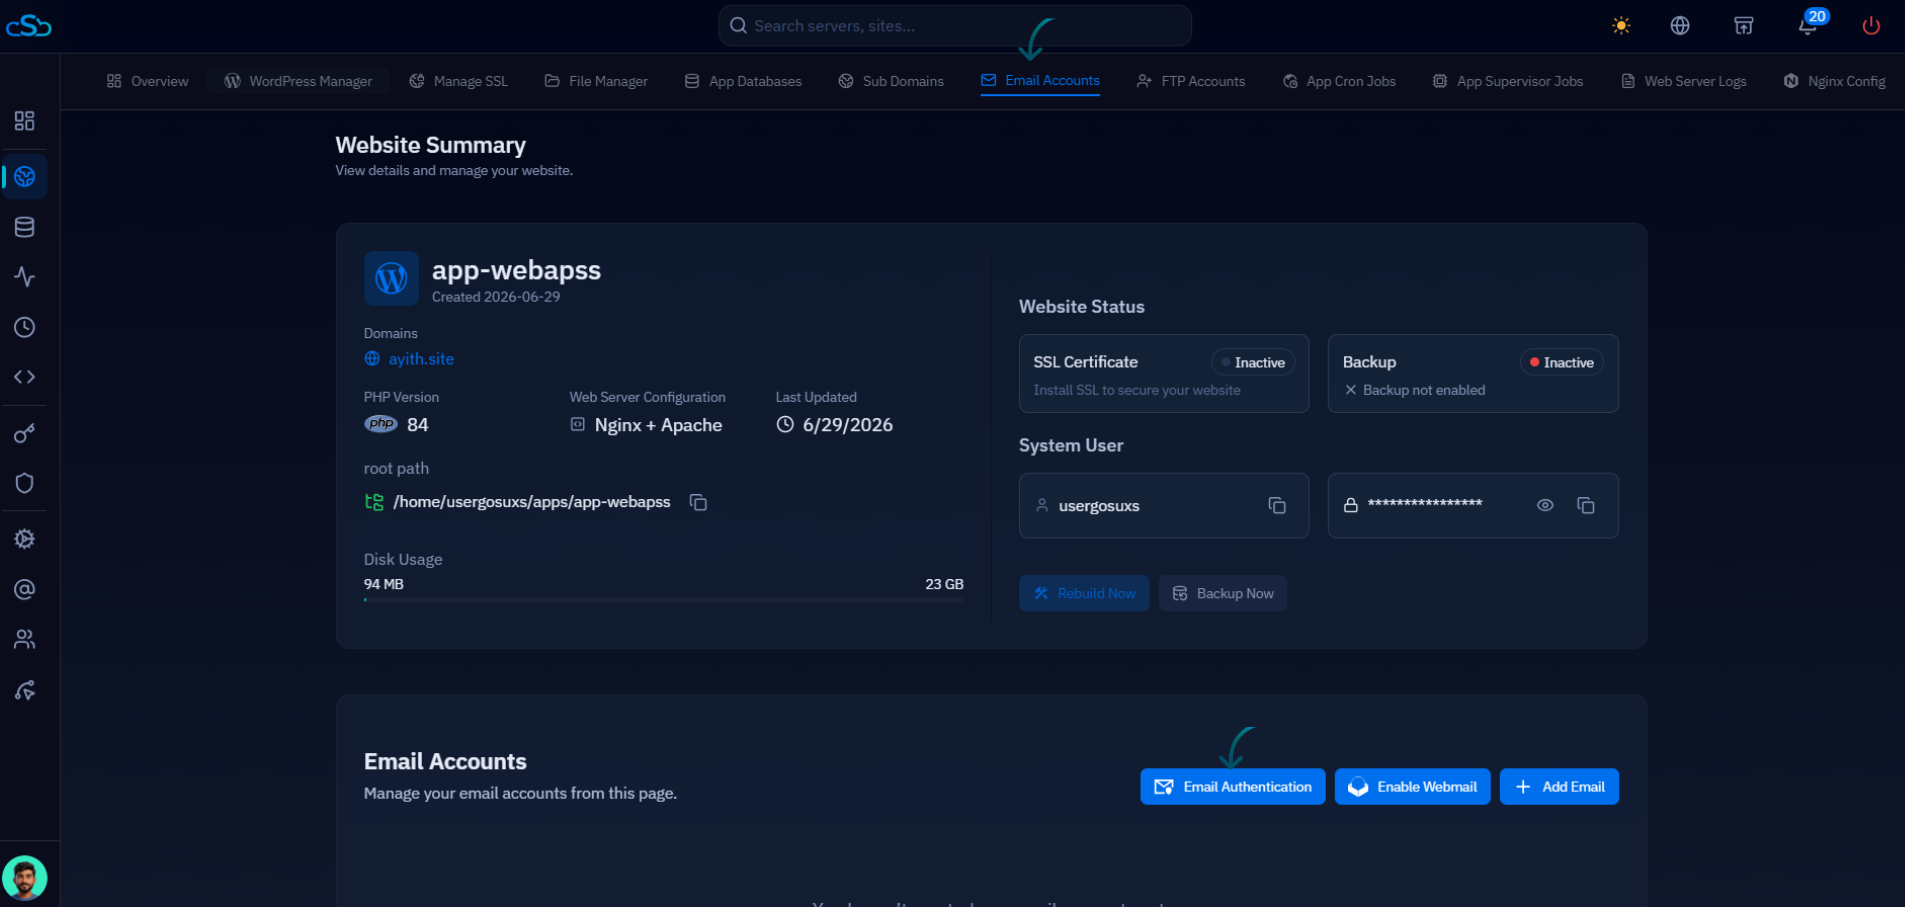
Fig. 04 — The website's Email Accounts section, with Email Authentication, Enable Webmail, and Add Email buttons.
Step 5: View Your SPF, DKIM, and DMARC Records
The Email Authentication modal generates the exact DNS records your domain needs — there's nothing to write yourself, only values to copy.
DKIM Record: A TXT record containing the public key mail servers use to verify your domain signed the message.
SPF Record: A TXT record listing the IP addresses authorized to send mail on behalf of your domain.
DMARC Record: A TXT record telling receiving mail servers what to do with messages that fail SPF or DKIM checks.
If your domain's DNS is managed by a provider other than Cloudflare, click the copy icon next to each NAME, TTL, and VALUE field and paste it into a new TXT record in your DNS provider's control panel.
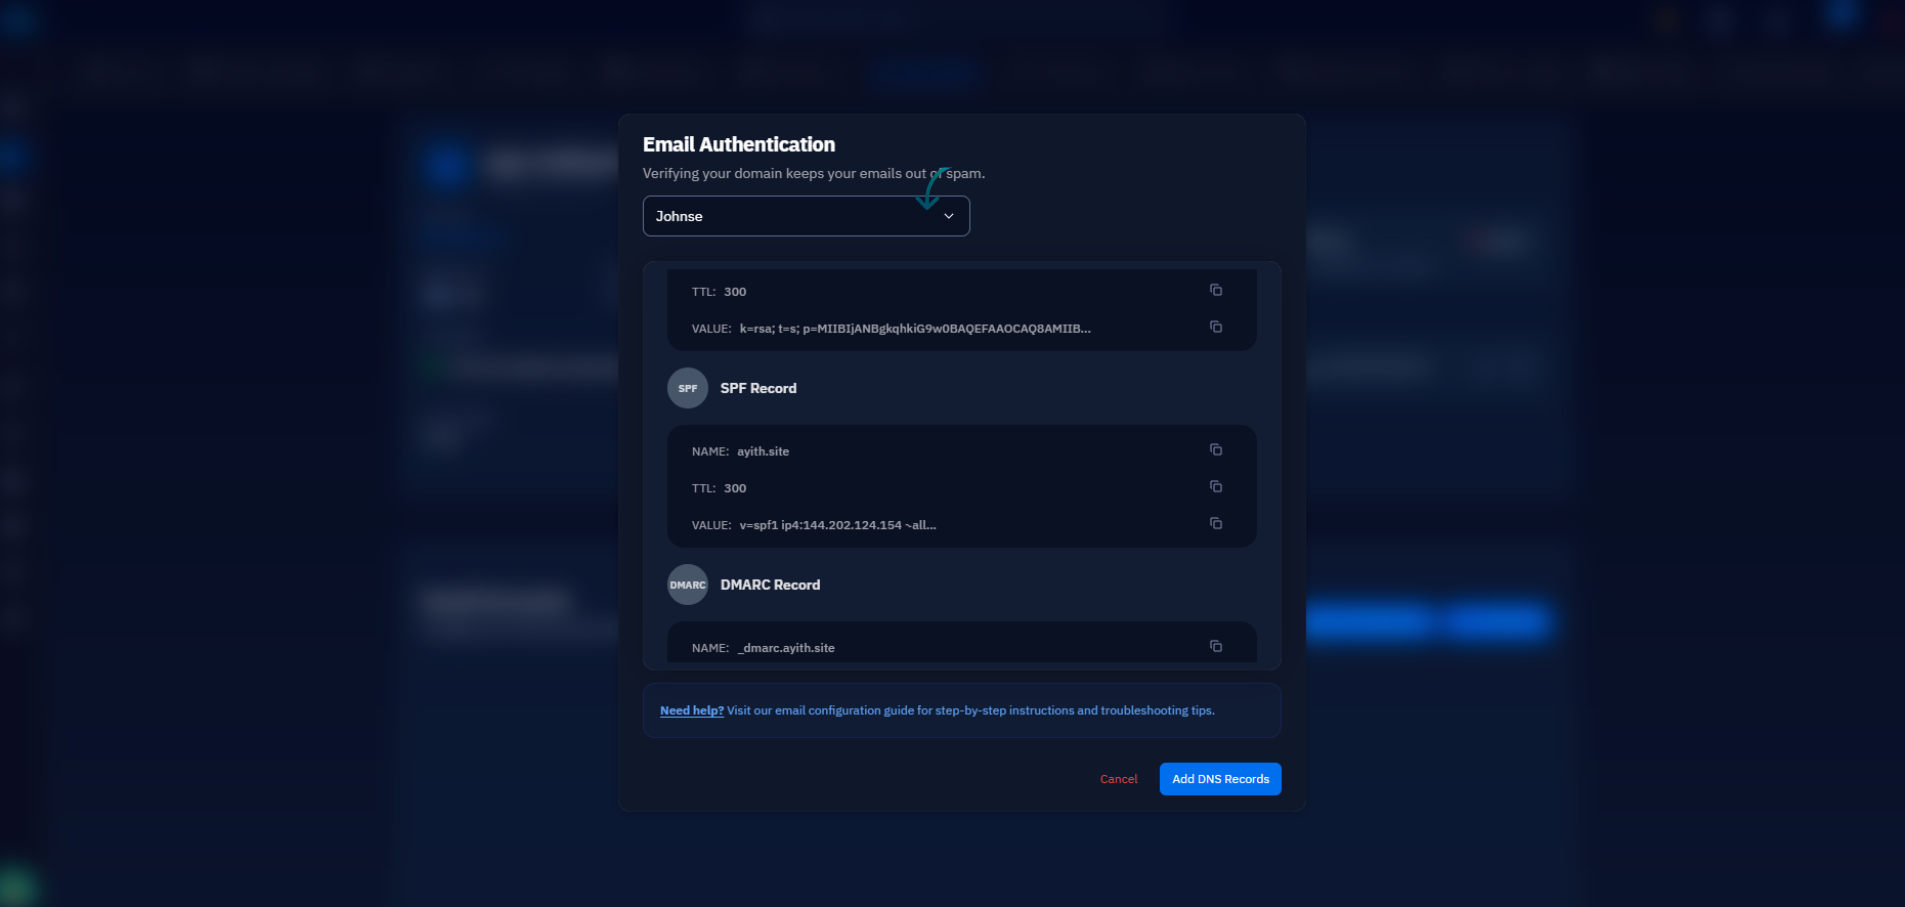
Fig. 05 — The Email Authentication modal displaying generated SPF and DMARC TXT records for manual DNS setup.
Step 6: Add Records Automatically via Cloudflare
If your domain's DNS is already managed through your Cloudflare integration, CloudStick can skip the copy-paste step entirely and write the records for you.
Select your Cloudflare account: Choose the Cloudflare account that manages this domain's DNS from the dropdown.
Click Add DNS Records: CloudStick automatically creates the required A, MX, SPF, DKIM, and DMARC records directly in your Cloudflare zone.
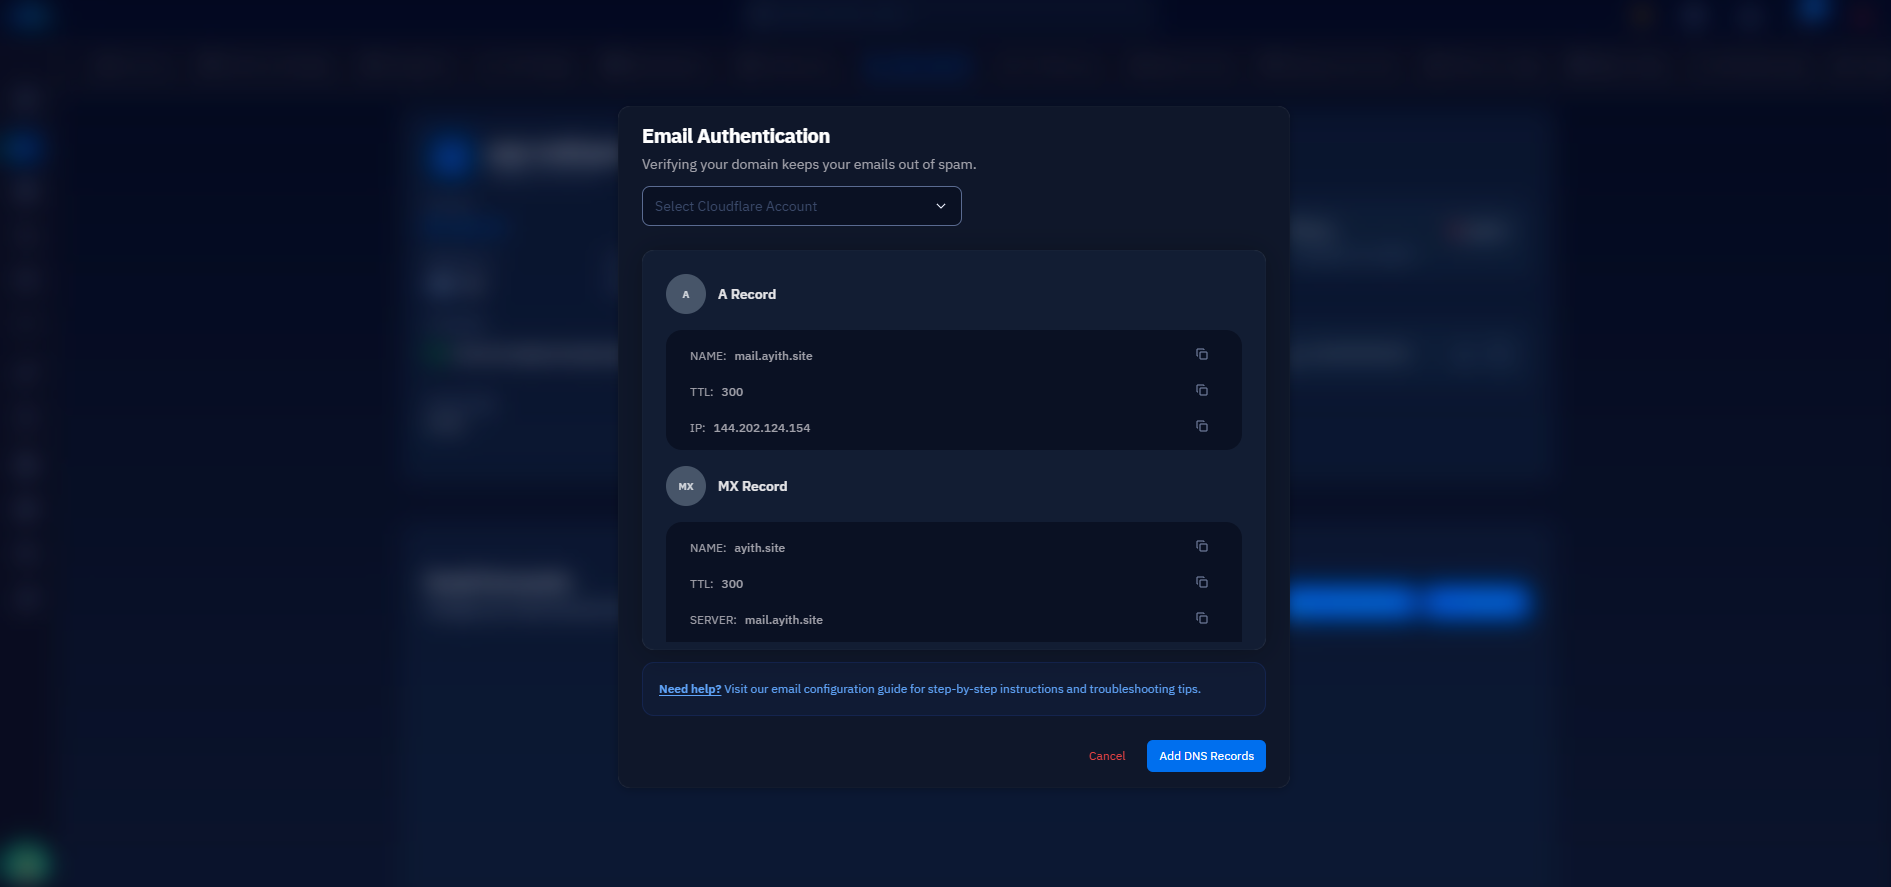
Fig. 06 — The Email Authentication modal with a Cloudflare account selected, showing the A and MX records CloudStick will create automatically.
After adding the records — manually or via Cloudflare — allow time for DNS propagation. Once propagation completes, your domain's SPF, DKIM, and DMARC checks will be active, improving deliverability and protecting your domain from spoofing.