How to Create WordPress Templates in CloudStick
Overview
CloudStick's WordPress Templates feature lets you define a reusable blueprint for new WordPress websites — bundling a specific theme and a set of plugins together under one name. Instead of manually selecting a theme and reinstalling the same plugins on every new site, you build the template once and apply it at install time with a single click.
This guide walks you through creating a WordPress template in CloudStick and using it when installing a new WordPress website on your server. This feature is available on the Business plan and ensures every new WordPress site is deployed with your preferred, consistent configuration from the start.
WordPress Templates are a Business plan feature. Make sure your account is on the Business plan before following this guide.
Step 1: Navigate to WordPress Templates
WordPress Templates is a dedicated section in the CloudStick dashboard, accessible directly from the main sidebar — no need to enter a specific server first.
1. Log in to your CloudStick Dashboard: Sign in at dash.cloudstick.io.
2. Click the WordPress icon in the sidebar: In the left-hand navigation, click the WordPress (WP) icon to open the WordPress Templates section.

Fig. 01 — CloudStick dashboard with the WordPress Templates icon highlighted in the left sidebar.
3. Review existing templates: The WordPress Templates page lists all templates you have created so far. Each card shows the template name and the theme it is built on.
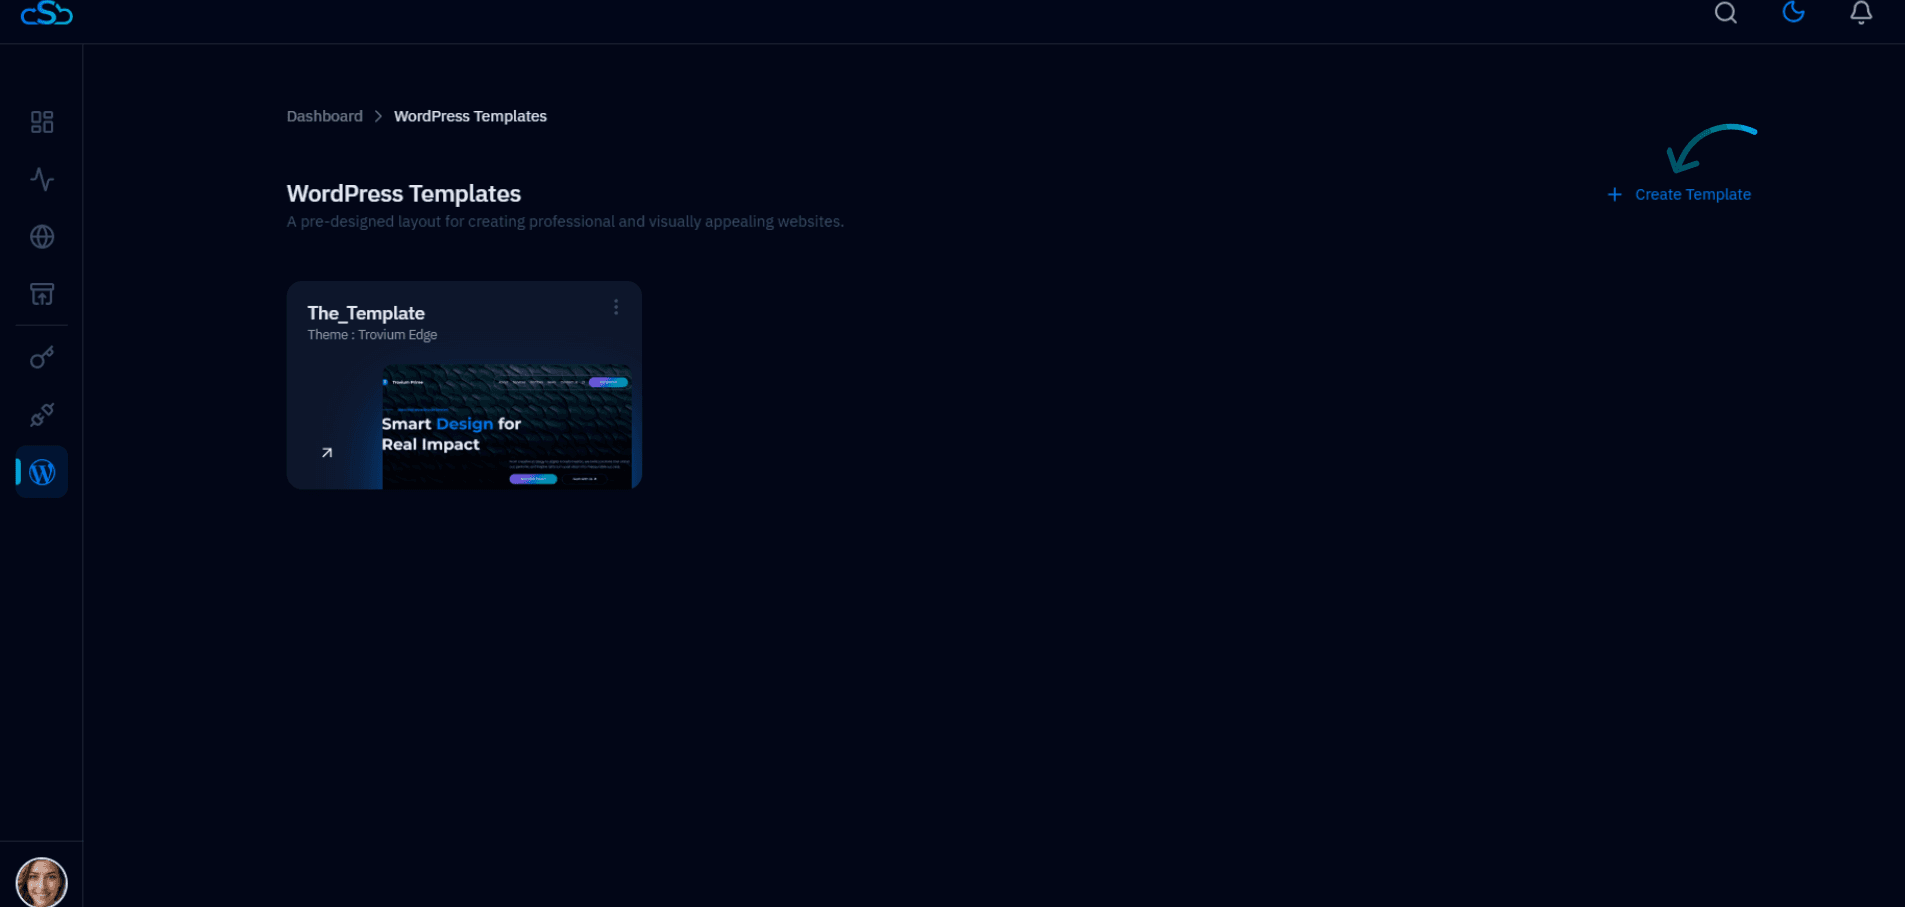
Fig. 02 — WordPress Templates page showing existing templates and the + Create Template button.
Step 2: Configure Your Template
Creating a template is a three-step wizard: choose a theme, select plugins, then name and save. Work through each step in sequence.
1. Click + Create Template
In the top right of the WordPress Templates page, click + Create Template to launch the wizard.
2. Choose a Theme
The first step of the wizard presents a grid of available WordPress themes. Browse the options and click the one you want to use as the base for this template.
Click on your preferred theme to select it.
Click Next in the bottom right to proceed to plugin selection.
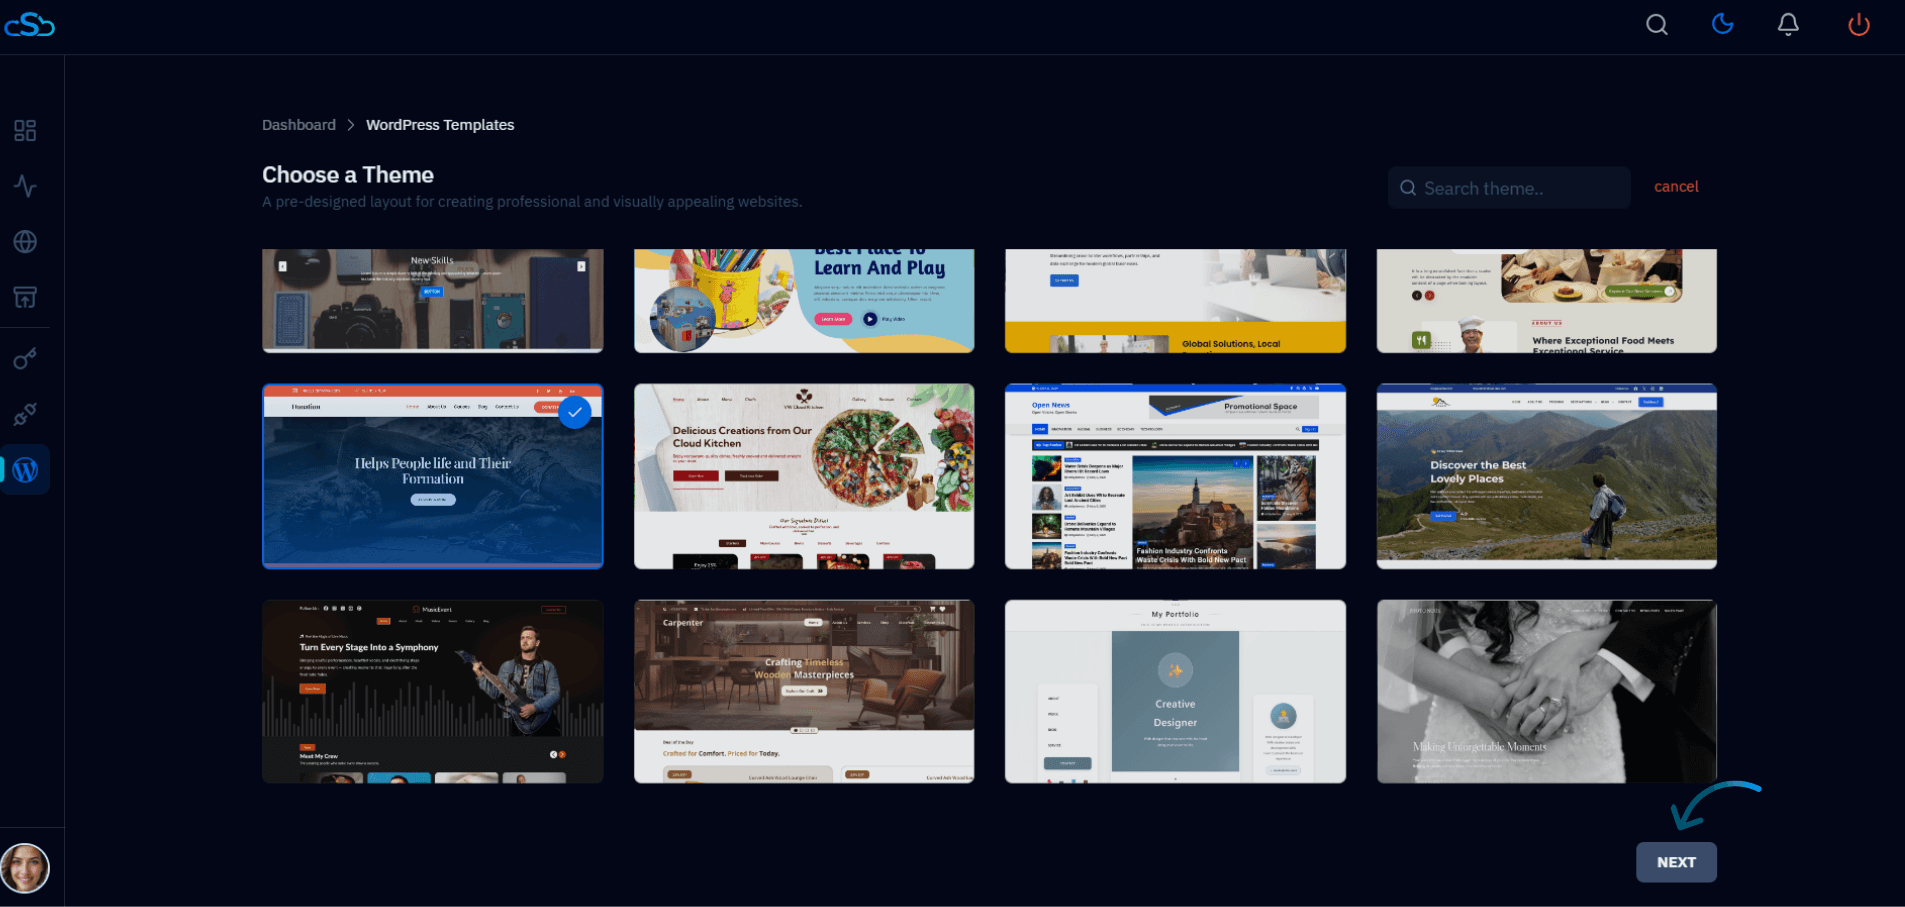
Fig. 03 — Choose a Theme screen showing the available WordPress theme library.
3. Choose Suitable Plugins
The second step lets you select one or more plugins to bundle with the template. Any plugin you select here will be automatically installed on every WordPress site created from this template.
Browse the plugin grid and click the bookmark icon on any plugin you want to include.
Click Next to continue to the final review step.
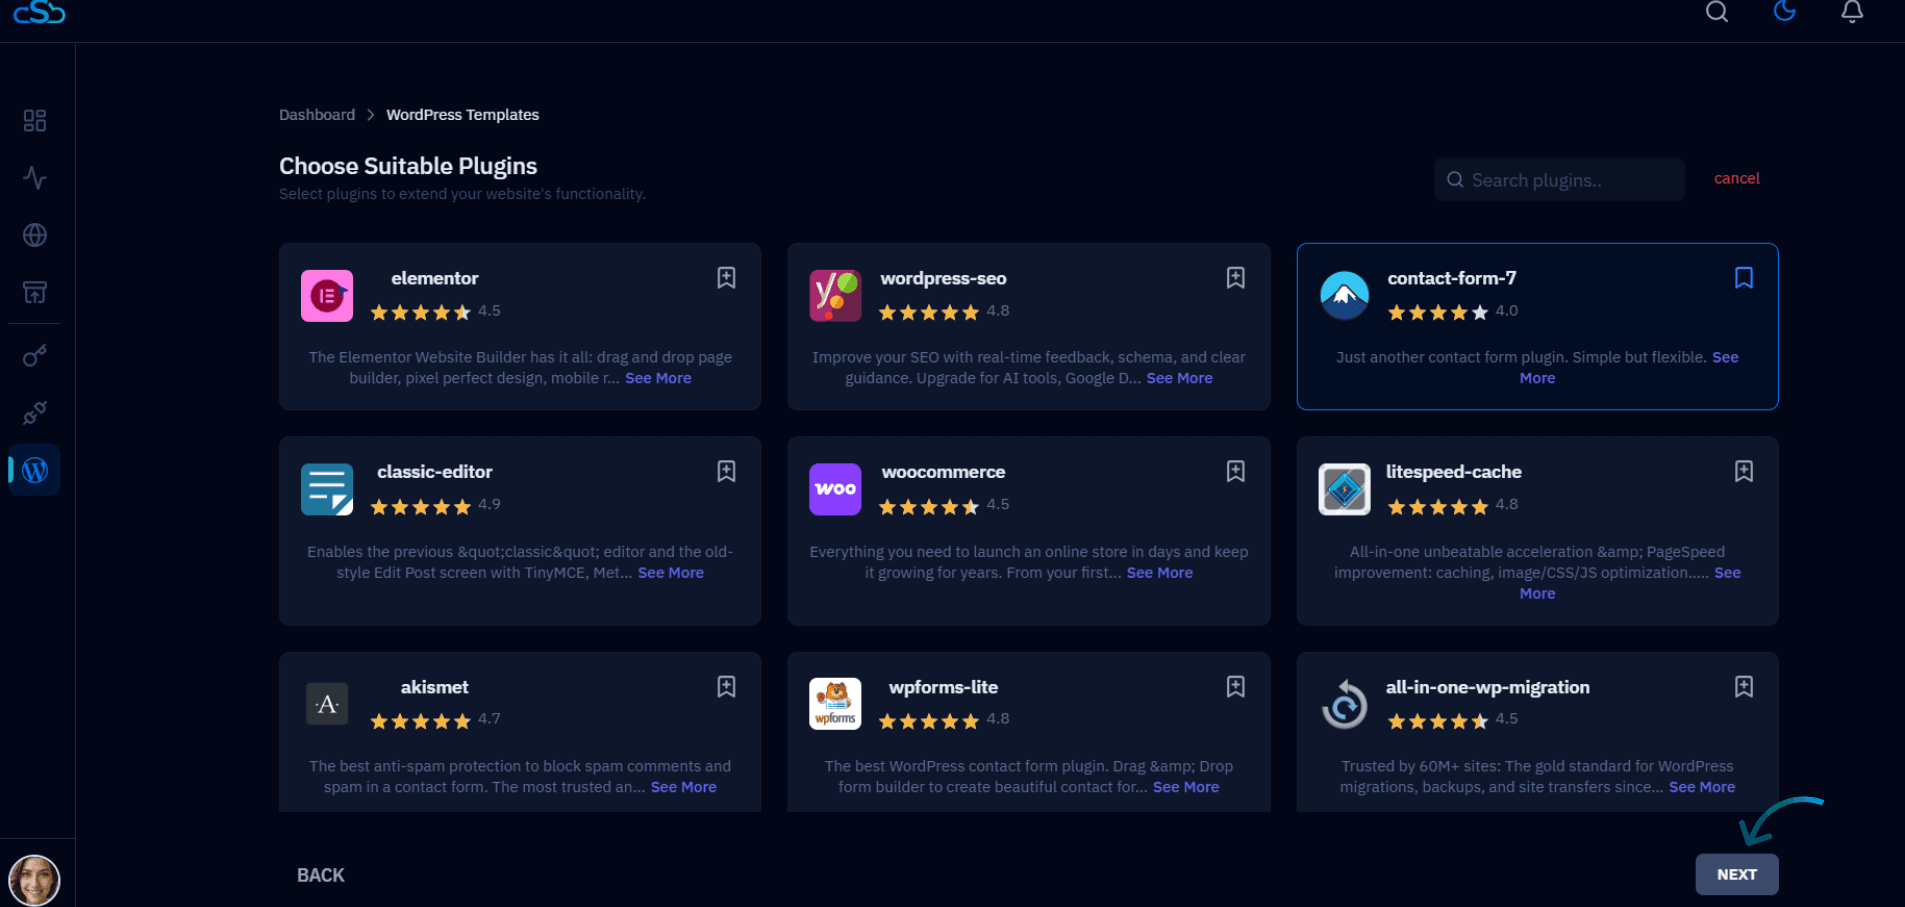
Fig. 04 — Choose Suitable Plugins screen with available WordPress plugins to include in the template.
4. Review and name your template
The final step shows a summary of your selections — the theme and all chosen plugins. Give the template a unique name so you can identify it during WordPress installation.
Selected Theme: Confirm the theme shown matches your choice.
Selected Plugins: Verify all desired plugins are listed.
Template Name: Enter a descriptive name for the template (e.g. clack-websites).
Click Create Template to save.
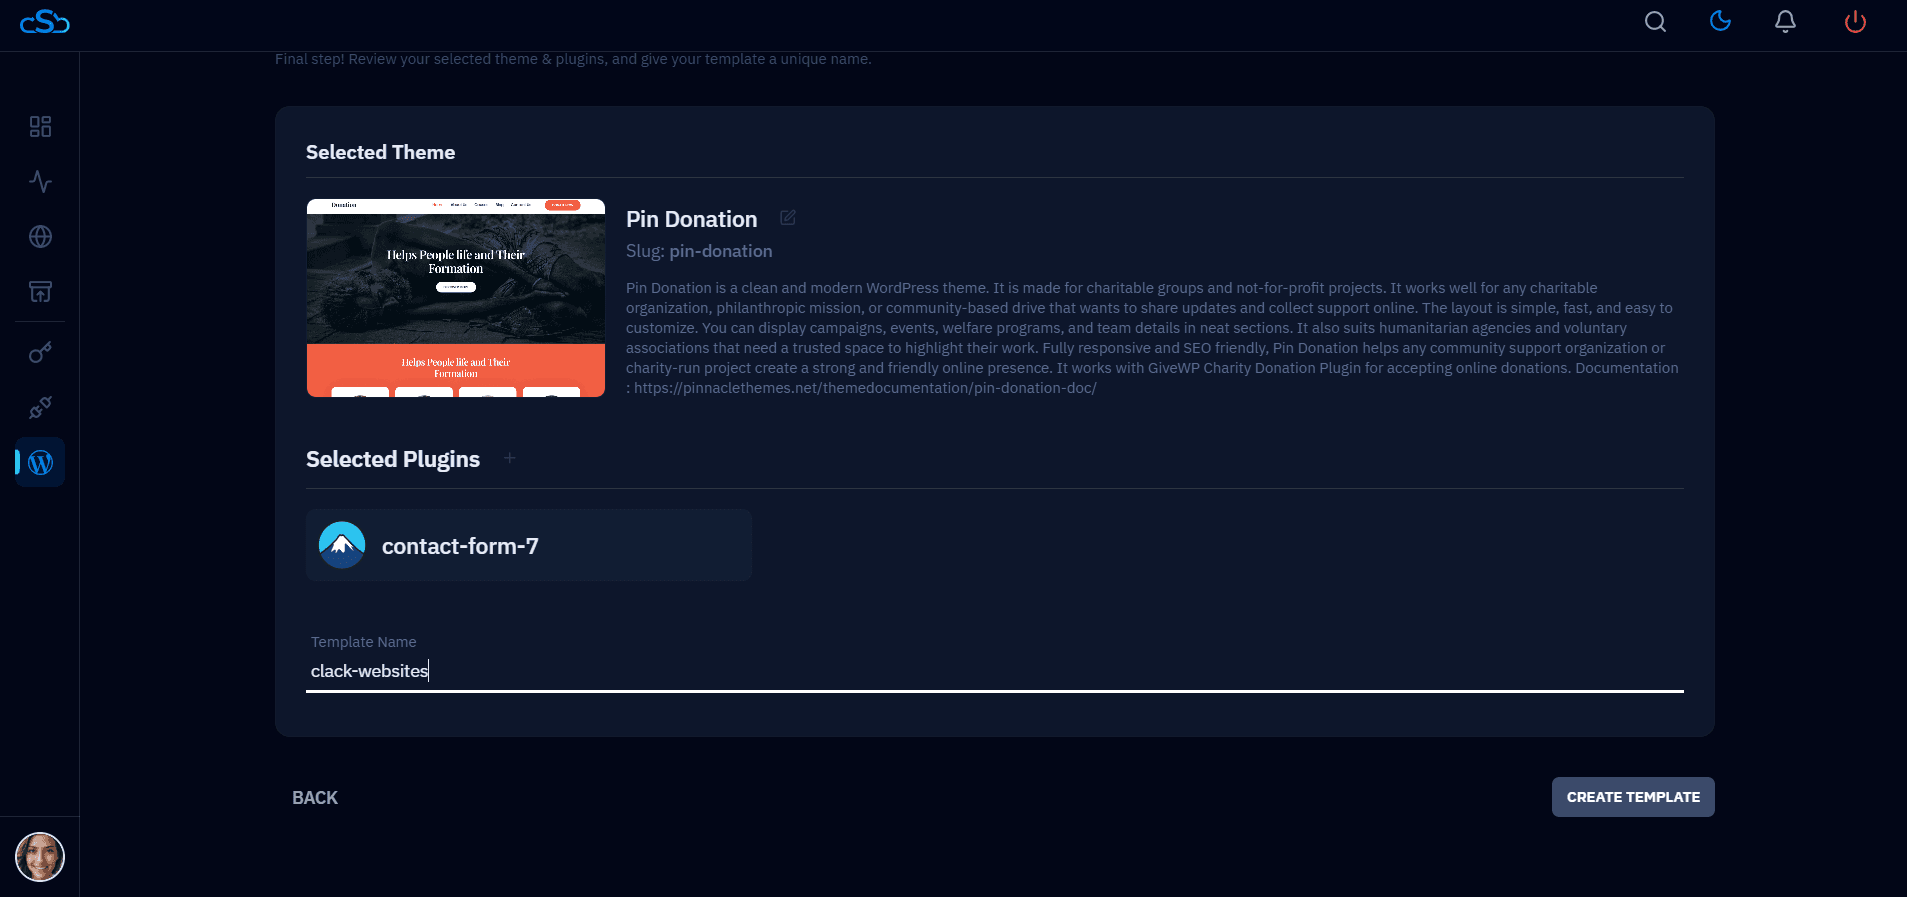
Fig. 05 — Final review step showing the selected theme, plugins, template name field, and the Create Template button.
Step 3: View Your Saved Templates
After saving, CloudStick returns you to the WordPress Templates list. Your new template now appears as a card alongside any previously created templates, ready to be applied to new WordPress installations.
Confirm your new template card appears in the list with the correct name and theme.
To edit or delete a template, click the three-dot menu (⋮) on its card.
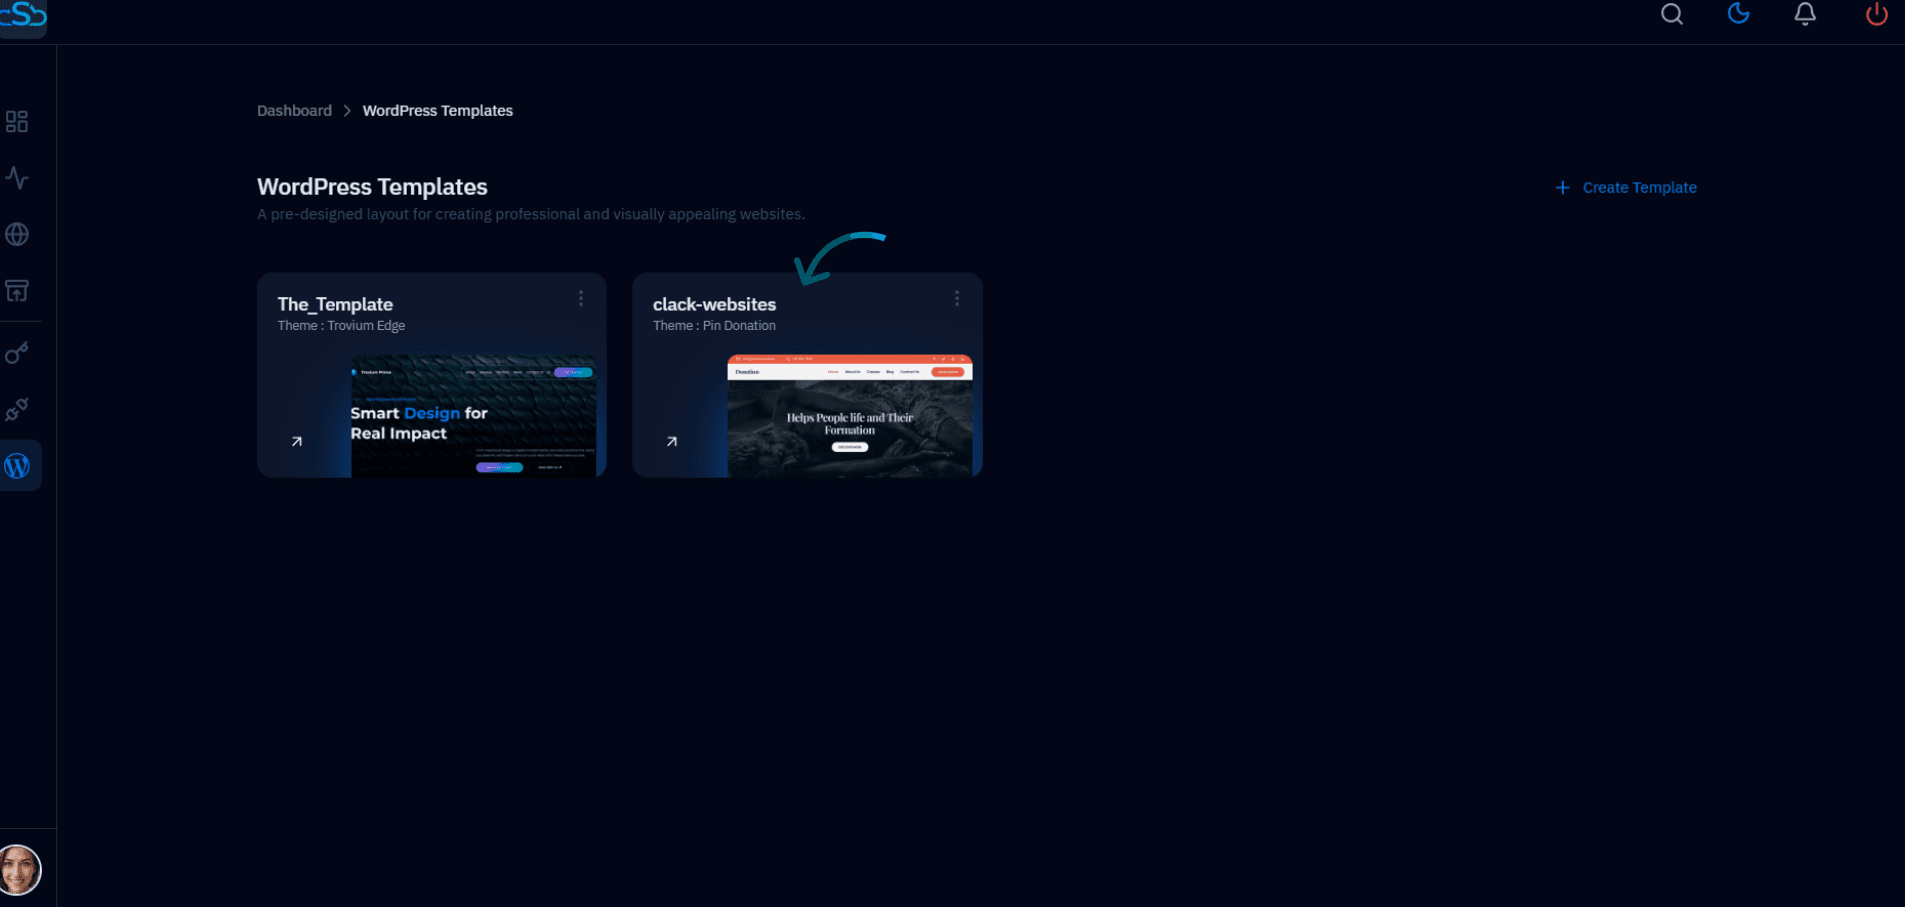
Fig. 06 — WordPress Templates list showing the newly created template alongside existing ones.
You can create multiple templates — one per project type (e.g. blog, ecommerce, landing page) — and reuse them across any number of WordPress installations on your servers.
Step 4: Use the Template During WordPress Installation
Templates are applied at install time. When creating a new WordPress website on your server, the installation form includes a dedicated Template section where you select the template to apply.
1. Start a new WordPress installation
Navigate to your server: From the dashboard, click the server where you want to install WordPress.
Go to Websites: Click Websites in the left-hand server menu.
Click Add Website: Click the Add Website button and select WordPress as the website type.
Fill in the site details: Enter your domain name, site title, admin credentials, PHP version, and web stack.
2. Select your template
Scroll down to the Template section at the bottom of the installation form. Click + Select a template to open the template picker.
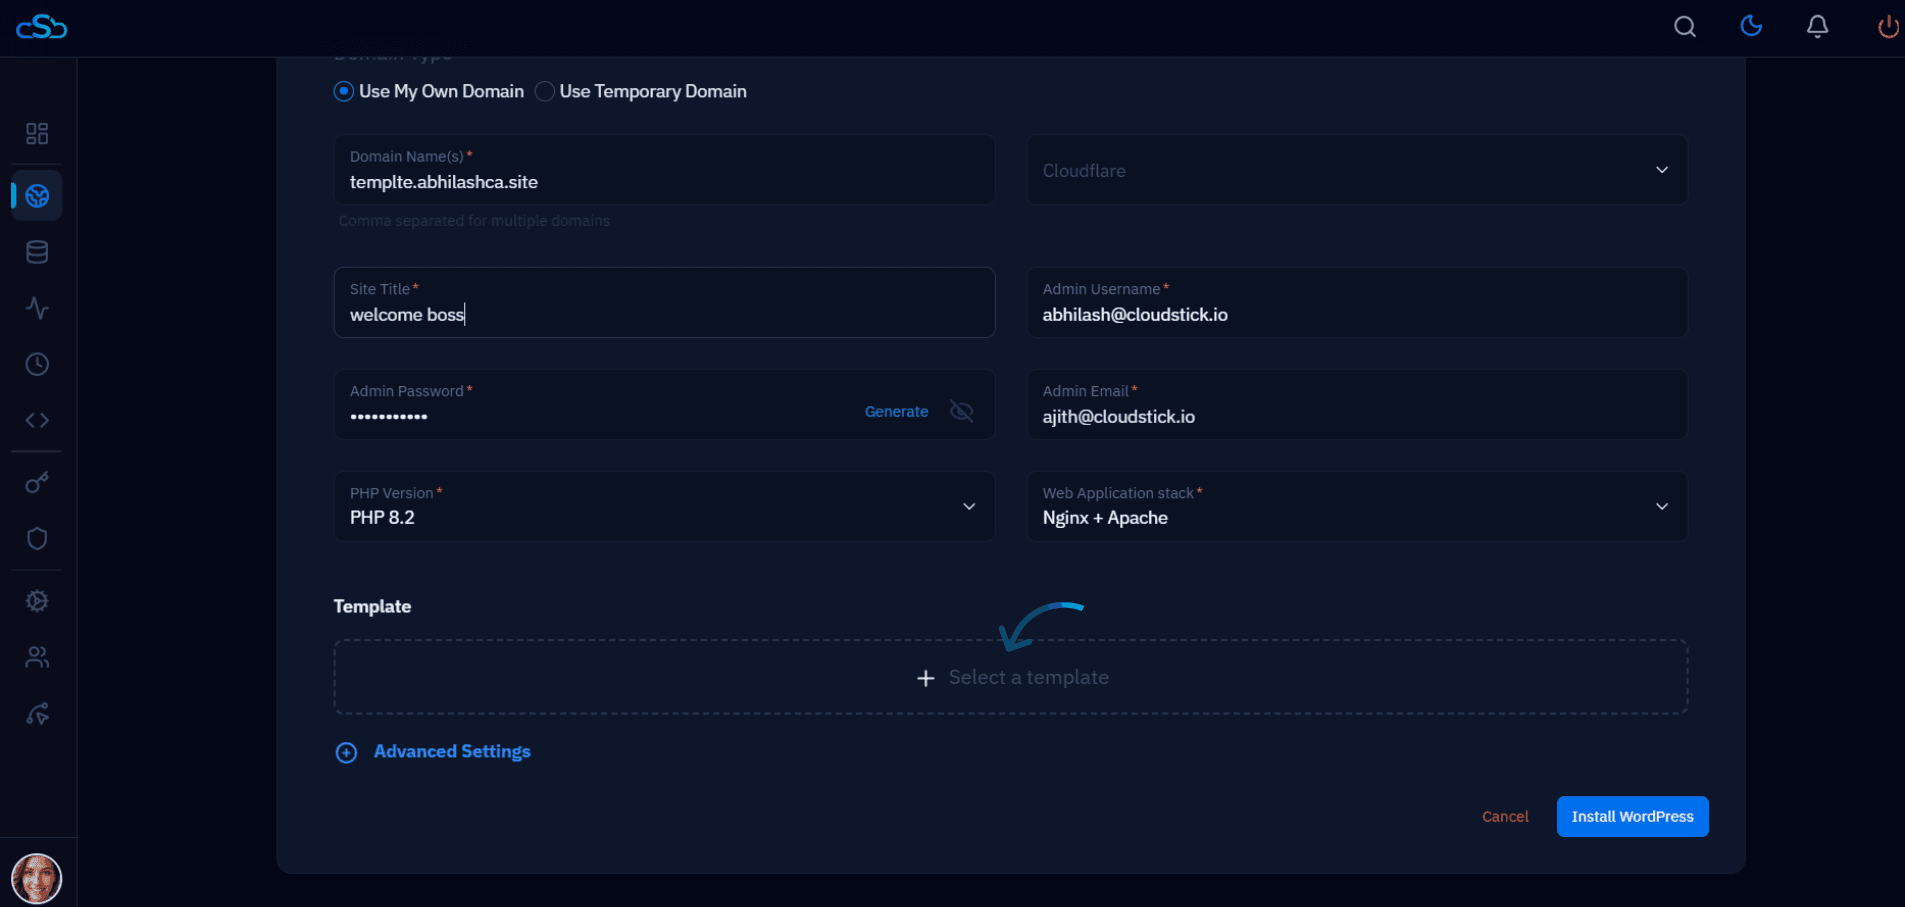
Fig. 07 — WordPress installation form showing the Template section with the + Select a template option.
In the Select Template modal, click the template you want to apply.
Click Select [template name] to confirm your choice.
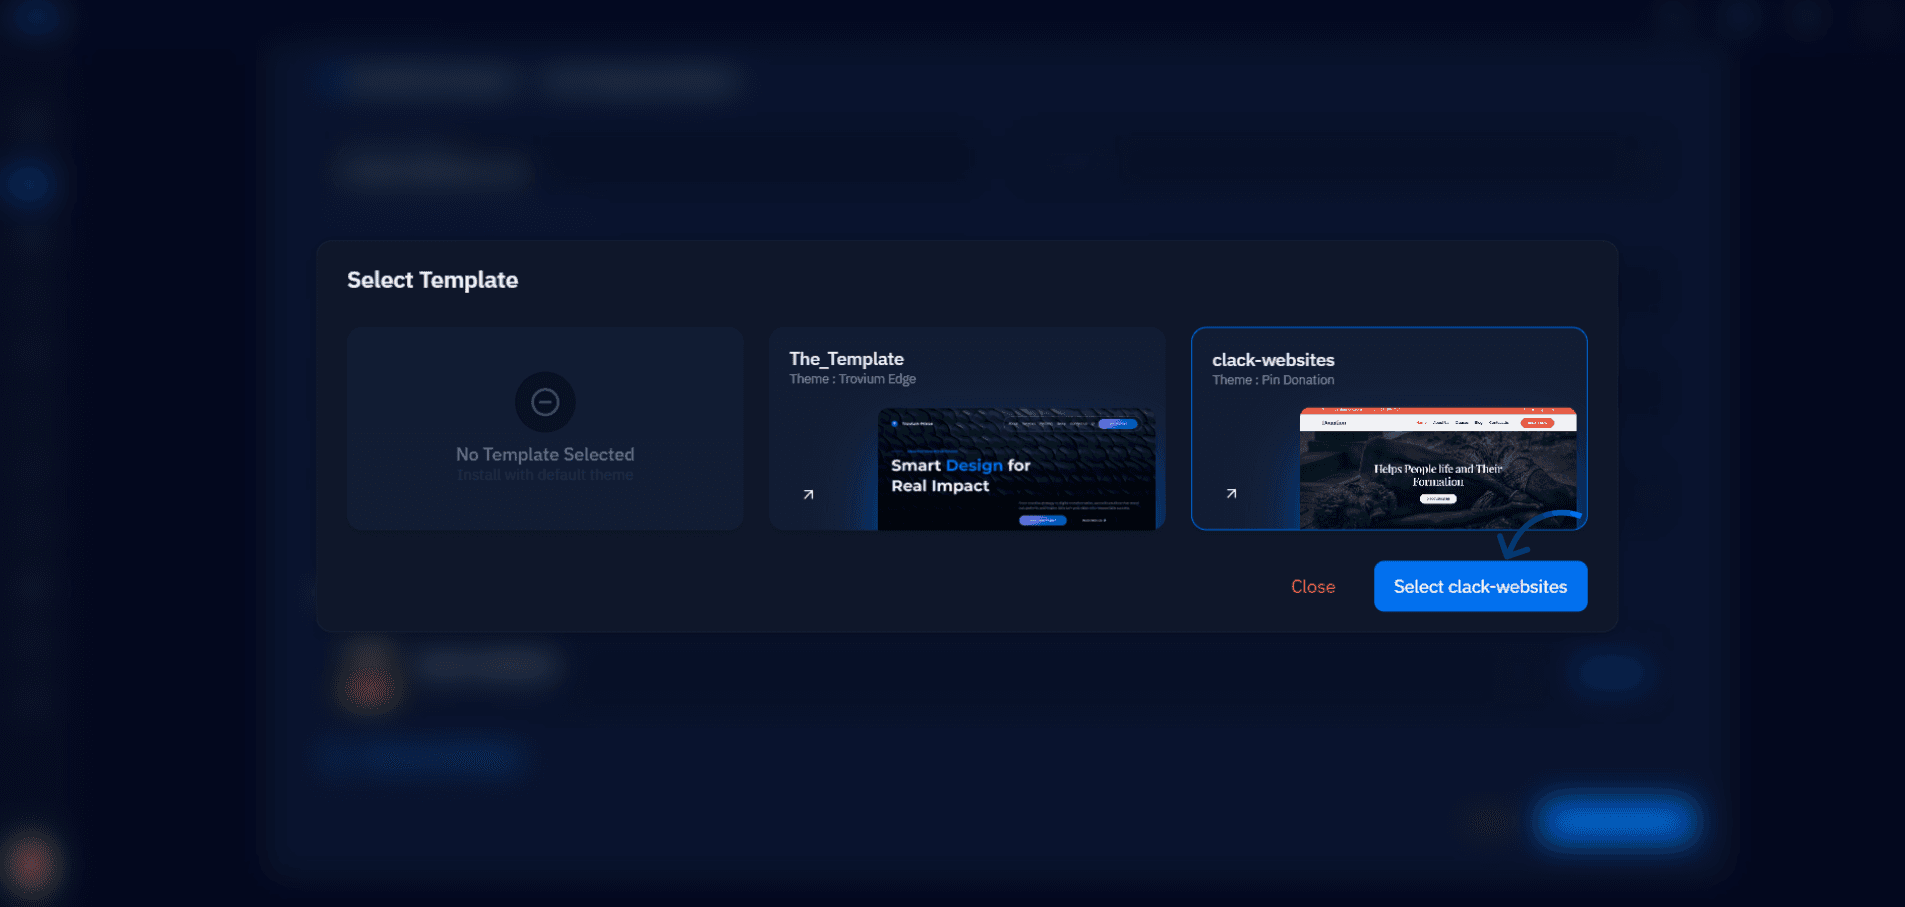
Fig. 08 — Select Template modal showing available templates to apply to the new WordPress installation.
3. Complete the installation
With the template selected, click Install WordPress.
CloudStick will install WordPress and automatically apply the template's theme and plugins to the new site.
Your WordPress website will be installed with all predefined themes and plugins from the template applied automatically. This ensures a consistent starting configuration across every site you deploy.