How to Integrate the GoDaddy API with CloudStick
Overview
Integrating the GoDaddy API with CloudStick lets you manage your GoDaddy domains' DNS records directly from the CloudStick dashboard, without ever logging into GoDaddy separately. Once the GoDaddy API integration is connected, CloudStick automatically fetches every domain registered under your GoDaddy account and gives you a single, unified DNS Manager to work from.
This guide walks you through generating a GoDaddy API key and secret, connecting the GoDaddy API integration to CloudStick, and then using the built-in DNS Manager to view your domains and manage A, AAAA, CNAME, MX, TXT, and other DNS record types.
Prerequisites: You need an active GoDaddy account with at least one registered domain. You will generate a GoDaddy API key from the GoDaddy Developer Portal, so make sure you have access to sign in to your GoDaddy account before you begin.
Step 1: Create a GoDaddy API Key
Before you can connect GoDaddy to CloudStick, you need an API key and secret — the credentials CloudStick uses to authenticate requests to your GoDaddy account on your behalf.
1. Log in to Your GoDaddy Account
Go to godaddy.com and sign in with your GoDaddy username and password.
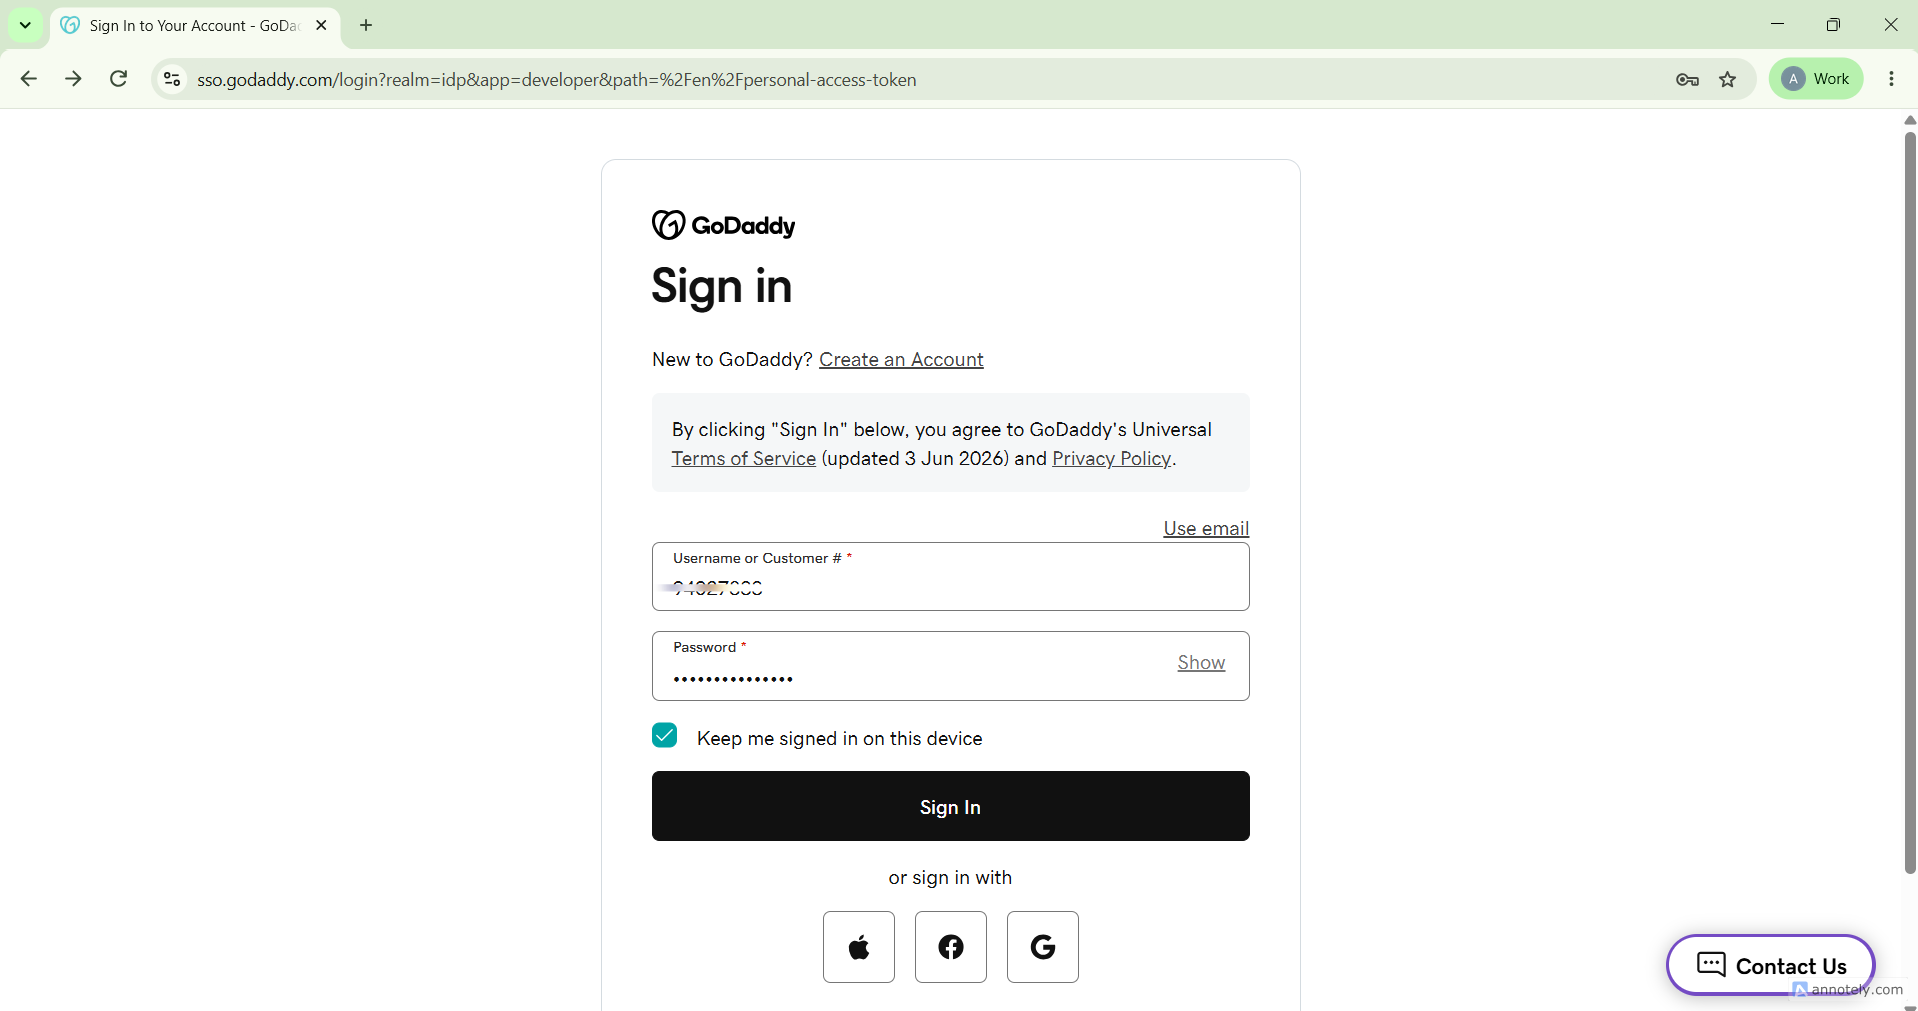
Fig. 01 — GoDaddy sign-in page.
2. Open the Classic Portal
GoDaddy's newer Developer Portal issues personal access tokens, but CloudStick's GoDaddy integration authenticates with a classic API Key / Secret pair, so you need the classic portal instead.
On the Personal Access Tokens page, find the "Need a classic API key?" notice.
Click Open classic portal to navigate to the classic API Key Management page.
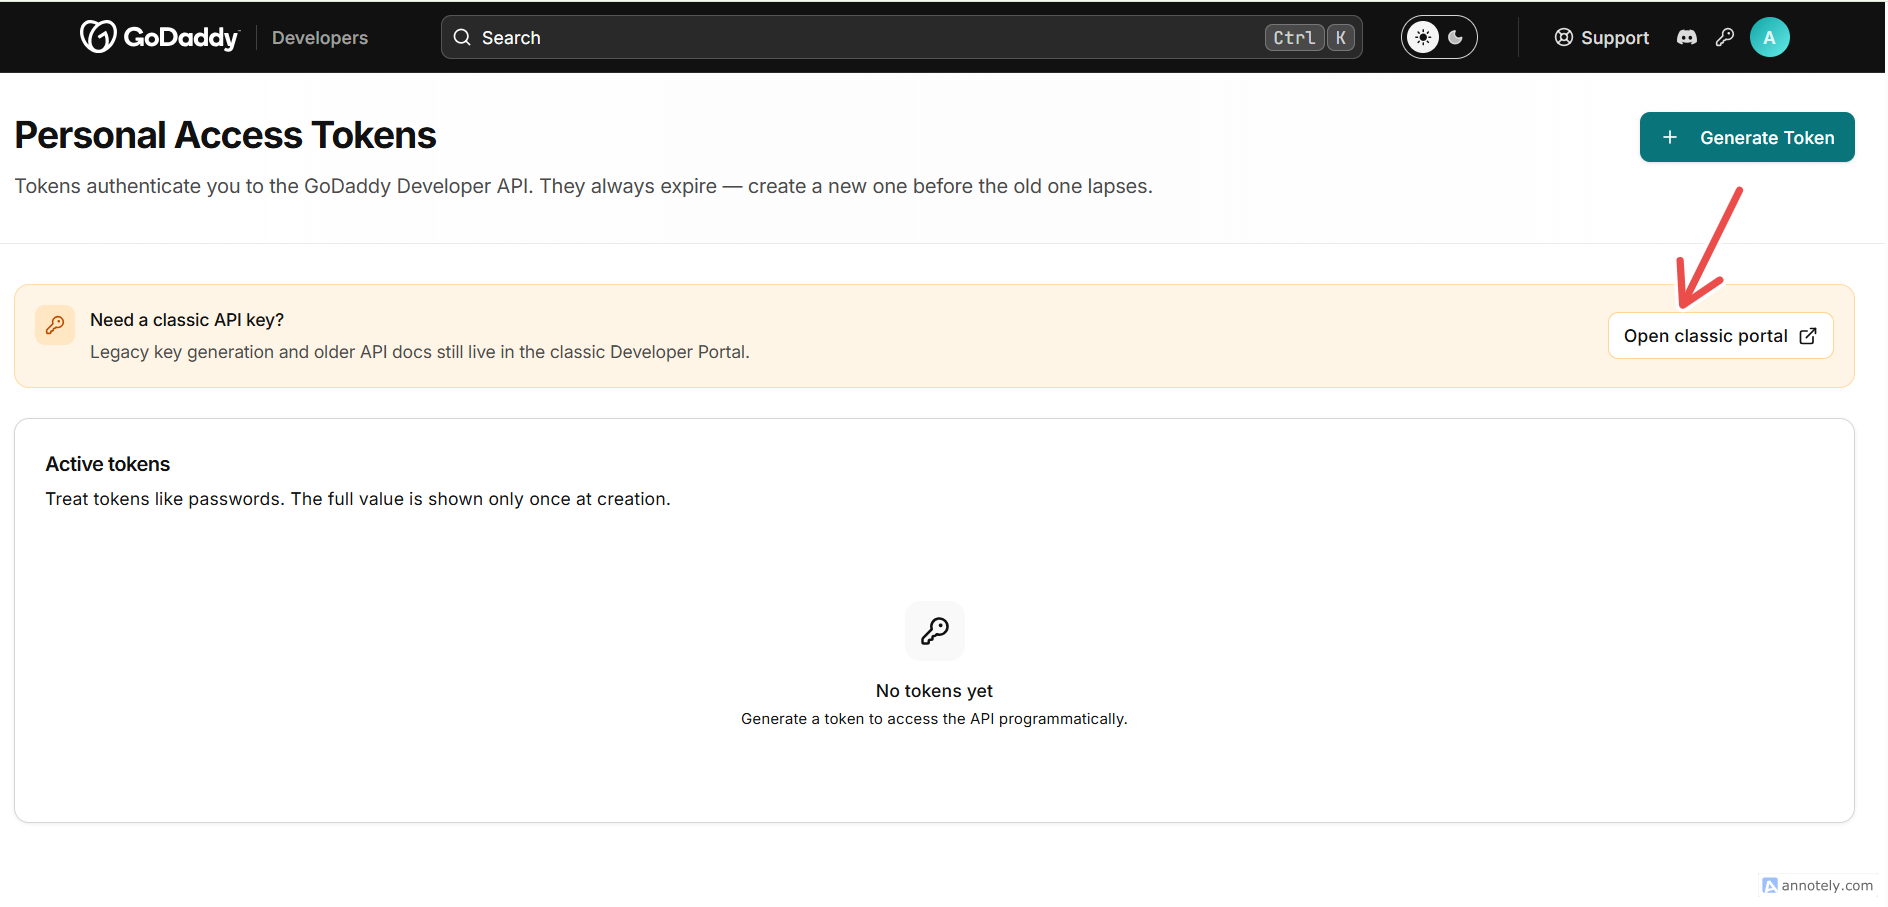
Fig. 02 — Personal Access Tokens page with the Open classic portal button.
3. Create a New API Key
On the API Key Management page, click Create New API Key in the top-right corner.
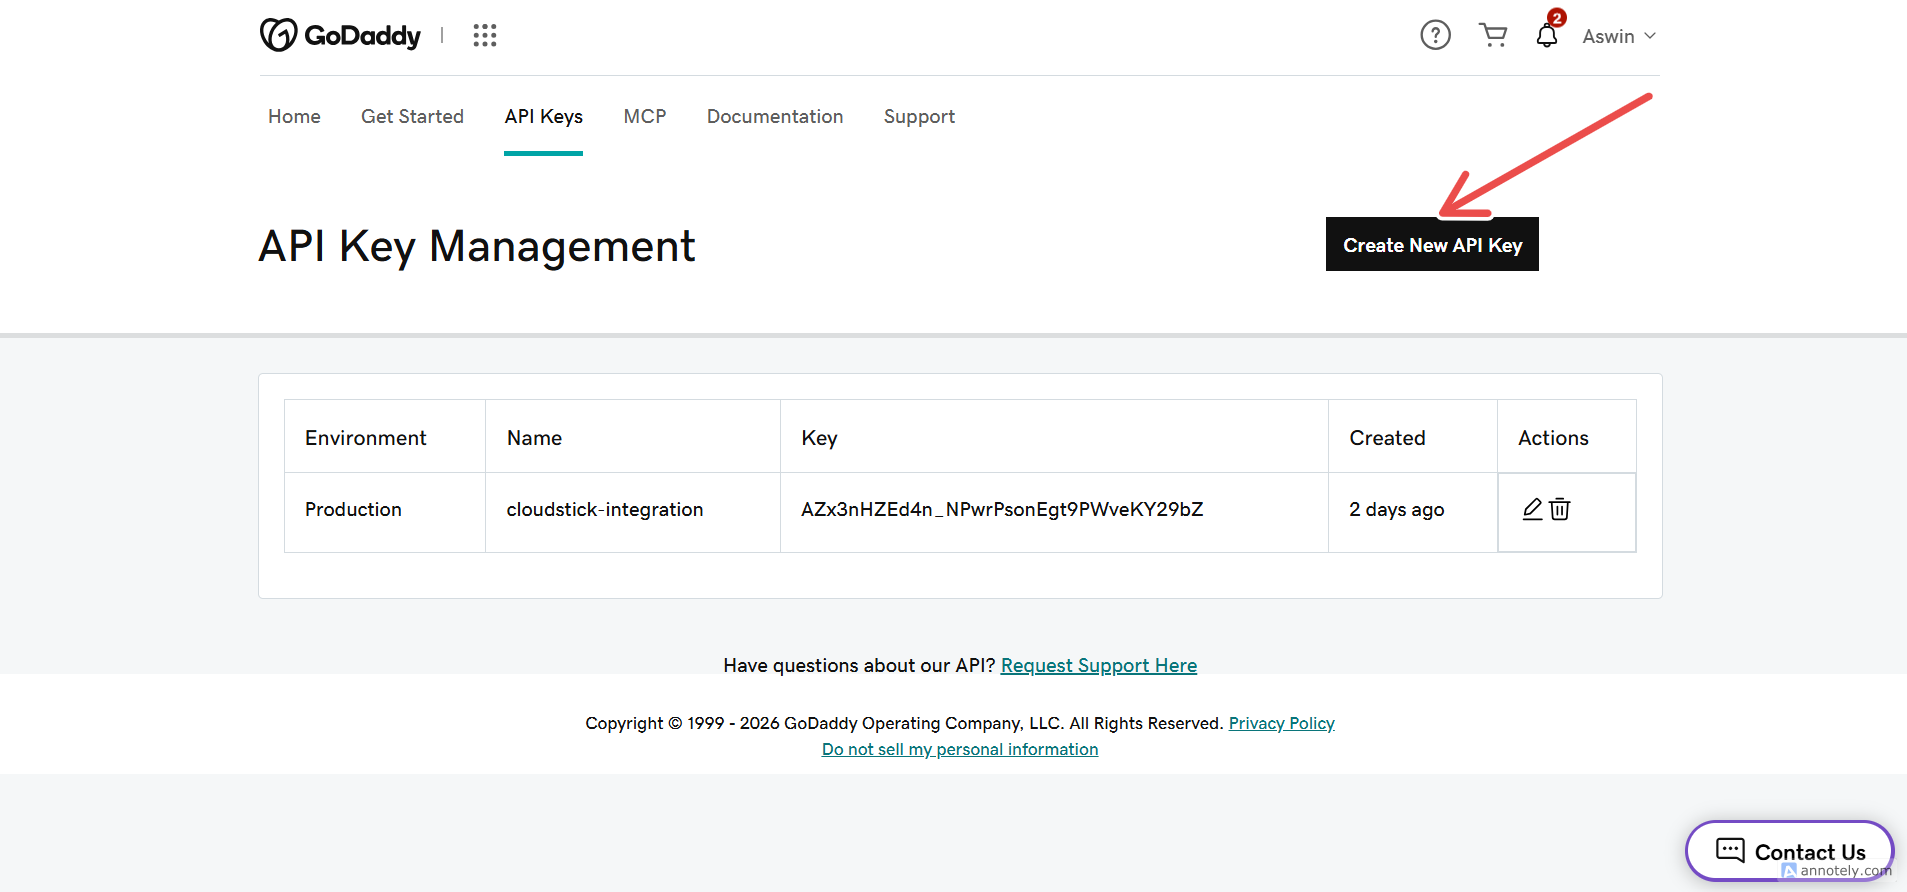
Fig. 03 — API Key Management page with the Create New API Key button.
4. Enter API Details
A two-step wizard opens. Fill in the required information:
Name: Enter a name for your API key so you can recognize it later (for example, “CloudStick Integration”).
Environment: Select Production, then click Next.
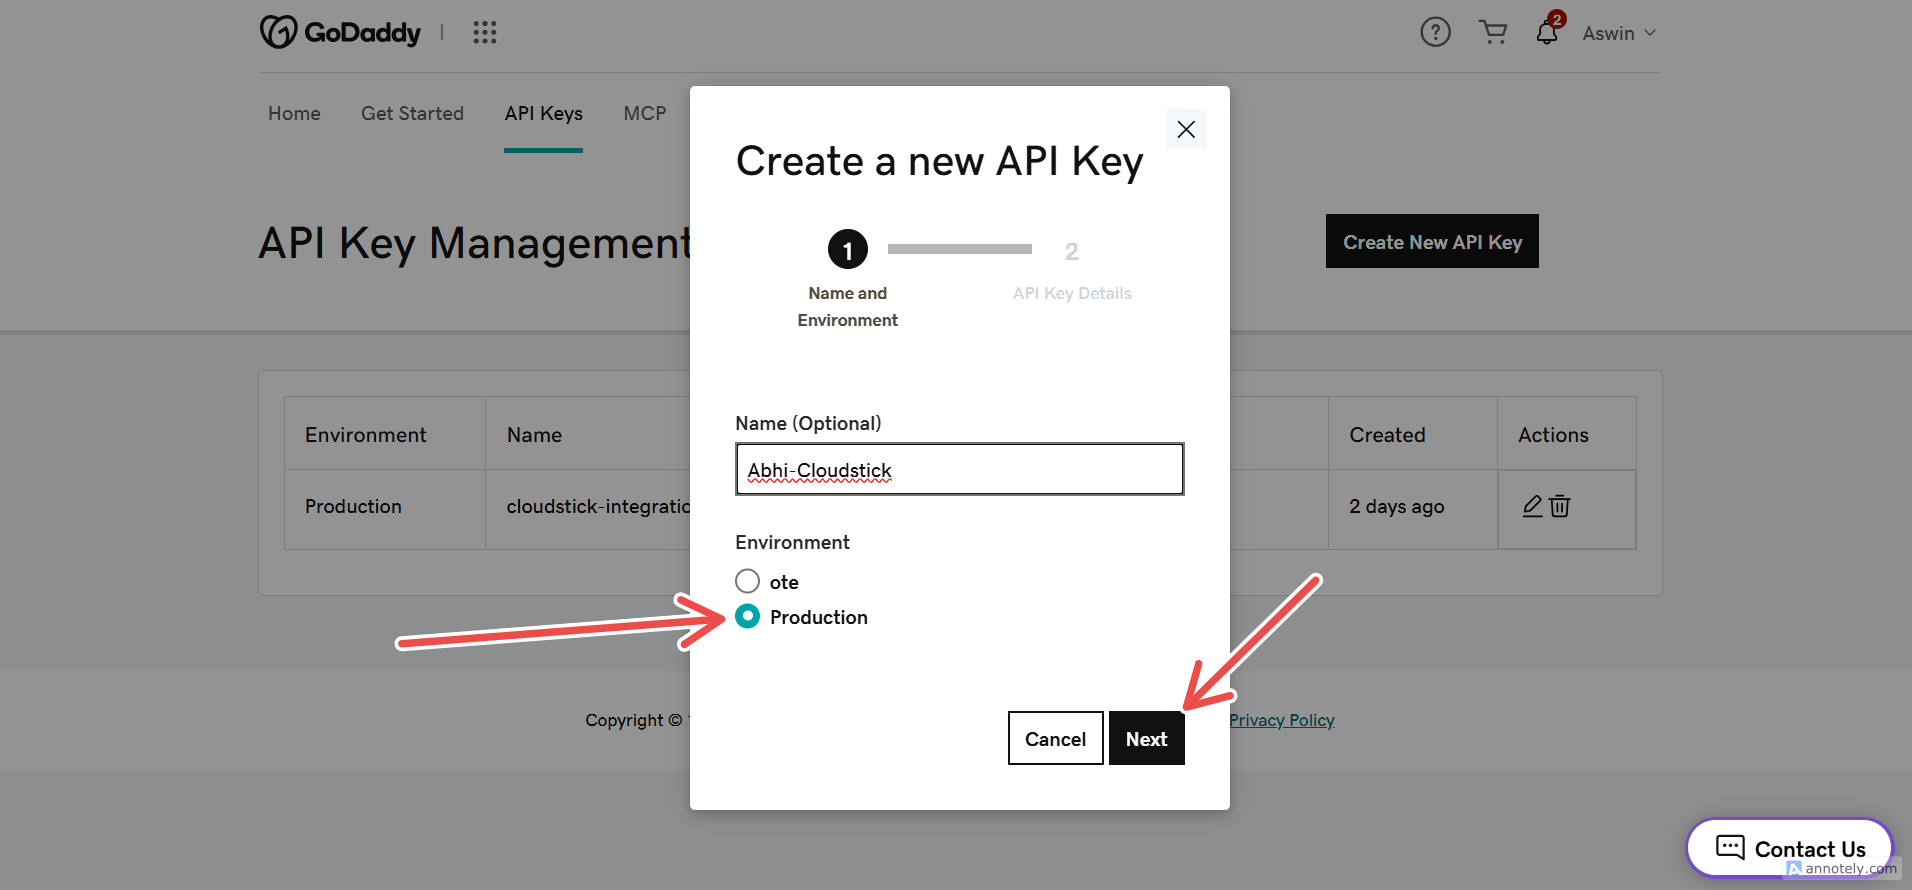
Fig. 04 — Name and Environment step of the Create a new API Key wizard, with Production selected.
After the key is created, GoDaddy reveals the Key and Secret — copy both and store them somewhere safe.
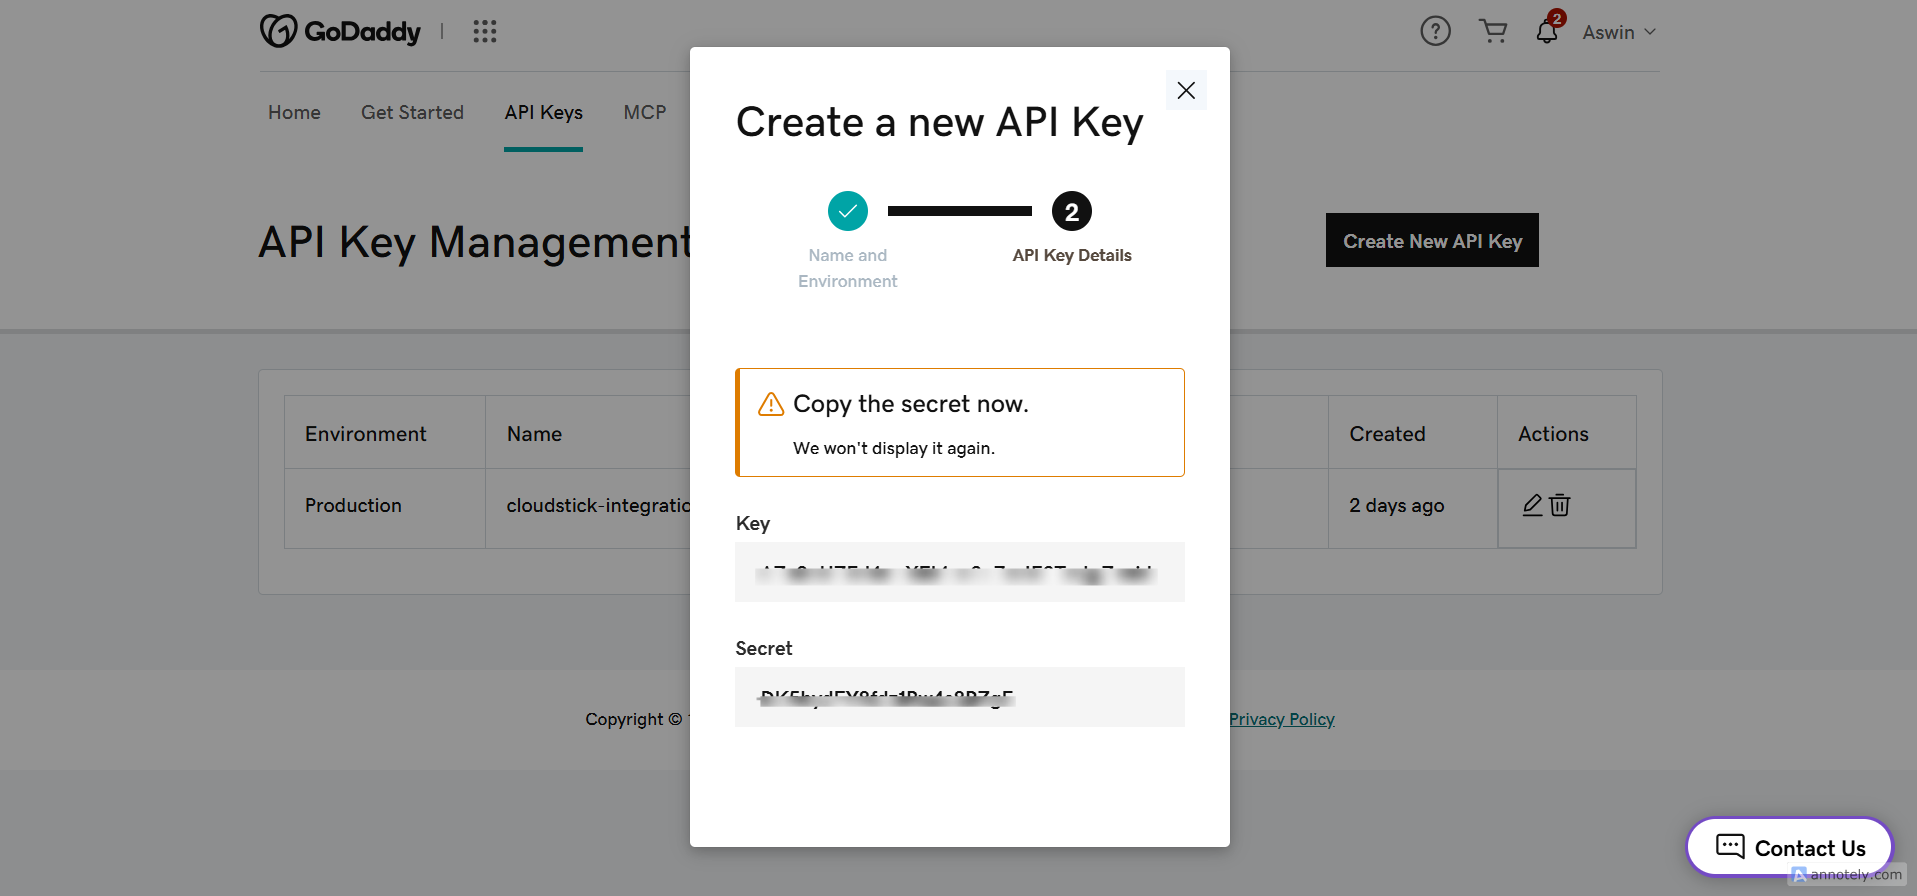
Fig. 05 — API Key Details step showing the generated Key and Secret.
Copy and save the API Secret immediately — GoDaddy will not display it again once you close this dialog.
Step 2: Add the GoDaddy API Integration in CloudStick
With your GoDaddy API key and secret ready, log in to CloudStick and add the GoDaddy API as a new third-party integration.
1. Log in and Open Third-Party Integrations
Log in to your CloudStick dashboard at app.cloudstick.io.
In the left-hand navigation, click the 3rd Party Integrations icon (highlighted in the screenshot below).
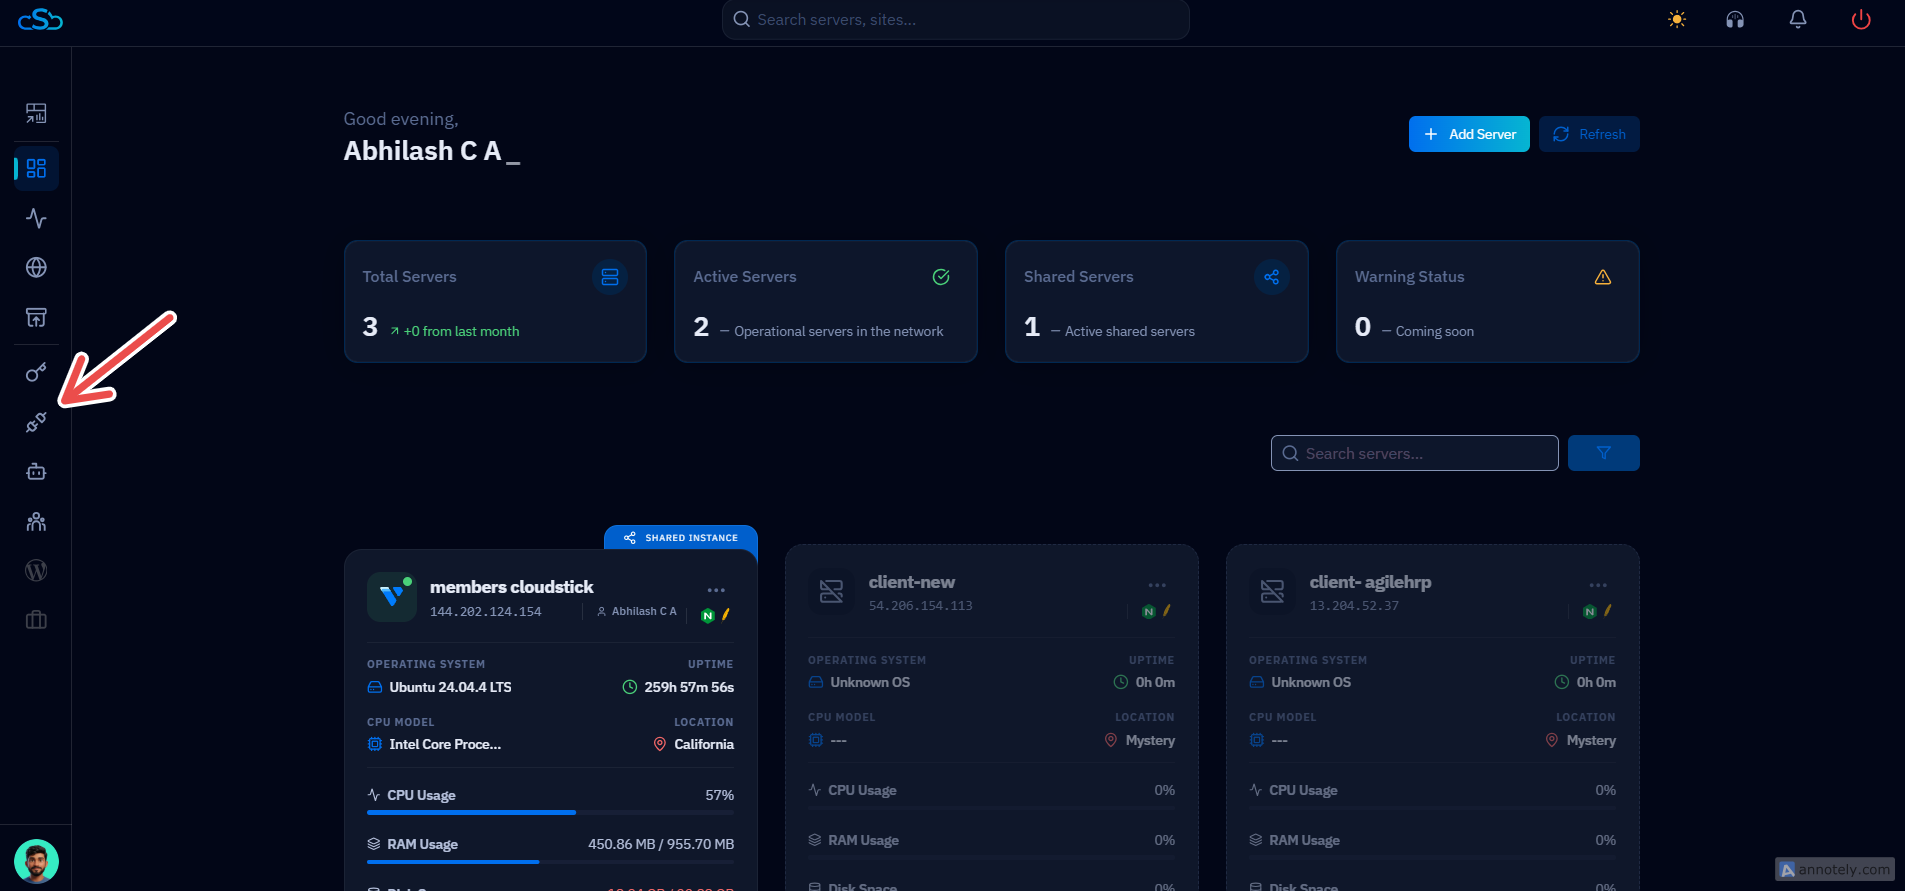
Fig. 06 — CloudStick dashboard with the 3rd Party Integrations navigation item highlighted.
2. Add a New Integration
On the 3rd Party Integration page, click + Add New in the top-right corner.
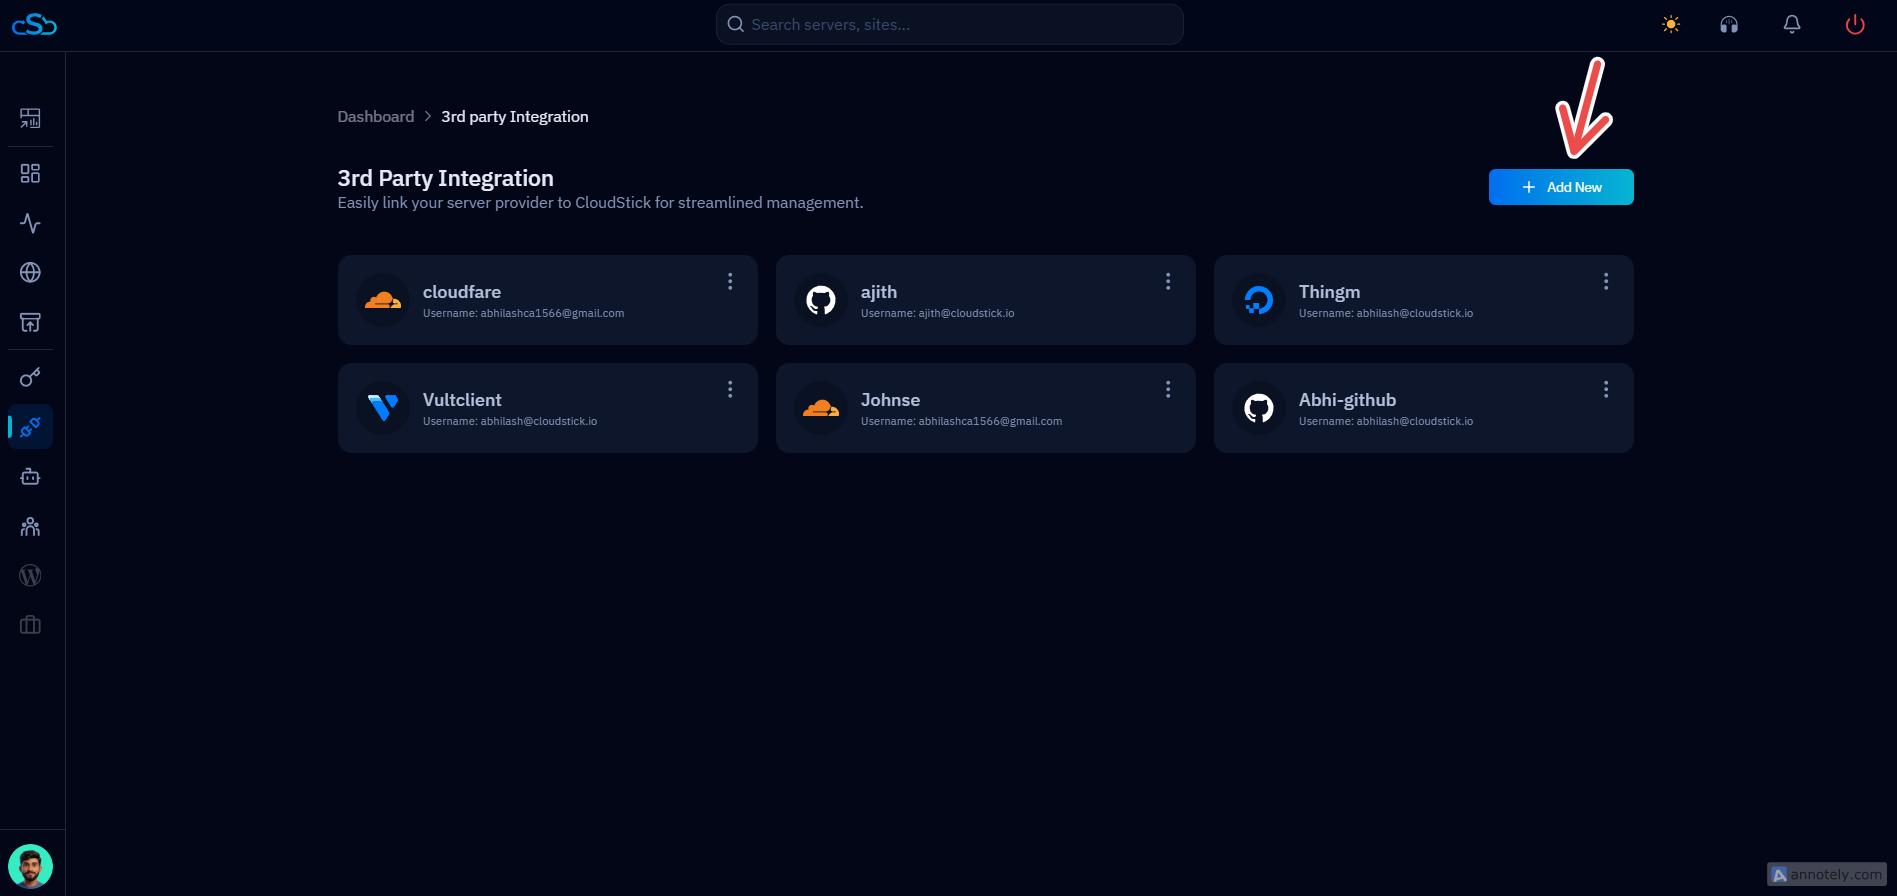
Fig. 07 — 3rd Party Integration page listing existing integrations, with the + Add New button highlighted.
3. Select GoDaddy
On the Select Provider screen, choose the GoDaddy card from the list of available integrations.
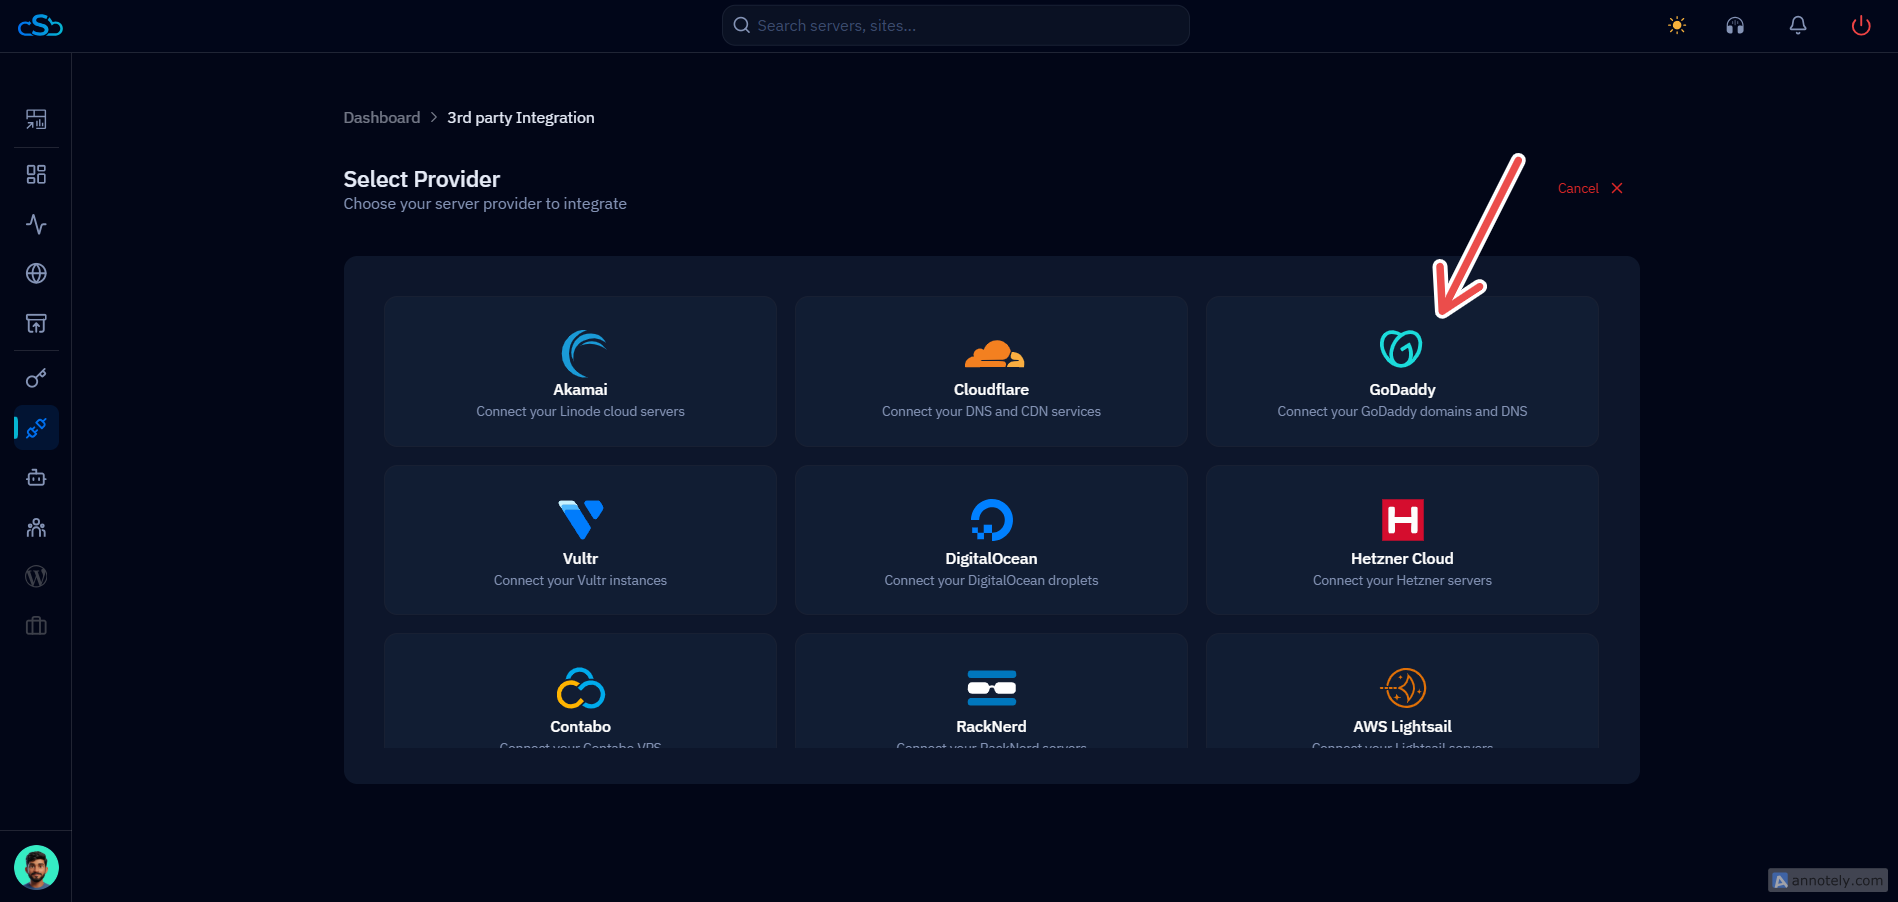
Fig. 08 — Select Provider screen with the GoDaddy card highlighted.
4. Enter Integration Details and Save
The Integration Details form opens for GoDaddy. Fill in the following fields:
Integration Label: Enter a name for the integration, so you can identify it later.
Username / Email ID / Key ID: Paste the GoDaddy API Key you copied in Step 1.
Secret Key: Paste the GoDaddy API Secret you copied in Step 1.
Your integration credentials are encrypted and securely stored, as shown by the "Secure Credentials" notice below the form.
Click Connect Integration to save. The GoDaddy API is now integrated with CloudStick.
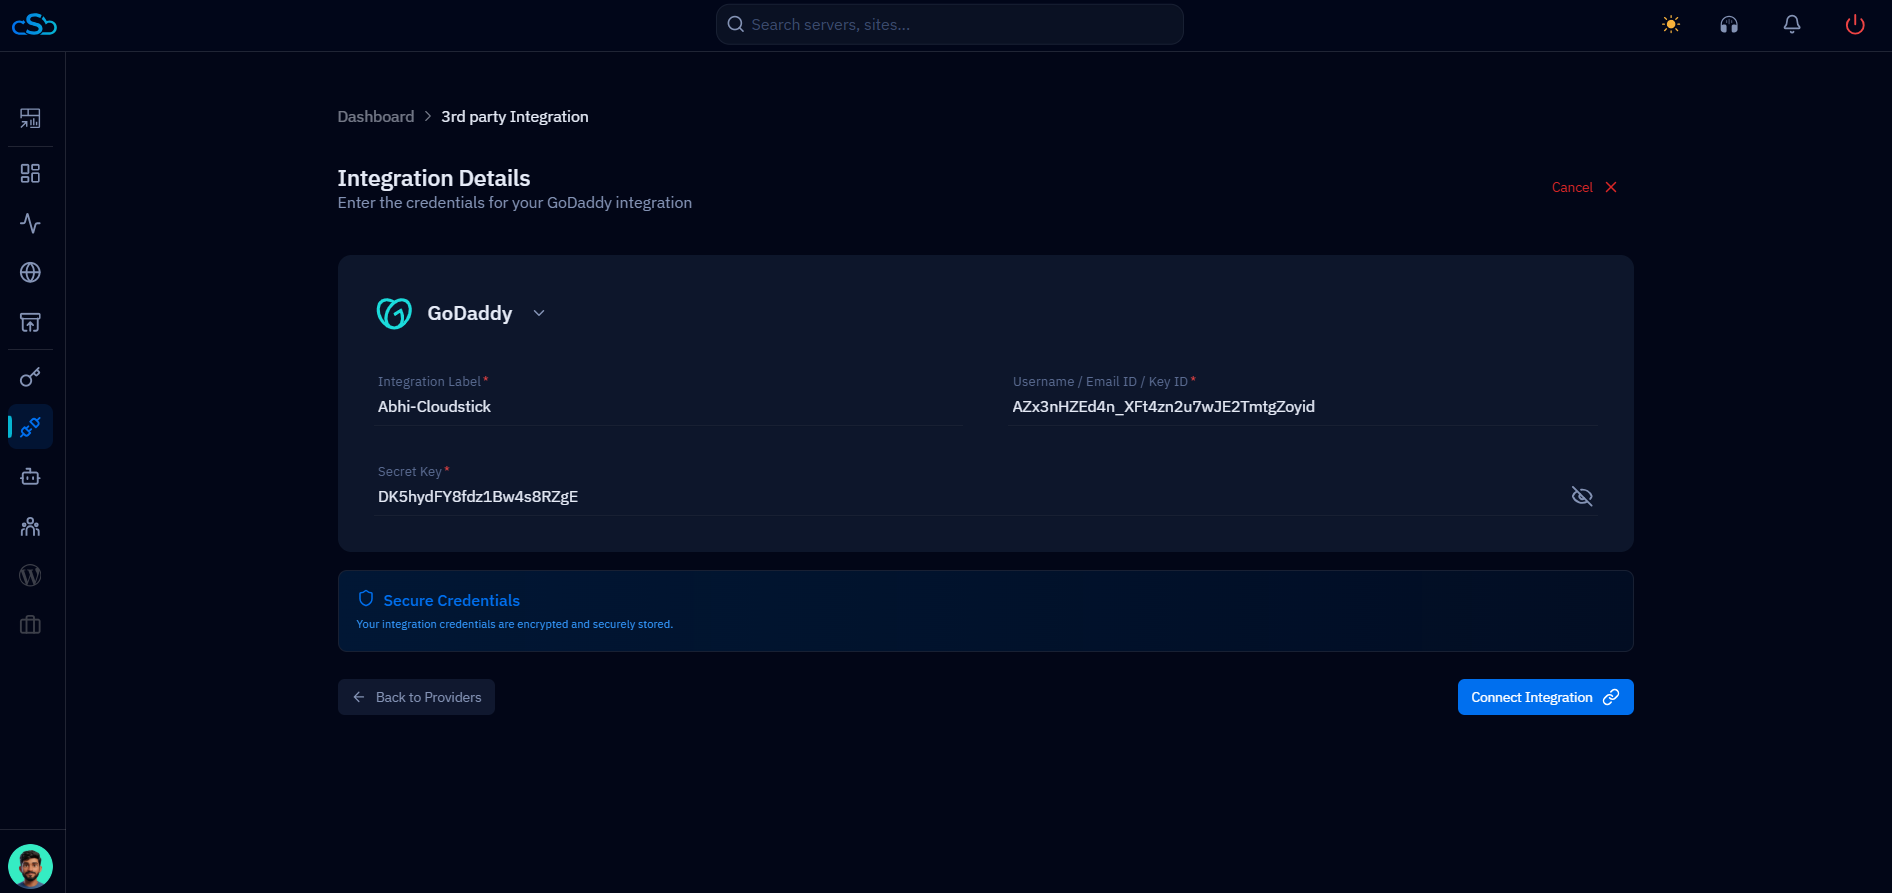
Fig. 09 — Integration Details form filled in with the Integration Label, GoDaddy API Key, and Secret Key before clicking Connect Integration.
Step 3: Manage GoDaddy DNS from CloudStick
Once the GoDaddy API integration is active, CloudStick can fetch all domains registered under that GoDaddy account and let you manage their DNS records directly — there is no need to log in to GoDaddy each time you want to make a change.
1. Open the DNS Section
In the CloudStick left-hand navigation, click the DNS Manager icon (globe icon).
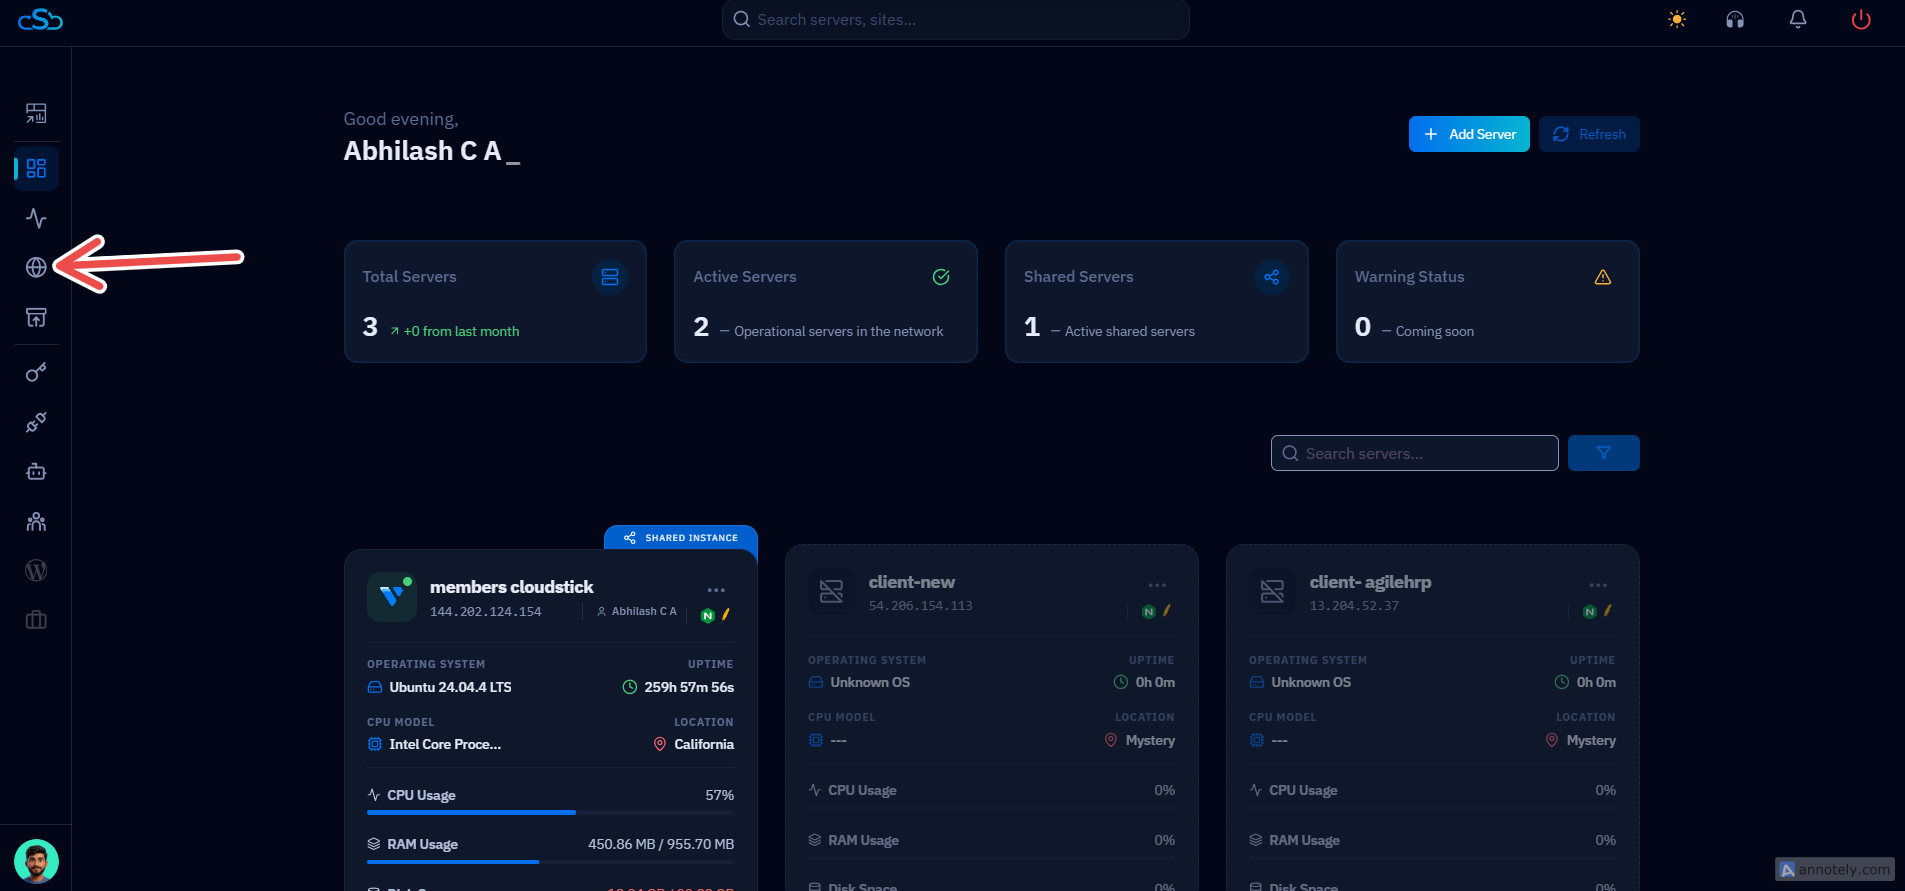
Fig. 10 — CloudStick dashboard with the DNS Manager navigation item highlighted.
2. Select Your GoDaddy Integration
At the top of the DNS Manager page, open the account dropdown and select the GoDaddy Integration Label you created in Step 2.
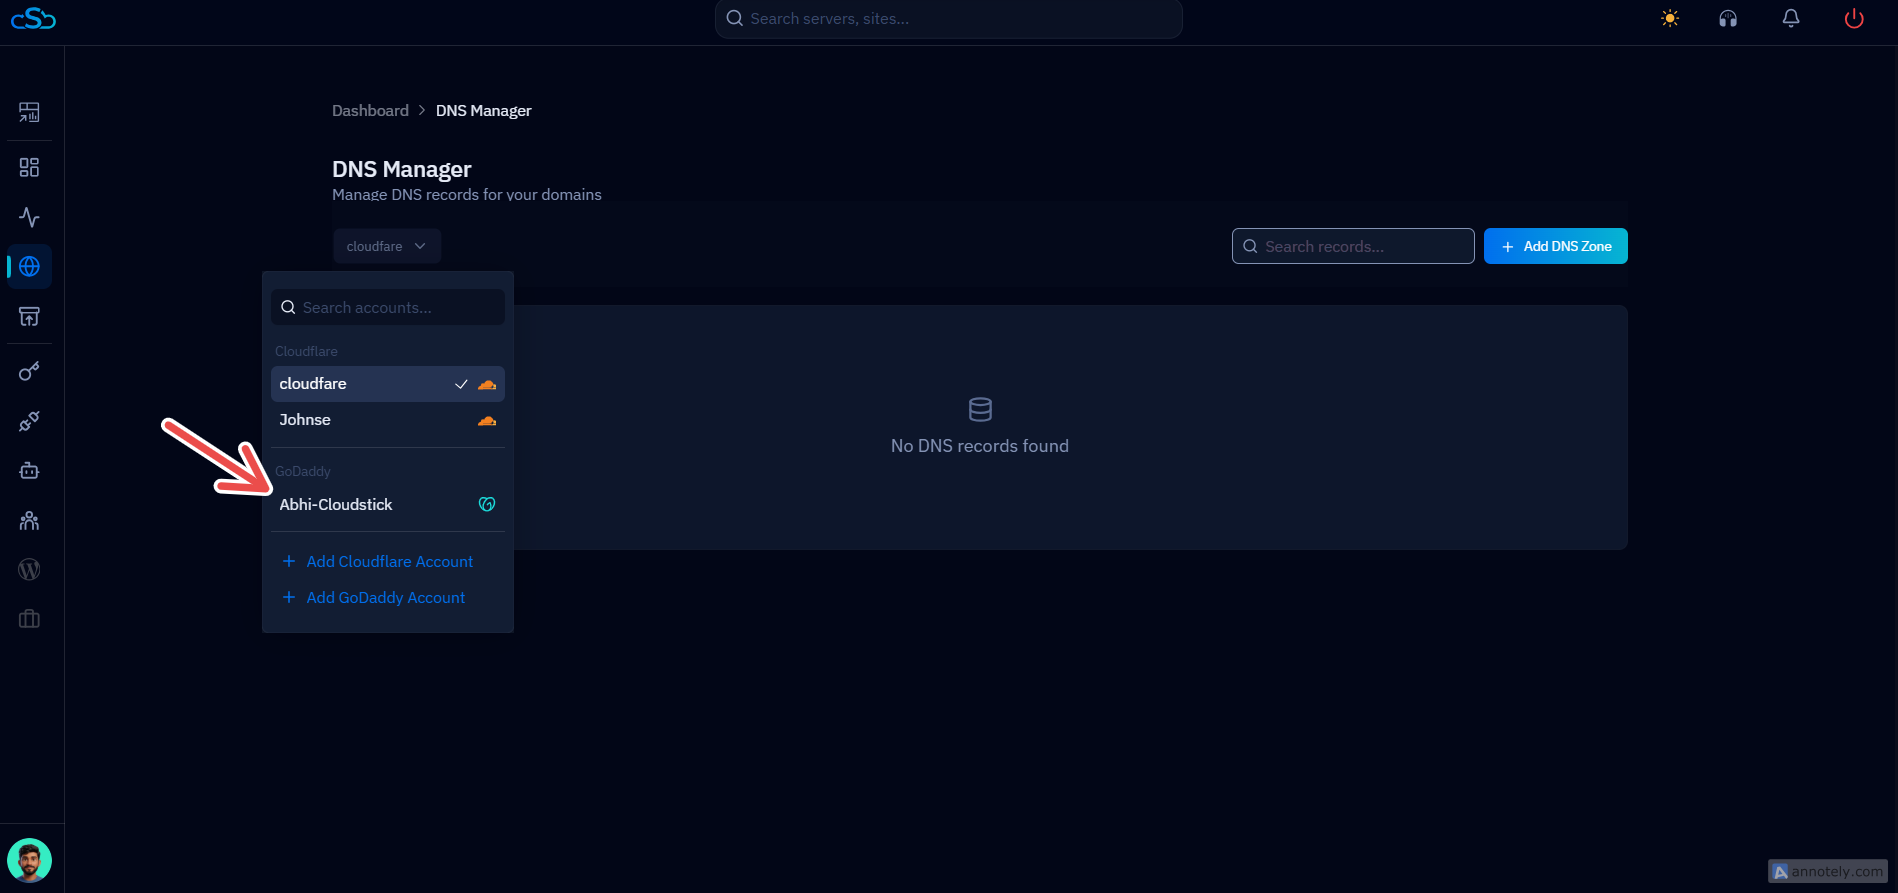
Fig. 11 — DNS Manager account dropdown with the connected GoDaddy integration selected.
3. View Your Domains
CloudStick automatically displays every domain available under your connected GoDaddy account.
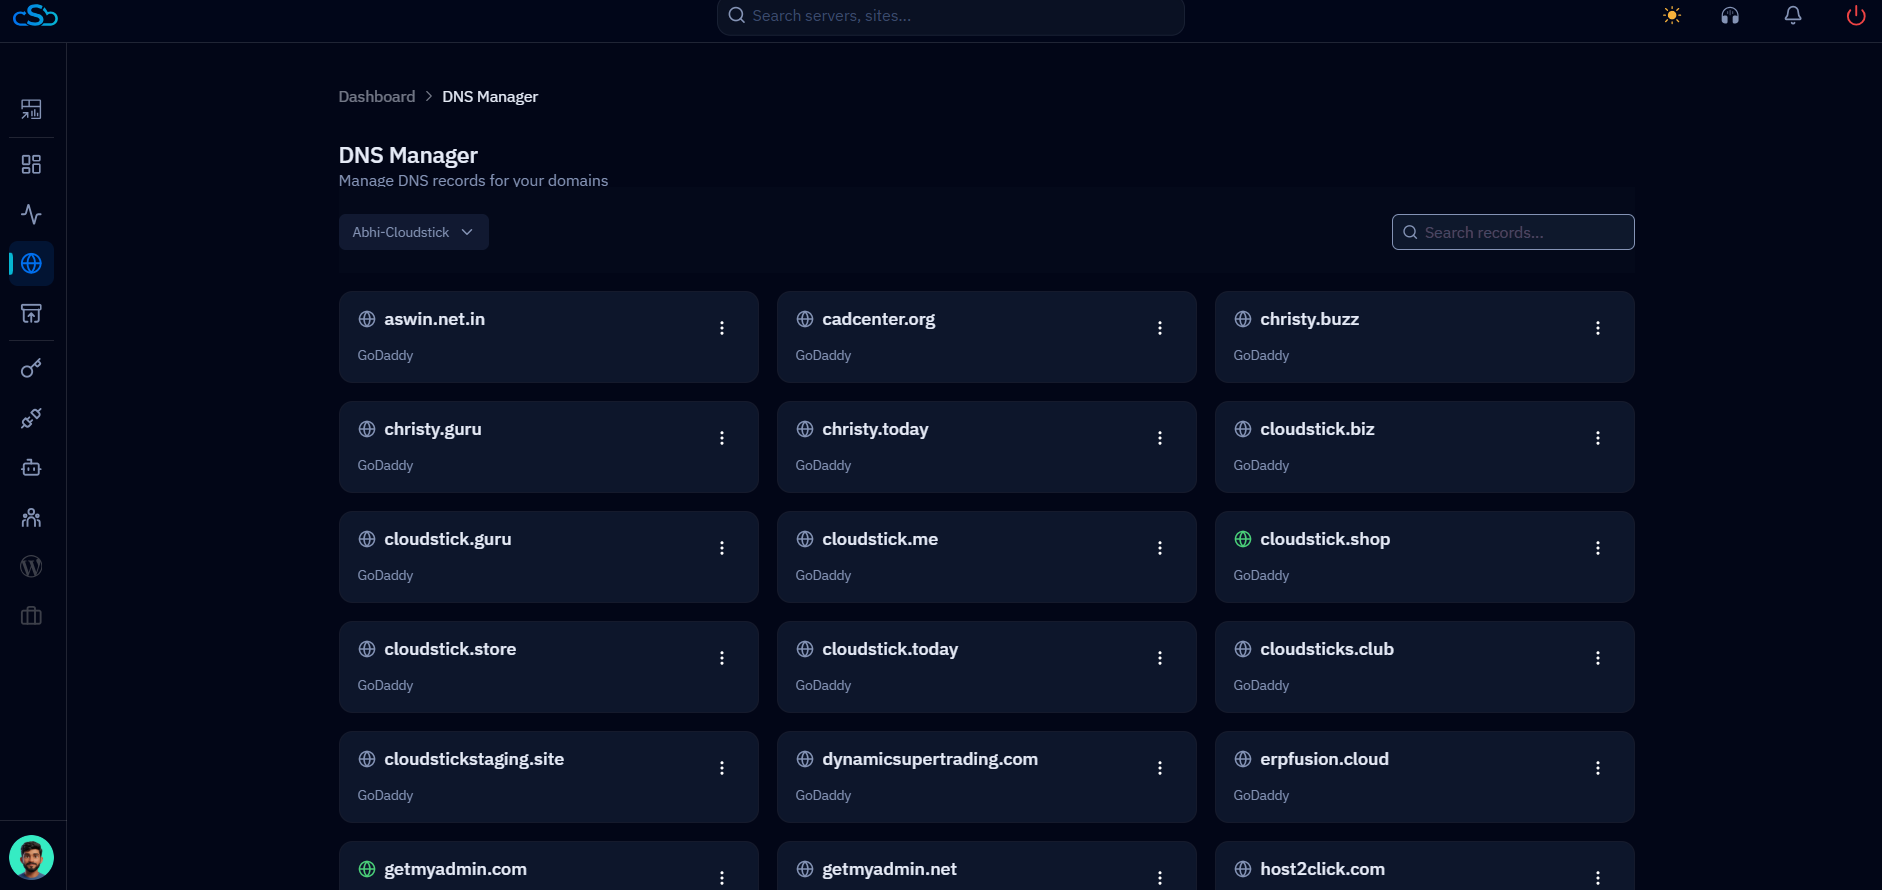
Fig. 12 — DNS Manager listing all domains fetched from the connected GoDaddy account.
4. Manage DNS Records
Click on any domain to open its DNS records and manage them directly from CloudStick, including:
Add, edit, or delete DNS records.
Update A, AAAA, CNAME, MX, TXT, and other supported record types.
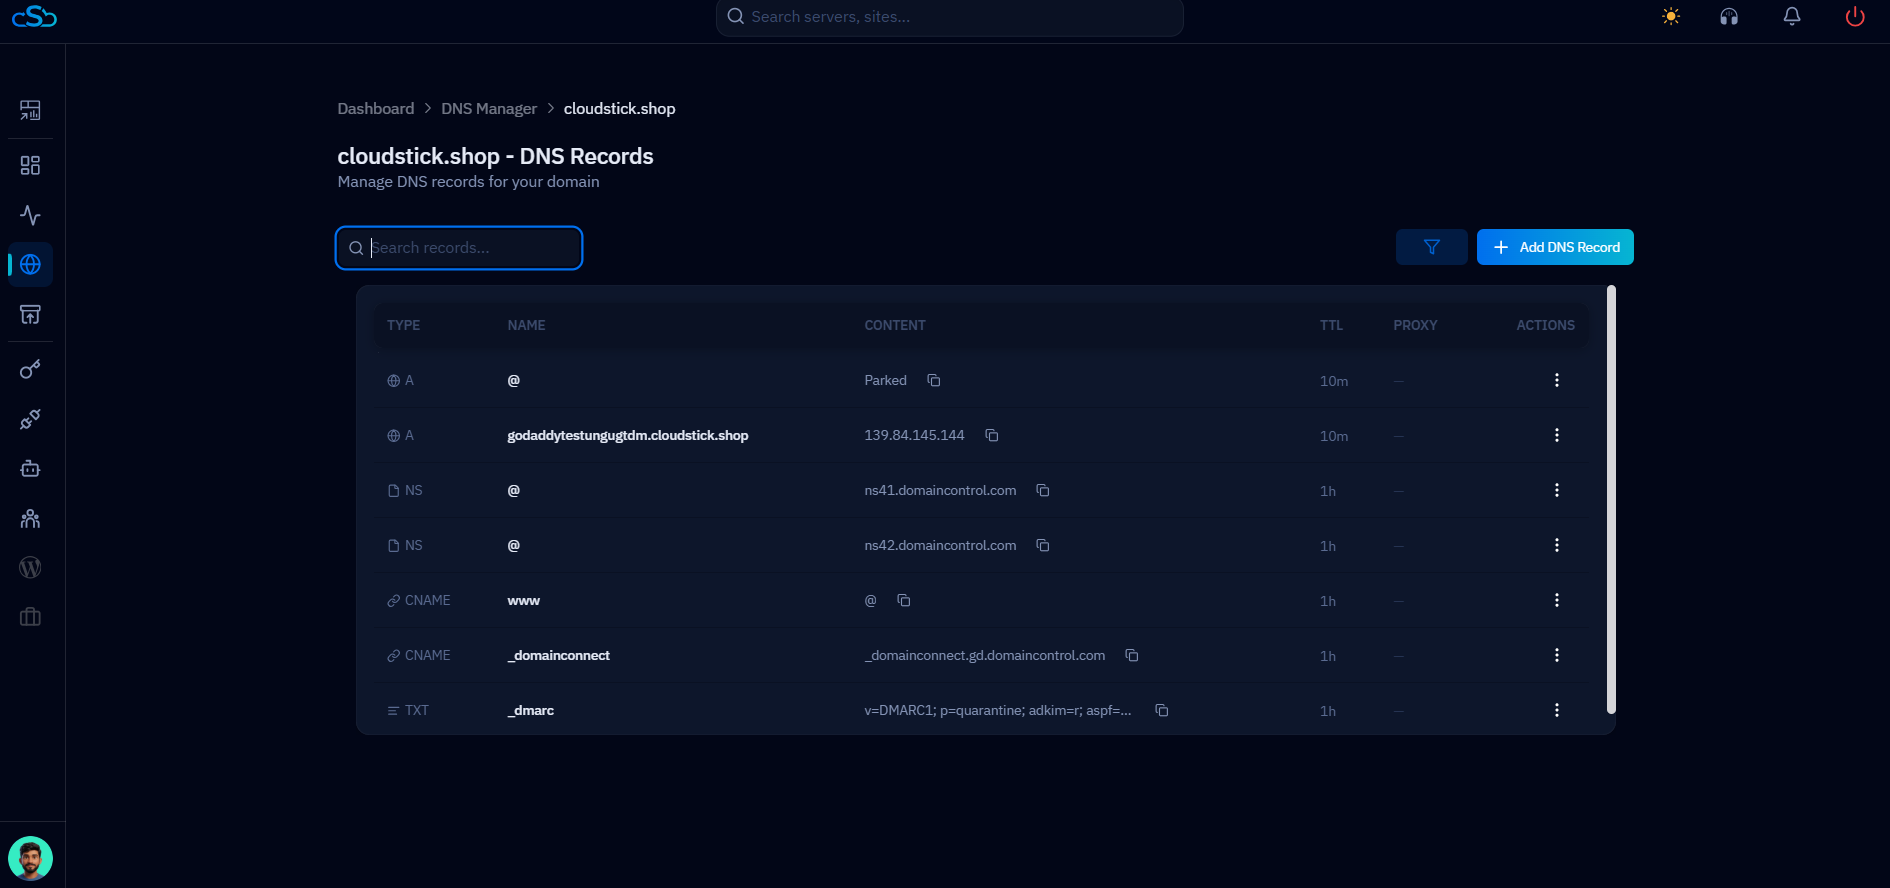
Fig. 13 — DNS records for a GoDaddy domain being managed directly from CloudStick.
If your domains do not appear after selecting the integration label, verify that the GoDaddy API Key and Secret entered during setup match an active GoDaddy account with registered domains.