How to Purge Cloudflare Cache
Overview
When Cloudflare is proxying your domain, it caches static assets — images, CSS, JavaScript, and HTML — at its global edge network to serve content faster to visitors around the world. However, this means that after you update your website's content or configuration, visitors may still see an older cached version until Cloudflare's cache expires naturally.
CloudStick lets you force-clear the Cloudflare cache for any domain directly from the DNS Manager — without logging into Cloudflare separately. This guide shows you how to trigger an immediate cache purge in just a few clicks, so your latest changes are visible to all visitors right away.
Prerequisites: Your domain must be connected through a Cloudflare integration in CloudStick. If you have not set this up, follow the How to integrate a Cloudflare account into CloudStick guide first. The domain must also be proxied through Cloudflare (not DNS Only) for caching to be active.
Step 1: Log In to Your CloudStick Account
Start by signing in to your CloudStick dashboard, where all your connected servers and Cloudflare-integrated domains are managed.
Go to the CloudStick dashboard: Visit dash.cloudstick.io and sign in with your credentials.
Confirm you are on the main Dashboard: You should see your connected servers with their current status and resource usage.
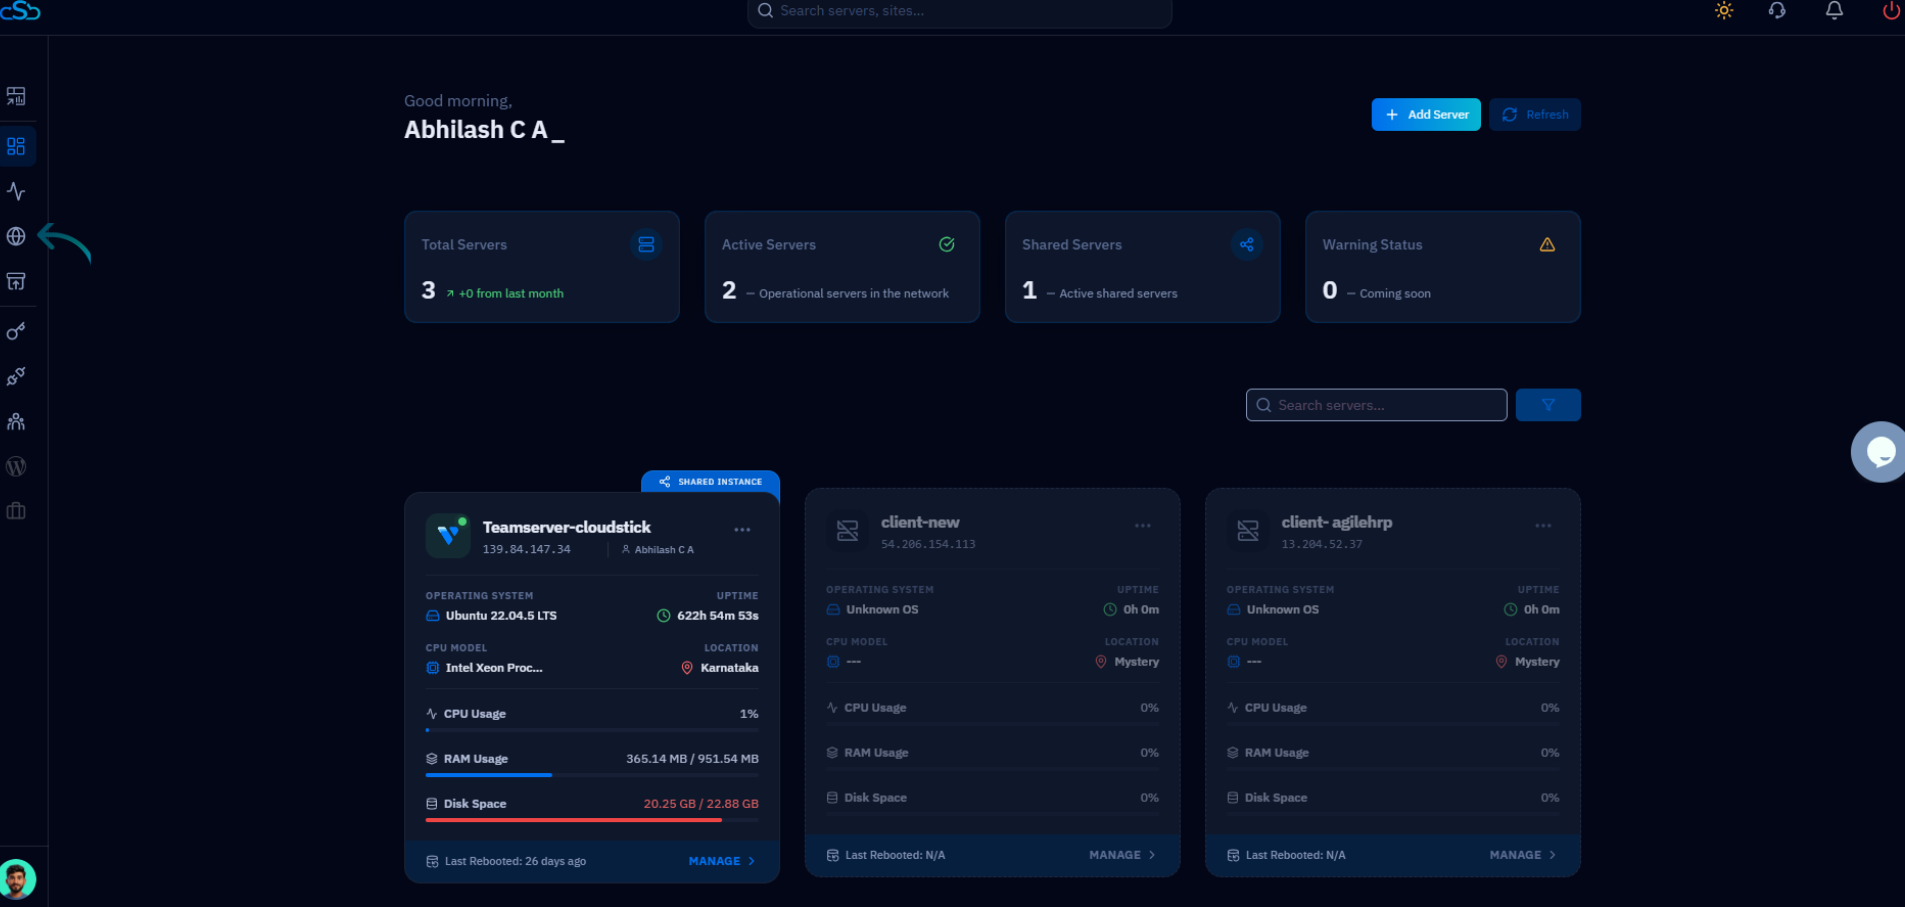
Fig. 01 — CloudStick main dashboard showing connected servers after a successful login.
Step 2: Open the DNS Manager and Select Your Domain
The DNS Manager lists all domains associated with your connected Cloudflare account. Navigate to the specific domain whose cache you want to purge.
Click DNS in the left-hand navigation: Look for the globe icon in the sidebar to open the DNS Manager.
Select your Cloudflare integration: Use the dropdown at the top of the DNS Manager to choose the Cloudflare account that manages your domain.
Click on your domain card: Your domains appear as cards. Click the domain for which you want to purge the cache.
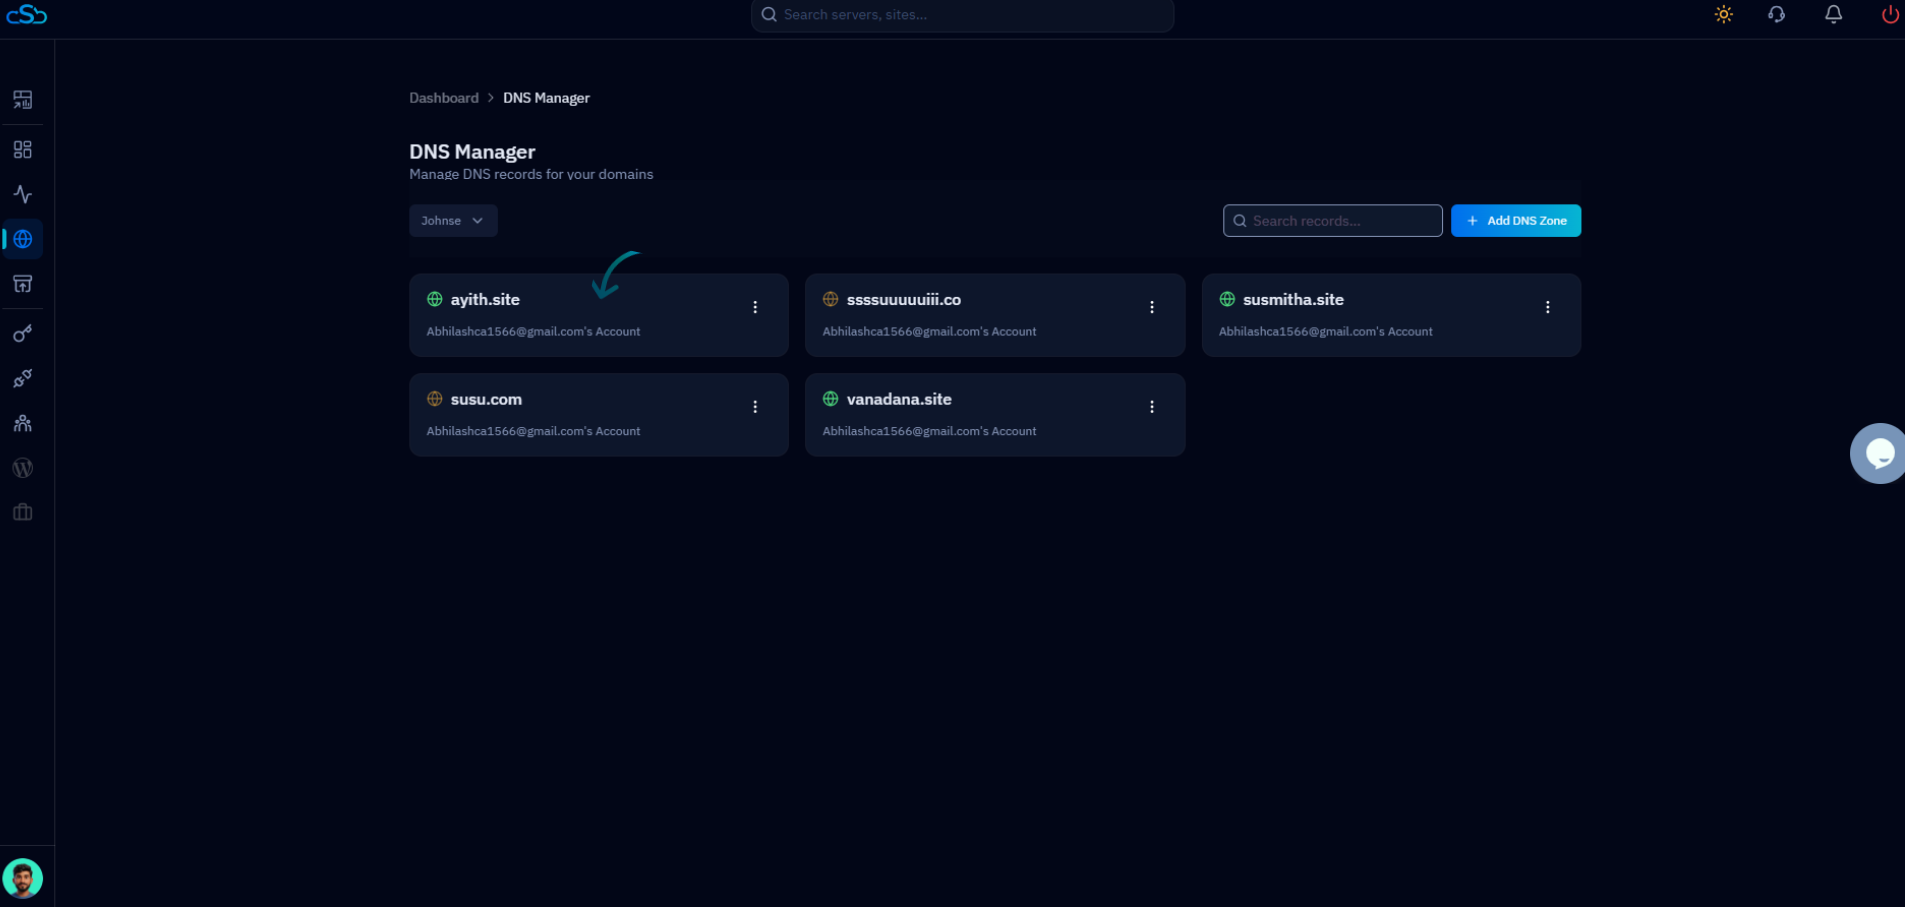
Fig. 02 — DNS Manager showing all domains fetched from the connected Cloudflare account.
Step 3: Purge the Cloudflare Cache
Once you are on the domain's DNS Records page, the Purge CDN Cache button is available in the toolbar. Clicking it sends an immediate cache-clear request to Cloudflare for this domain.
Click Purge CDN Cache: This button is in the top-right toolbar of the DNS Records page, between the filter icon and the SSL Encryption button.
Confirm when prompted: A confirmation dialog will appear asking you to verify the action. Confirm to proceed with the purge.
Wait for confirmation: CloudStick will send the purge request to Cloudflare. Once complete, a success message will confirm that the cache has been cleared.
Visitors will now receive the latest version of your website files from Cloudflare's edge network rather than a cached copy.
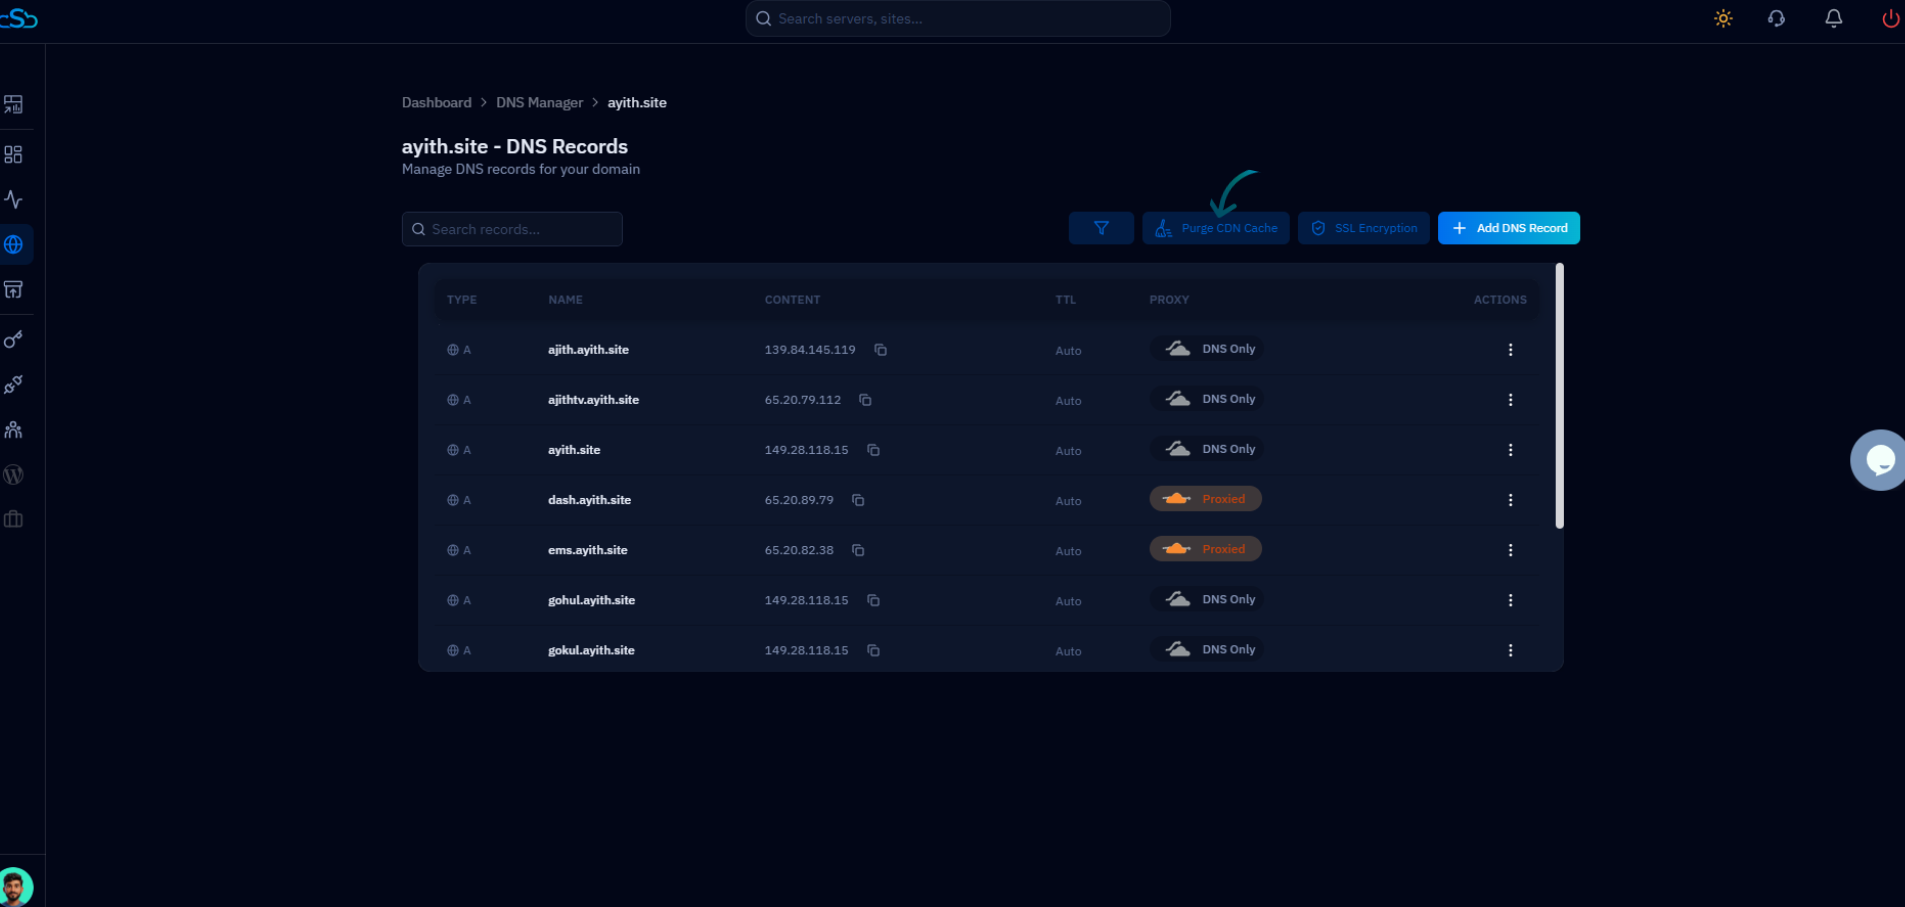
Fig. 03 — DNS Records page with the Purge CDN Cache button highlighted in the top-right toolbar.
It may take a few moments for the cache purge to propagate across all Cloudflare edge locations worldwide. During this brief window, some visitors may still see the cached version. Repeated purges are safe but unnecessary — one purge clears the cache for all edge nodes.