How to Set Up a Temporary Domain
Overview
A temporary domain lets you preview and test a website before you point a live, production domain at it. This is useful while a site is still being built, when you are migrating from another host, or when you want to verify everything works — including content, applications, and SSL — before going public. CloudStick lets you flag any DNS zone as a temporary domain directly from the DNS Manager, with no manual record editing.
This guide walks you through logging in, opening the DNS Manager, selecting the domain you want to use for testing, and setting it as a temporary domain from the Actions menu.
A temporary domain is intended for development and testing only. It should not be used as a permanent replacement for your production domain — switch to your live domain once your site is ready to go public.
Step 1: Log In and Open DNS Manager
Temporary domains are managed from the DNS Manager, which lists all of the DNS zones connected to your CloudStick account.
Log in to your CloudStick account: Sign in to the CloudStick dashboard to reach your account overview.
Open DNS Manager: From the left-hand navigation, click the DNS icon to open the DNS Manager.

Fig. 01 — CloudStick Dashboard; the DNS icon in the left-hand navigation opens the DNS Manager.
Step 2: Select a Domain and Open the Actions Menu
The DNS Manager shows every domain (DNS zone) in your account. Find the domain you want to use for testing and open its options.
Locate your domain: Browse the list of DNS zones and find the domain you want to configure as a temporary domain.
Open the Actions menu: Click the Actions (⋮) menu on the domain card to reveal the available options.
Select Set as Temporary Domain: From the menu, choose Set as Temporary Domain to flag this domain for testing use.
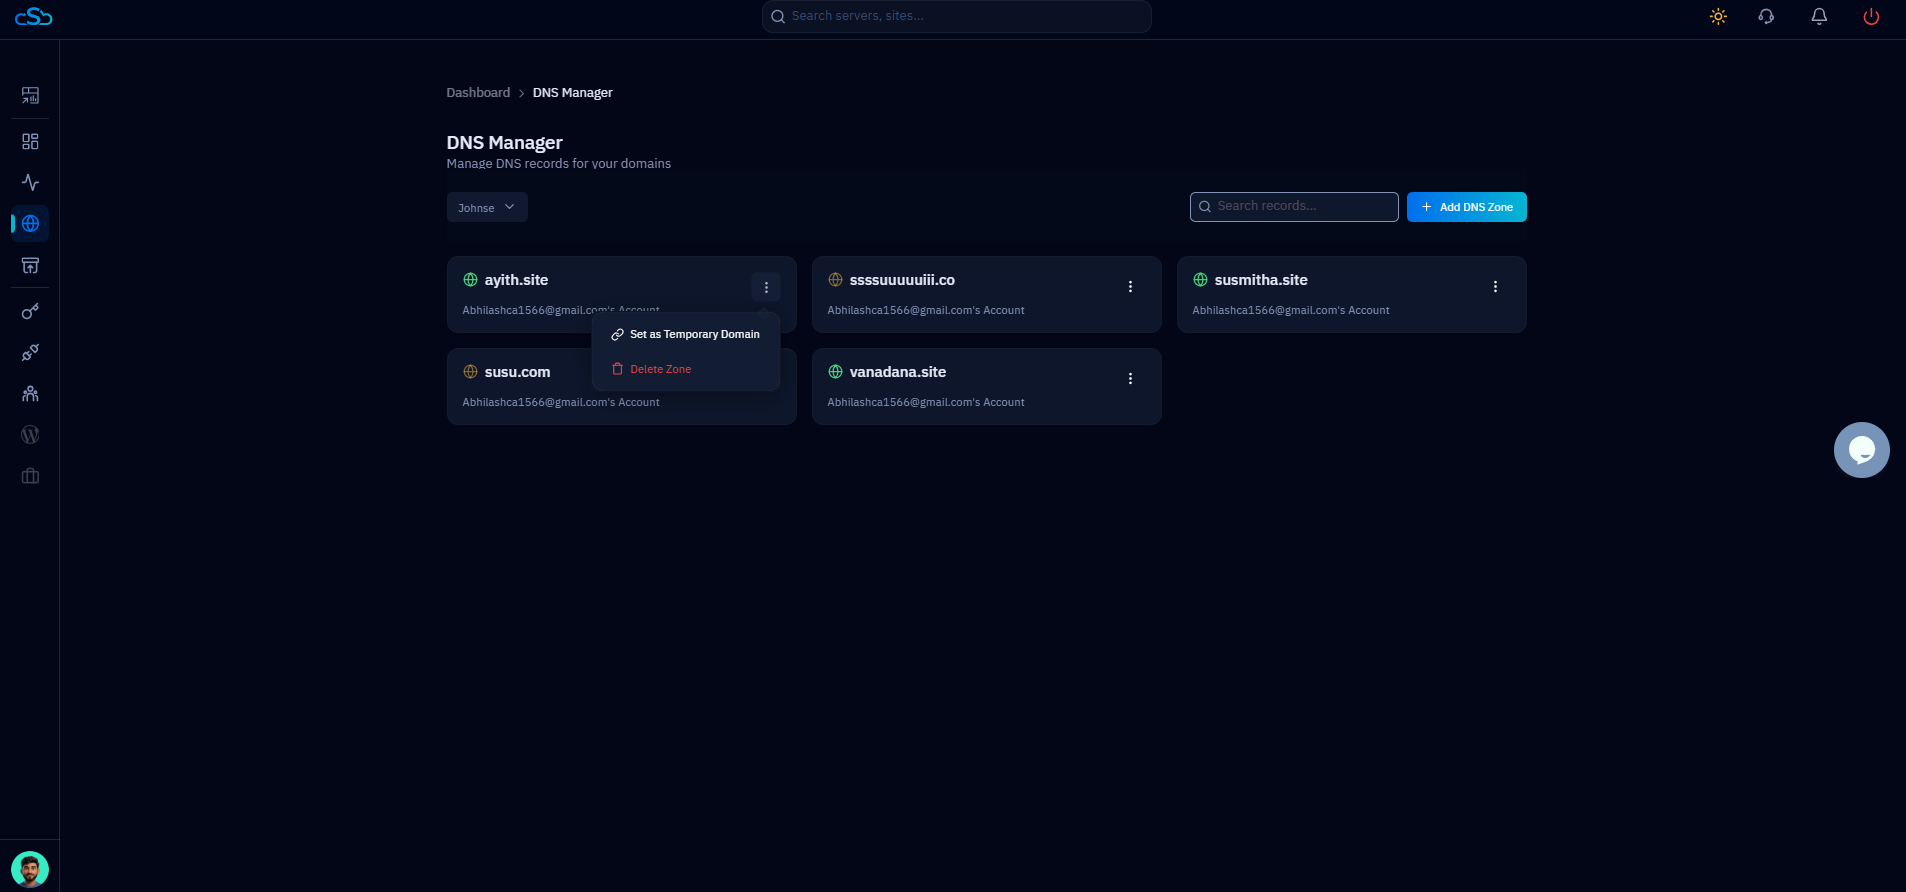
Fig. 02 — DNS Manager with the Actions menu open, showing the Set as Temporary Domain option.
Step 3: Set and Confirm the Temporary Domain
After confirming, CloudStick applies the change and marks the domain as temporary so you can use it to preview your site.
Confirm the change: Click Save or Confirm if prompted, to apply the temporary domain setting.
Verify the label: The domain now displays a "Temporary Domain" tag in the DNS Manager, confirming the setting is active.
Access the temporary domain: Use the temporary domain to preview and test your website before pointing a live domain to it.
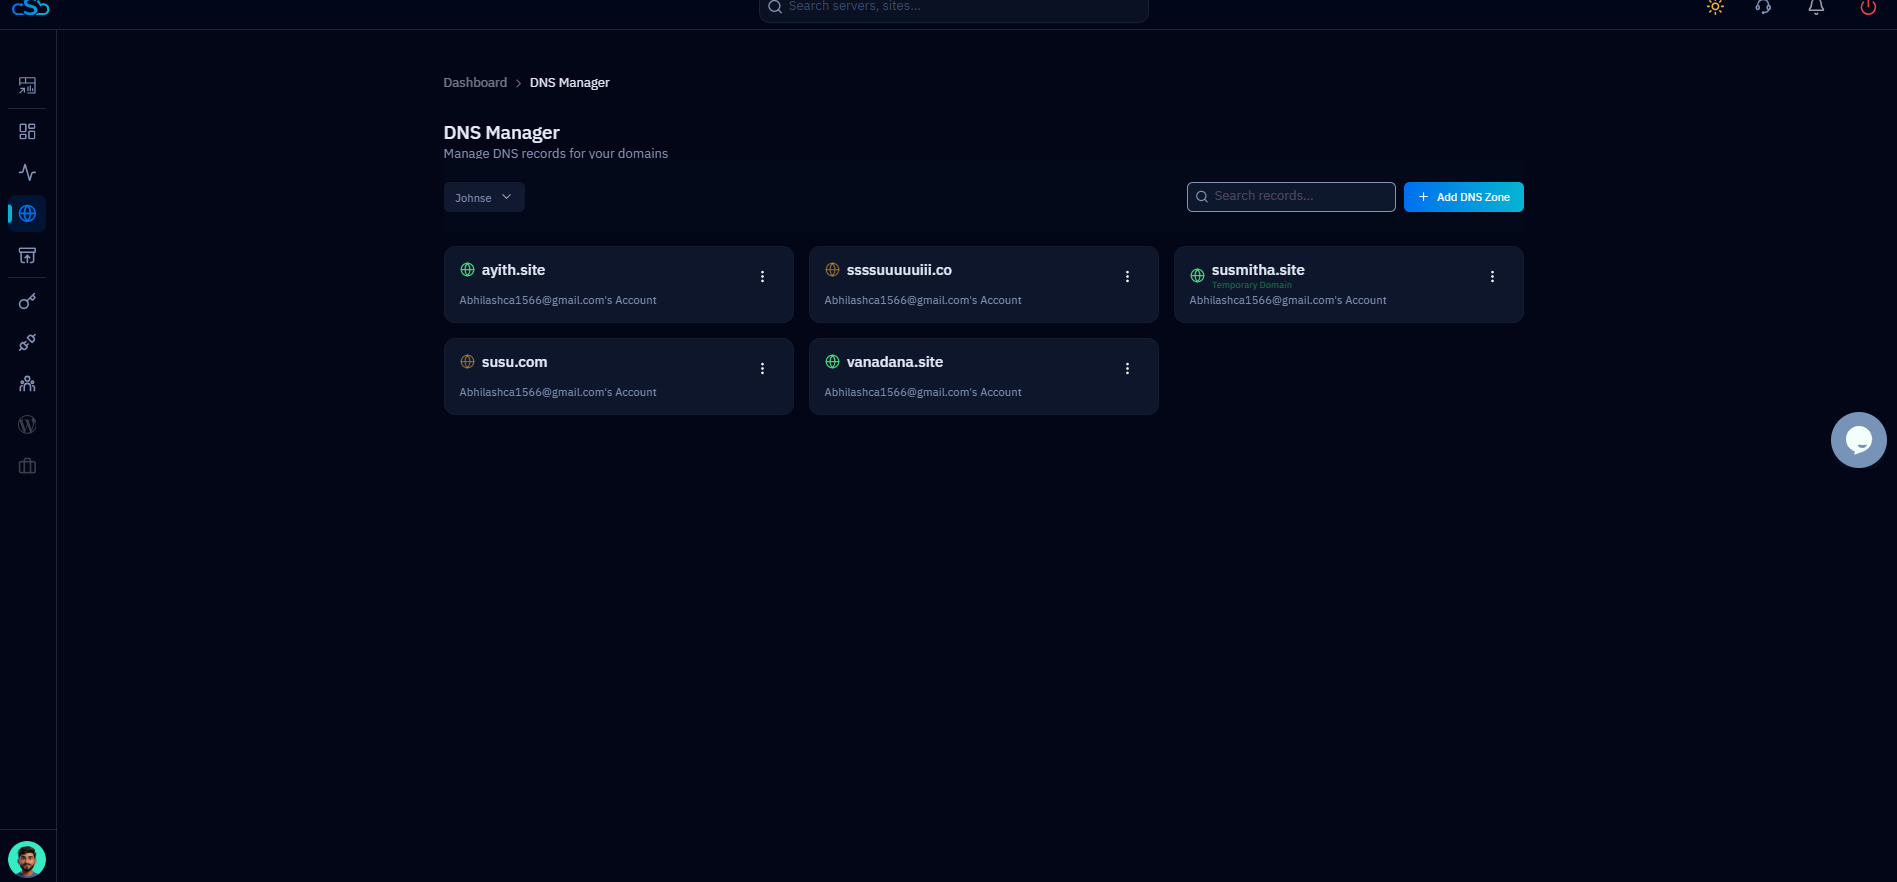
Fig. 03 — DNS Manager showing the selected domain marked with the "Temporary Domain" label.
Once you are ready to go live, repeat the process to switch back to your production domain. The temporary domain is only meant for previewing and testing your site during development.