How to Install a Wildcard SSL Certificate on CloudStick
Overview
A wildcard SSL certificate secures your main domain and every subdomain beneath it with a single certificate — so *.yourdomain.com covers app.yourdomain.com, api.yourdomain.com, staging.yourdomain.com, and any other subdomain you create — without needing a separate certificate for each one. This makes wildcard SSL the right choice for agencies, SaaS products, and multi-environment setups.
This guide walks through the complete process in CloudStick: adding a wildcard A record in the DNS Manager via the Cloudflare integration, registering the wildcard domain against your website, and deploying the SSL certificate using DNS Verification — the method required for wildcard certificates because Let's Encrypt cannot validate a wildcard over HTTP.
Prerequisites: Your Cloudflare account must already be connected and active in CloudStick, and the website you want to protect must already be added to your server. If you have not yet connected Cloudflare, complete that step first using the How to integrate a Cloudflare account into CloudStick guide before continuing.
Step 1: Integrate Your Cloudflare Account
Wildcard SSL on CloudStick uses Cloudflare DNS Verification to prove domain ownership to Let's Encrypt. This method requires your Cloudflare account to be connected to CloudStick before you can proceed. If your Cloudflare integration is already active, you can move directly to Step 2.
1. Log in to CloudStick: Navigate to the CloudStick dashboard. You will see all your connected servers listed on the main screen.
2. Verify Cloudflare is connected: Confirm that your Cloudflare account is linked under the DNS Manager or account integrations. A connected account is required for DNS Verification in the SSL step.
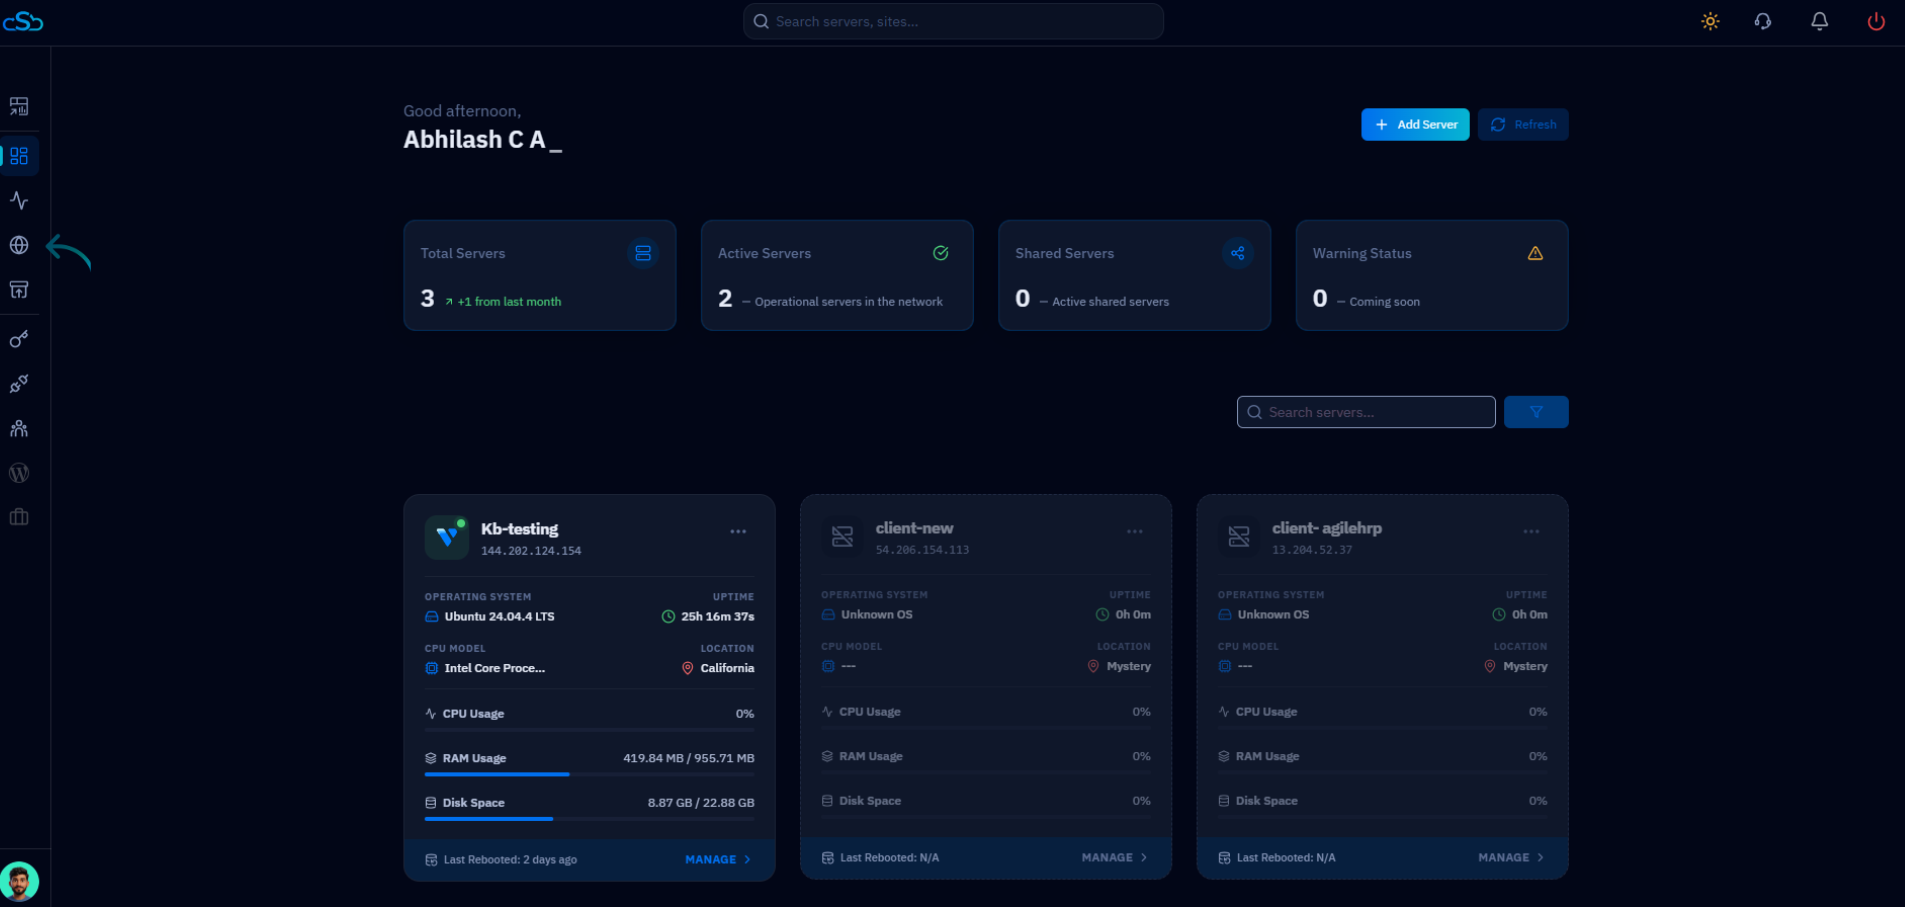
Fig. 01 — CloudStick main dashboard showing connected servers. Start here before navigating to DNS Manager.
Step 2: Open DNS Manager
The DNS Manager in CloudStick is the central place to manage Cloudflare DNS records for all your domains. You will add the wildcard A record here so that *.yourdomain.com resolves to your server's IP address.
1. Click DNS in the left-side menu: In the CloudStick global navigation sidebar, click the DNS icon to open the DNS Manager.
2. Review your domains: The DNS Manager lists all domains connected via your Cloudflare account. Locate the domain for which you want to configure the wildcard SSL.
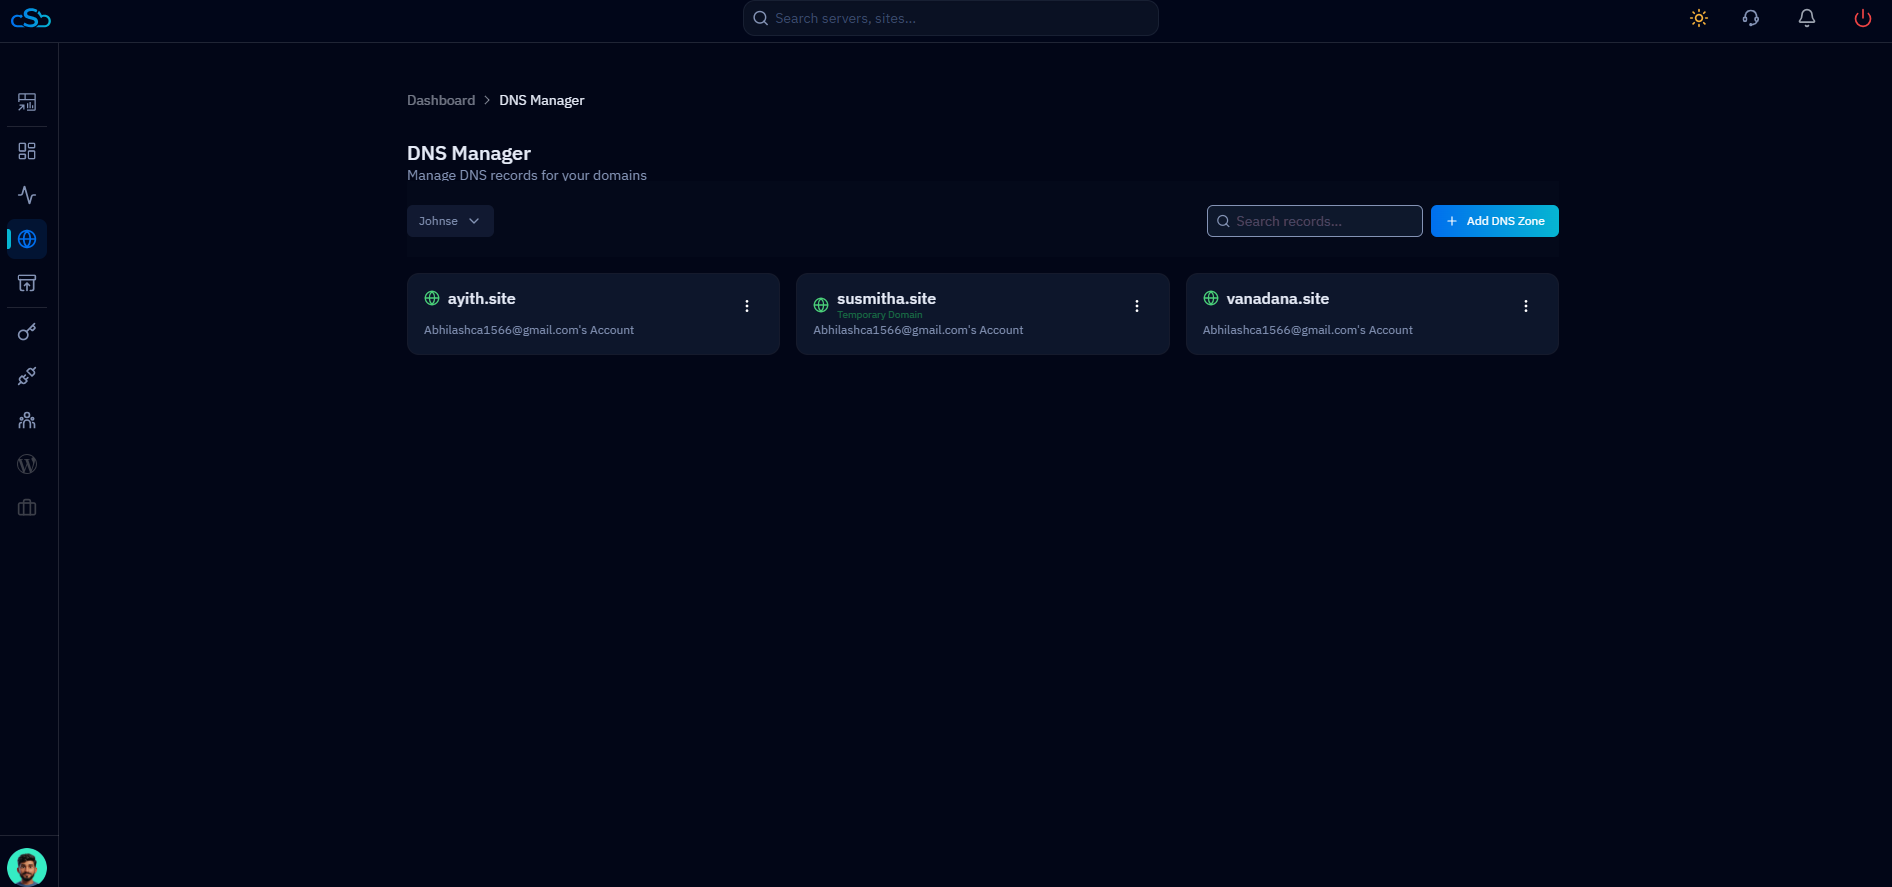
Fig. 02 — DNS Manager listing all Cloudflare-connected domains available for record management.
Step 3: Select Your Domain
Click on the domain for which you want to create the wildcard record. This opens the DNS Records view for that domain, where you can see all existing records and add new ones.
1. Click on the domain card: Select the domain from the DNS Manager list (for example, ayith.site). You will be taken to the full DNS records table for that domain.
2. Review existing records: Scan the existing A, CNAME, and MX records to make sure there is no conflicting wildcard entry before adding a new one.
3. Click + Add DNS Record: Locate the Add DNS Record button in the top-right corner of the DNS records page to open the record creation form.
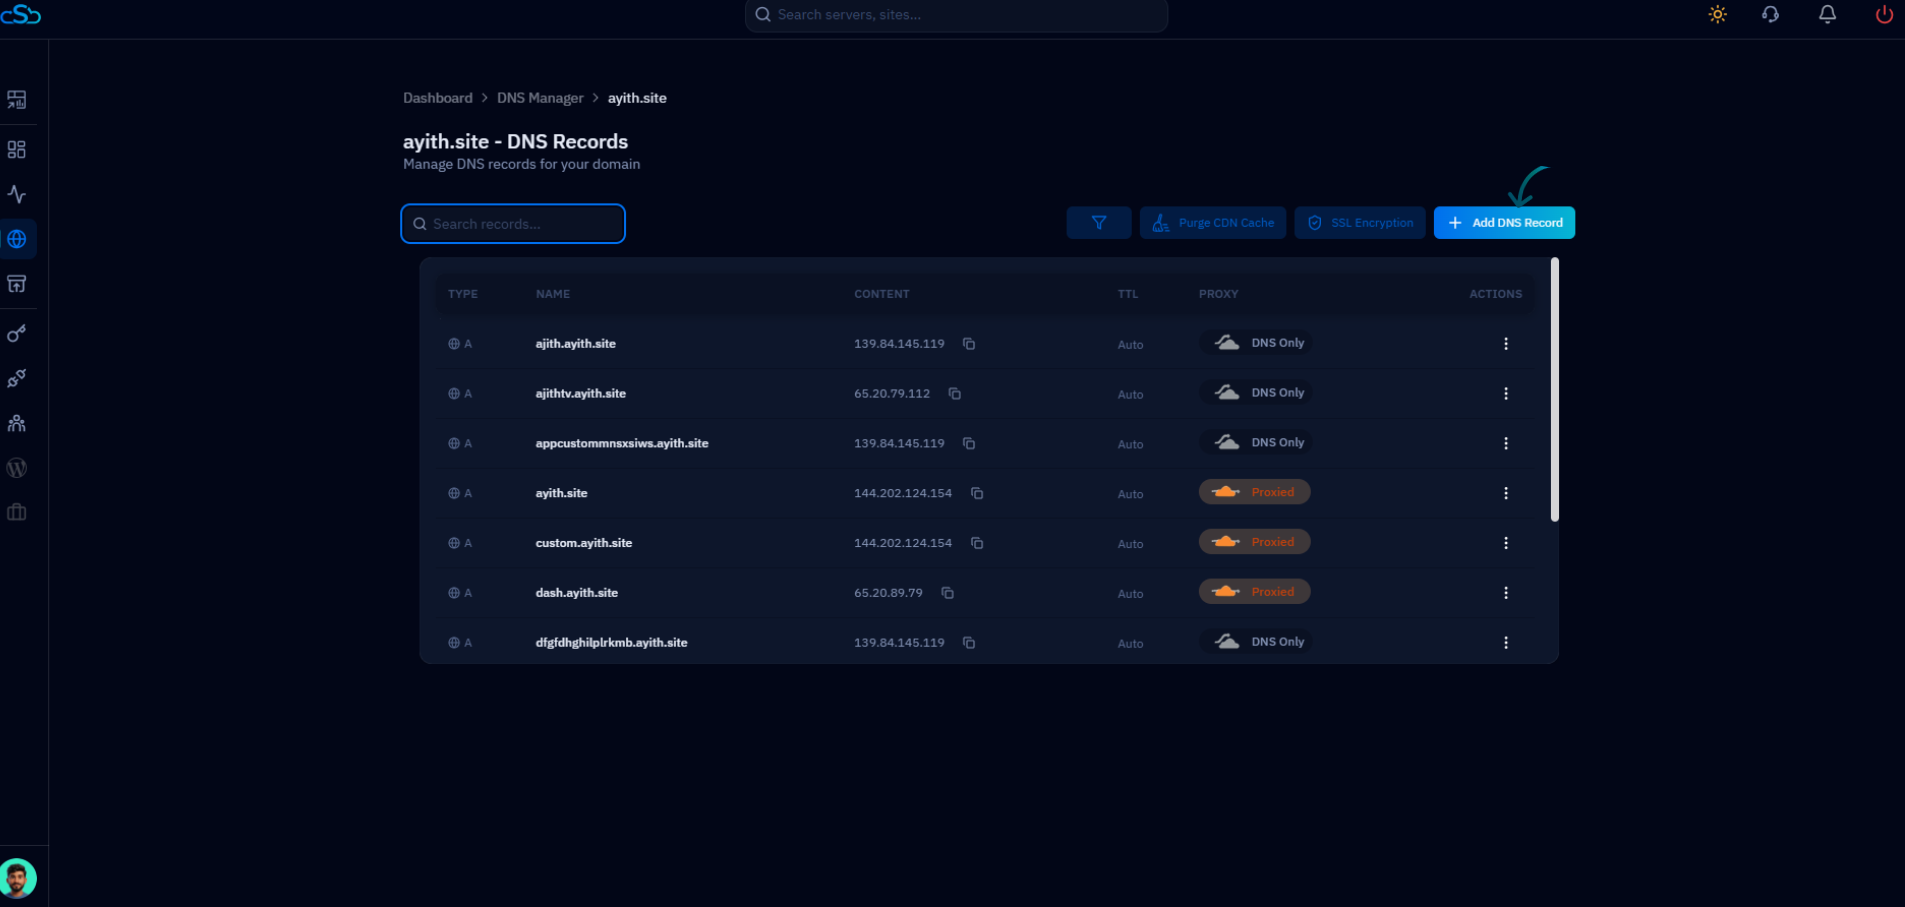
Fig. 03 — DNS records page for the selected domain with the Add DNS Record button highlighted in the top-right corner.
Step 4: Create a Wildcard DNS Record
Configure the new DNS record as a wildcard A record. The asterisk (*) in the Name field is what makes this a wildcard — it instructs Cloudflare to resolve all subdomains to the specified IP address. Enabling the Proxy Status is also required for wildcard SSL to work correctly through Cloudflare.
Type: Select A Record from the Type dropdown.
Name: Enter * (a single asterisk). This creates the wildcard pattern *.yourdomain.com.
Content (IPv4 Address): Enter your server's IP address (e.g., 144.202.124.154).
Proxy Status: Enable the Proxy Status toggle so that traffic is proxied through Cloudflare. This is required for DNS Verification to work during SSL issuance.
Click Add Record: Save the wildcard DNS record. Allow a few minutes for the record to propagate before proceeding.
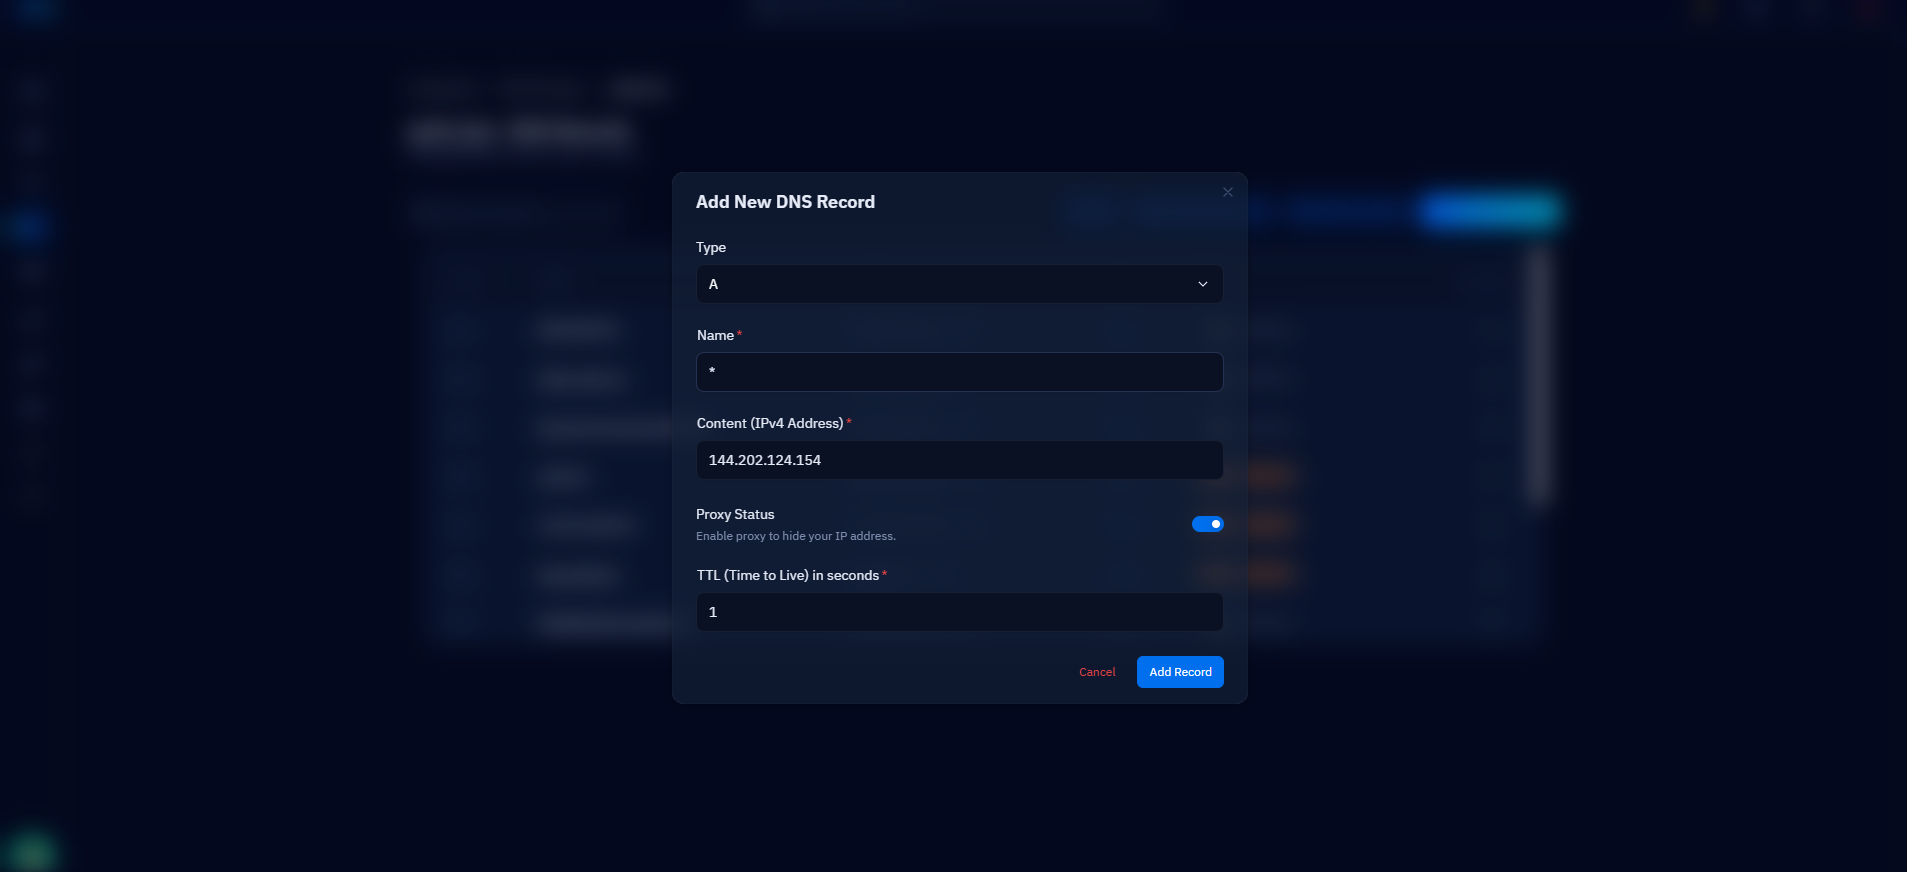
Fig. 04 — Add New DNS Record dialog configured with Type: A, Name: *, the server IP address, and Proxy Status enabled.
Step 5: Open Websites
With the wildcard DNS record in place, the next step is to configure the website in CloudStick to recognise the wildcard domain. Navigate to the server that hosts the website you want to protect.
1. Go to your server: From the CloudStick dashboard, click MANAGE on the server card that hosts your target website. This opens the server management panel.
2. Click Websites in the left-side menu: In the server panel, click Websites from the left-hand navigation to open the WebApp List.
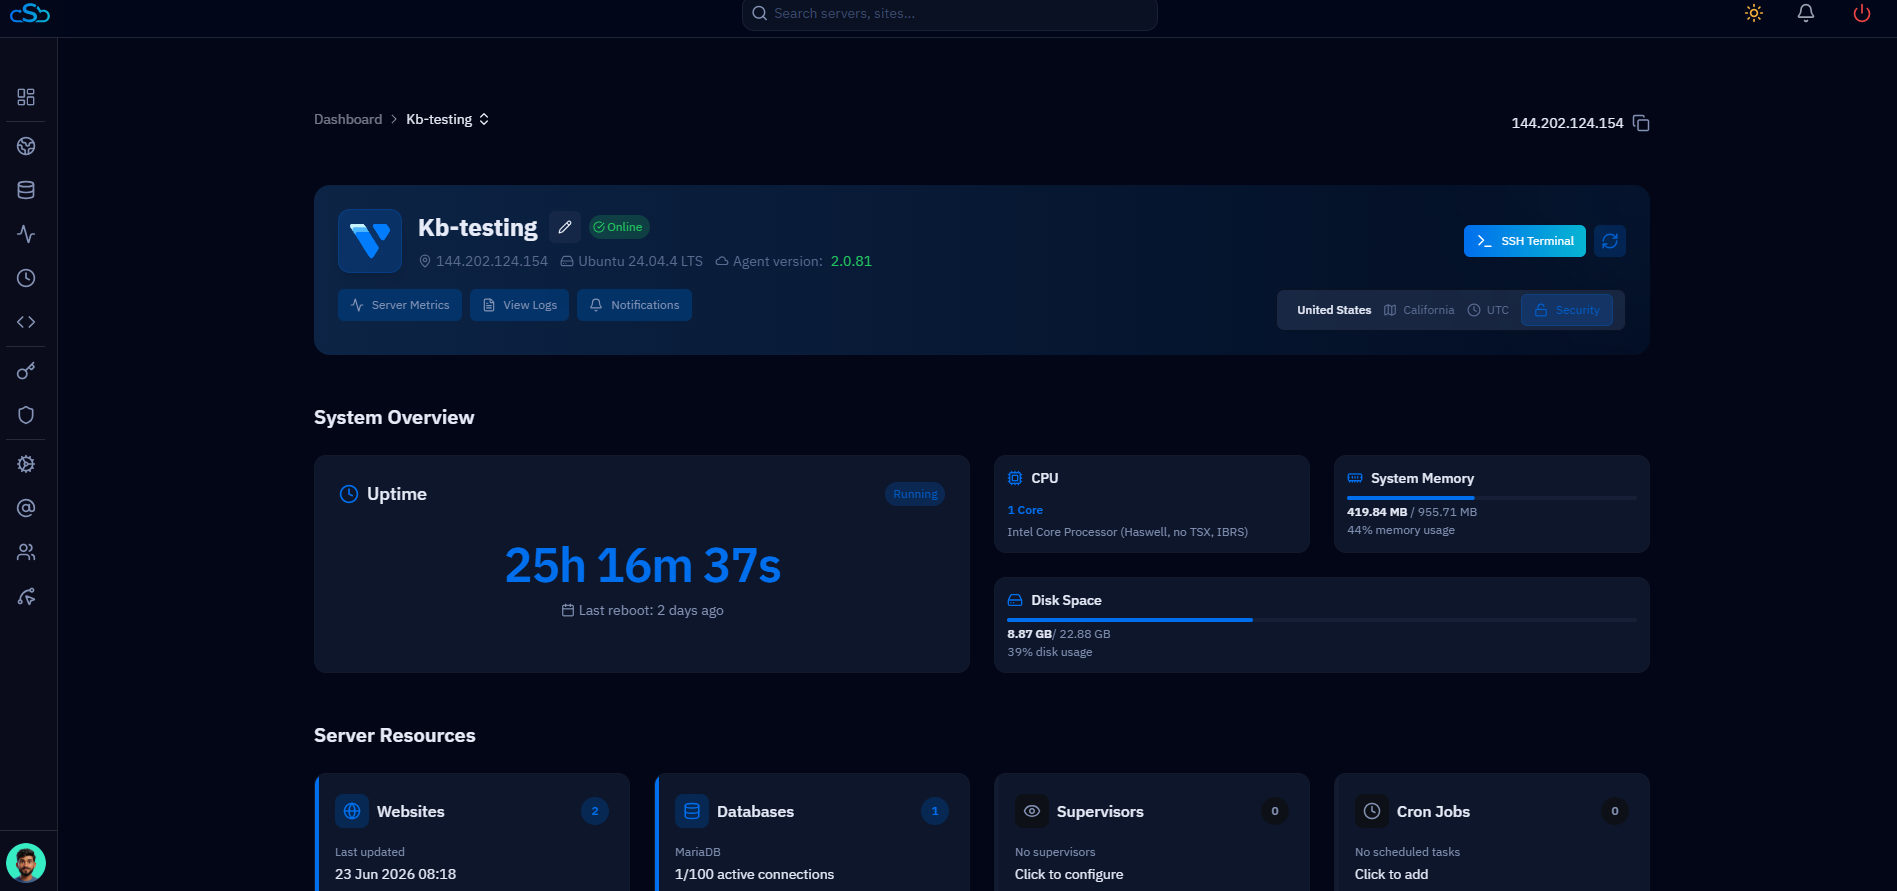
Fig. 05 — Server management panel showing system overview, uptime, and Server Resources including the Websites section.
Step 6: Select Your Website
The WebApp List shows all websites hosted on this server. Click on the website you want to configure with the wildcard domain and SSL certificate.
1. Locate your website: Find the website card in the WebApp List (for example, cutomwebapp linked to ayith.site).
2. Click on the website: Click the website name or card to open its management view. You will be taken to the website summary page.
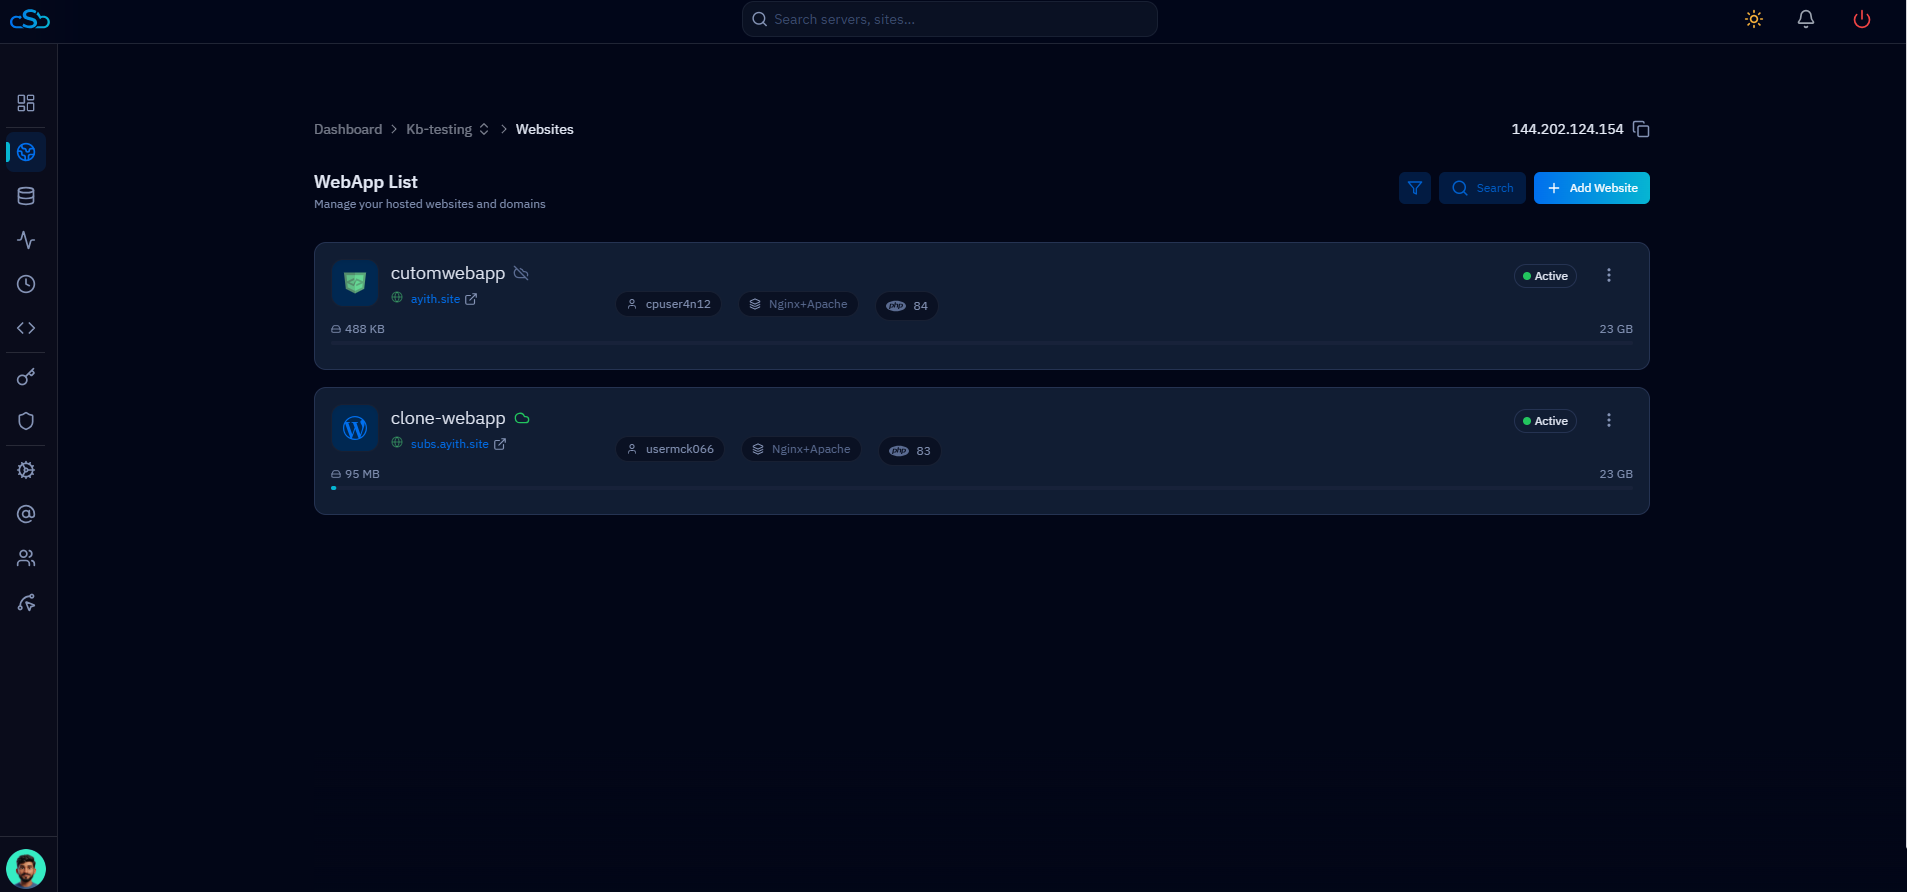
Fig. 06 — WebApp List showing all websites hosted on the server. Click on the website you want to configure.
Step 7: Open Website Settings
From the website summary page, navigate to the Website Settings tab. This is where you manage the website's PHP version, web stack, domains, and other application-level configuration.
1. Click Website Settings: At the top of the website summary page, click the Website Settings tab. The tab bar also shows options for File Manager, App Databases, Email Accounts, FTP Accounts, App Cron Jobs, App Supervisor Jobs, Web Server Logs, Nginx Config, and web activity log.
2. Review the settings panel: The App Settings page will open, showing PHP Version Management, Change Web Stack, Domains, Change Public Path, NGINX Settings, and PHP Settings sections.
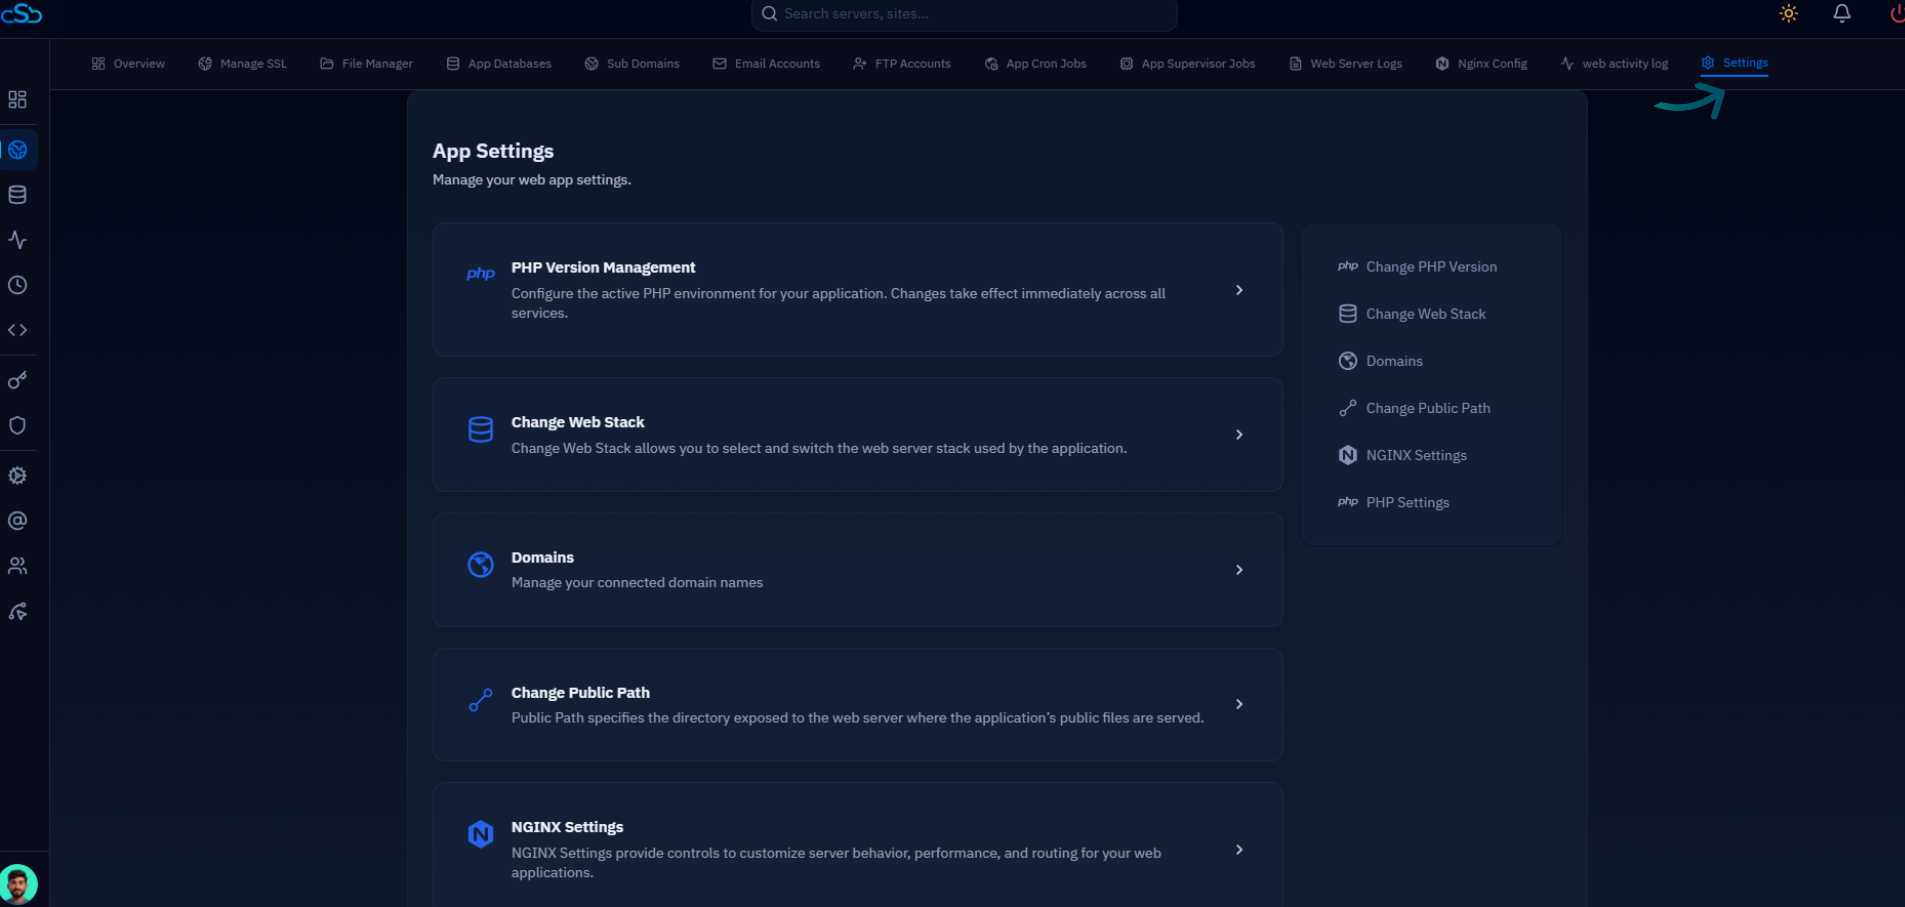
Fig. 07 — App Settings page (Website Settings tab) showing all configuration sections including Domains in the right-hand quick-navigation.
Step 8: Navigate to the Domains Section
Within Website Settings, scroll down to the Domains section. This section lists all domains and subdomains currently associated with your website and lets you add additional ones — including wildcard domains.
1. Scroll to Domains: In the App Settings page, scroll down to find the Domains section, which shows your existing linked domain names.
2. Click + Add Domain: Click the Add Domain button on the right side of the Domains section header to open the domain entry form.
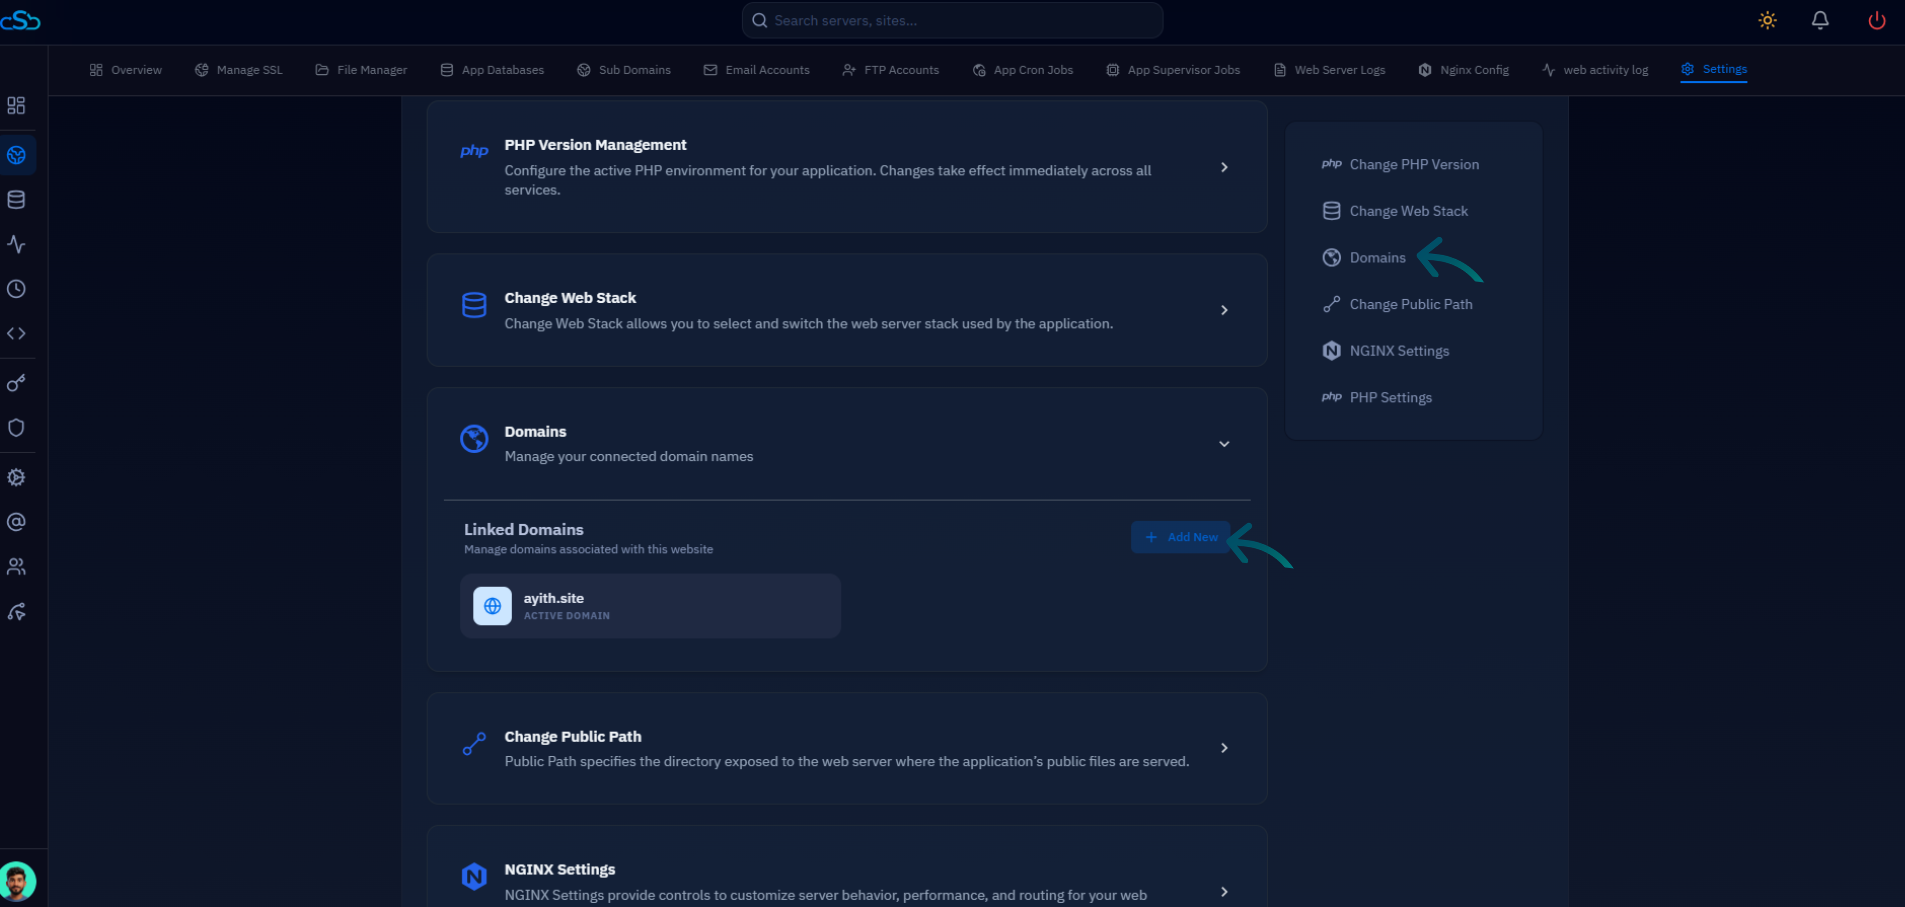
Fig. 08 — Domains section within Website Settings showing the currently linked domain and the Add Domain option.
Step 9: Add a Wildcard Domain
Enter your wildcard domain in the Add Domain dialog. CloudStick will associate this wildcard pattern with your website, enabling SSL to be issued for all matching subdomains in the next step.
1. Enter the wildcard domain: Type your wildcard domain in the Domain name field using the format *.yourdomain.com (for example, *.ayith.site).
2. Set Install SSL for this domain: Select Yes to allow SSL to be installed for this wildcard domain.
3. Click Add: Click the Add button to save the wildcard domain. CloudStick will associate it with the current website.
Use the exact format *.yourdomain.com — include the asterisk and the dot prefix. The wildcard covers one level of subdomains only (e.g. sub.yourdomain.com) and does not extend to sub-subdomains (e.g. sub.sub.yourdomain.com).
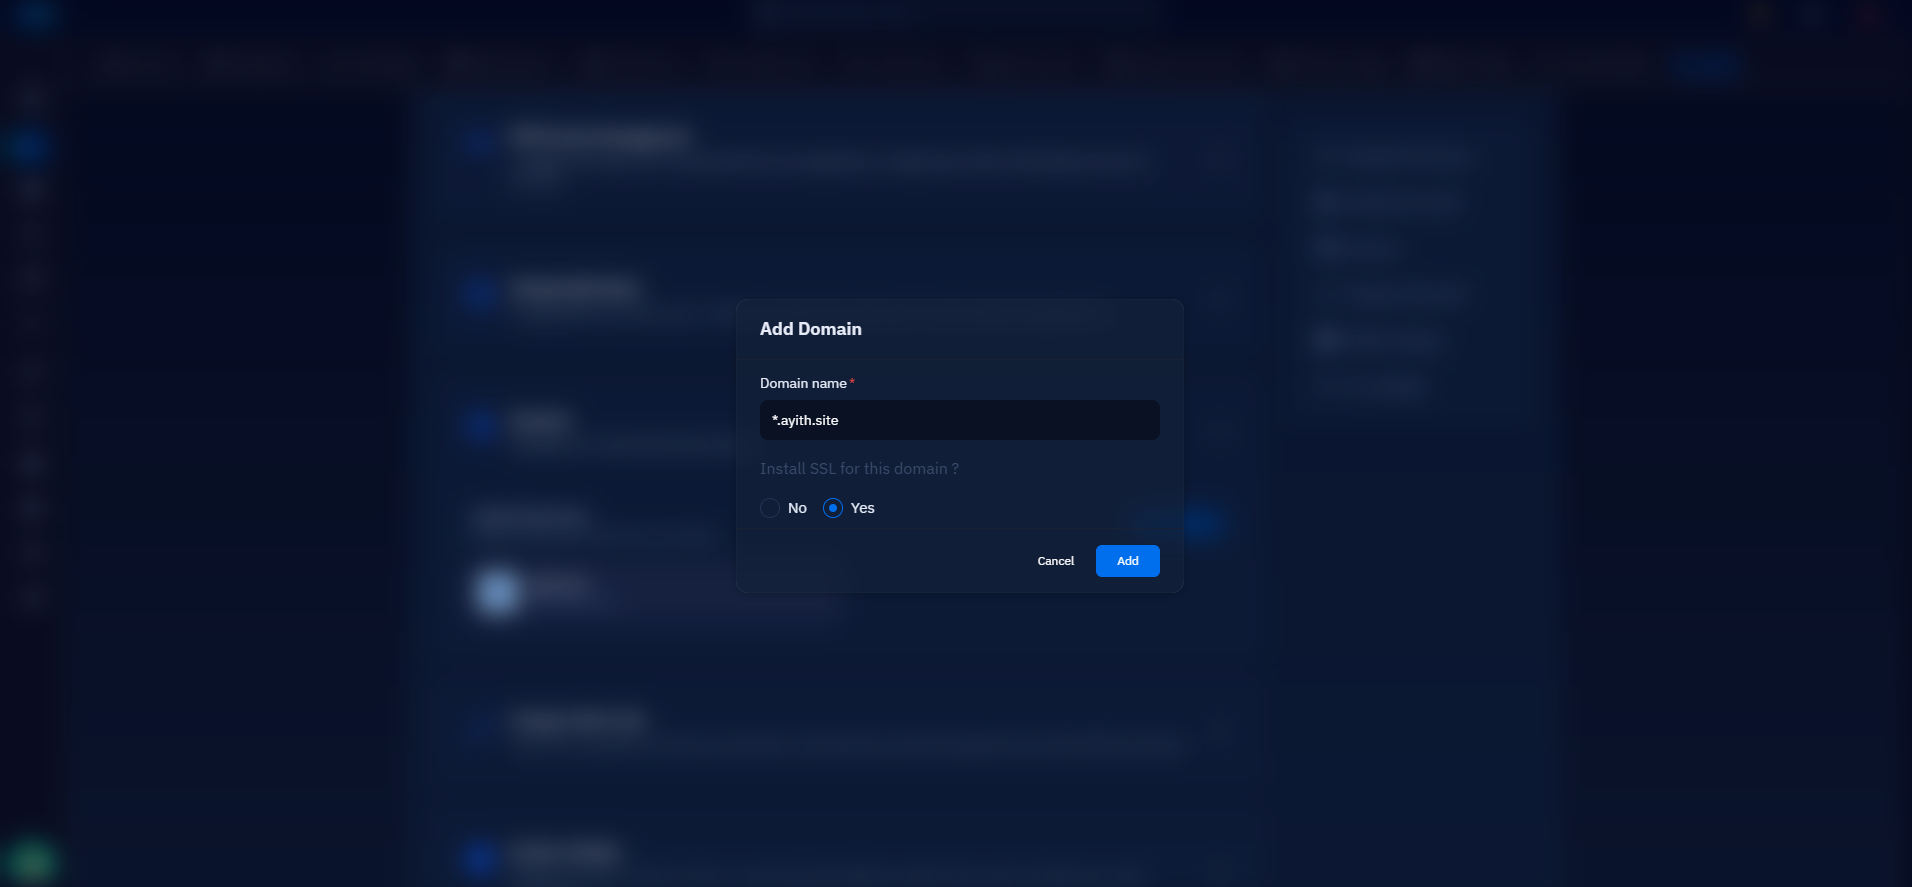
Fig. 09 — Add Domain dialog with *.ayith.site entered as the wildcard domain and SSL installation set to Yes.
Step 10: Deploy the SSL Certificate
With the wildcard domain registered against your website, navigate to the Manage SSL tab to deploy the certificate. Wildcard SSL requires DNS Verification — you must select this method so that Let's Encrypt validates the domain via a DNS TXT record through your connected Cloudflare account rather than over HTTP.
1. Click Manage SSL: From the website's top navigation bar, click the Manage SSL tab.
2. Click Deploy New SSL: The SSL Management section will show 'No SSL found'. Click the Deploy New SSL button to open the SSL configuration form.
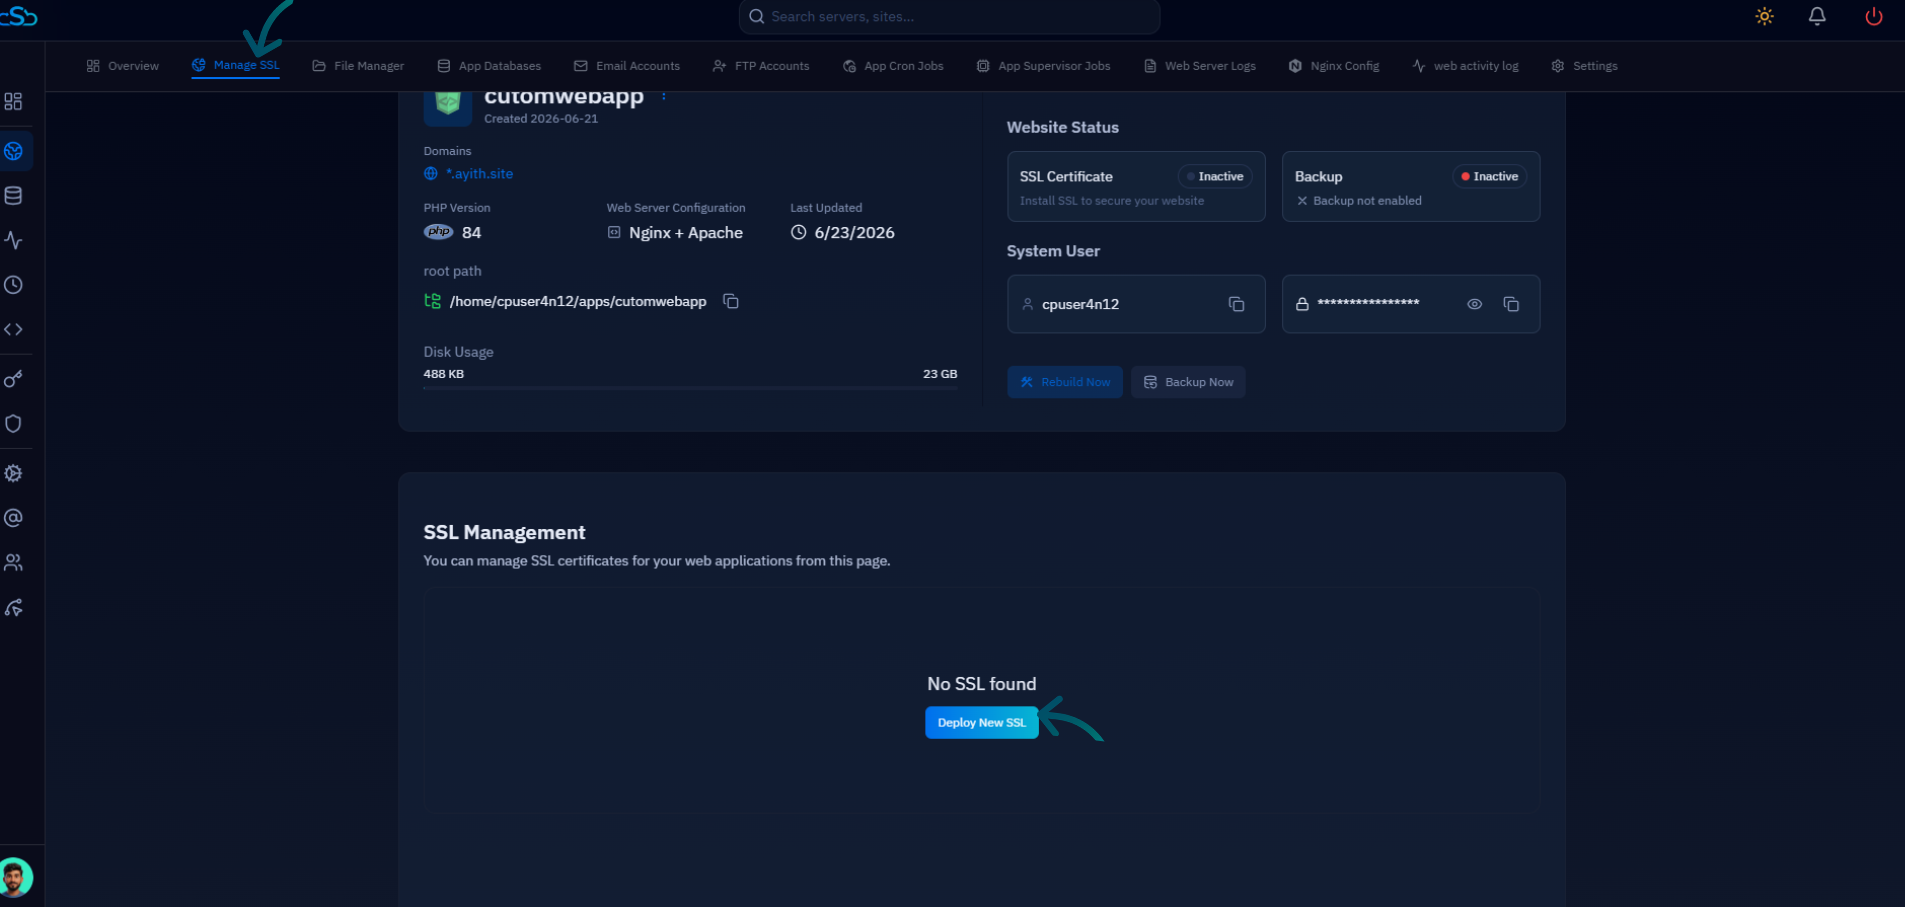
Fig. 10 — Website summary showing the Manage SSL tab and the Deploy New SSL button in the SSL Management section.
3. Select Let's Encrypt as SSL Provider: In the SSL configuration form, choose Let's Encrypt (Free Certificate) as the SSL Provider.
4. Select DNS Verification: Under Authorization Method, select DNS Verification. This is required for wildcard certificates — HTTP Verification cannot validate wildcard domains.
5. Choose your Cloudflare account: In the DNS Provider & Account dropdown, select your connected Cloudflare account (e.g., Johnse). CloudStick will use this account to create the TXT record for validation automatically.
6. Choose Access Method: Select HTTPS + HTTP if your site is behind Cloudflare (recommended to avoid redirect loops), or HTTPS Only for strict HTTPS enforcement.
7. Click Save SSL Configuration: Click Save SSL Configuration to begin the certificate issuance. CloudStick will communicate with Let's Encrypt via your Cloudflare account, create the required TXT record, validate the wildcard domain, and install the certificate.
The wildcard DNS A record you created in Step 4 handles DNS resolution only. To enable HTTPS for wildcard subdomains, the Cloudflare integration must be connected and active — without it, DNS Verification will fail and the certificate will not be issued.
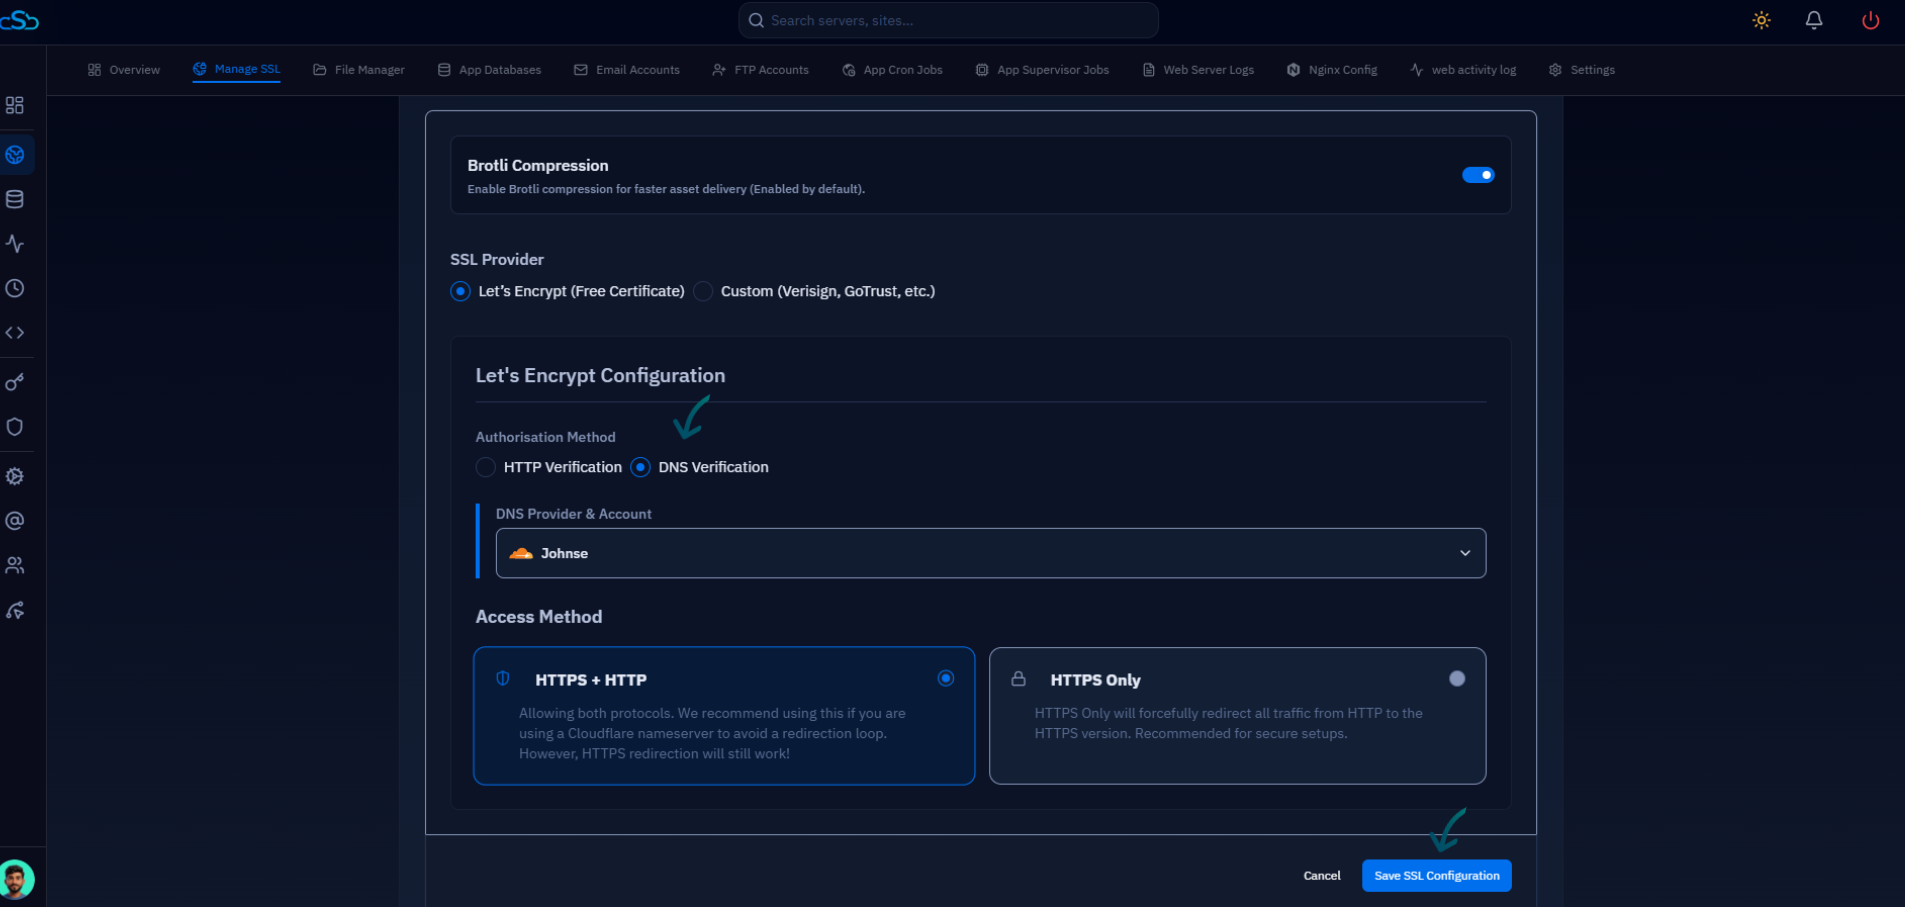
Fig. 11 — SSL configuration form with DNS Verification selected, Cloudflare account chosen as the DNS Provider, and the Save SSL Configuration button visible.