How to Access DNS, Backups, Notifications, and Other Quick Actions
Overview
As you manage a server, you constantly move between tasks — checking DNS records, reviewing Backups, and keeping an eye on Notifications. Rather than hunting through menus each time, CloudStick keeps the most commonly used features one click away with a quick-access menu pinned to the top-right corner of the dashboard.
This guide shows you where to find the quick-access icons on the Server Summary page and how to use them to jump straight to DNS, Backups, Notifications, and Logout — from any section of the CloudStick dashboard, without losing your place.
You need at least one server connected to your CloudStick account to see the quick-access menu. If you have not added a server yet, see How to Deploy Your Own Server first.
Step 1: Log In to CloudStick
Start by signing in so you can reach the dashboard where all of your connected servers are listed.
1. Log in: Sign in to your CloudStick account at app.cloudstick.io using your email and password.
2. Land on the Dashboard: After logging in, you are taken to the main Dashboard, which greets you and shows a summary of your total, active, and shared servers.
Step 2: Select Your Server
Open the server you want to work on so its Server Summary page — where the quick-access menu lives — comes into view.
1. Find your server: From the Dashboard, locate the server you want to manage among the server cards.
2. Open the server panel: Click the server card (or the Manage option on it) to open that server's Summary page.
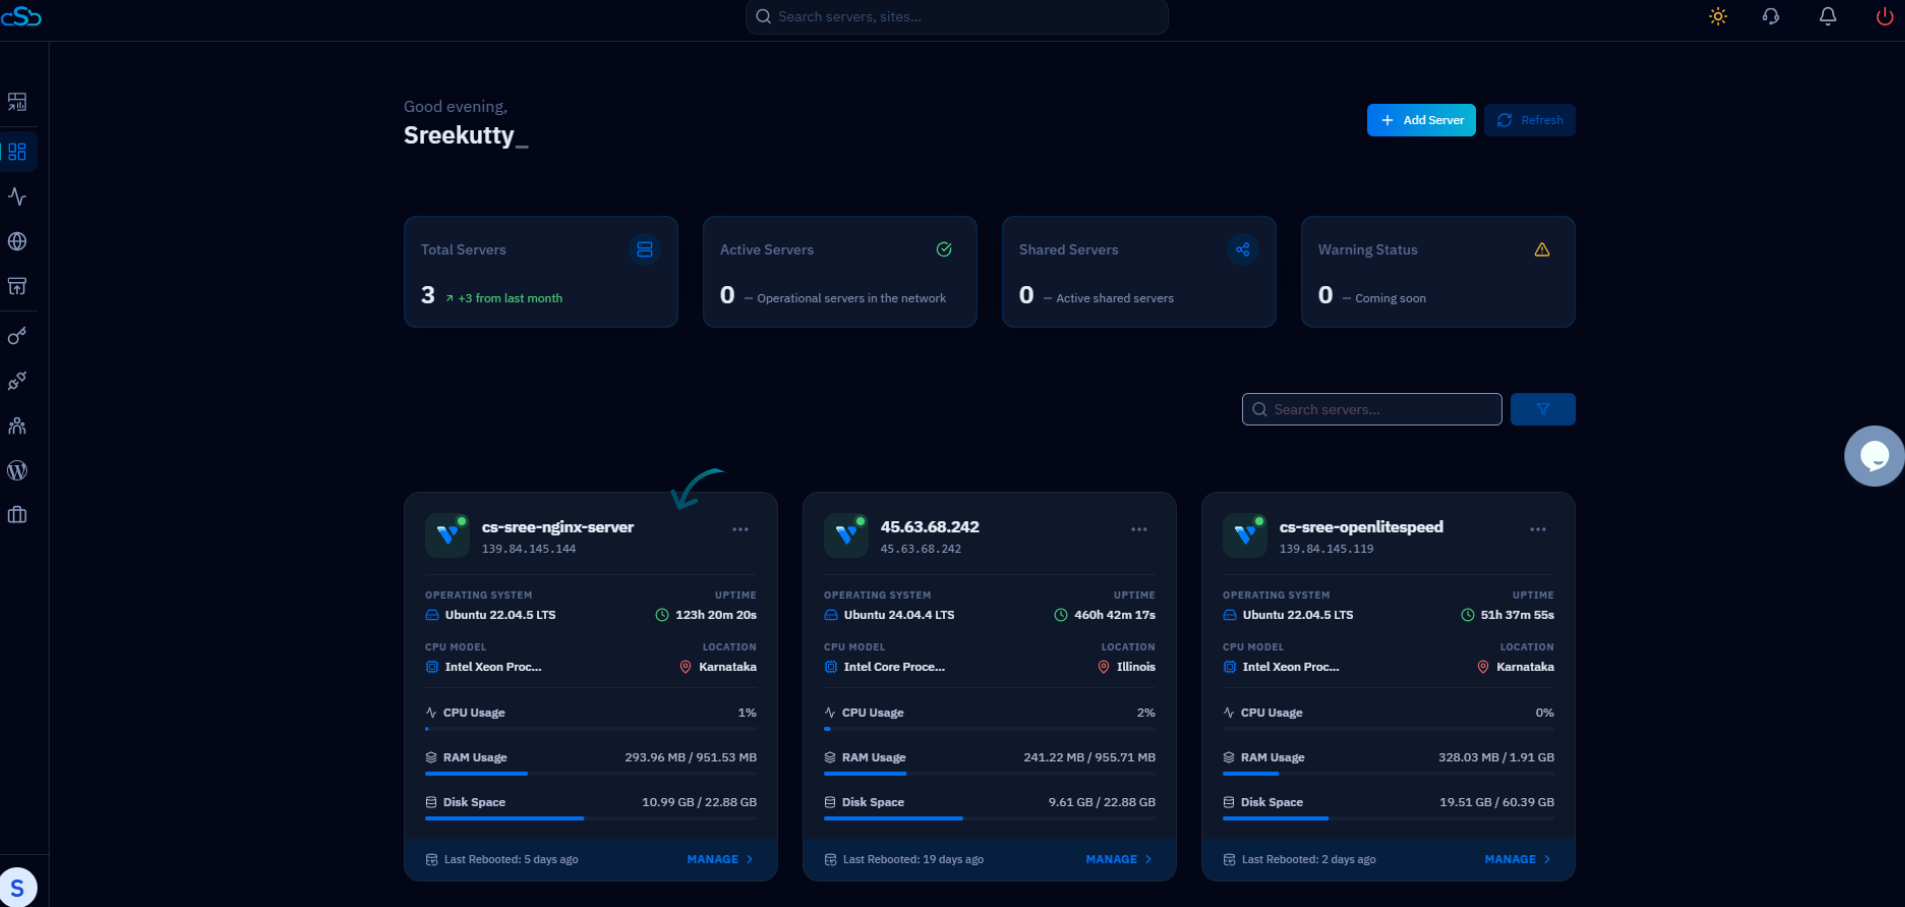
Fig. 01 — The Dashboard server list. Select a server to open its Server Summary page.
Step 3: Locate the Quick Actions Menu
At the top-right corner of the Server Summary page, you will find a row of quick-access icons for the features you reach most often.
DNS: Jump straight to DNS record management for the server.
Backups: Open the Backups section to review or manage your snapshots.
Notifications: View recent alerts and activity for the server.
Logout: Sign out of your CloudStick account securely.
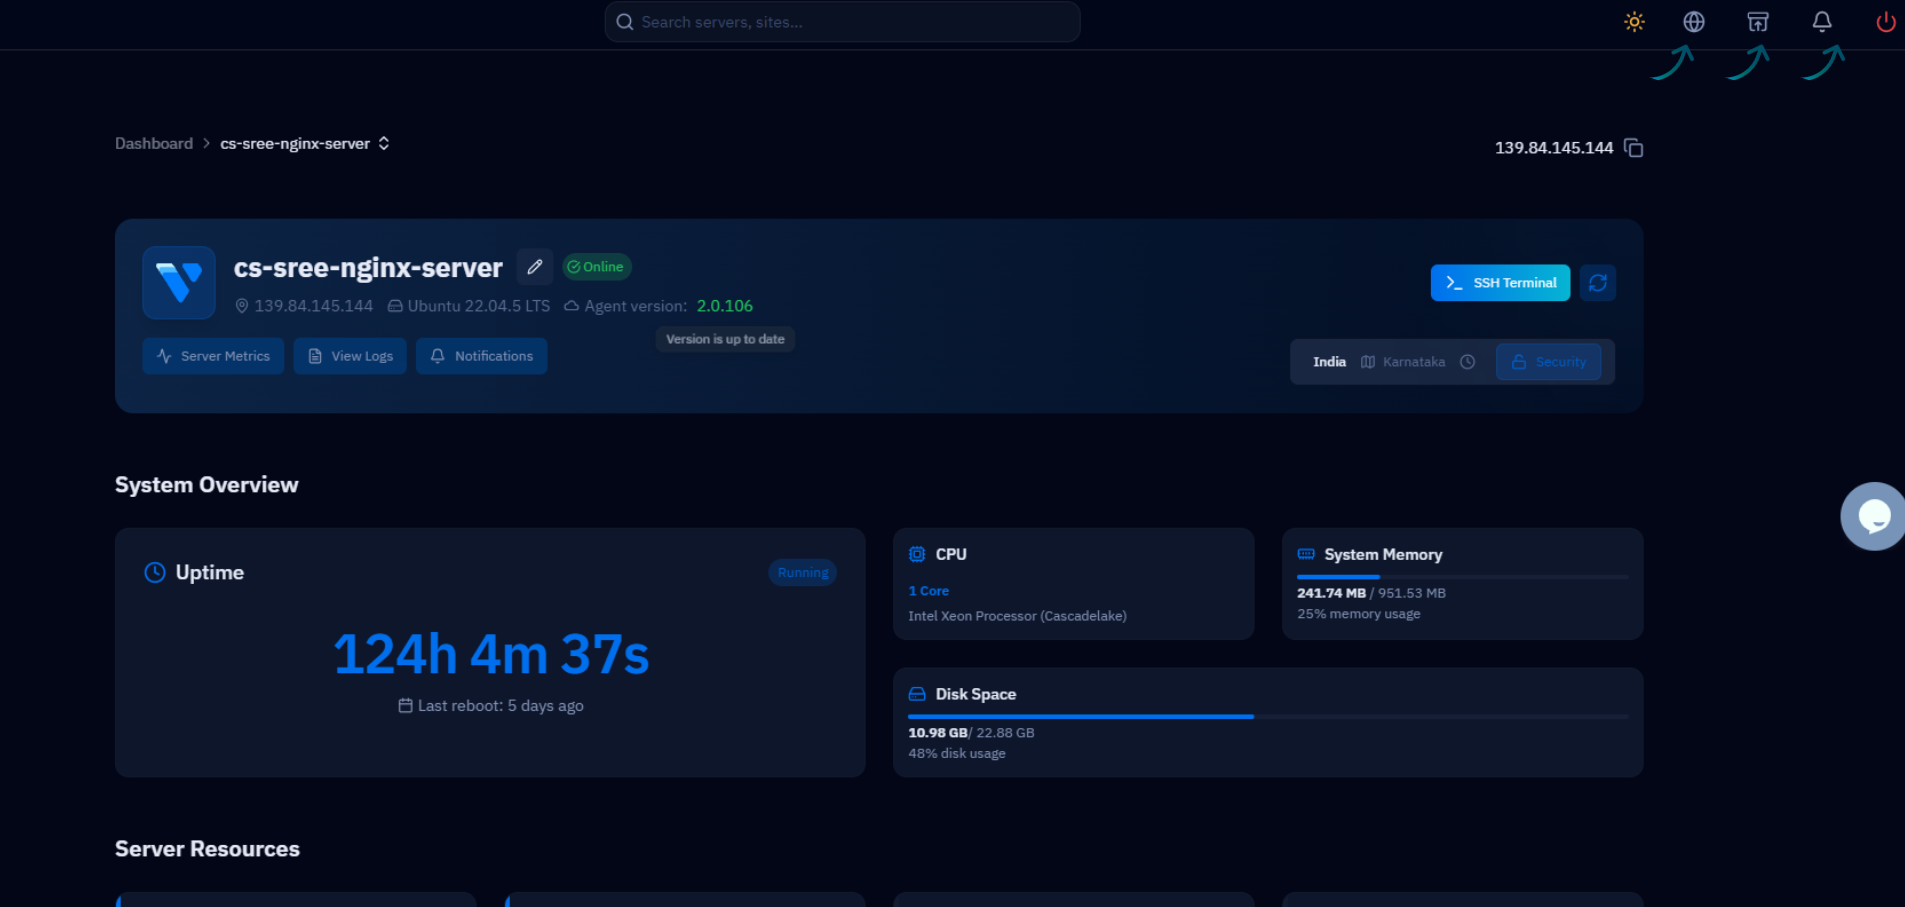
Fig. 02 — The quick-access icons in the top-right corner of the Server Summary page.
Step 4: Access Features Instantly
Click any quick-access icon to open the corresponding section immediately — there is no need to dig through the left-hand navigation first.
1. Click an icon: Select the quick-access icon for the feature you need, such as the SSH Terminal or any of the shortcut icons.
2. The section opens in place: CloudStick opens the requested feature right away, keeping you in the flow of whatever you were doing.
Step 5: Use It from Any Section
The quick-access menu stays available no matter which part of the dashboard you are in, so you can navigate without backtracking.
Always within reach: Whether you are managing Websites, Databases, DNS Records, Backups, SSL Certificates, or Server Settings, the quick-access menu remains in the top-right corner.
Switch tasks freely: Move between features in a single click without returning to the Server Summary page each time.
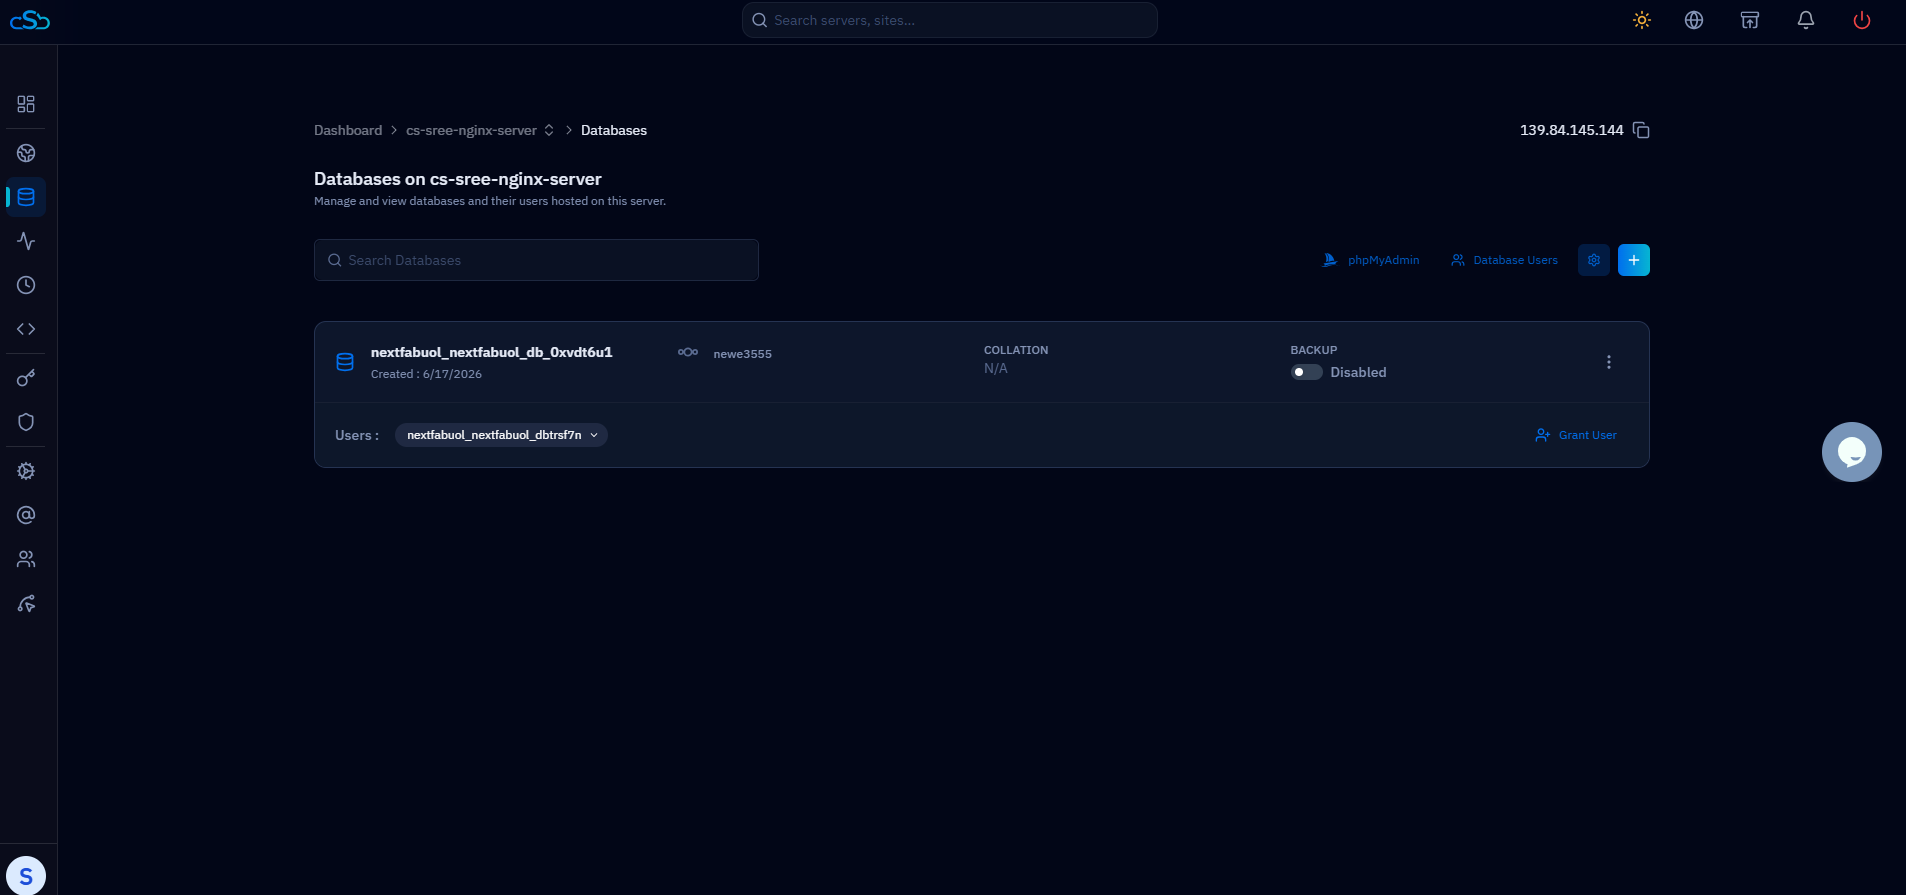
Fig. 03 — The quick-access menu stays available even inside the Databases section.
CloudStick is designed to be user-friendly and provides convenient access to essential features from any section of the dashboard, helping you manage your servers more efficiently.