How to Access phpMyAdmin from a Server
Overview
phpMyAdmin is a browser-based database management interface that lets you inspect tables, run SQL queries, import and export data, and manage users — all without touching the command line. CloudStick ships with phpMyAdmin pre-configured on every server and gives you a direct one-click launch button from the Databases panel, so there is no need to look up your server's IP or set up separate credentials.
This guide walks through the four steps to reach phpMyAdmin from your CloudStick dashboard: logging in, navigating to a server, opening the Databases section, and clicking the phpMyAdmin launch button to open the full interface in a new browser tab.
phpMyAdmin is accessible only for servers that have a database engine (MySQL or MariaDB) installed. If you do not see the phpMyAdmin button on the Databases page, ensure your server has a database engine enabled in CloudStick.
Step 1: Log In to CloudStick
Start from the CloudStick Dashboard, which shows an overview of all your servers. From here you will select the server whose databases you want to manage.
Sign in to your CloudStick account and land on the main Dashboard.
Locate the server you want to manage in the server grid and click its Manage → button to open the server panel.
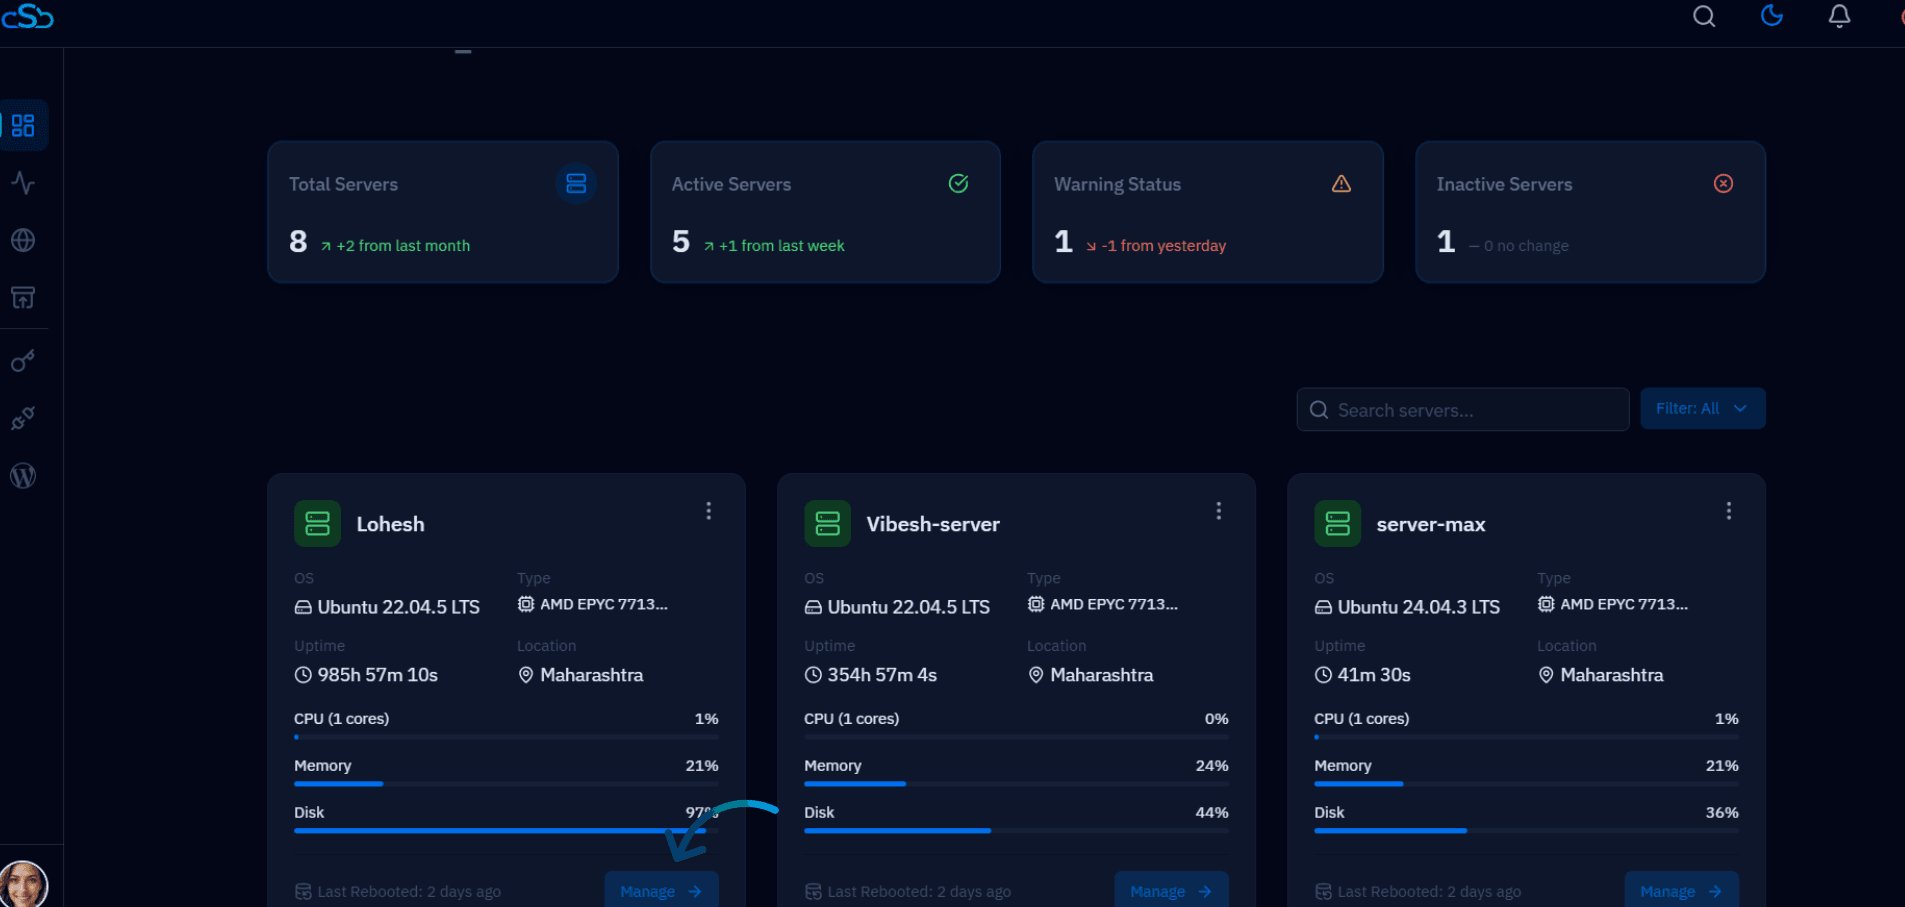
Fig. 01 — CloudStick Dashboard showing the server grid. Click the Manage button on the target server to enter its panel.
Step 2: Open the Databases Section
Inside the server panel, the left-hand navigation gives you access to all server management areas. The Databases section is where all database-related tools — including phpMyAdmin — are located.
In the left-hand navigation of the server panel, click the Databases icon (the cylinder/database icon) to open the Databases page.
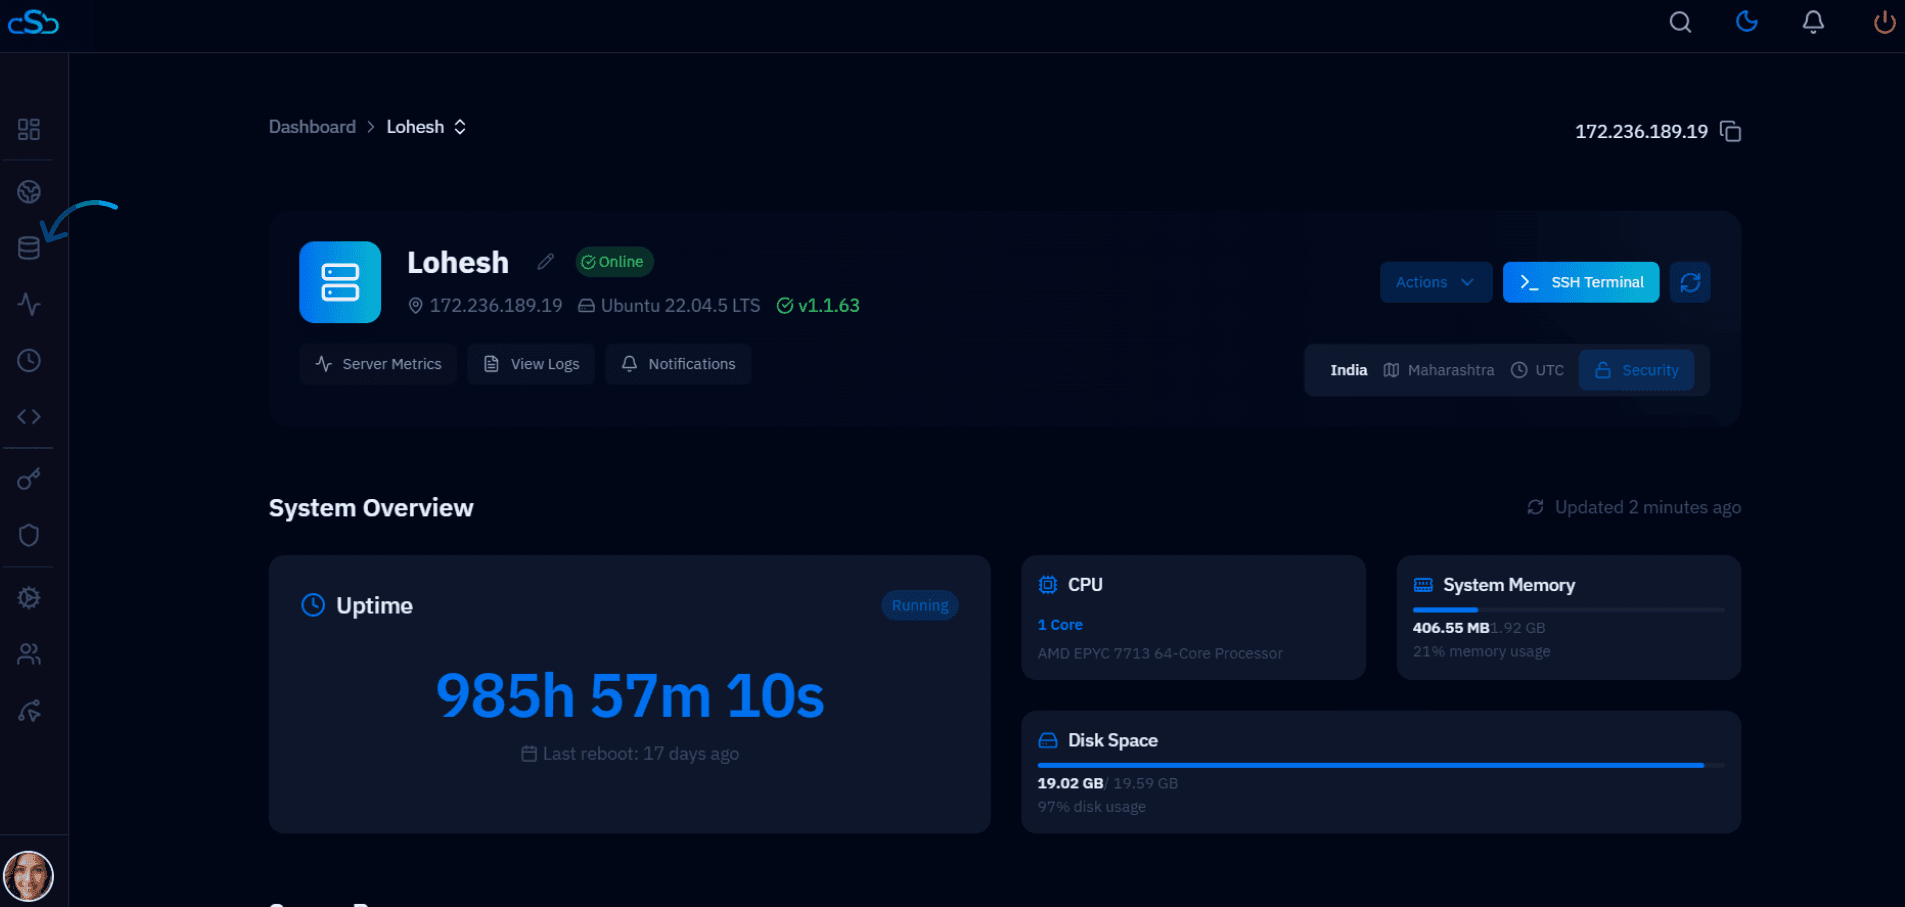
Fig. 02 — Server panel with the Databases icon highlighted in the left-hand navigation sidebar.
Step 3: Launch phpMyAdmin
The Databases page lists all databases on the server and provides quick-access buttons for database tools in the top-right area. The phpMyAdmin button is visible here as soon as the page loads.
On the right side of the Databases page header, click the phpMyAdmin button.
CloudStick will authenticate the session and redirect your browser to the phpMyAdmin interface.
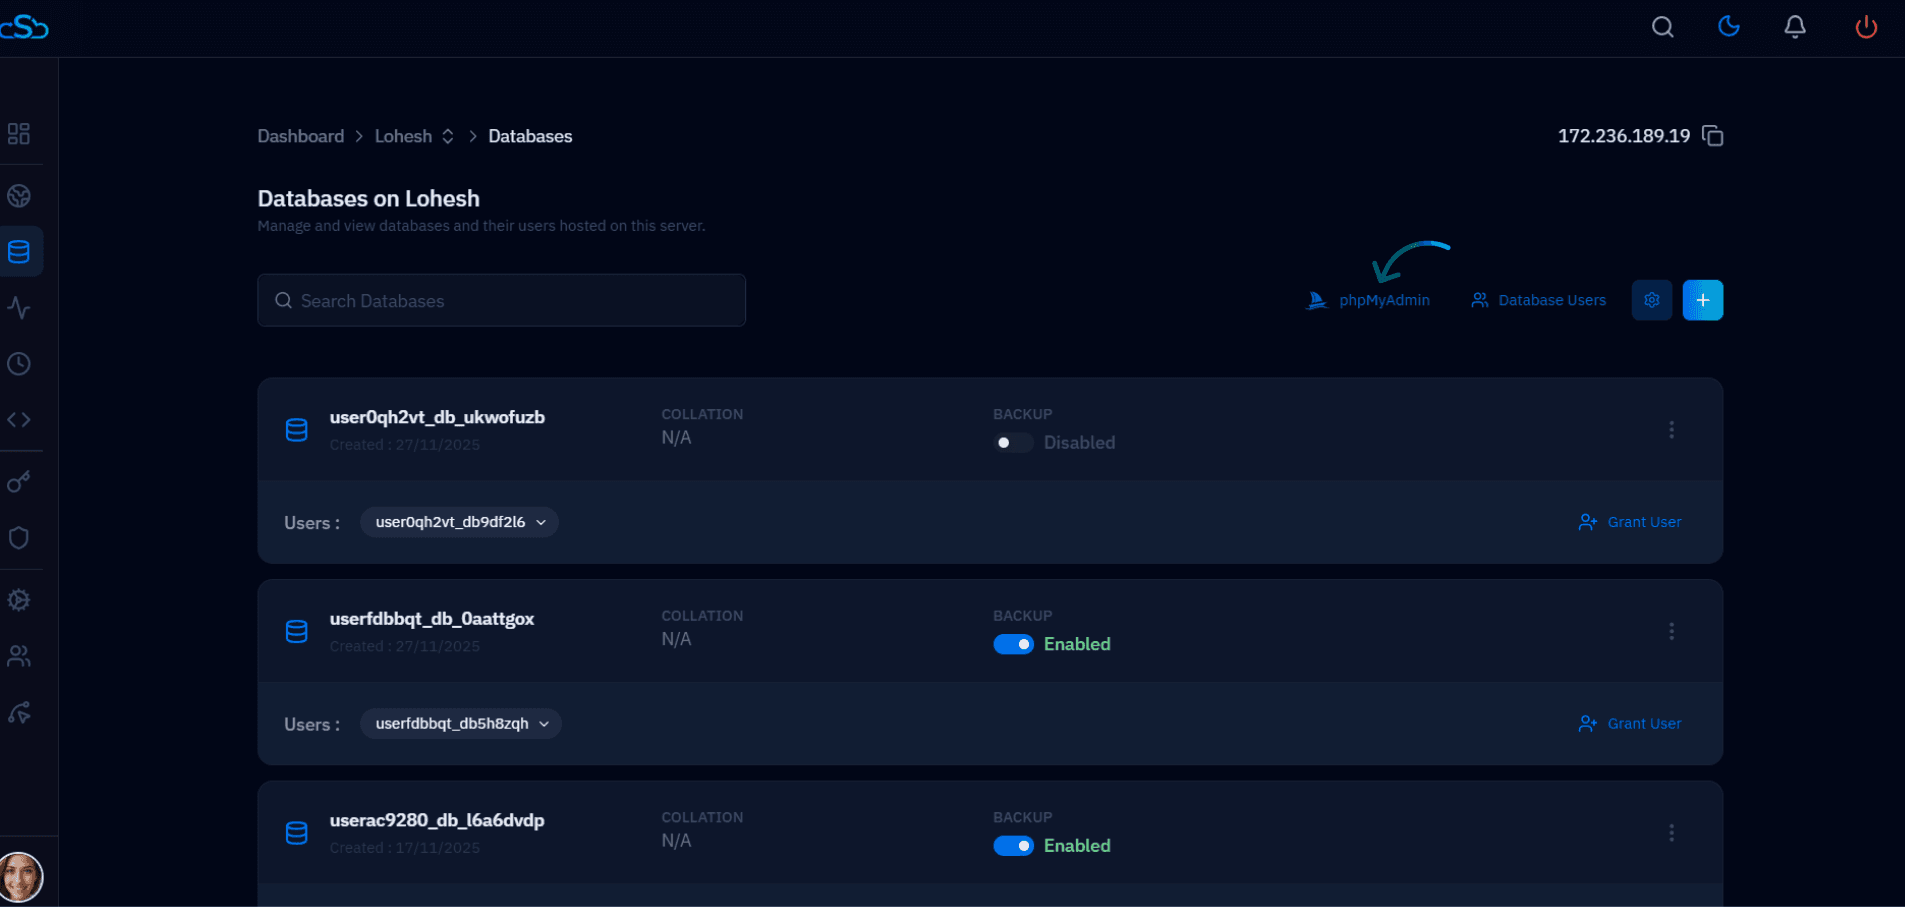
Fig. 03 — Databases page with the phpMyAdmin button visible in the top-right action bar.
Step 4: Manage Your Databases
phpMyAdmin opens in a new browser tab, logged in as root. From here you can browse tables, run SQL queries, import and export data, and manage database users — all through a visual interface.
The left panel lists all databases on the server. Click any database name to expand its tables.
Use the top navigation tabs — Databases, SQL, Import, Export — to perform server-level operations.
Click a table name in the left panel, then use the Browse, Structure, or Insert tabs to view or modify data.

Fig. 04 — phpMyAdmin dashboard open in the browser, showing the server overview and database list in the left panel.
phpMyAdmin sessions are time-limited. If you are idle for an extended period, the session will expire and you will need to relaunch phpMyAdmin from the CloudStick Databases page.