How to Create a Database User in CloudStick
Overview
A database user is the account your application uses to connect to a MySQL database. Creating a dedicated user — rather than reusing the root account — is a security best practice: it limits exactly which databases an application can touch and contains the damage if its credentials are ever leaked. CloudStick's built-in visual database manager lets you create and manage these users directly from the dashboard, with no command line or phpMyAdmin required.
This guide walks you through selecting your server, opening the Databases section, switching to the Database Users view, and creating a new user with a username, password, and host in just a few clicks.
Your server must already be connected and active in CloudStick before you can create a database user. If you have not yet connected a server, see How to Deploy Your Own Server first. To create the database itself, see How to Create a Database in CloudStick.
Step 1: Log In to CloudStick
Everything starts from your CloudStick account, where all of your connected servers are managed in one place.
Open dash.cloudstick.io and log in with your CloudStick credentials.
You'll land on the main Dashboard, which lists every server connected to your account.
Step 2: Select Your Server
Database users are created per server, so the first step is opening the server that hosts the database you want to add a user to.
From the Dashboard, find the server you want to work with in the server list.
Click Manage on that server's card to open its server panel.

Fig. 01 — CloudStick Dashboard showing connected servers. Click Manage on the server you want to work with.
Step 3: Open the Databases Section
Inside the server panel, the Databases section is where every MySQL database and its users live. You reach it from the server panel's left-hand navigation.
In the left-hand navigation of the server panel, click the Databases icon.
This opens the Databases page, listing all databases hosted on the server.
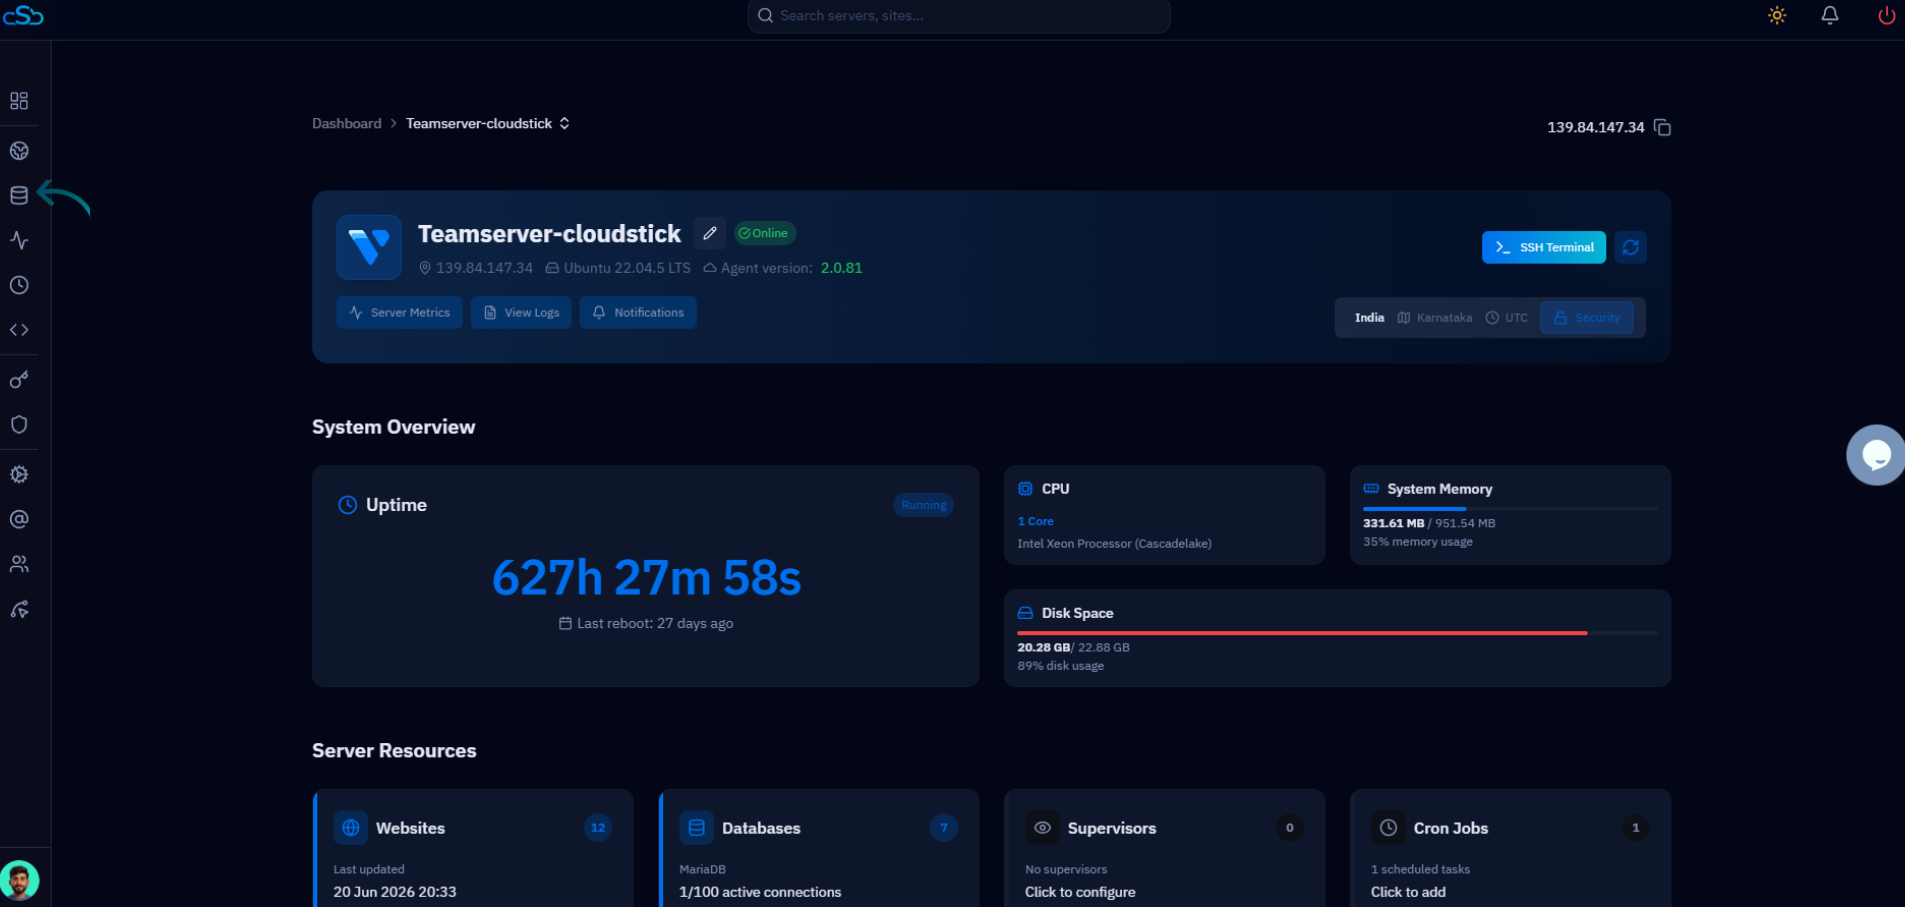
Fig. 02 — Server panel with the Databases icon highlighted in the left-hand navigation.
Step 4: Open Database Users
The Databases page has a dedicated view for managing user accounts, separate from the database list itself. This is where you can see existing users and add new ones.
On the Databases page, click the Database Users link at the top-right of the page.
You'll be taken to the Database Users page, which lists every user along with its creation date.
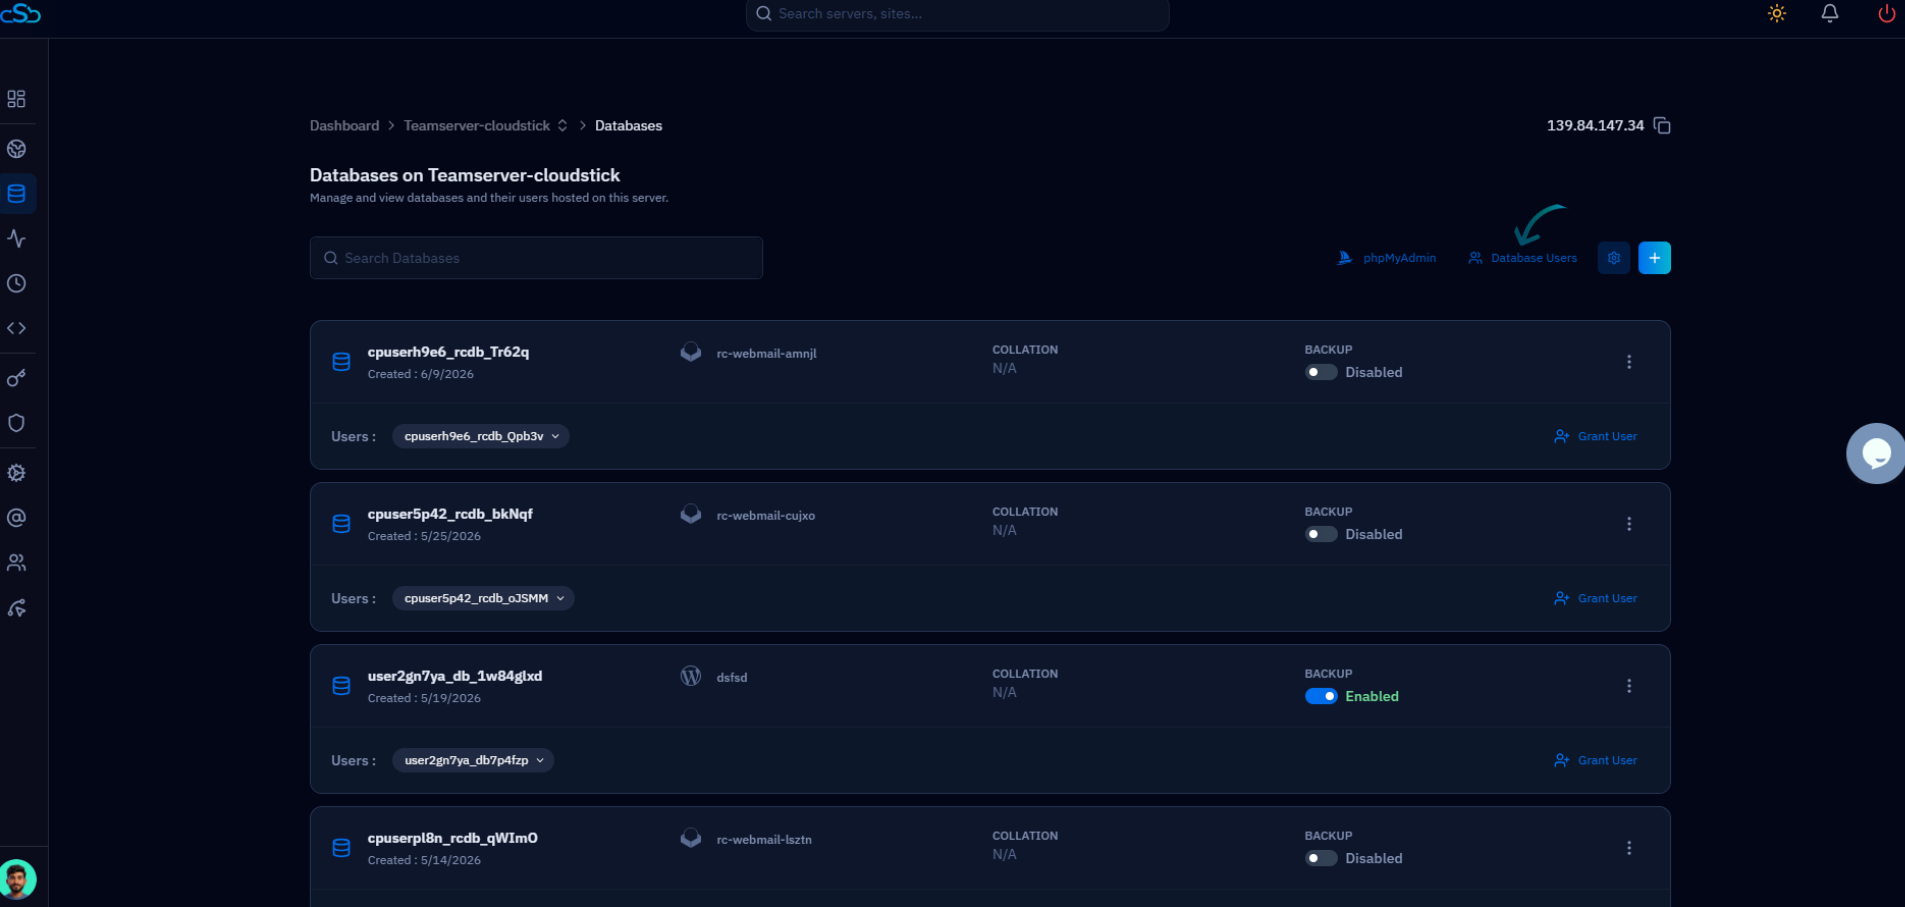
Fig. 03 — The Databases page with the Database Users link highlighted at the top-right.
Step 5: Create a New User
From the Database Users page, a single button opens the form for adding a brand-new user.
Click the + (add) button at the top-right of the Database Users page.
The Add New Database User form opens, ready for the user details.
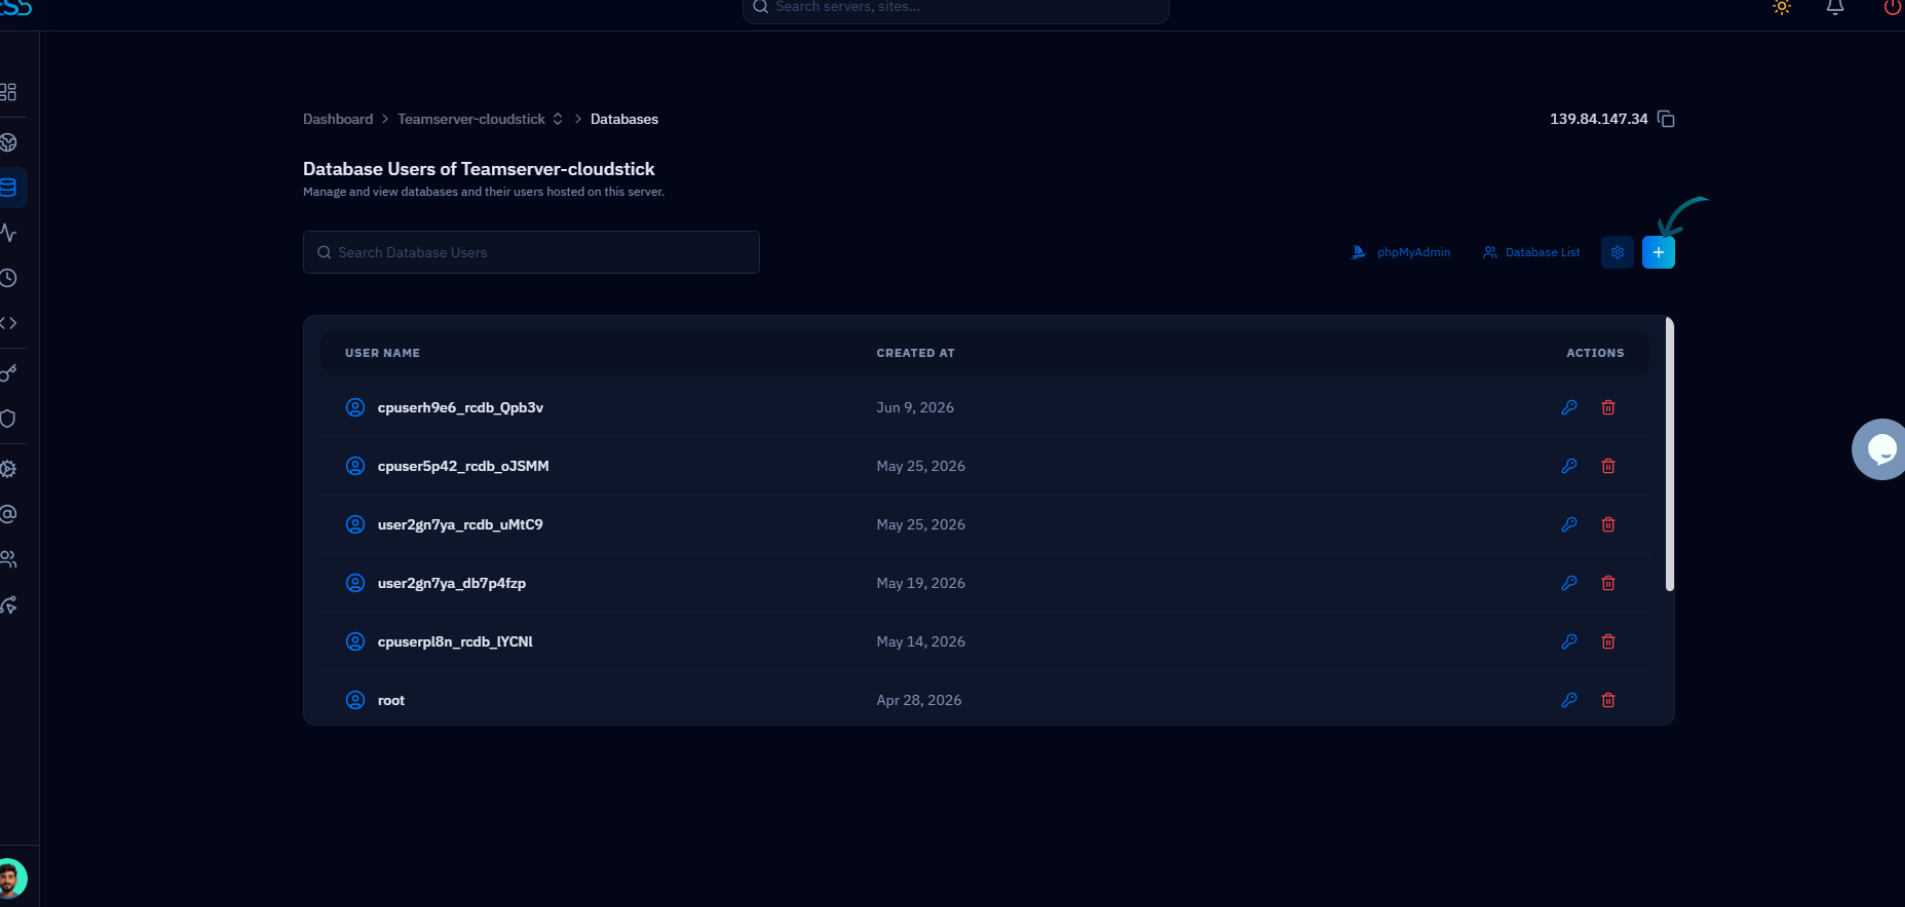
Fig. 04 — The Database Users page with the + button highlighted for adding a new user.
Step 6: Enter the User Details
The form asks for a username, a password, and the host the user is allowed to connect from. These three values are all that's needed to provision the account.
Database User Name: Enter a username for the new user, e.g. app_user. Use lowercase letters and underscores — no spaces.
Password: Enter a strong password, or click Generate to have CloudStick create one for you. Use at least 16 characters.
Host: Select Local Host to allow connections from the same server only. This is the recommended and most secure default for web applications.
Make a note of the username and password — you'll need them when configuring your application's database connection settings.
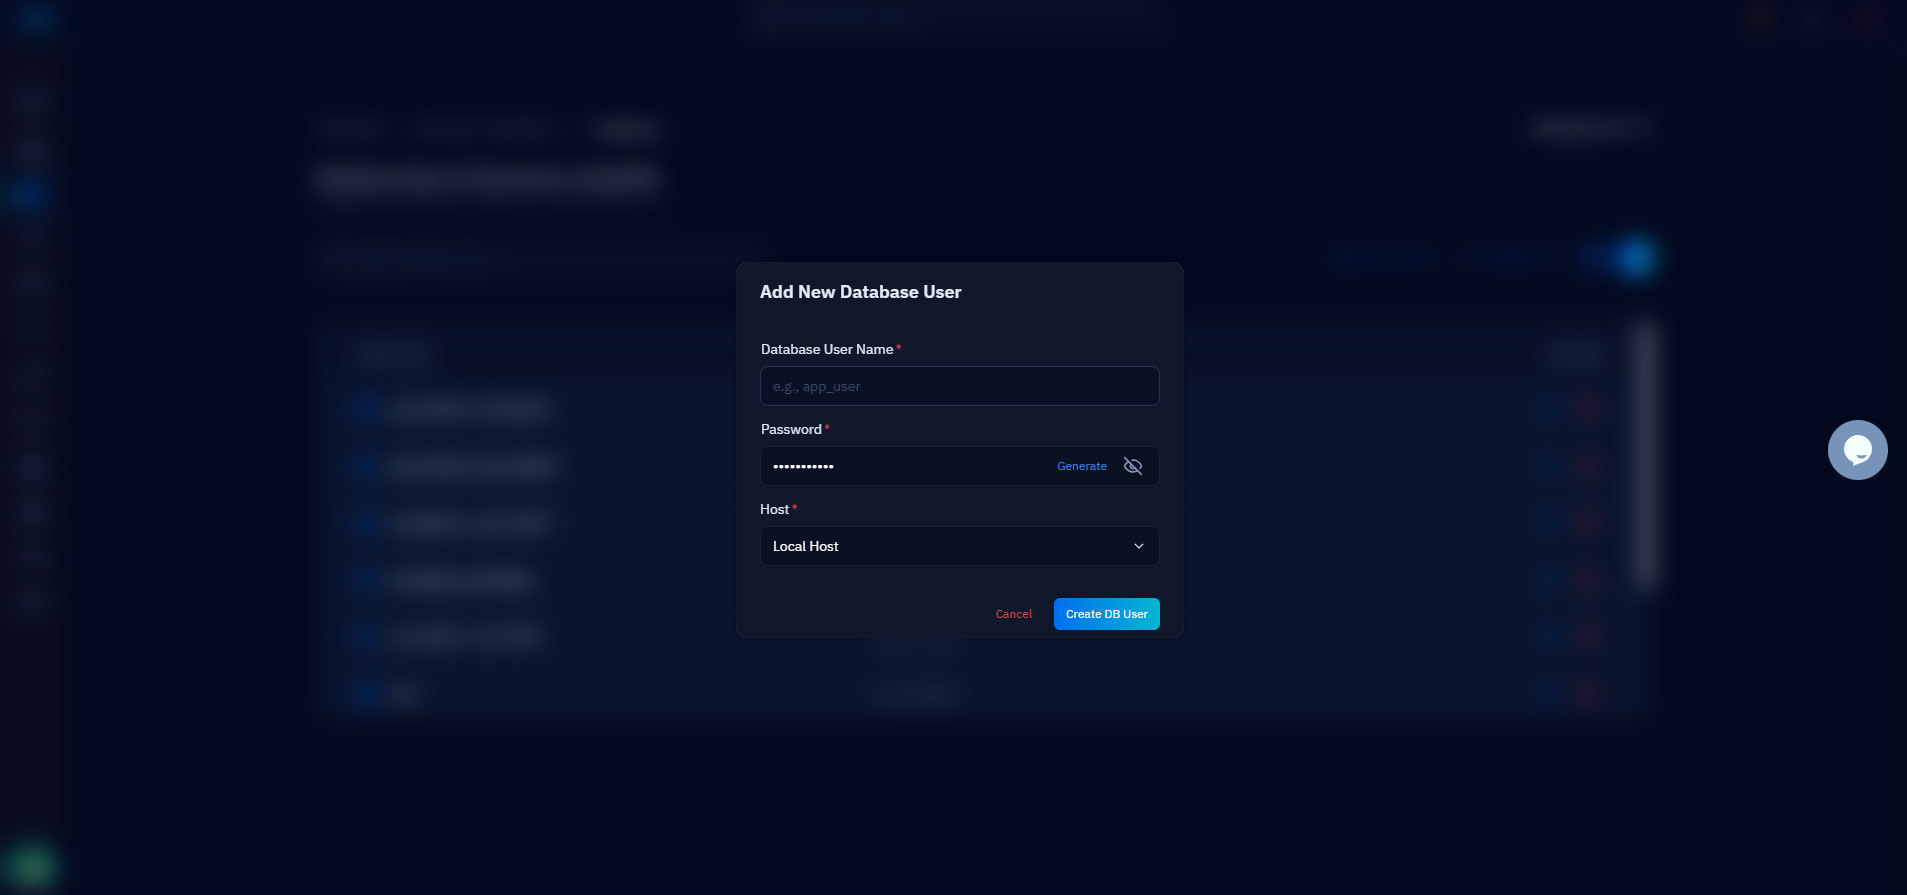
Fig. 05 — The Add New Database User form with the Database User Name, Password, and Host fields.
Step 7: Save the User
Once the details are filled in, a single click provisions the user and returns you to the Database Users list.
Click the Create DB User button at the bottom of the form.
CloudStick creates the user immediately, and it appears in your Database Users list.
Your new database user is ready to use. To give it access to a specific database, use the Grant User option on the Databases page. You can change the password later with How to Change a Database User Password.