How to Delete a Database in CloudStick
Overview
When a website is decommissioned or an application is retired, the database behind it often lingers on the server — taking up disk space and adding to your maintenance surface. Removing databases you no longer need keeps your server tidy and frees up storage. CloudStick's built-in visual database manager lets you delete a database directly from the dashboard, with no command line or phpMyAdmin required.
This guide walks you through selecting your server, opening the Databases section, locating the database you want to remove, and confirming the deletion in a few clicks.
Deleting a database permanently erases all of its stored data and cannot be undone. Always take a backup first — see How to enable database backup — and double-check you have selected the correct database before confirming.
Step 1: Log In to CloudStick
Everything starts from your CloudStick account, where all of your connected servers are managed in one place.
Open dash.cloudstick.io and log in with your CloudStick credentials.
You'll land on the main Dashboard, which lists every server connected to your account.
Step 2: Select Your Server
Databases are managed per server, so the first step is opening the server where the database you want to remove is hosted.
From the Dashboard, find the server that hosts the database in the server list.
Click Manage on that server's card to open its server panel.
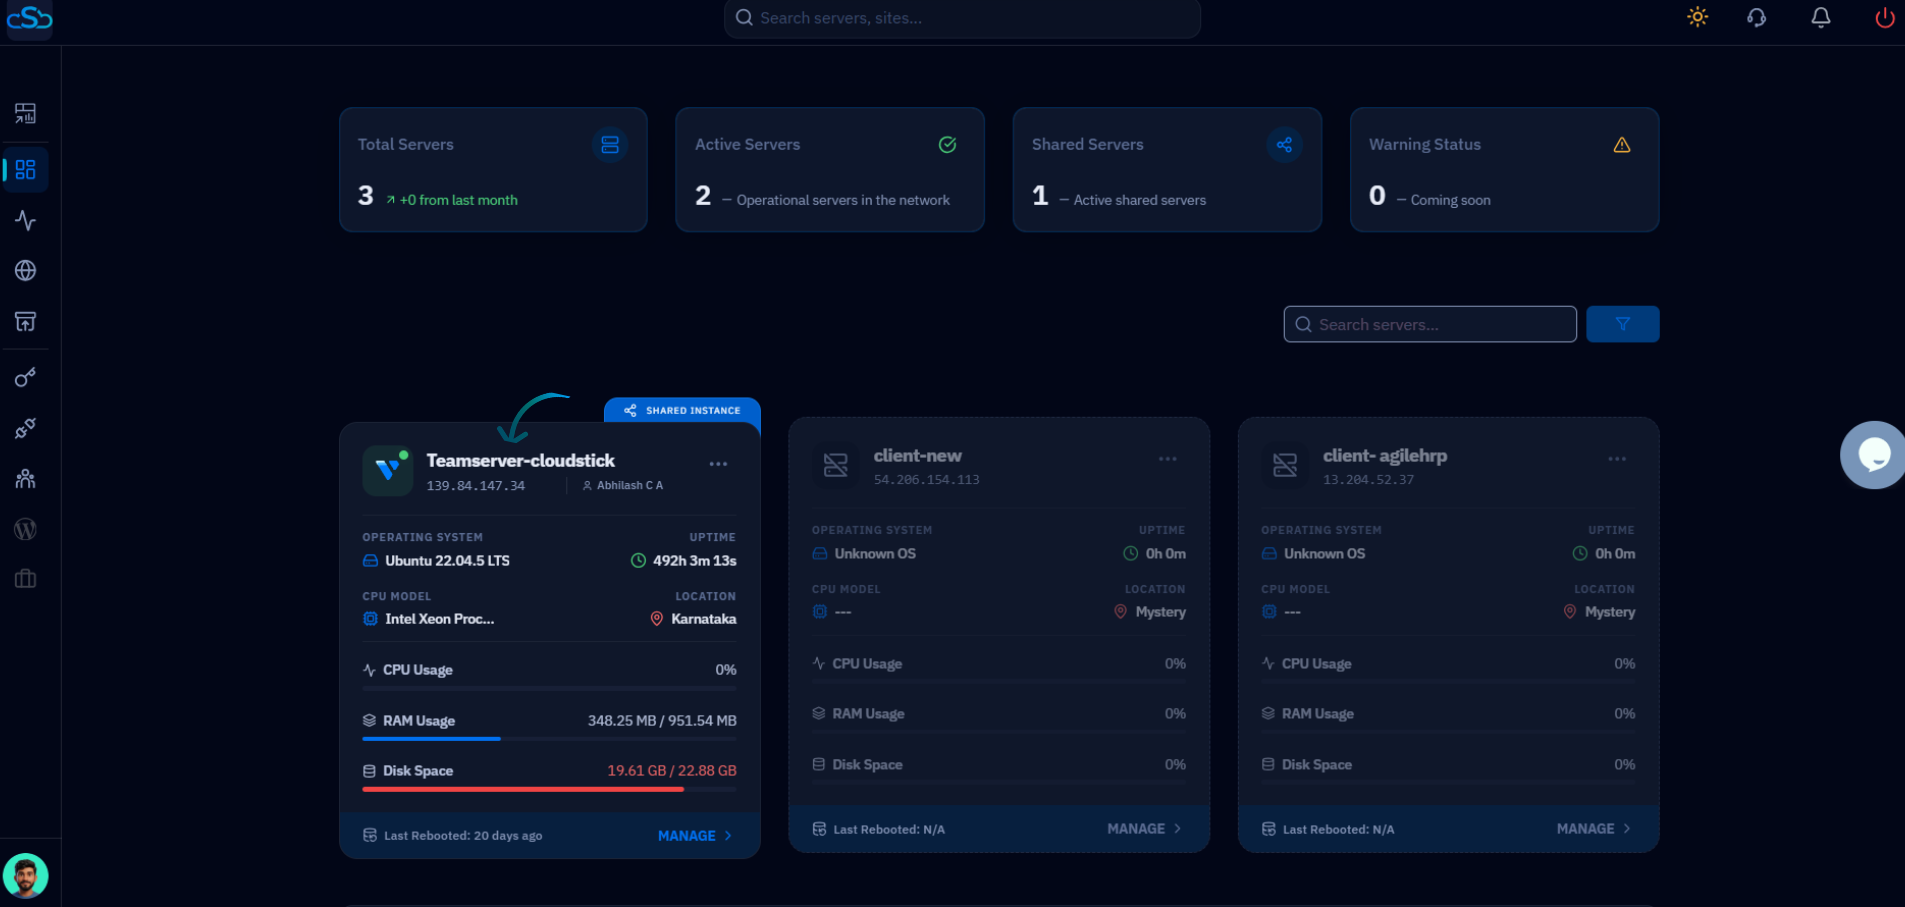
Fig. 01 — CloudStick Dashboard showing connected servers. Click Manage on the server you want to work with.
Step 3: Open the Databases Section
Inside the server panel, the Databases section lists every MySQL database on the server. You reach it from the server panel's left-hand navigation.
In the left-hand navigation of the server panel, click the Databases icon.
This opens the Databases page, showing all databases hosted on the server.
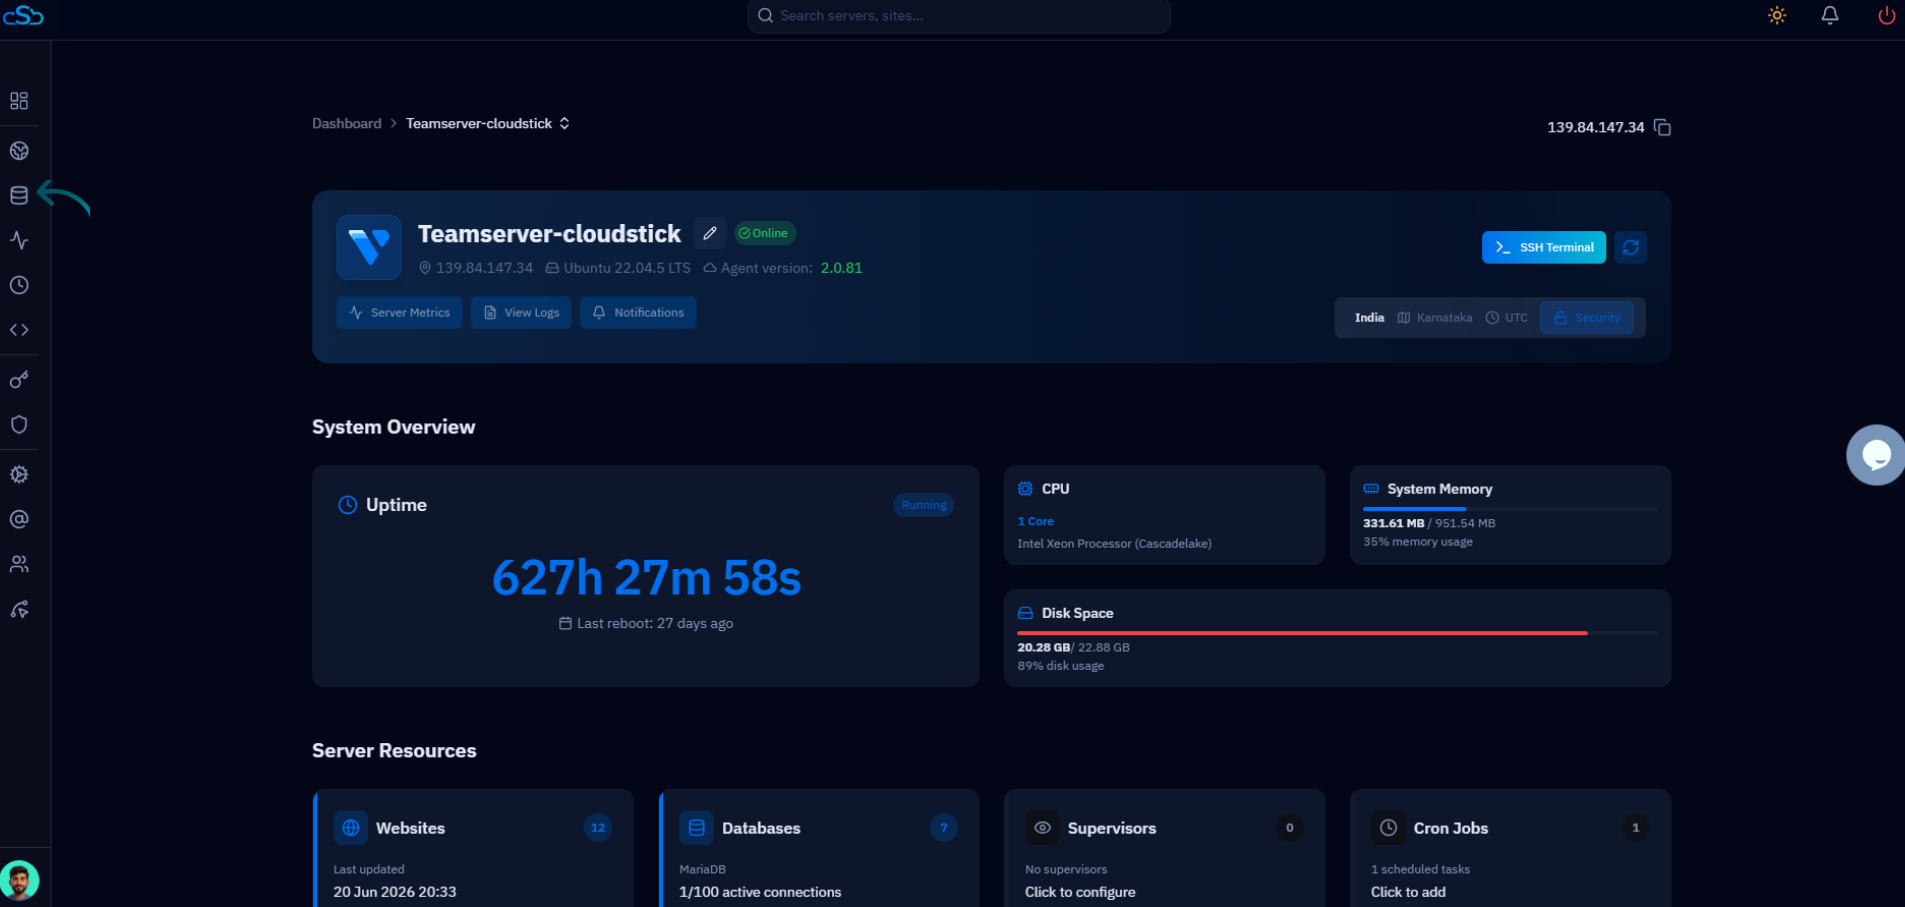
Fig. 02 — Server panel with the Databases icon highlighted in the left-hand navigation.
Step 4: Locate the Database
The Databases page shows every database on the server along with its backup status, so the next step is finding the exact one you intend to remove.
Scan the list, or use the Search Databases box to filter by name.
Identify the correct database and confirm it is no longer used by any live website or application.
Step 5: Open the Actions Menu
Each database row has a three-dot Actions menu on the right that holds its management options, including the delete control.
In the row for your chosen database, click the ⋮ (three-dot) Actions menu.
A small dropdown appears with options such as Backup Now and Delete Database.
Step 6: Delete the Database
With the Actions menu open, the deletion is started from a single option in the dropdown.
From the dropdown, click Delete Database.
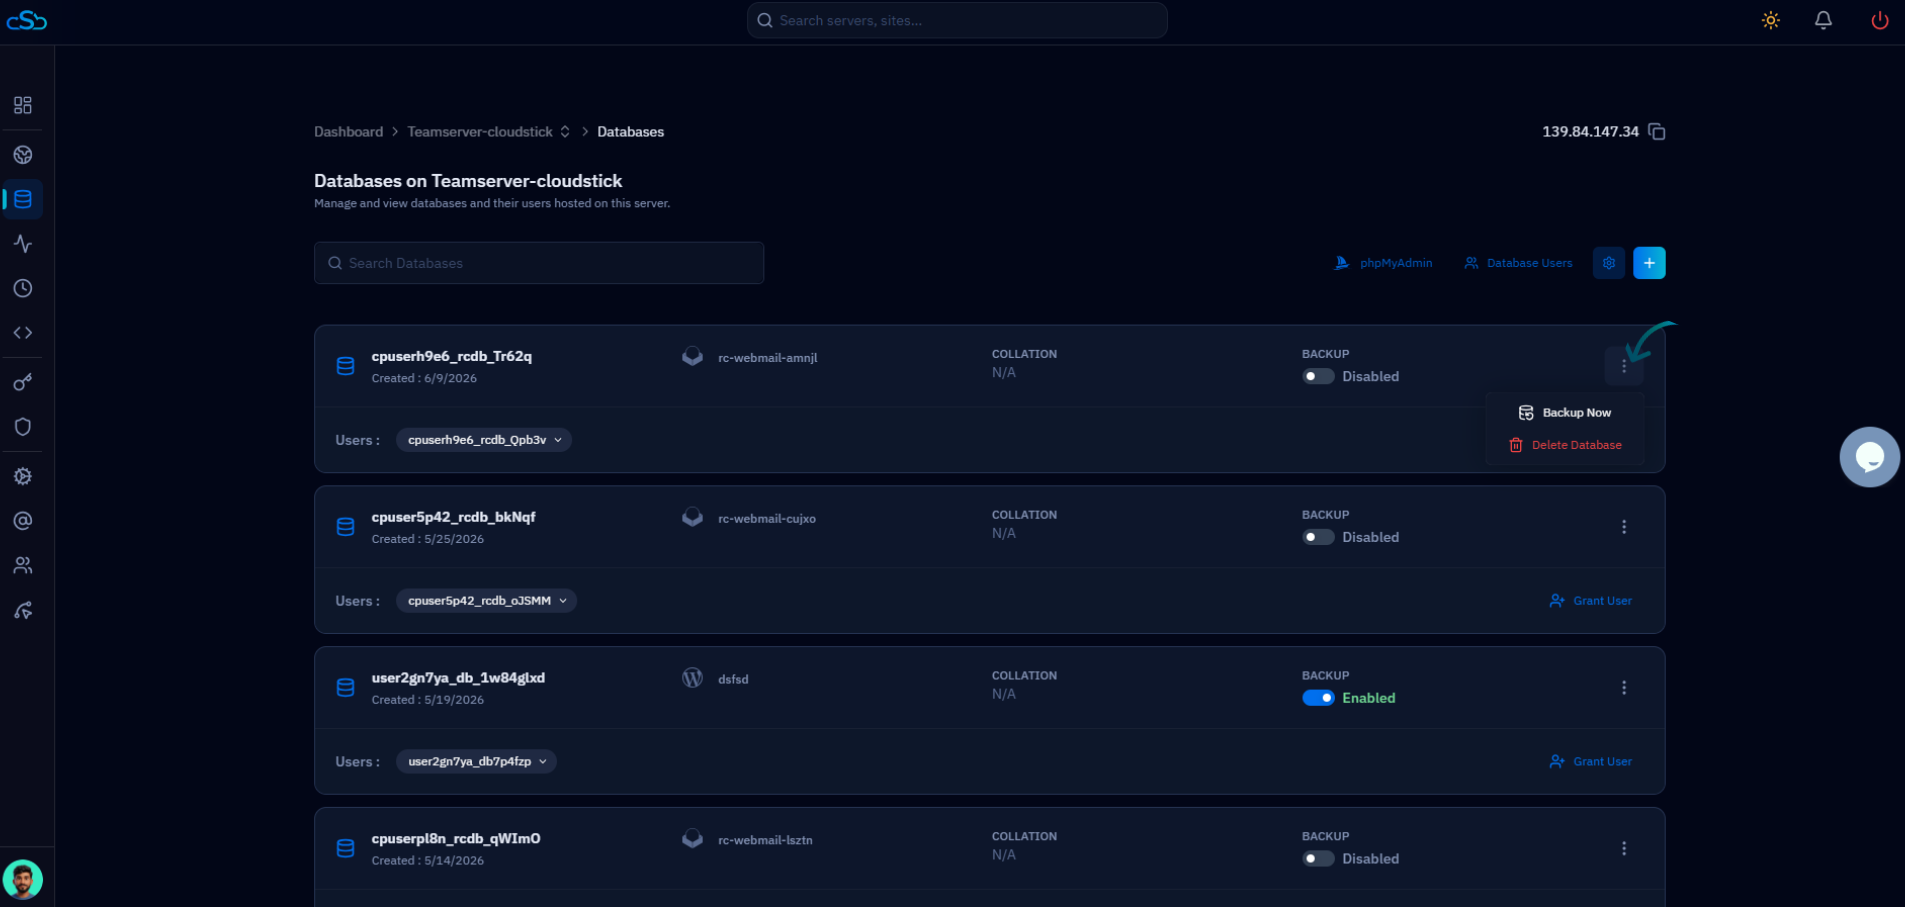
Fig. 03 — The Databases page with the Actions menu open, showing the Delete Database option.
Step 7: Confirm Deletion
Because removing a database is permanent, CloudStick asks you to confirm before it carries out the action.
When the confirmation prompt appears, review the database name one final time.
Confirm the action to permanently remove the database. It will immediately disappear from the Databases list.
The database and all of its data are now permanently erased from the server. If you need it again, you'll have to restore from a backup taken before deletion.