How to Access the Services Page
Overview
CloudStick gives you full graphical control over server services — Nginx, OpenLiteSpeed, MySQL, Redis, and more — without ever opening a terminal. The Services page lets you start, stop, enable at boot, disable, or restart any running service with a single click, eliminating the need for systemctl commands.
This guide shows you how to reach the Services page and use it to manage your server's running processes.
Step 1: Log In and Select Your Server
Access begins from the main CloudStick dashboard.
1. Log in: Sign in to your CloudStick account.
2. Select your server: Click on the server you want to manage from the Dashboard to open its server panel.
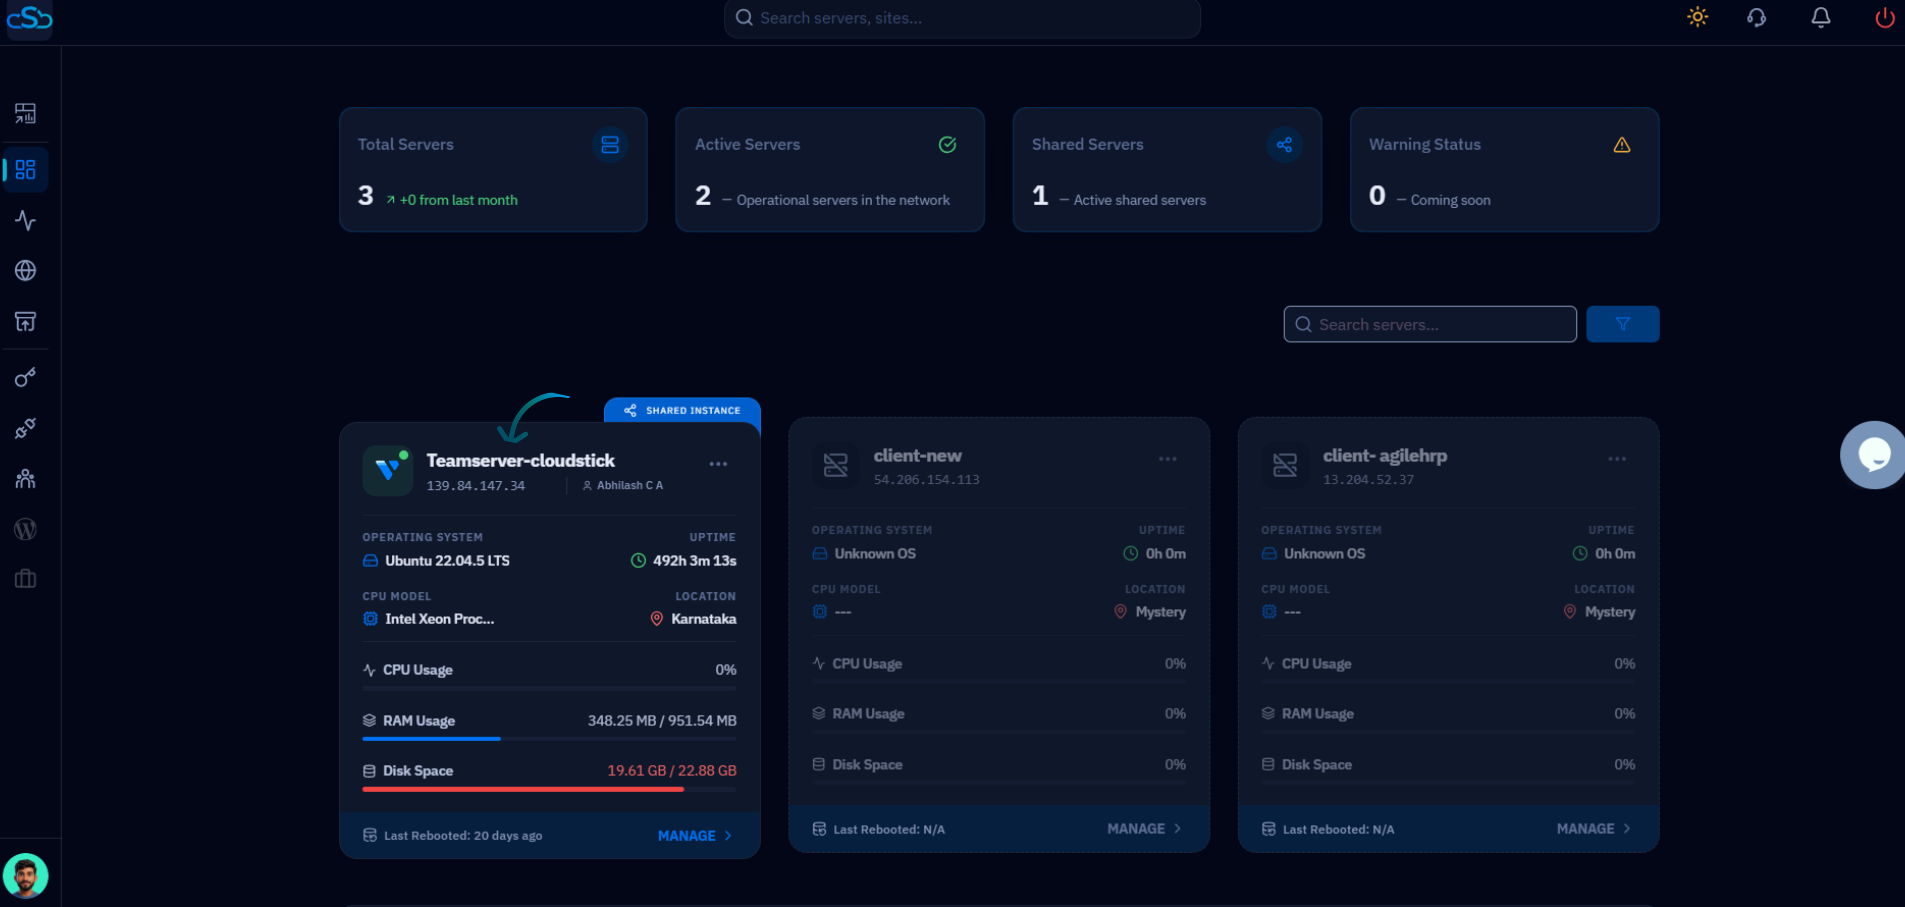
Fig. 01 — CloudStick Dashboard showing connected servers; click a server to enter its management view.
Step 2: Open the Services Section
The Services option is accessible directly from the left-hand navigation inside the server panel.
1. Locate Services: In the left-hand navigation of the server panel, find and click the Services option.
2. Wait for redirect: CloudStick will navigate you to the Services page, which lists all configured server services and their current status.

Fig. 02 — Left-hand navigation with the Services option highlighted.
Step 3: Manage Services
From the Services page you have full control over each service's lifecycle without touching the command line.
Start: Bring a stopped service online immediately.
Stop: Halt a running service — useful for maintenance or freeing resources.
Enable: Configure the service to start automatically on server reboot.
Disable: Prevent a service from starting on boot without stopping it now.
Restart: Stop and immediately restart a service to apply configuration changes.
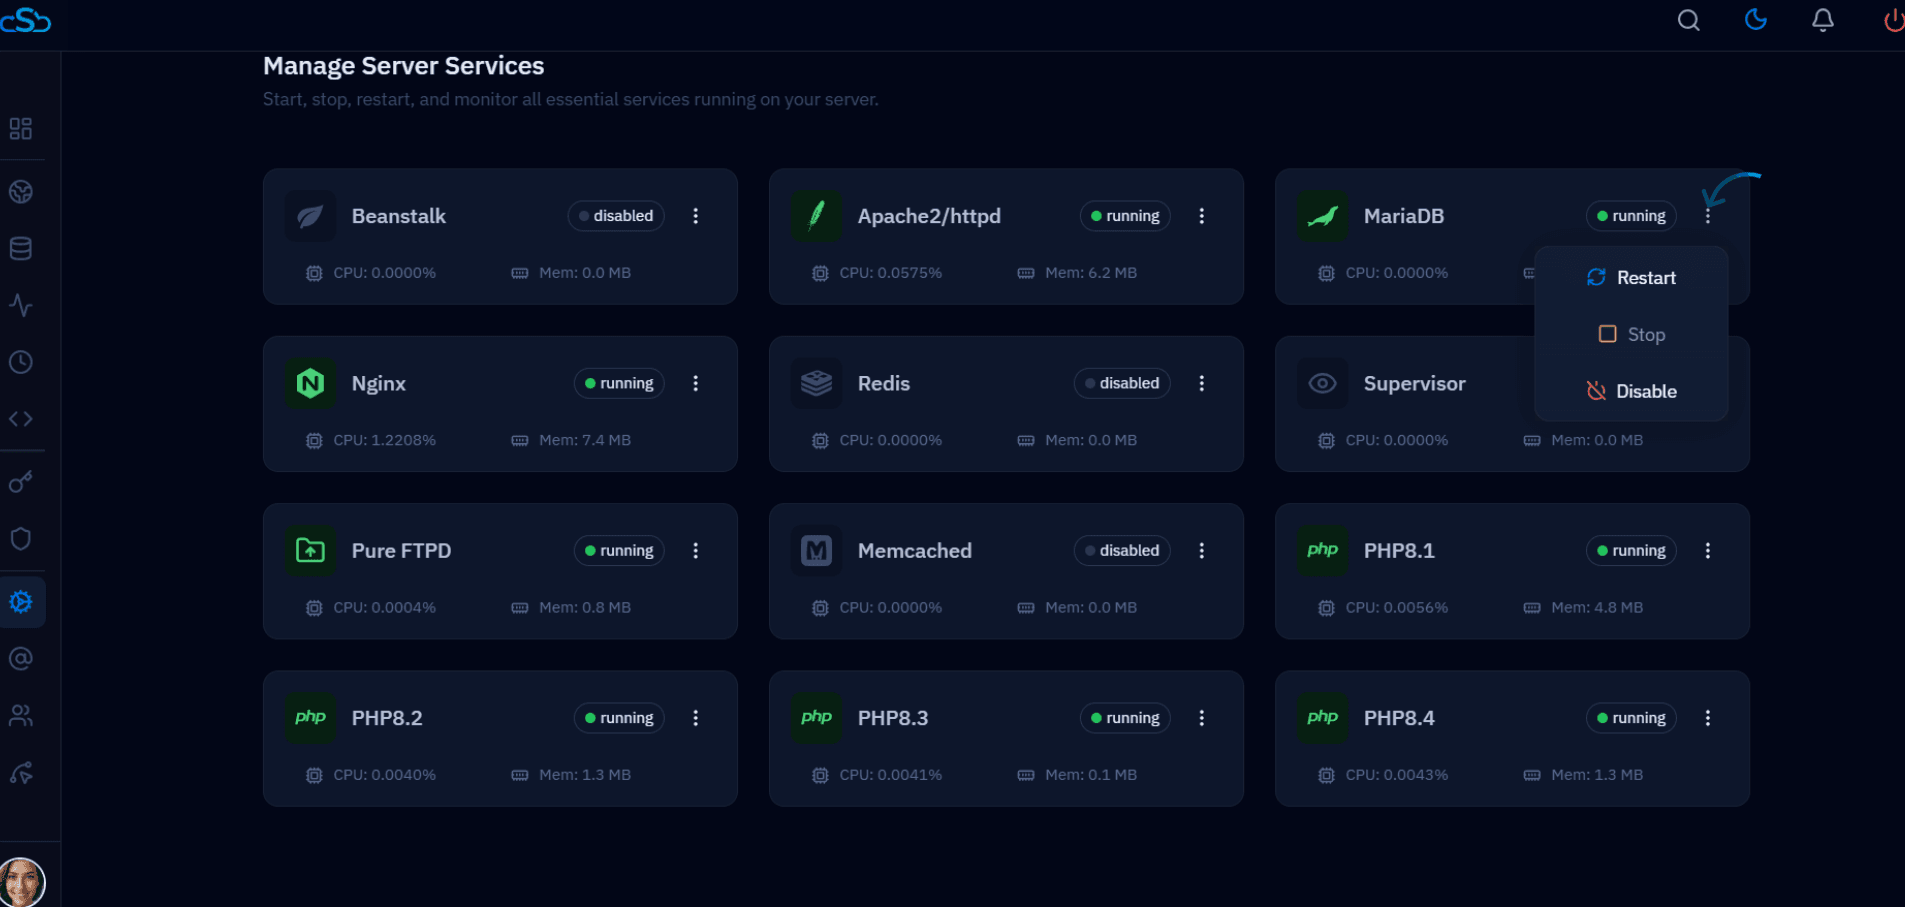
Fig. 03 — Services page showing graphical controls for starting, stopping, and restarting server services.