How to Add Members to a Team in CloudStick
Overview
CloudStick's Team feature lets you collaborate with colleagues and clients by sharing managed access to your servers — no credential sharing required. Once a team is in place, adding members is straightforward: you invite them by email, assign their role, and CloudStick handles the rest by sending an email invitation they can accept in one click.
This guide walks you through every step of adding a member to an existing team — from navigating to the Teams section and opening your team, to entering the member's email and sending the invitation. Team members can only access the resources and actions permitted by their assigned role, keeping your infrastructure secure.
You must already have a team created before adding members. If you haven't created one yet, see How to Create a Team first. Team seats are available on Basic (2 seats), Pro (4 seats), and Business (10 seats) plans.
Step 1: Log In and Open the Teams Section
Start from your CloudStick dashboard. The Teams section is accessible directly from the left-hand navigation and is available on all paid plans with team seats.
1. Log in to your CloudStick account at dash.cloudstick.io using your credentials.
2. From the left-hand navigation, click the Teams icon to open the Teams management area.
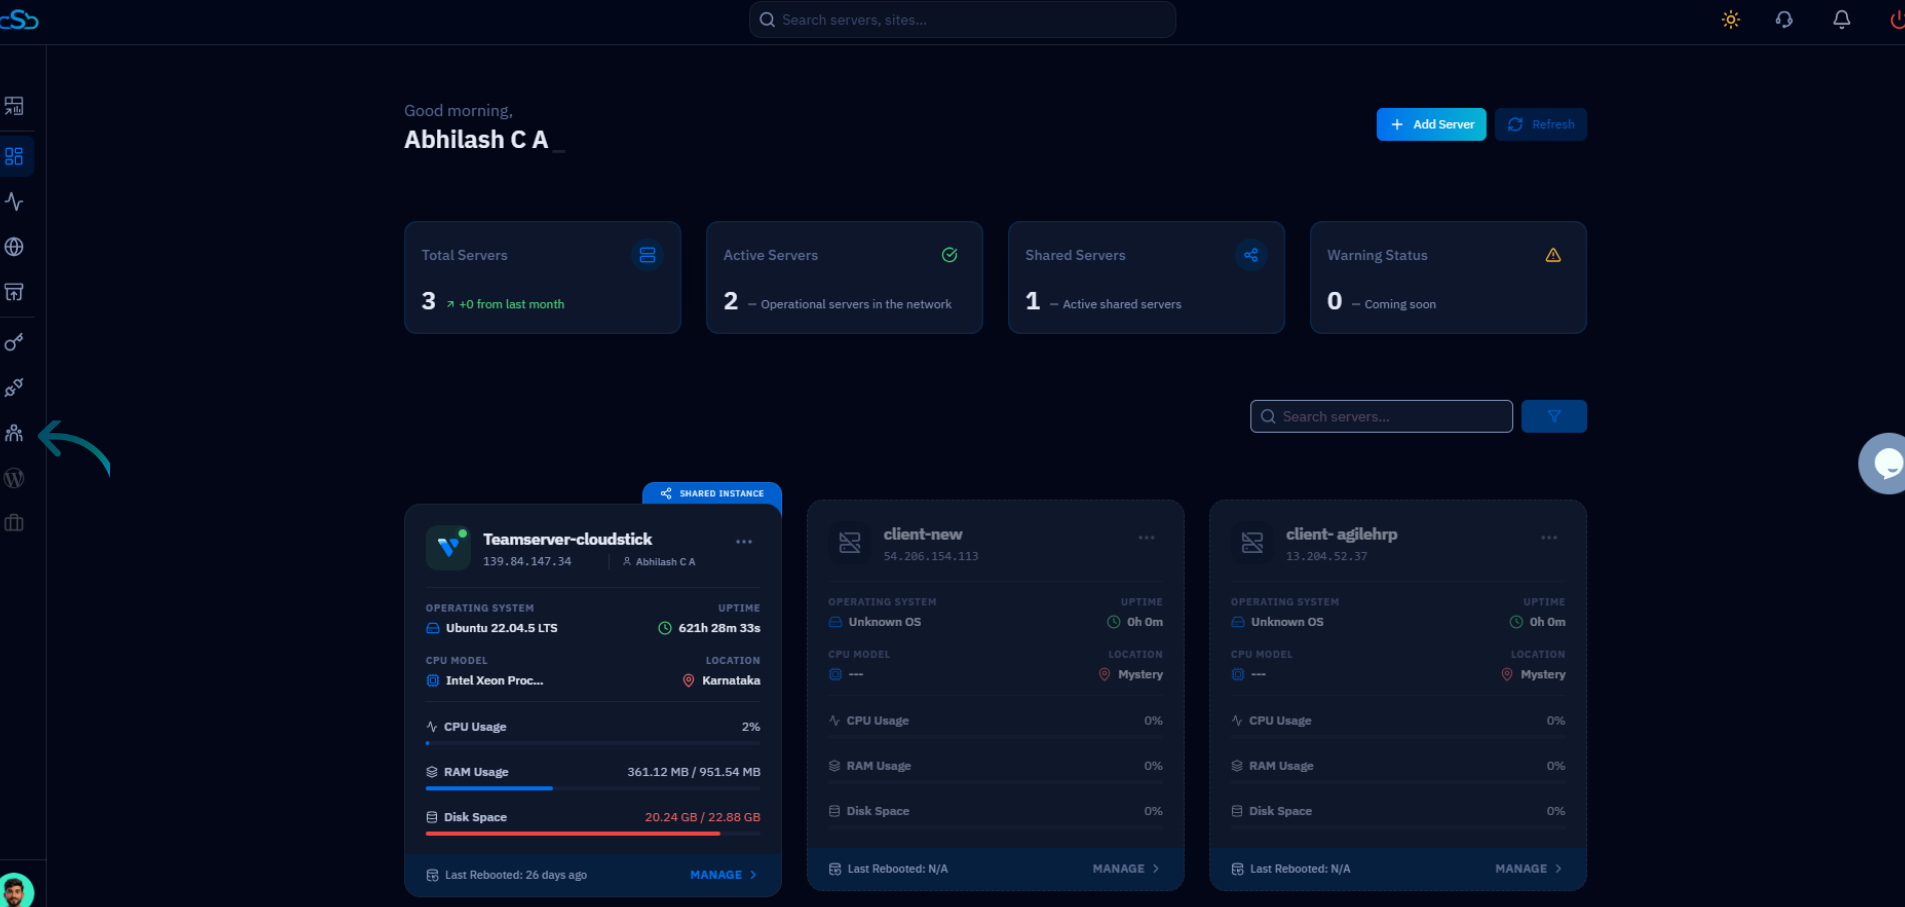
Fig. 01 — CloudStick dashboard showing the left-hand navigation with the Teams icon.
Step 2: Select Your Team
The Team List page shows all teams you have created, along with their active server count and current members. Locate the team you want to manage and open it.
1. Review the Team List to find the team you want to add a member to.
2. Click Manage Team on the relevant team card to open the team management panel.
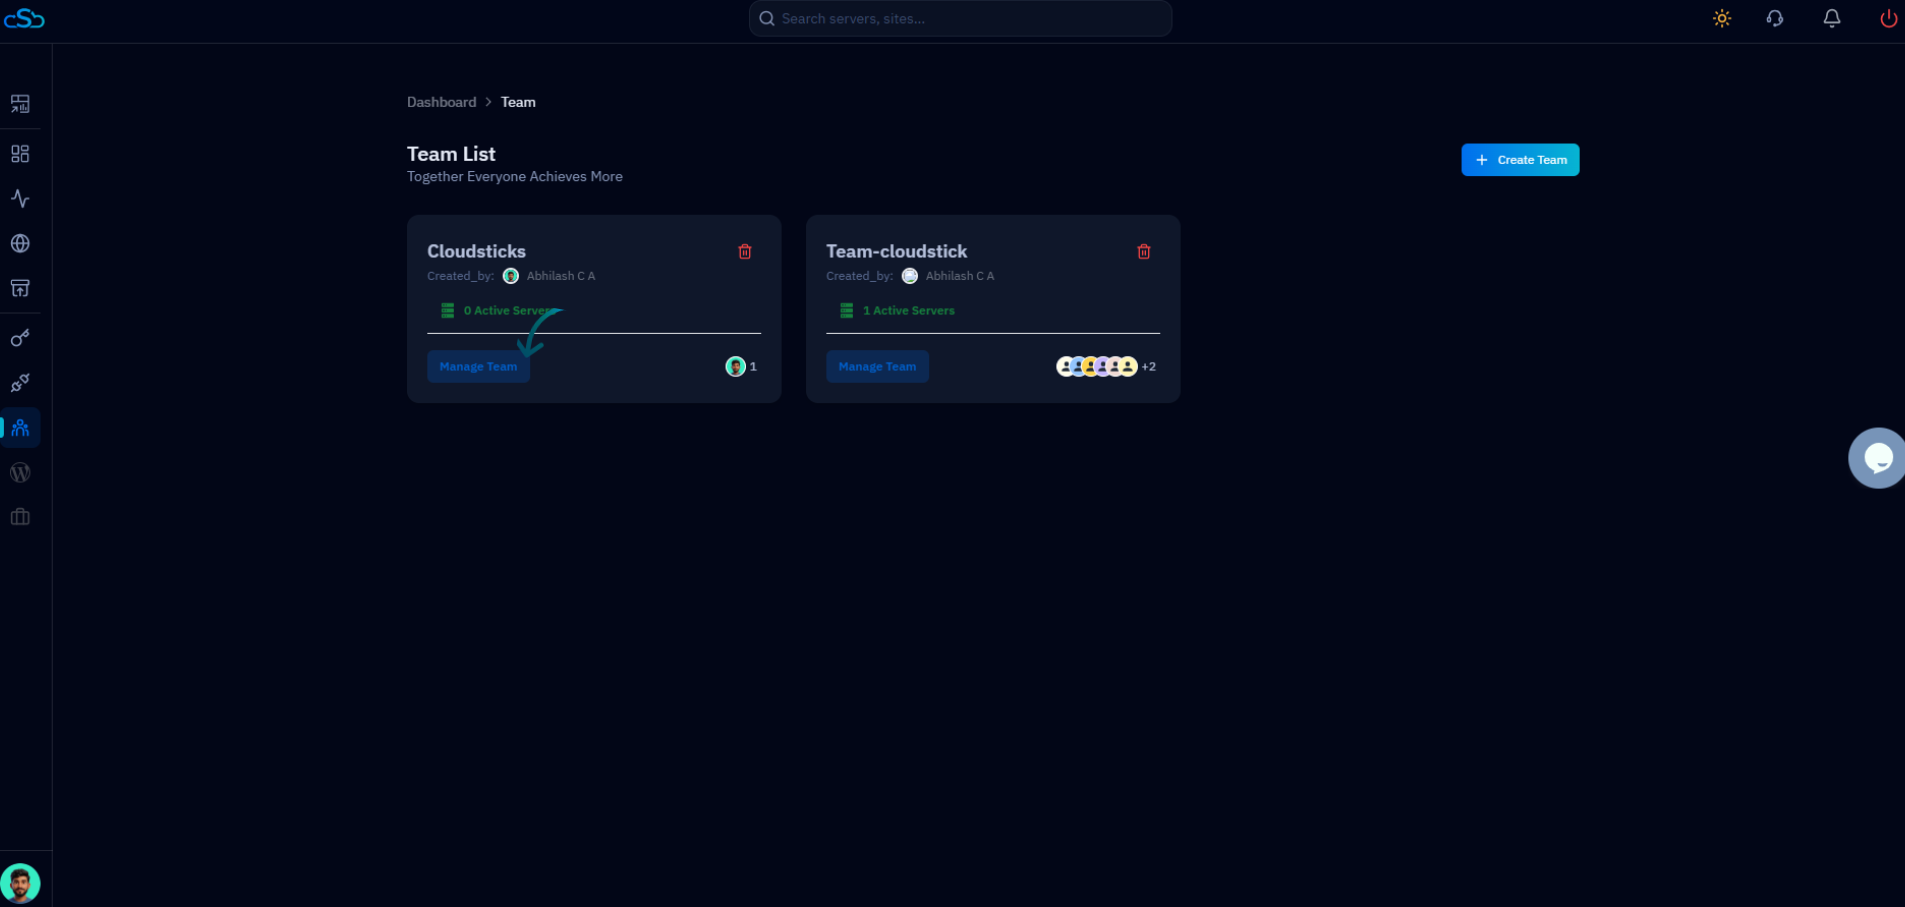
Fig. 02 — Team List page showing existing teams with their active server counts and the Manage Team button.
Step 3: Add a Member and Send the Invitation
The Manage Team panel lets you add new members by email and manage the servers assigned to the team. Enter the new member's email address and click Add to send them an invitation.
1. In the Team Member field, enter the email address of the person you want to invite.
2. Select the appropriate role or permissions for the new member based on the access level they need.
3. Click Add to dispatch the invitation email to that address.
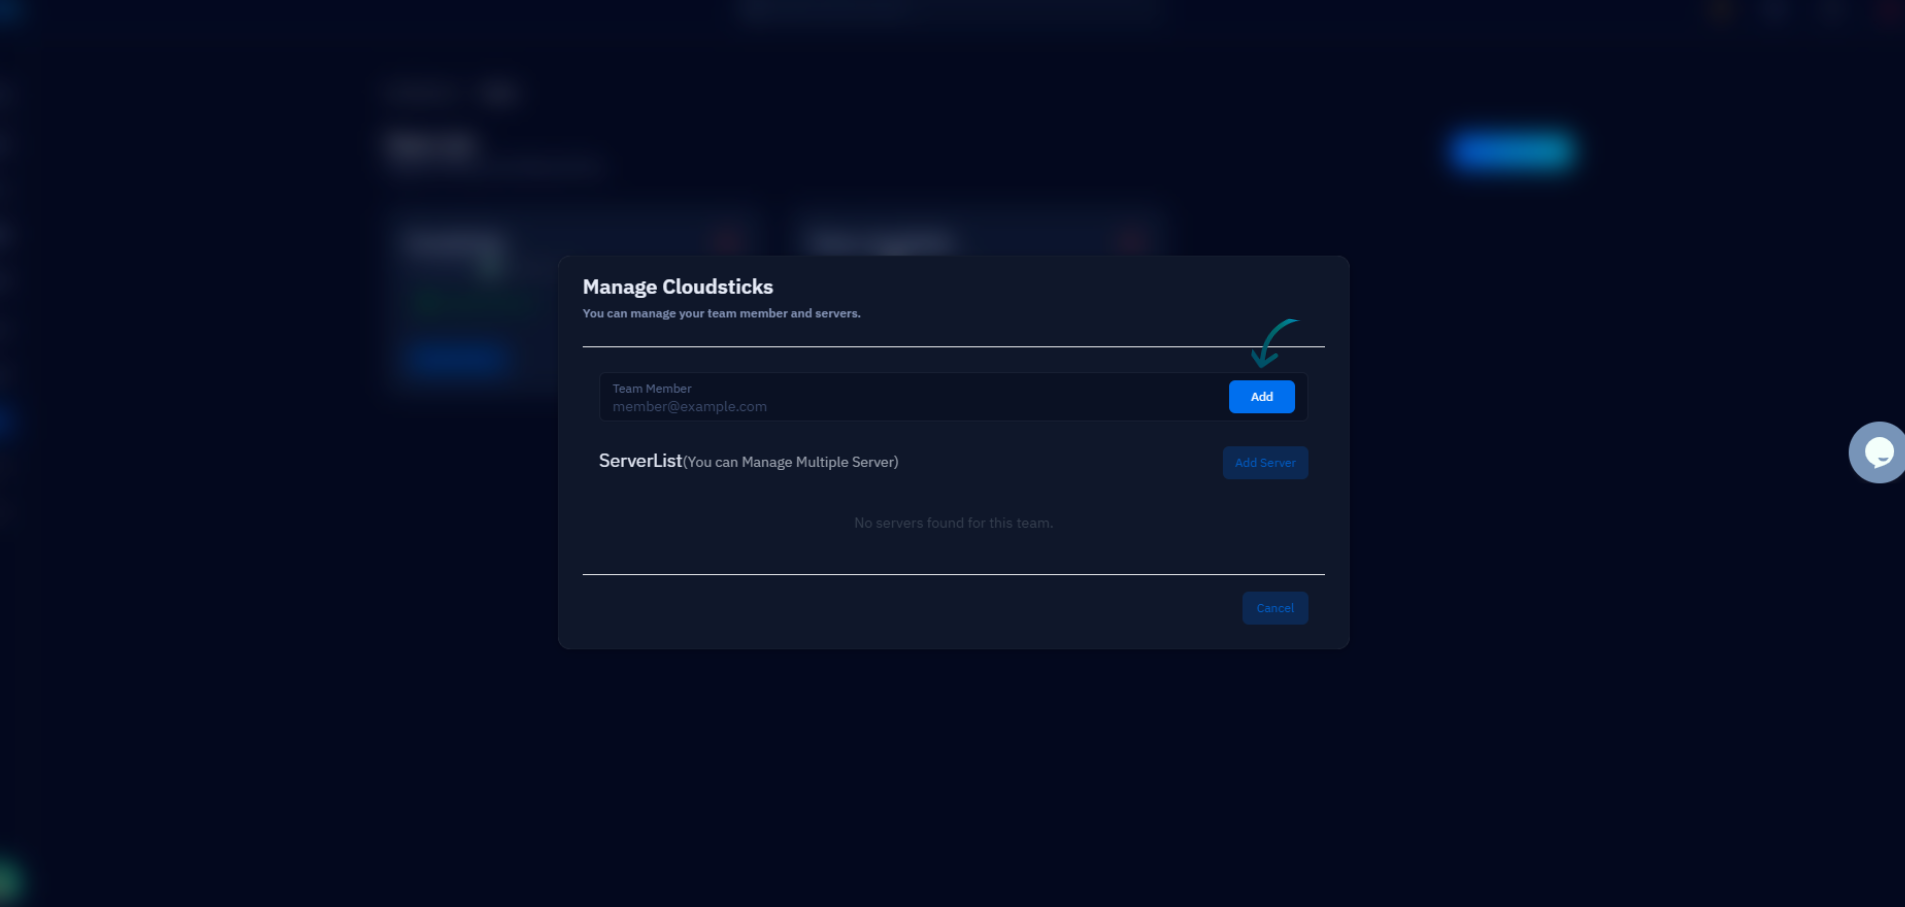
Fig. 03 — Manage Team panel showing the Team Member email input field and the Add button for sending invitations.
You can also manage the servers assigned to this team from the same panel using the ServerList section and the Add Server button.
Step 4: Member Joins the Team
After the invitation is sent, the process is complete on your end. The invited user receives an email with a link to accept the invitation and join the team.
The invited user receives an email invitation with a link to accept and join the team.
Once accepted, they are added to your team and can access resources permitted by their assigned role.
Team members can only access servers and actions permitted by their assigned role. You can review and update member permissions at any time by returning to Manage Team from the Team List.