How to Create a Team in CloudStick
Overview
CloudStick's Team feature lets you collaborate with other users by sharing access to your servers under a named group. Whether you're working with a development team, delegating server management to a colleague, or giving a client visibility into their infrastructure, teams give you a clean way to organise access without sharing your credentials.
This guide walks you through creating a new team in CloudStick — from opening the Teams section to submitting the form. Once the team is created, you can invite members and assign the servers they should have access to.
Step 1: Log In and Navigate to Teams
Start from your CloudStick dashboard. The Teams section is accessible from the left-hand navigation and is available on Basic, Pro, and Business plans.
1. Log in to your CloudStick account at dash.cloudstick.io using your credentials.
2. From the left-hand navigation, click on Teams to open the Team management area.
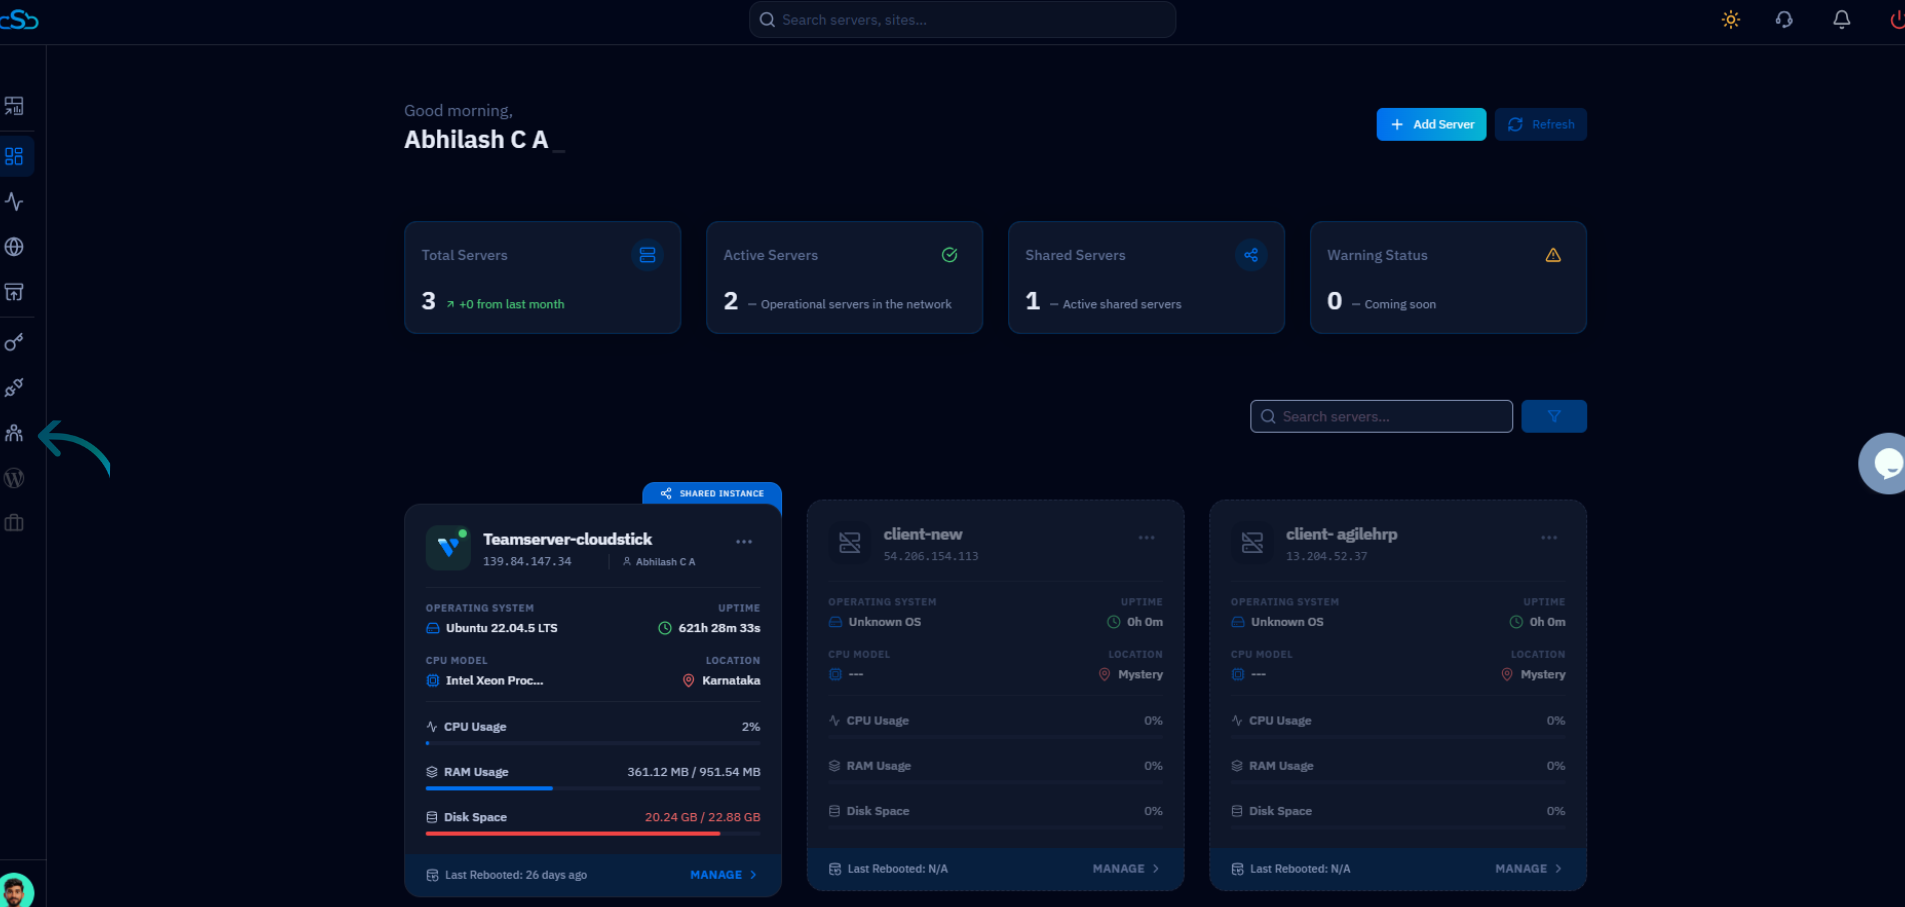
Fig. 01 — CloudStick dashboard with the Teams icon highlighted in the left-hand navigation.
Step 2: Open the Team Creation Form
The Team List page shows all teams you have created. From here you can create a new team or manage existing ones.
Click + Create Team in the top-right corner of the Team List page to open the team creation form.
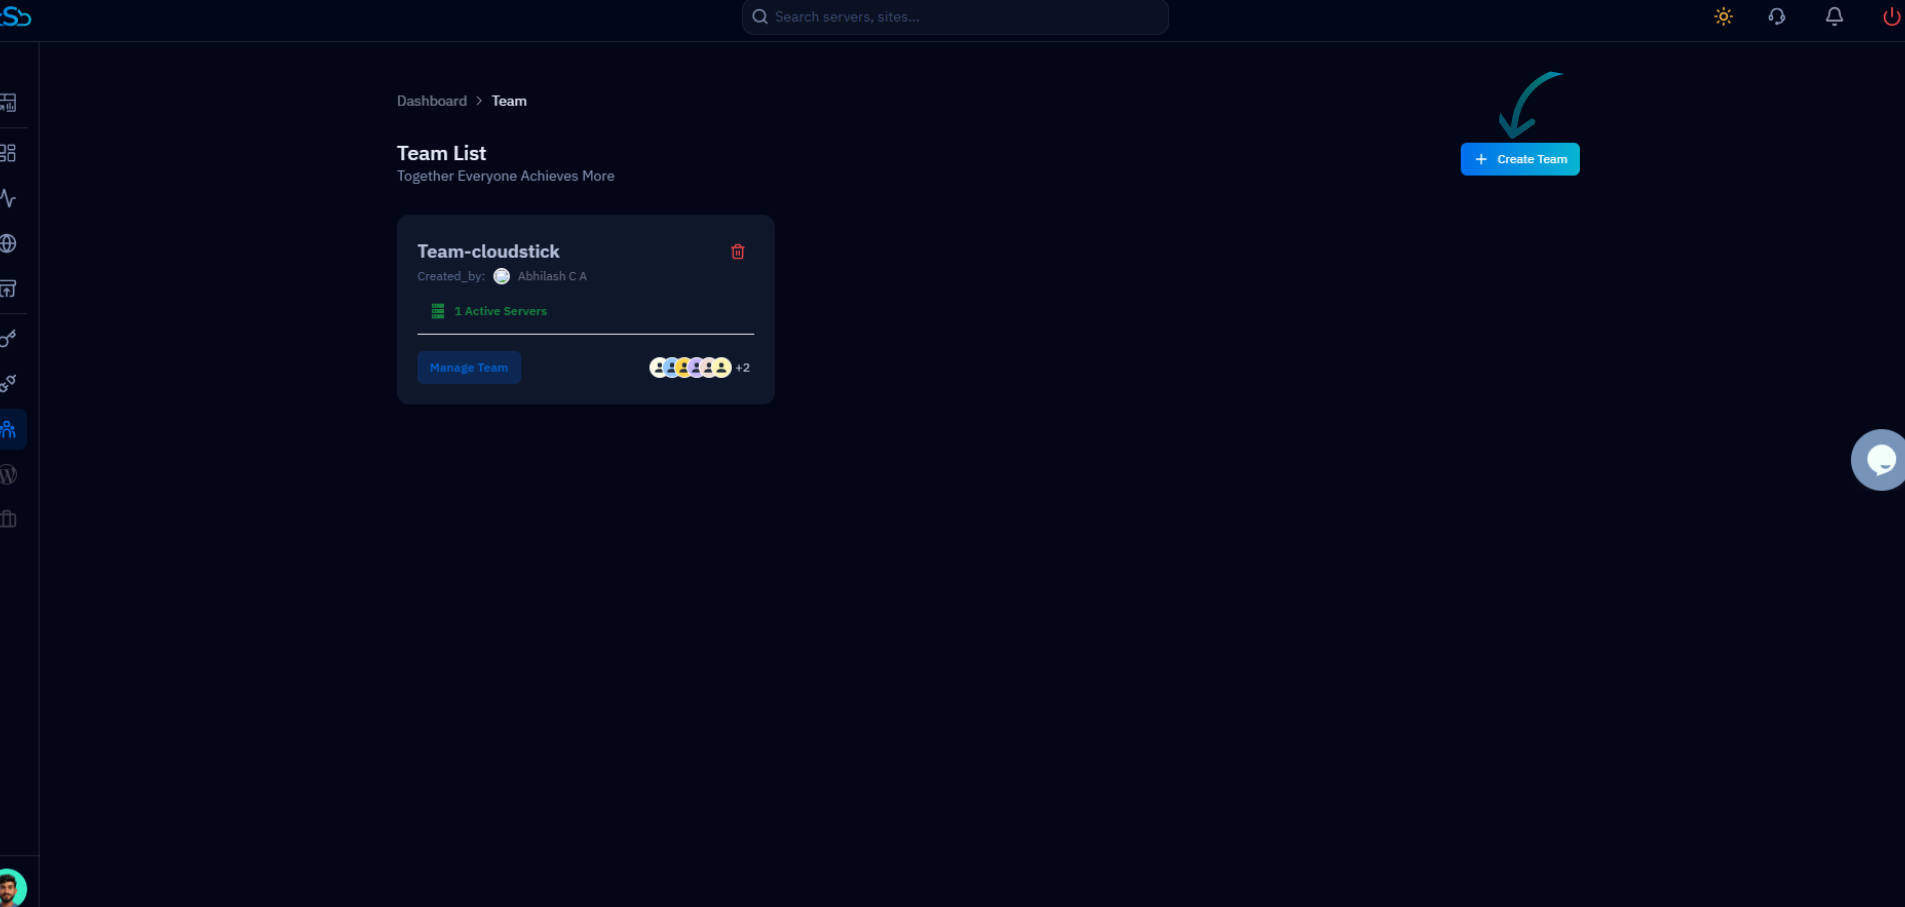
Fig. 02 — Team List page showing an existing team and the + Create Team button in the top-right corner.
Step 3: Enter Team Details and Create
The Create Team dialog lets you name your team, add member email addresses, and select which servers the team should have access to. All connected servers on your account are listed in the Server List.
1. Enter a Team Name in the Team Name field (e.g. "The Code Wizards" or your client name).
2. Add a Team Member by typing their email address in the Team Member field and clicking Add. Repeat for each member.
3. Select the servers you want to share with this team by checking the boxes next to each server in the Server List.
4. Click Create Team to finish. Each invited member will receive an email invitation, and the shared servers will appear in their CloudStick account once they accept.

Fig. 03 — Create Team dialog showing the Team Name field, Team Member input, server selection list, and the Create Team button.
After creating the team, you can invite additional members and manage team permissions at any time from the Team List by clicking Manage Team.