How to Share Your Servers with Team Members in CloudStick
Overview
CloudStick's Team feature lets you share access to one or more of your servers with other people — developers, designers, or support staff — without transferring ownership. You create a named team, add members by their registered email addresses, and assign which servers they can manage. Each member then sees those servers in their own CloudStick dashboard and can work on them independently, while you remain the account owner throughout.
This is different from the Transfer feature, which permanently moves a server to another account and removes your access entirely. Teams keep you in control: you can add or remove members at any time, revoke access instantly, and assign different servers to different groups of people. Use Teams whenever multiple people need ongoing managed access to your infrastructure.
Prerequisites: You must have at least one active server in your CloudStick account, and each person you invite must already have their own registered CloudStick account before you can add them as a team member.
Step 1: Log In and Navigate to Team
Start from the main CloudStick dashboard — the Team section is accessible directly from the left-hand navigation.
Log in to your dashboard: Go to dash.cloudstick.io and sign in with your credentials.
Open the Team section: In the left-hand navigation bar, click the Team icon (the people icon, as shown highlighted with the arrow in the screenshot below).
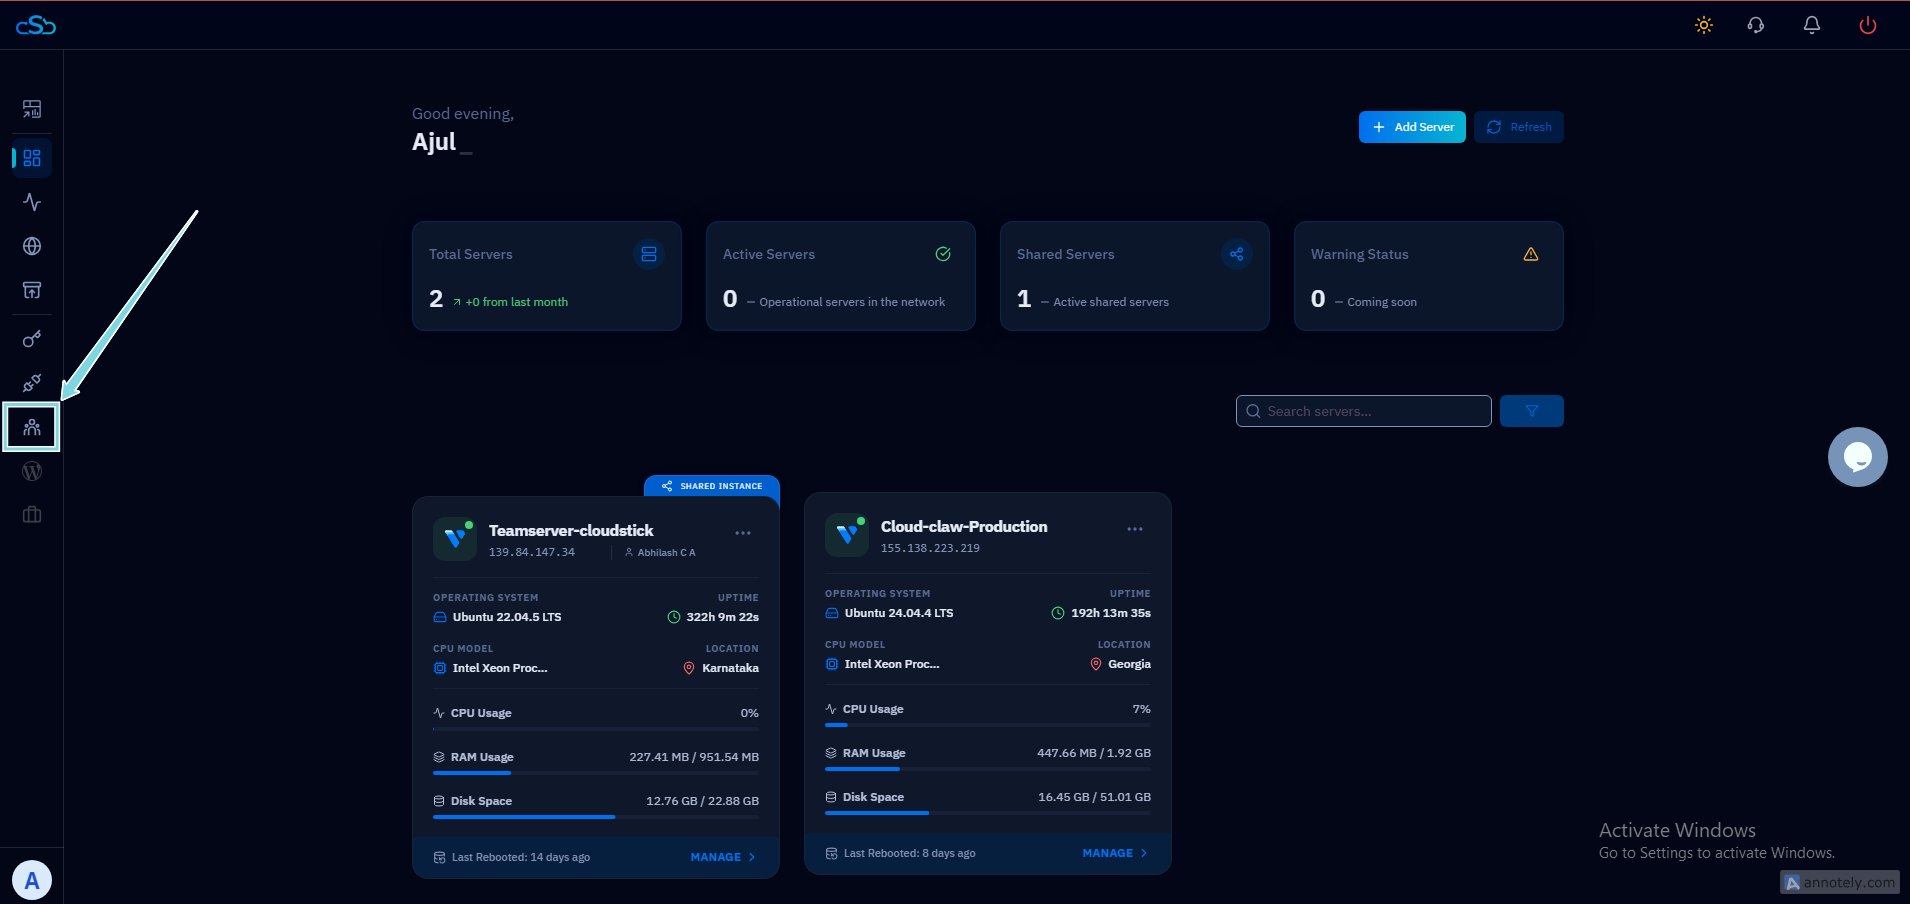
Fig. 01 — CloudStick dashboard with the Team icon highlighted in the left-hand navigation.
Step 2: Open the Create Team Form
On the Team page, you will see any existing teams along with the option to create a new one. Opening the form is where you define the team's identity before adding members.
Click "Create Team": On the Team page, click the Create Team button to open the team creation modal.
Enter a team name: Type a descriptive label for your team in the Team Name field — for example, "Development Team" or "Client Support". This name is just for your reference and helps you identify which group has access to which servers.
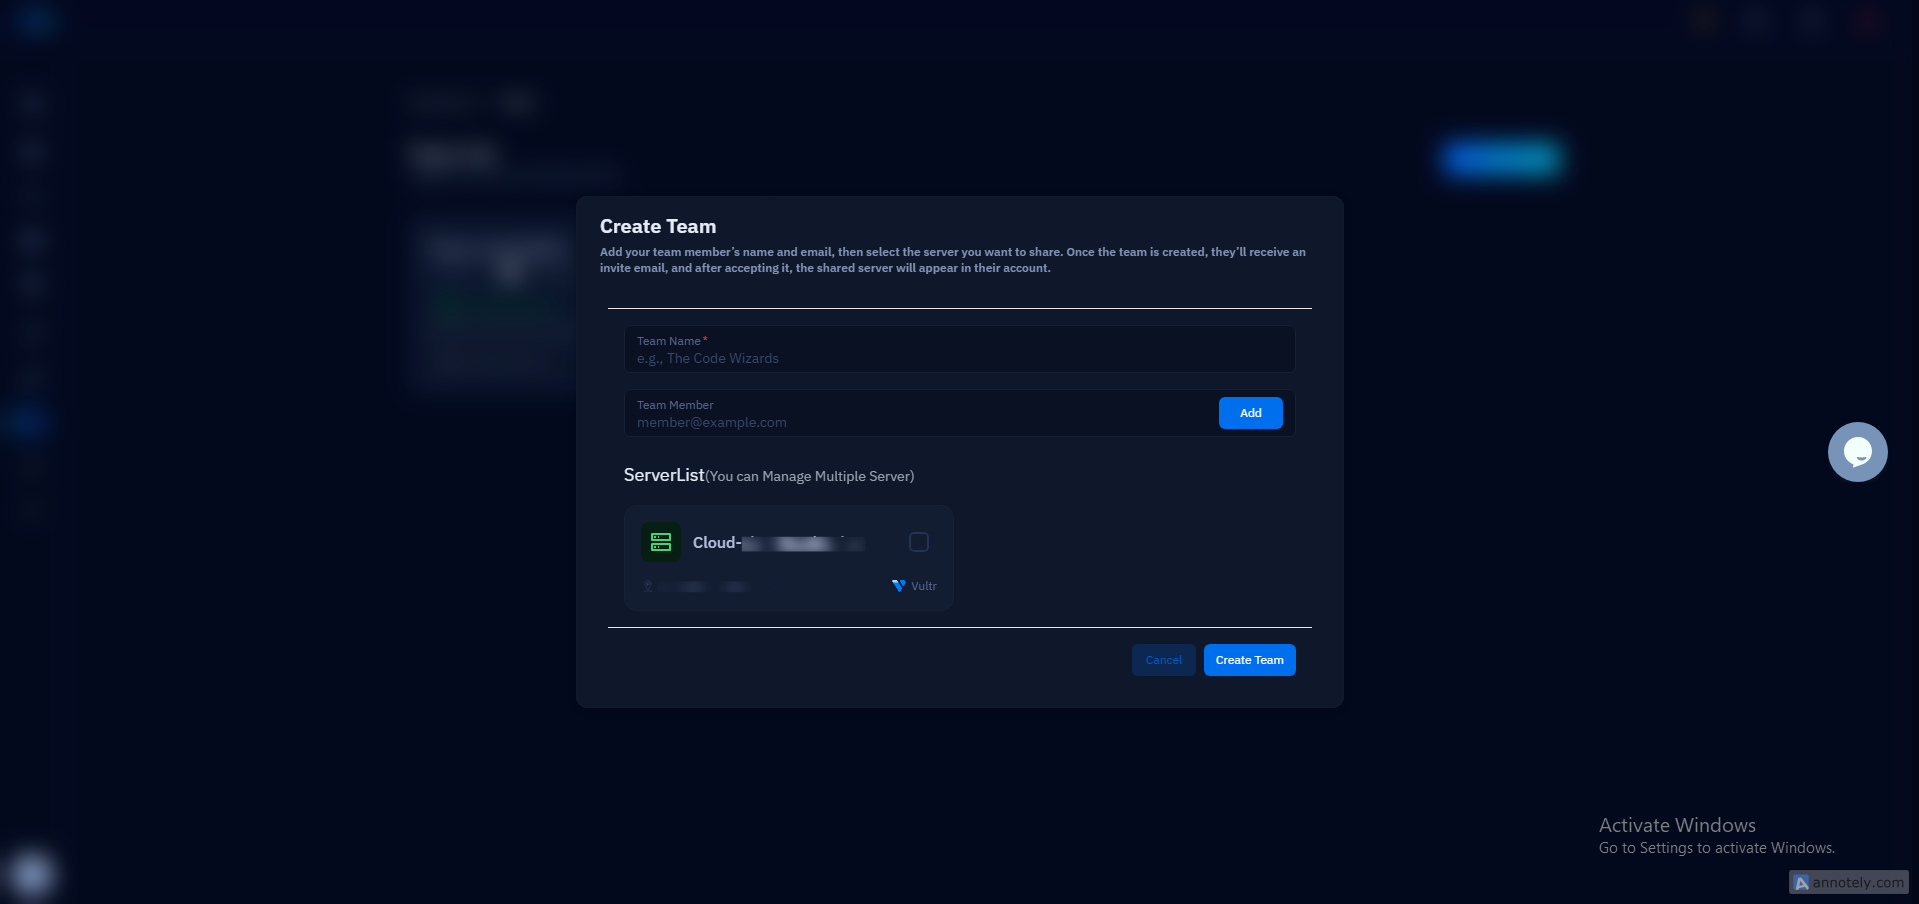
Fig. 02 — The Create Team modal with the Team Name and Team Member fields ready to fill in.
The team name is visible only to you as the account owner. Team members will simply see the assigned servers appear in their own dashboard.
Step 3: Add Members, Assign Servers, and Finalize
With the team named, you can now invite members and select which servers they will have access to. Both actions happen in the same modal before you submit.
Add team members: Type each person's registered CloudStick email address into the Team Member field and click Add. Repeat this for every person you want on the team. Each invited member will appear below the field with an Invited badge.
Assign servers: Scroll down to the ServerList section directly below the members area. Check the box next to each server this team should be able to manage. You can assign multiple servers to a single team.
Create the team: Once all members are added and the correct servers are checked, click the Create Team button to send the invitations and activate team access.
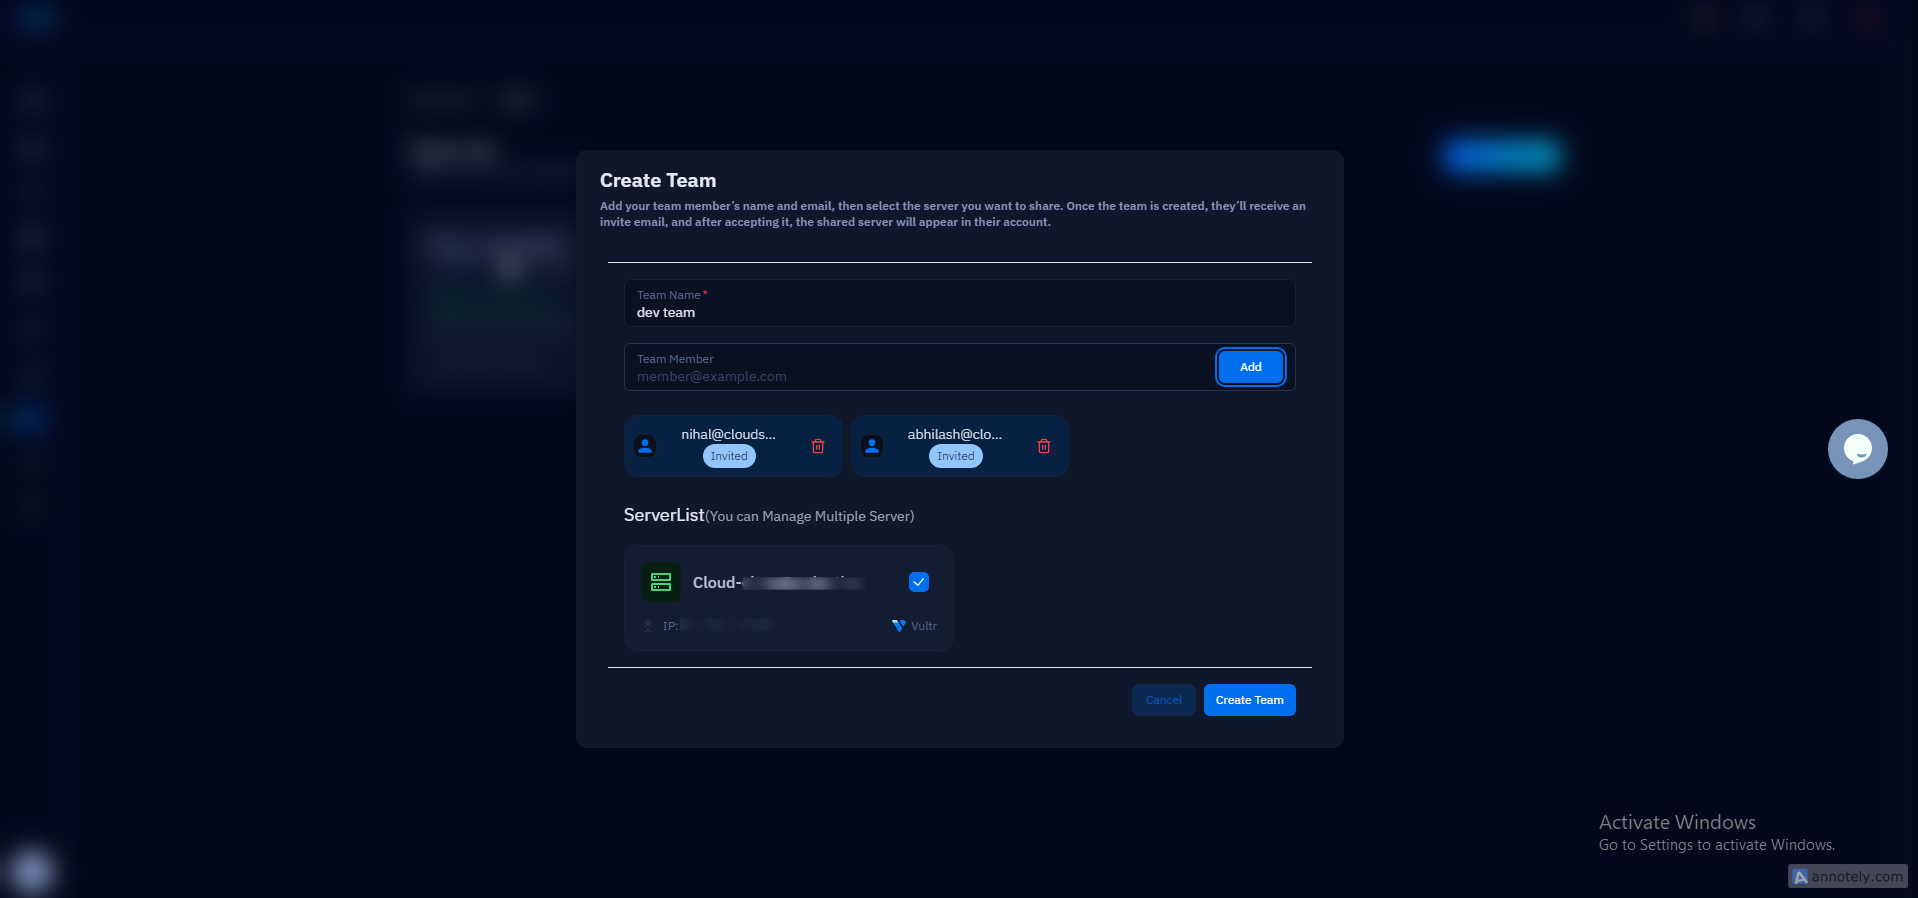
Fig. 03 — Create Team modal showing two invited members and a server selected in the ServerList.
Each invited member will receive an email invitation. Once they accept, the assigned servers will appear in their own CloudStick dashboard. You can edit the team at any time — add or remove members and change server assignments — by returning to the Team section and selecting the team. Removing a member immediately revokes their access to all servers in that team.