How to Change Your Password in CloudStick
Overview
Your CloudStick account password is the primary line of defence for all servers, websites, and databases you manage through the dashboard. Regularly updating it reduces the risk of unauthorized access — especially important if you share a workspace or use a password manager that may have been compromised.
This guide walks you through the full process of changing your CloudStick account password from the Security & Privacy section of your profile — from opening the profile menu to confirming the update.
You will need to know your current password to complete this process. If you have forgotten it, use the "Forgot Password" link on the CloudStick login page to reset it before proceeding.
Step 1: Open Your Profile
The profile menu is the gateway to all account-level settings in CloudStick, including security options.
1. Log in: Sign in to your CloudStick account at app.cloudstick.io.
2. Locate the profile avatar: At the bottom-left corner of the dashboard, click on your profile avatar or account name.
3. Profile popup appears: A small popup will appear showing your account name, email, current plan, and a Logout button.
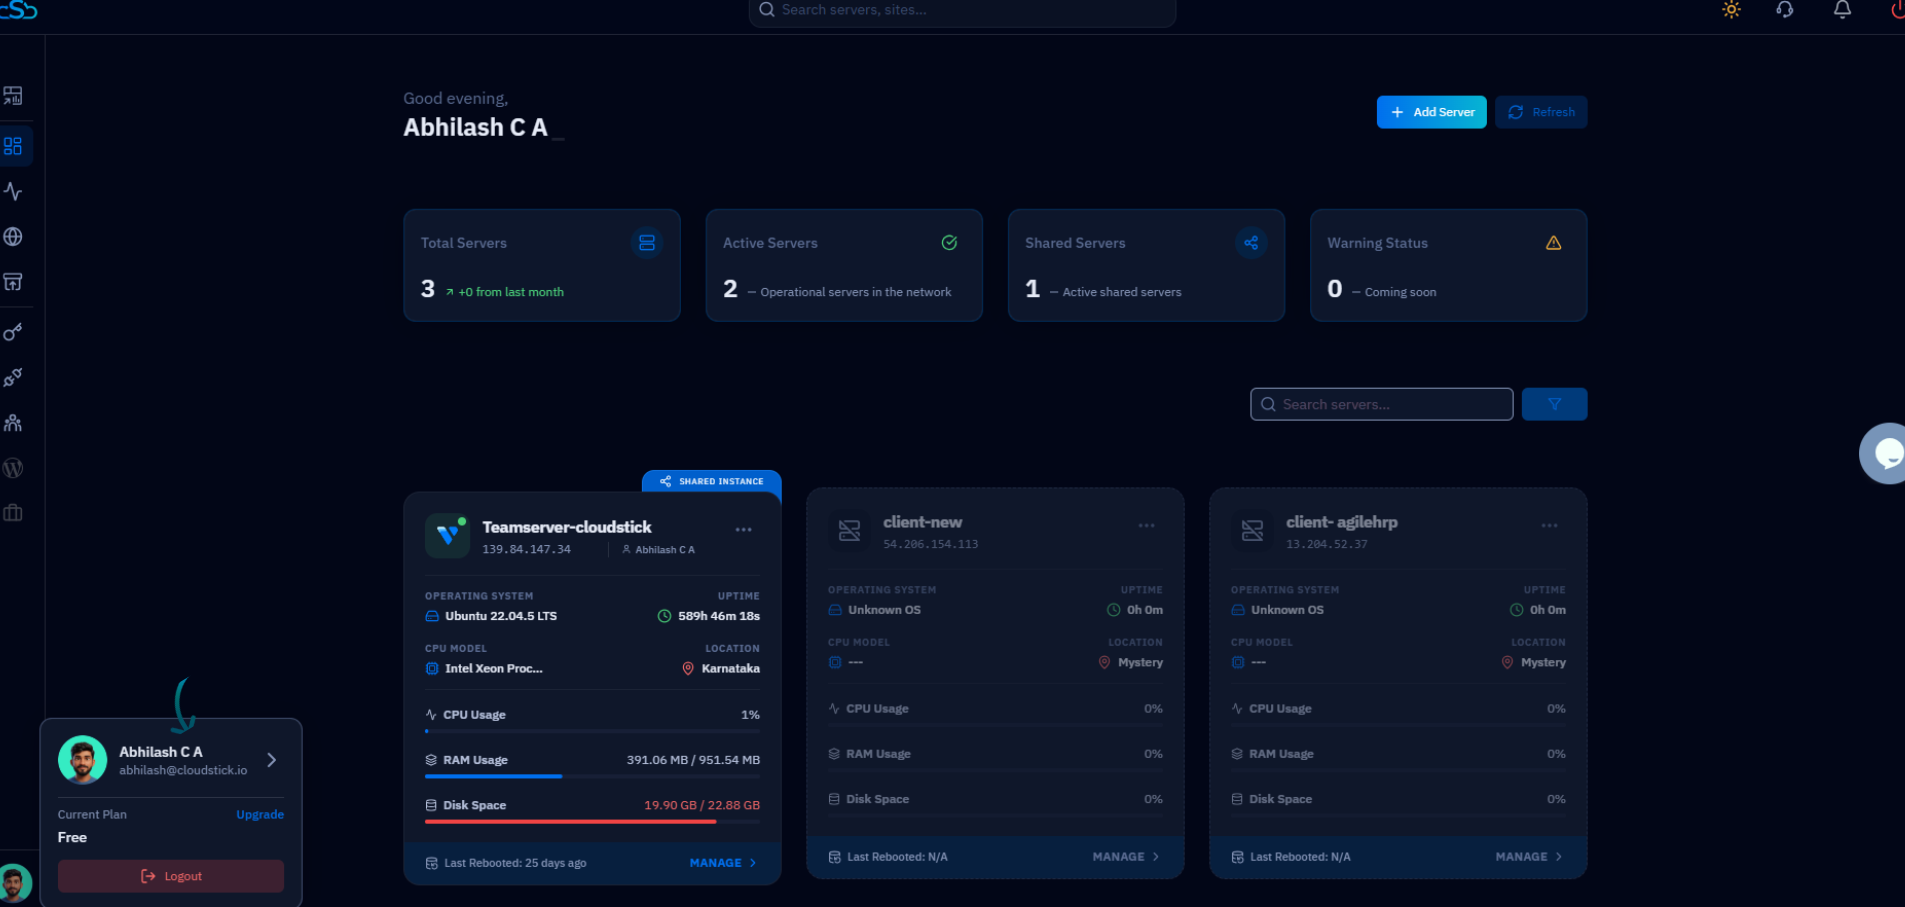
Fig. 01 — CloudStick dashboard with the profile popup open at the bottom-left corner.
Step 2: Navigate to Security & Privacy
Clicking through to your profile opens the full account settings panel, where all security options are organized in a right-hand navigation menu.
1. Open Account Settings: From the profile popup, click the arrow icon next to your name to enter the full profile view.
2. Select Security & Privacy: In the right-hand navigation panel, click Security & Privacy. This section contains both the Change Password and Two-Factor Authentication settings.
3. Locate the Change Password card: You will see a card labelled "Change Password" with the description "Regularly update your password to enhance security and prevent unauthorized access."
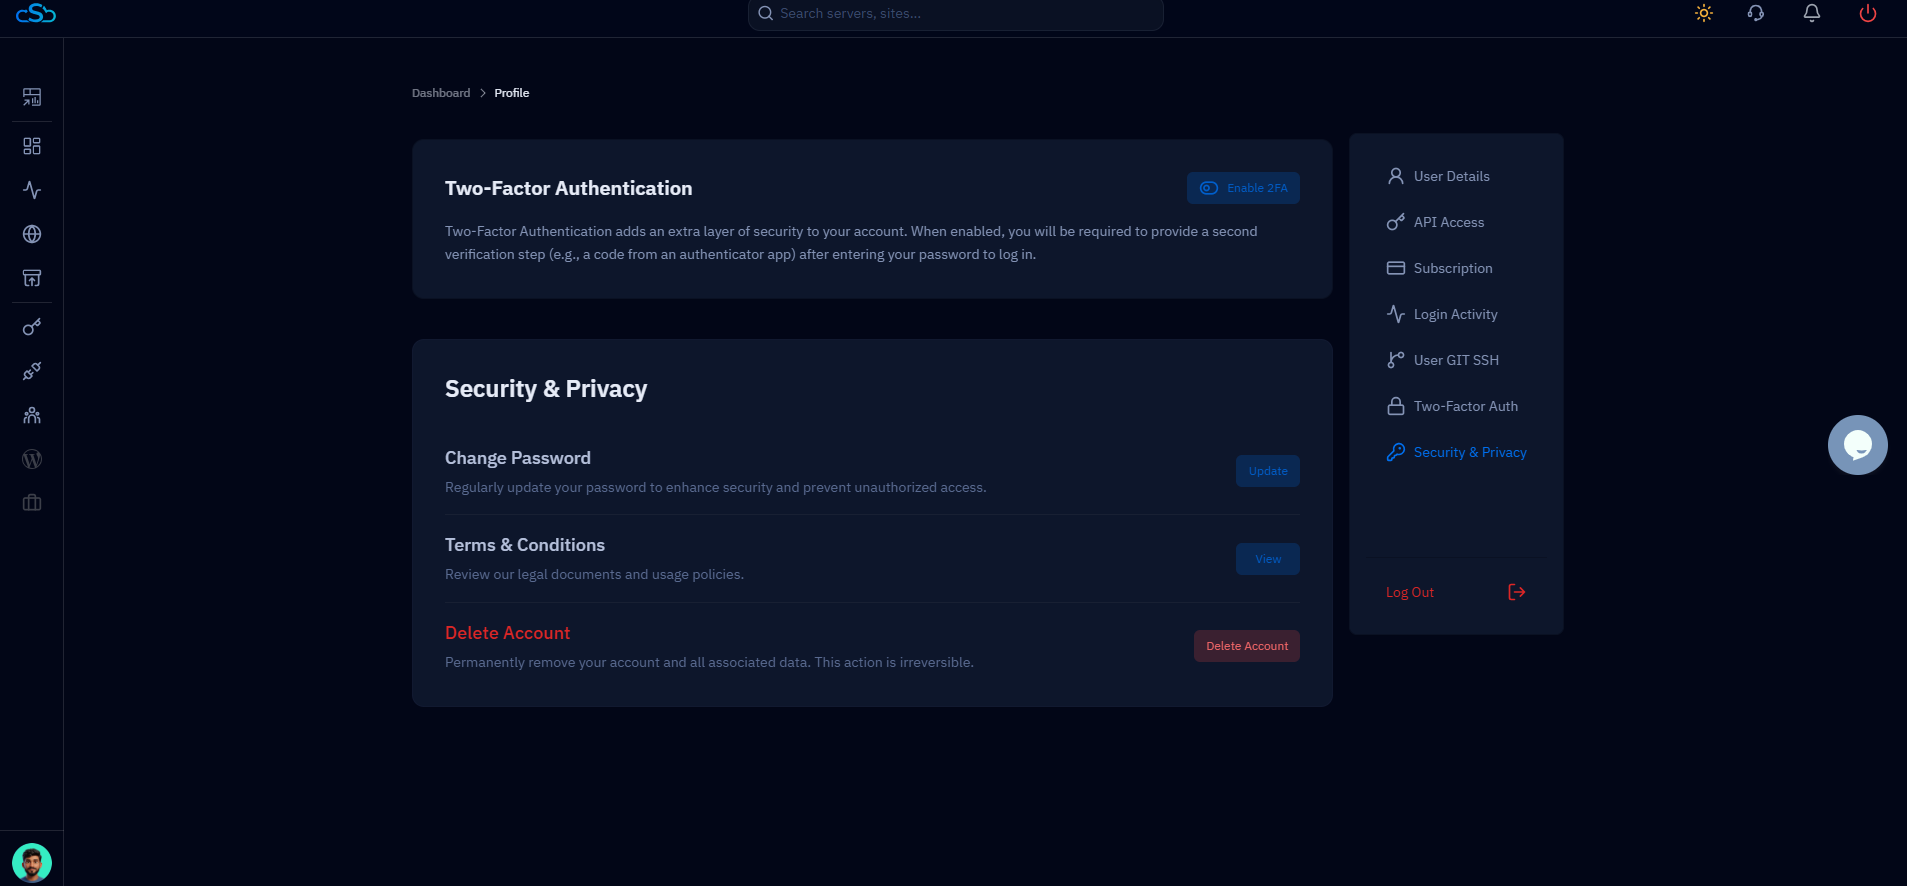
Fig. 02 — Profile page showing the Security & Privacy section with the Change Password card.
Step 3: Click the Update Button
The Update button on the Change Password card opens the password change dialog. This is a deliberate two-step design — you must explicitly trigger the modal to prevent accidental changes.
1. Find the Update button: On the right side of the "Change Password" card, click the blue Update button.
2. Dialog opens: A Change Password modal will appear overlaying the dashboard, prompting you to enter your current and new passwords.

Fig. 03 — Security & Privacy page with the Update button highlighted on the Change Password card.
Step 4: Enter Your Passwords & Save
The Change Password dialog has three fields. Complete all three carefully — CloudStick confirms the new password before applying the change.
1. Current Password: Type your existing password into the Current Password field to verify your identity.
2. New Password: Enter your new password in the New Password field. You can also click the Generate button to have CloudStick suggest a strong random password.
3. Confirm New Password: Re-enter the new password exactly in the Confirm New Password field to prevent typos.
4. Save the change: Click the blue Update Password button to apply. If both new password fields match, the change is saved immediately.
Use a strong password with a mix of uppercase letters, lowercase letters, numbers, and special characters. Avoid reusing passwords from other services.

Fig. 04 — Change Password dialog with Current Password, New Password, and Confirm New Password fields.
Once updated, you will see a confirmation message and your new password will be required on your next login. Do not share your password with anyone — CloudStick support will never ask for it.