How to Create a Supervisor Job in CloudStick
Overview
Supervisor is a process control tool that keeps background workers running continuously on your server. It is the reliable way to run Laravel queue workers, shell scripts, or any long-running process that must stay alive — automatically restarting them after a crash and bringing them back up when the server reboots. CloudStick includes a built-in Supervisor manager so you can create and control these jobs visually from the dashboard, with no SSH or manual config files required.
This guide walks you through every step of creating a Supervisor job in CloudStick: selecting your server, opening the Supervisor section, filling in the job details, configuring the process settings, and monitoring the job once it is running.
You must have an active, connected server in your CloudStick account before creating a Supervisor job. If you have not yet connected a server, follow the How to Deploy Your Own Server guide first.
Step 1: Log in to CloudStick
Everything starts from the CloudStick dashboard, which lists all of your connected servers in one place.
Sign in: Open your CloudStick dashboard and sign in with your account credentials to reach the server list.
Step 2: Select Your Server
Supervisor jobs are managed per server, so you first need to open the server that runs the application you want to keep alive.
Choose the server: From the server list on the Dashboard, click the server where you want to create the Supervisor job to open its server panel.
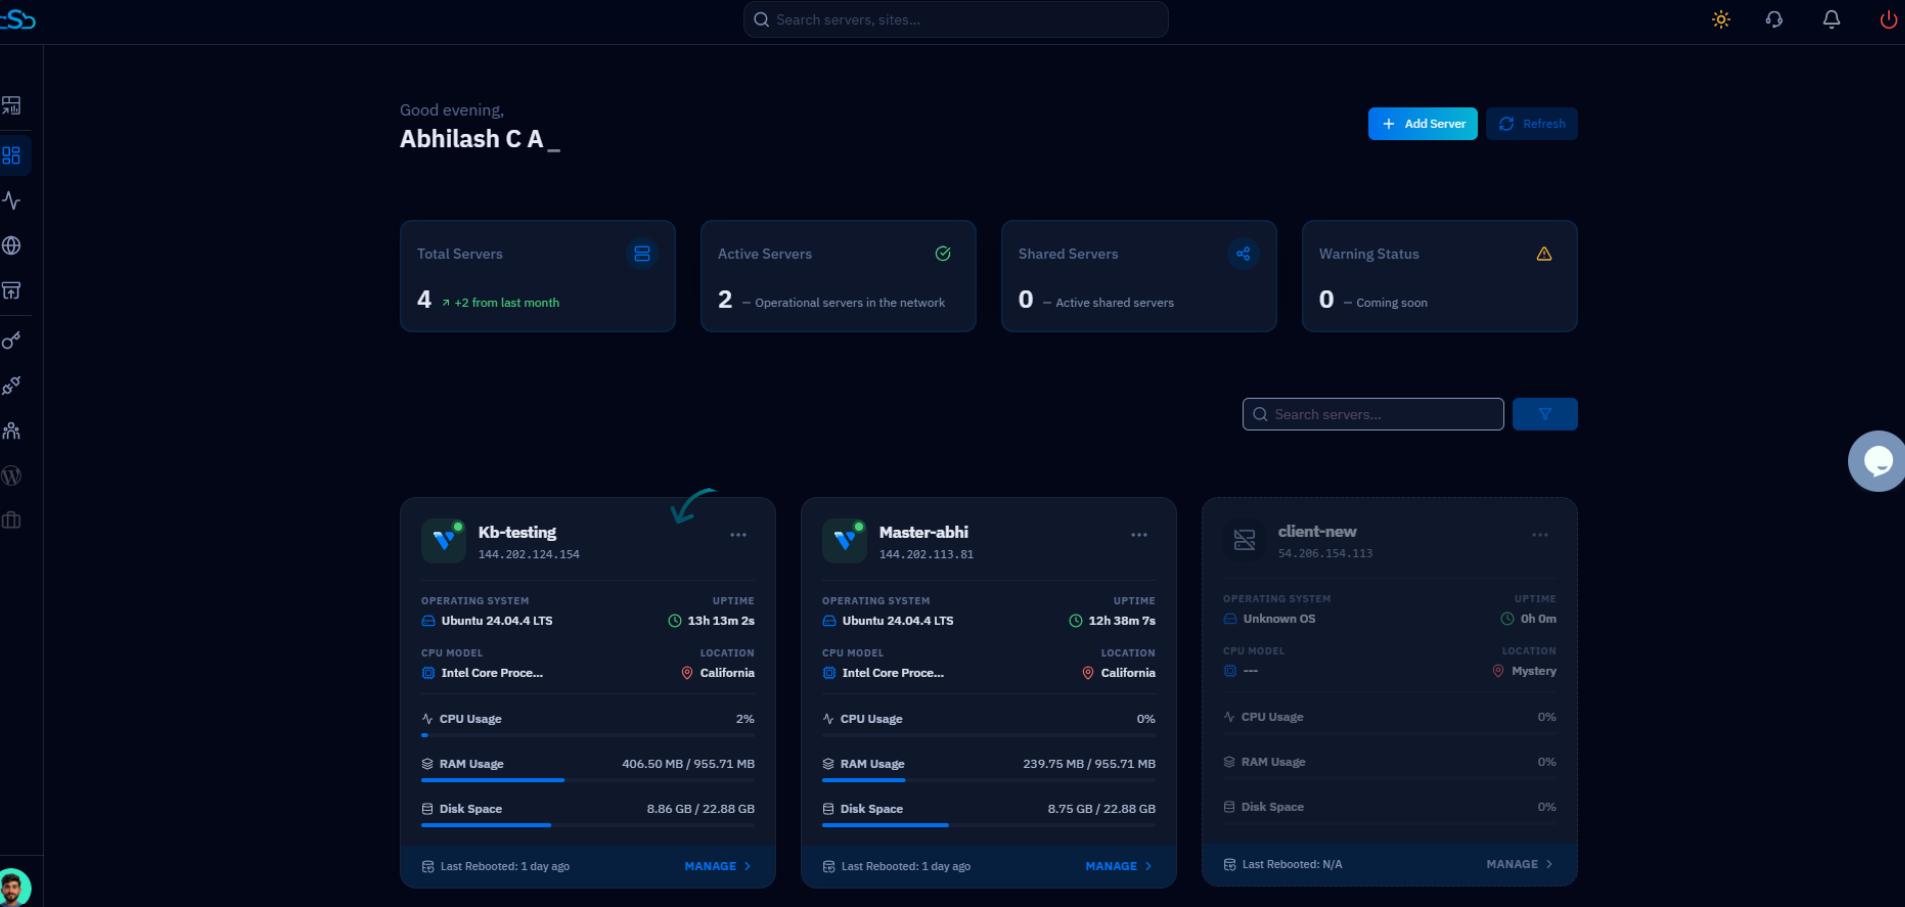
Fig. 01 — The CloudStick Dashboard server list, where you select the server you want to manage.
Step 3: Open Supervisor
Once inside the server panel, the Supervisor manager is available from the left-hand navigation alongside the other server resources.
Open Supervisor: In the left-side menu, click Supervisor. You can also reach it from the Supervisors card under Server Resources. This opens the page that lists all existing Supervisor jobs on that server.
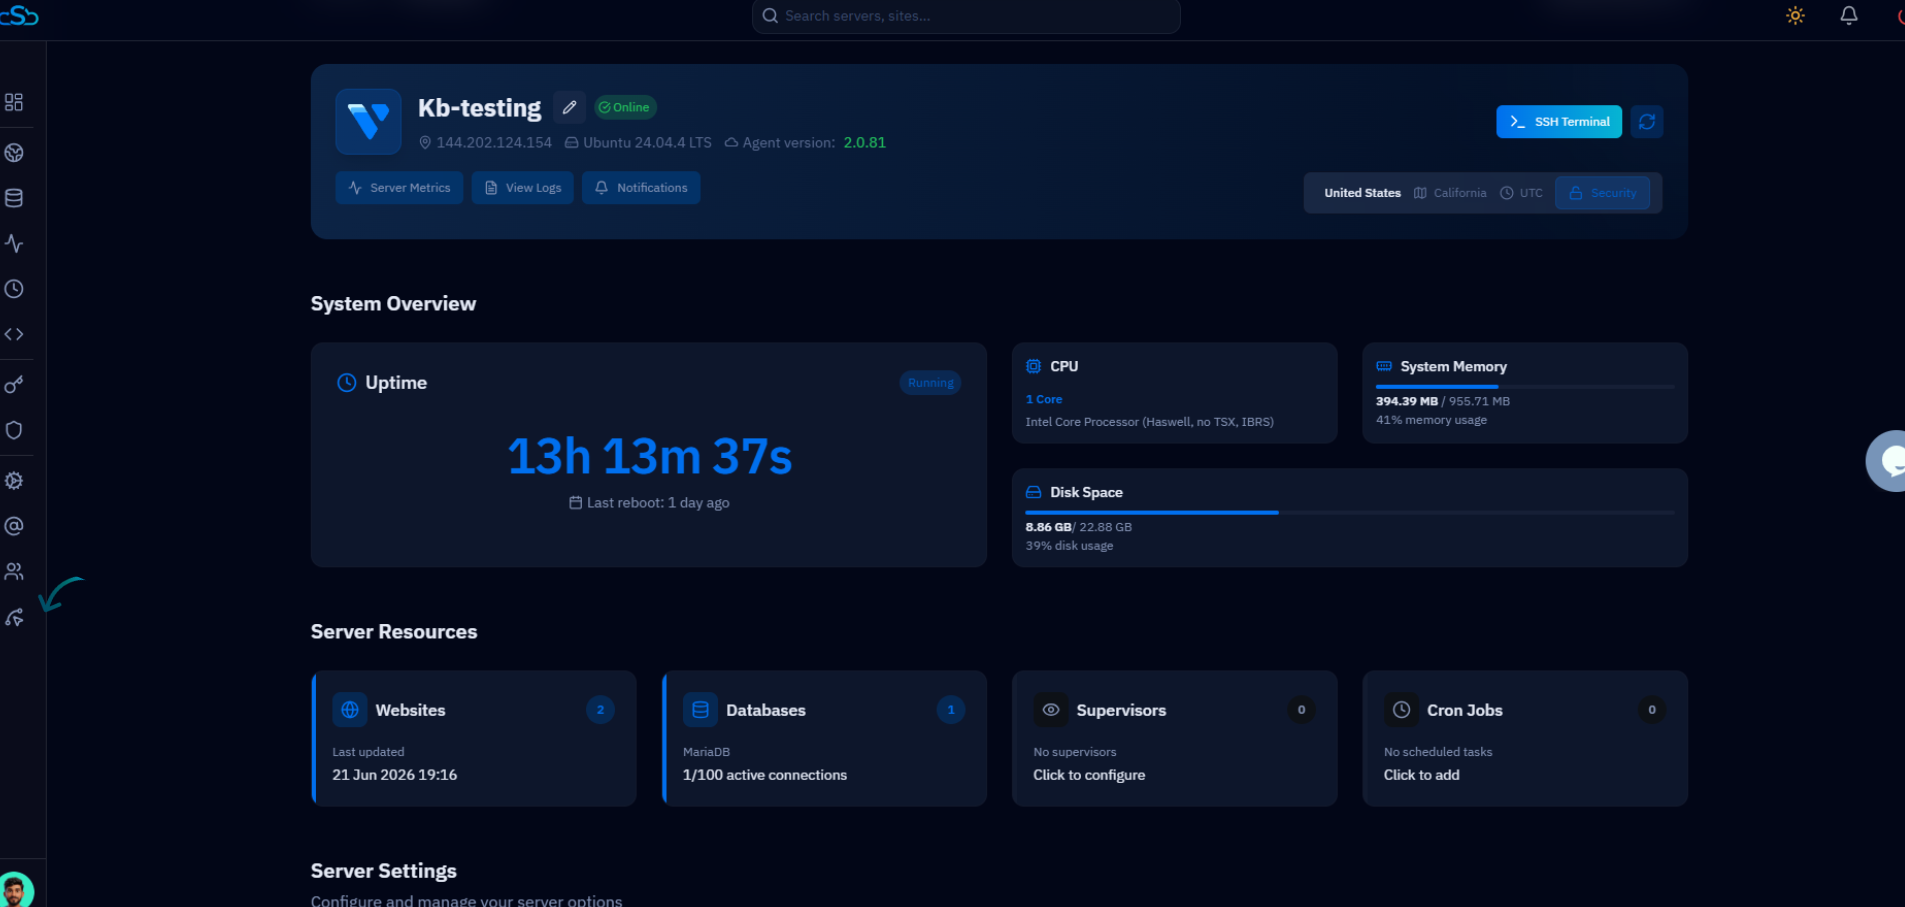
Fig. 02 — The server panel, with the Supervisor option in the left-hand navigation and the Supervisors resource card.
Step 4: Create a New Job
If no Supervisor jobs have been created on this server yet, the page shows an empty state. Use the call-to-action button to open the creation form.
Review the empty state: The Supervisor Jobs page displays a 'No Job found' message when no jobs exist on this server yet.
Click Create Job: Click the blue Create Job button to open the Create Supervisor Job form, where you fill in the job details.
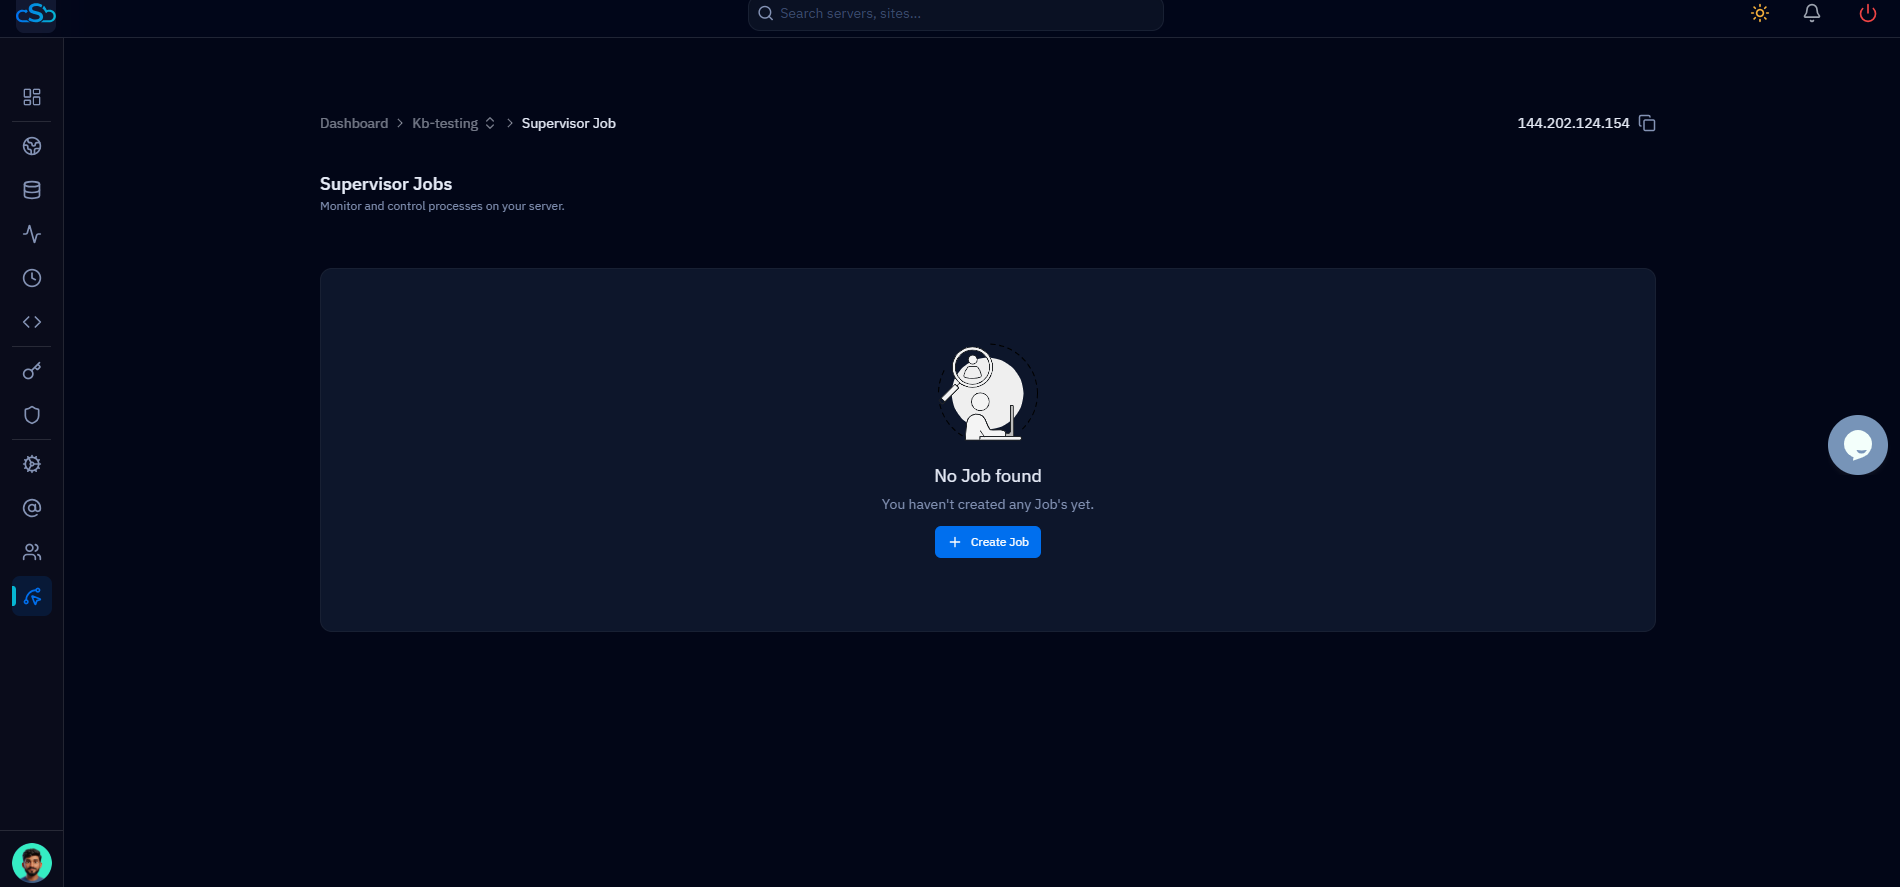
Fig. 03 — The Supervisor Jobs page showing the empty state with the Create Job button.
Step 5: Fill in the Job Details
The Create Supervisor Job form collects everything Supervisor needs to register and run your process. Complete each field so the job runs the right command, as the right user, in the right directory.
Job Name: Give the job a short, unique name such as laravel-queue or my-queue-worker. Use hyphens instead of spaces.
System User: Select the Linux user the process will run under. Pick the user or site user that owns the application.
Vendor Binary: Choose the interpreter that runs your command. For PHP apps like Laravel, set this to /usr/bin/php; for shell scripts, use /bin/bash.
Command: Enter the actual command passed to the binary. For a Laravel queue worker this looks like /home/siteuser/apps/artisan queue:work --sleep=3 --tries=3.
Directory (optional): Set the working directory of your application, for example /home/siteuser/apps. This field is optional but recommended for application workers.
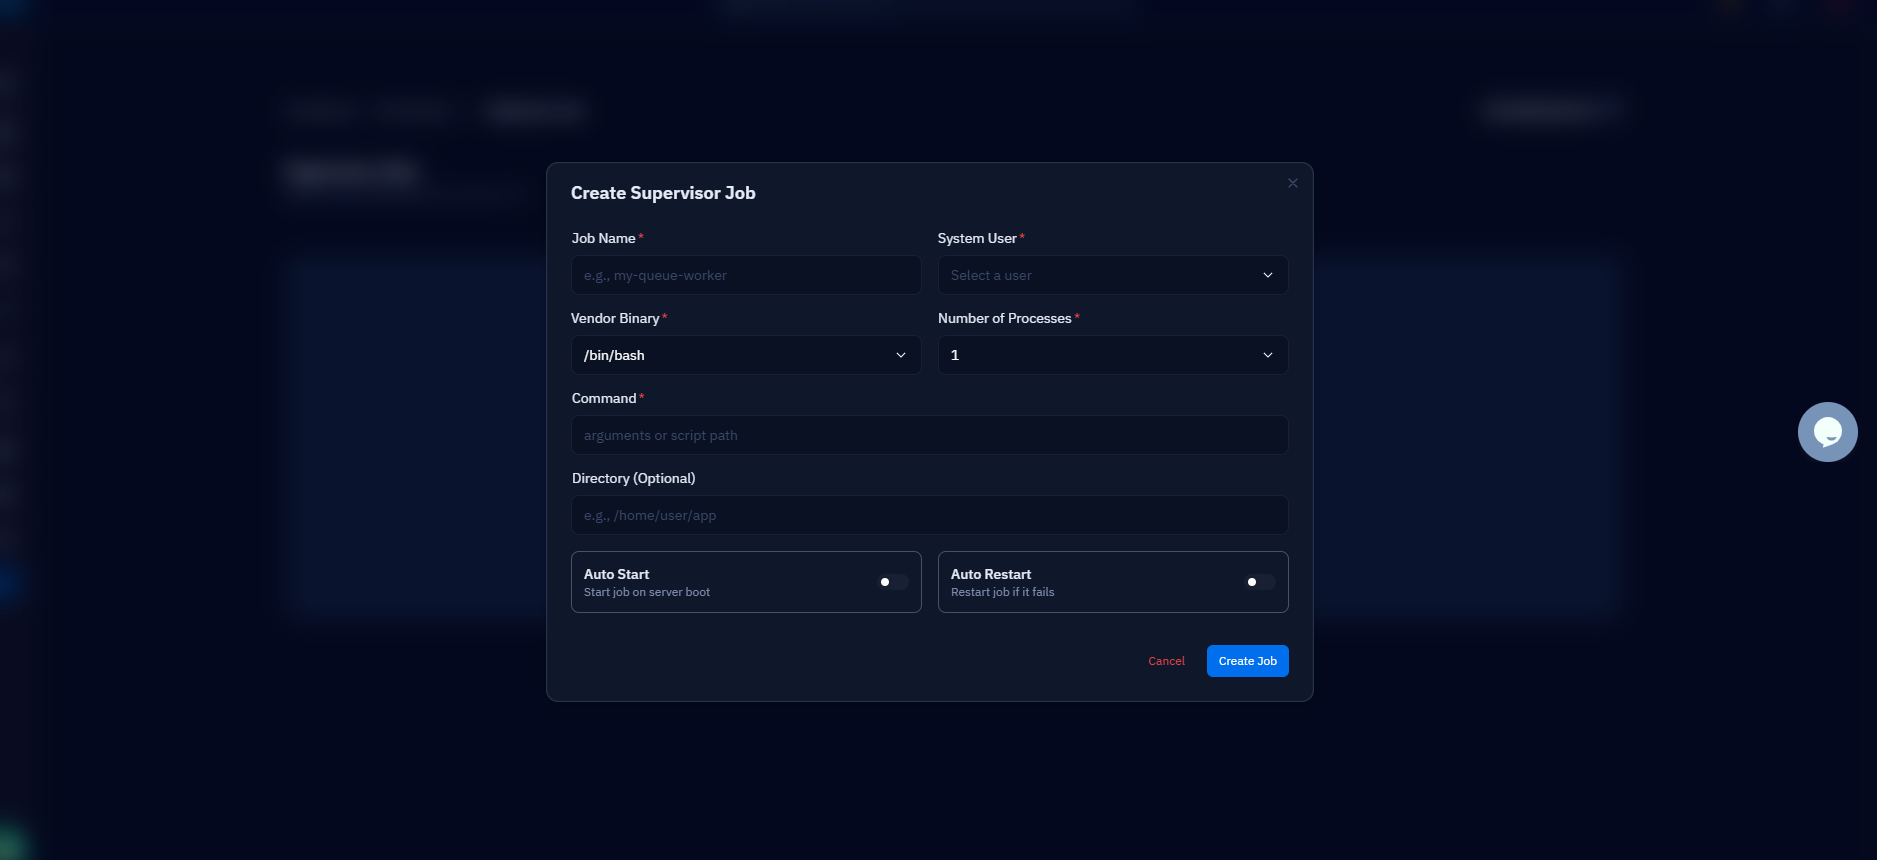
Fig. 04 — The Create Supervisor Job form showing the Job Name, System User, Vendor Binary, Command, and Directory fields.
Step 6: Set Process Settings
The same form controls how many workers run and how Supervisor keeps them alive. These options determine how resilient your job is in production.
Number of Processes: Set how many parallel worker instances Supervisor will run. Start with 1 and increase only if your queue load requires it.
Auto Start: Enable this so the job starts automatically whenever the server boots.
Auto Restart: Enable this so Supervisor automatically restarts the job if it crashes or exits unexpectedly.
Both Auto Start and Auto Restart are recommended for production workers — together they keep your background process running through crashes and reboots without manual intervention.
Step 7: Save and Start the Job
With every field complete, you can create the job. CloudStick handles the underlying configuration for you.
Create the job: Click Create Job. CloudStick writes the Supervisor configuration, reloads the daemon, and starts the process right away.
Step 8: Monitor the Job
Once created, the job appears in your Supervisor list, where you can manage and troubleshoot it at any time.
Check the status: View whether the job is running directly from the Supervisor list.
Restart or stop: Manually restart or stop the job whenever you need to.
View logs: Open the job's logs to debug any issues.
Edit the configuration: Update the command or process count if your needs change.
Make sure the command path is correct before creating the job — an incorrect path will cause the job to fail immediately on start. For Laravel workers, always include --tries and --max-time flags to prevent runaway processes.