How to Create Cron Jobs in CloudStick
Overview
Cron jobs let you automate repetitive server tasks — clearing caches, running backups, sending reports, or executing PHP/shell scripts — at precise time intervals without manual intervention. CloudStick includes a visual Cron Jobs Manager that lets you create, configure, and manage scheduled tasks directly from the dashboard, with no terminal or SSH access required.
This guide walks you through every step of creating a cron job in CloudStick: navigating to the CronJob section, filling in the job details, selecting a schedule, and saving the configuration.
You must have an active, connected server in your CloudStick account before creating cron jobs. If you have not yet connected a server, follow the How to Deploy Your Own Server guide first.
Step 1: Navigate to the Cron Jobs Section
The Cron Jobs Manager lives inside the server panel. Open the correct server first, then locate the CronJob icon in the left-hand navigation.
1. Log in to CloudStick: Sign in to your CloudStick account and select the server where you want to schedule the task.
2. Open the CronJob section: In the left-hand navigation of the server panel, click the clock icon labelled CronJob. This opens the Cron Jobs Management page.
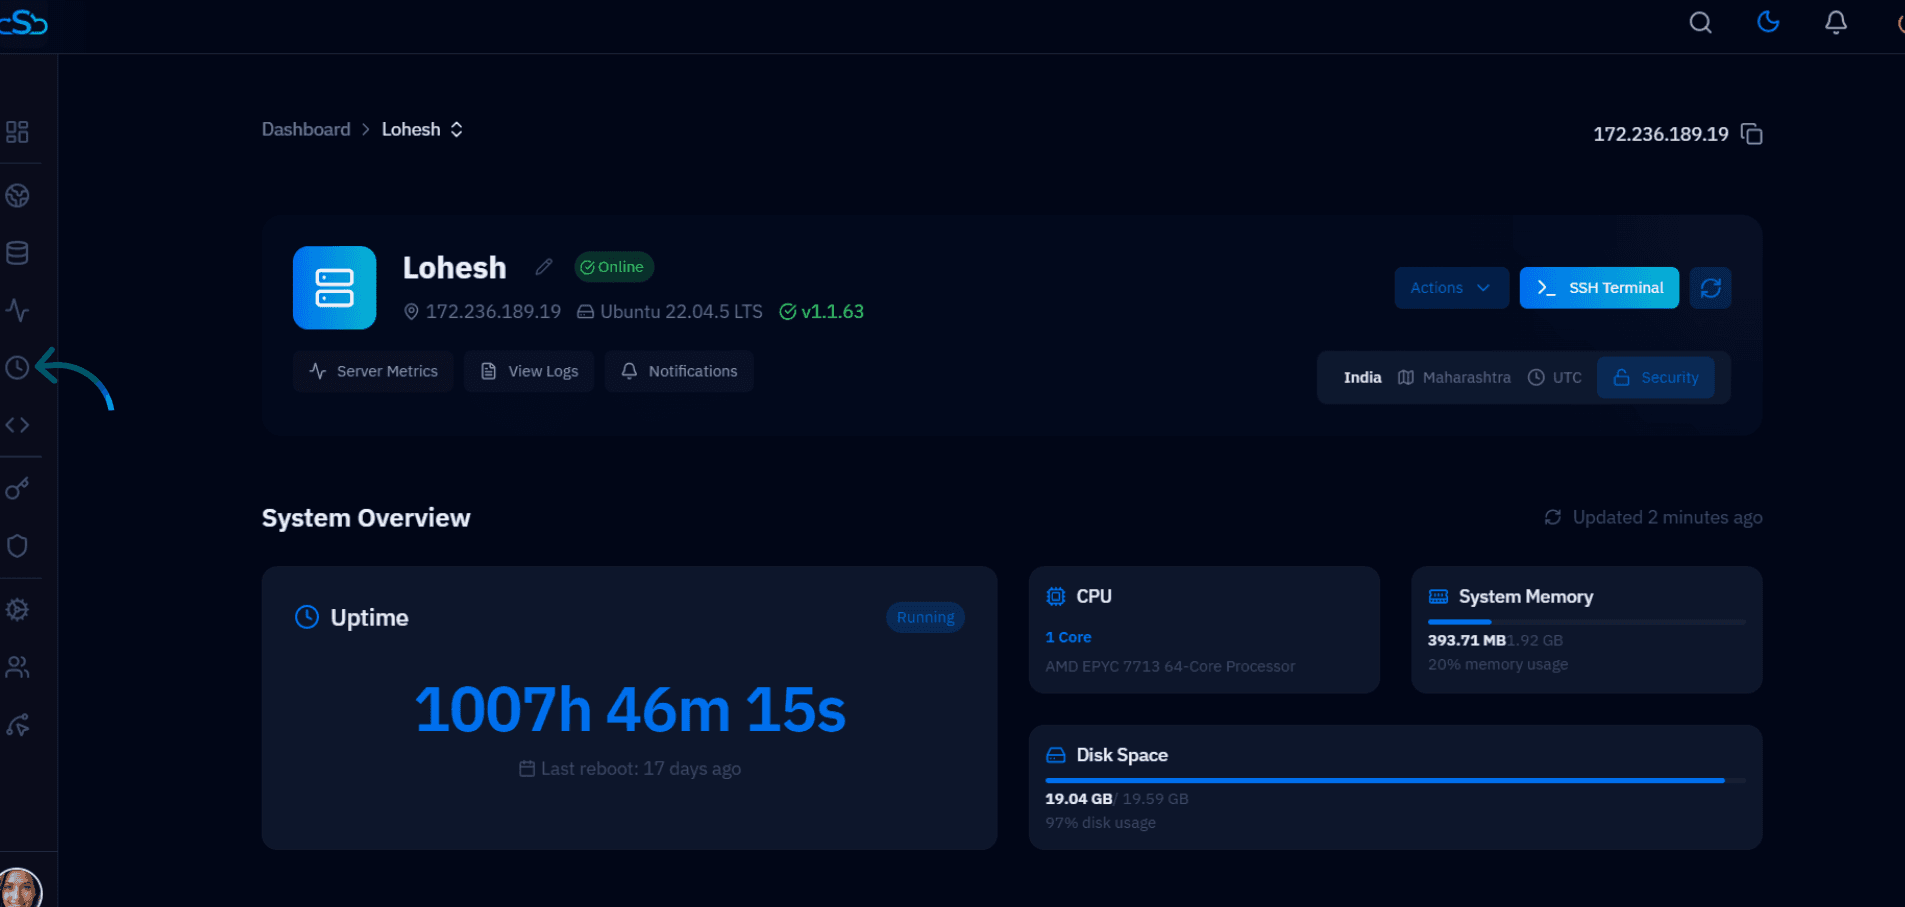
Fig. 01 — Server panel with the CronJob icon highlighted in the left-hand navigation.
Step 2: Create a New Cron Job
If no cron jobs have been created yet, the page displays an empty state screen. Use the prominent call-to-action button to open the creation form.
1. Review the empty state: The Cron Jobs Management page shows a 'No Cron Jobs Found' message when no jobs exist on this server yet.
2. Click Create: Click the blue + Create Your First Cron Job button to open the Add New Cron Job form. If jobs already exist, use the Create button in the top-right of the listing instead.
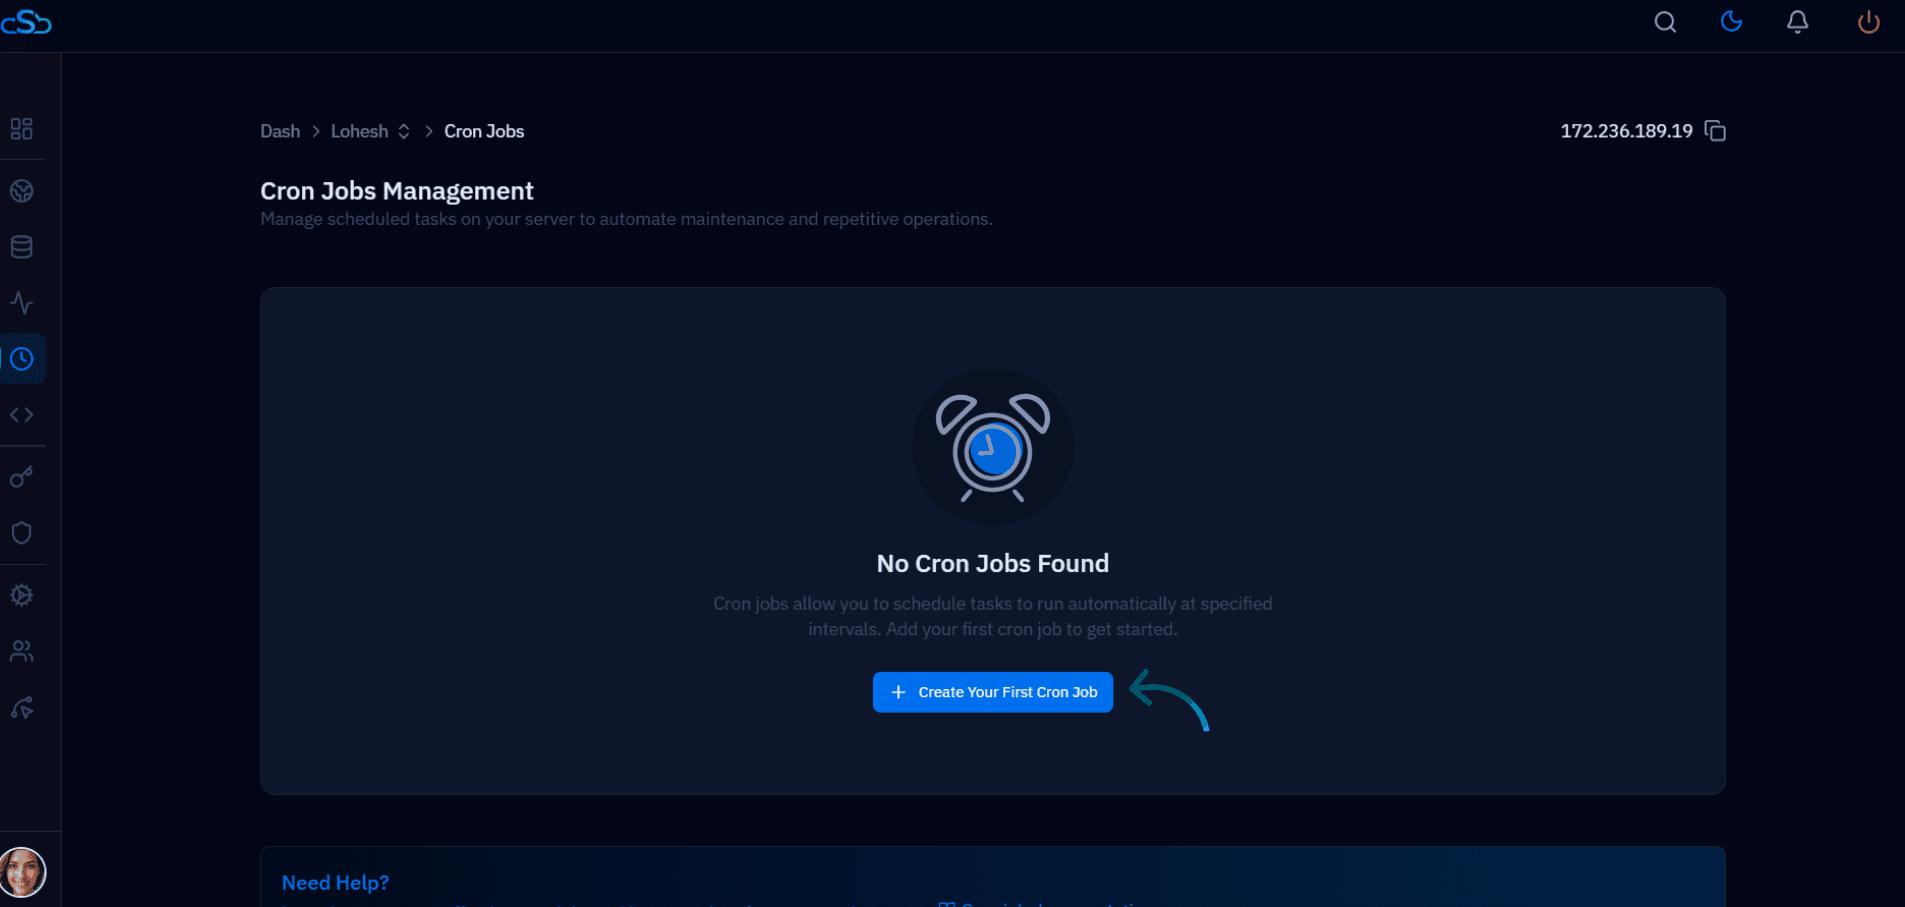
Fig. 02 — Cron Jobs Management page showing the empty state with the '+ Create Your First Cron Job' button.
Step 3: Configure and Schedule the Cron Job
The Add New Cron Job form collects all the details CloudStick needs to register and execute your scheduled task. Fill in each field carefully to ensure the job runs with the correct permissions and at the right time.
Job Details
Job Label: Enter a descriptive name for this cron job (e.g., Daily Cache Clear). This label is for your reference only and does not affect execution.
User: Select the system user that will run this job from the dropdown. Using a restricted user (rather than root) is recommended for security.
Vendor Binary: Choose the binary interpreter required to execute your command — for example, sh for shell scripts, php for PHP scripts, or js for Node.js scripts. Leave empty to run the command directly.
Command: Enter the full path to the script or command to execute, e.g., /path/to/script.sh or /usr/bin/php /var/www/myapp/artisan schedule:run.
Schedule Setting
Pre Defined settings: Select a ready-made schedule from the dropdown — options include Every Minute, Once Per Hour, Once Per Day, Once Per Week, and Once Per Month. This is the fastest way to get started.
Custom Schedule: If you need a more specific interval, click the Need a specific time? Use Custom Schedule link below the dropdown to configure individual minute, hour, day, month, and weekday values manually.
Once you click Add Cron Job, CloudStick registers the job with the server's cron daemon. The job will run automatically at every scheduled interval without any further action required.
Save: When all fields are filled in, click the blue Add Cron Job button in the bottom-right of the form to create the cron job.
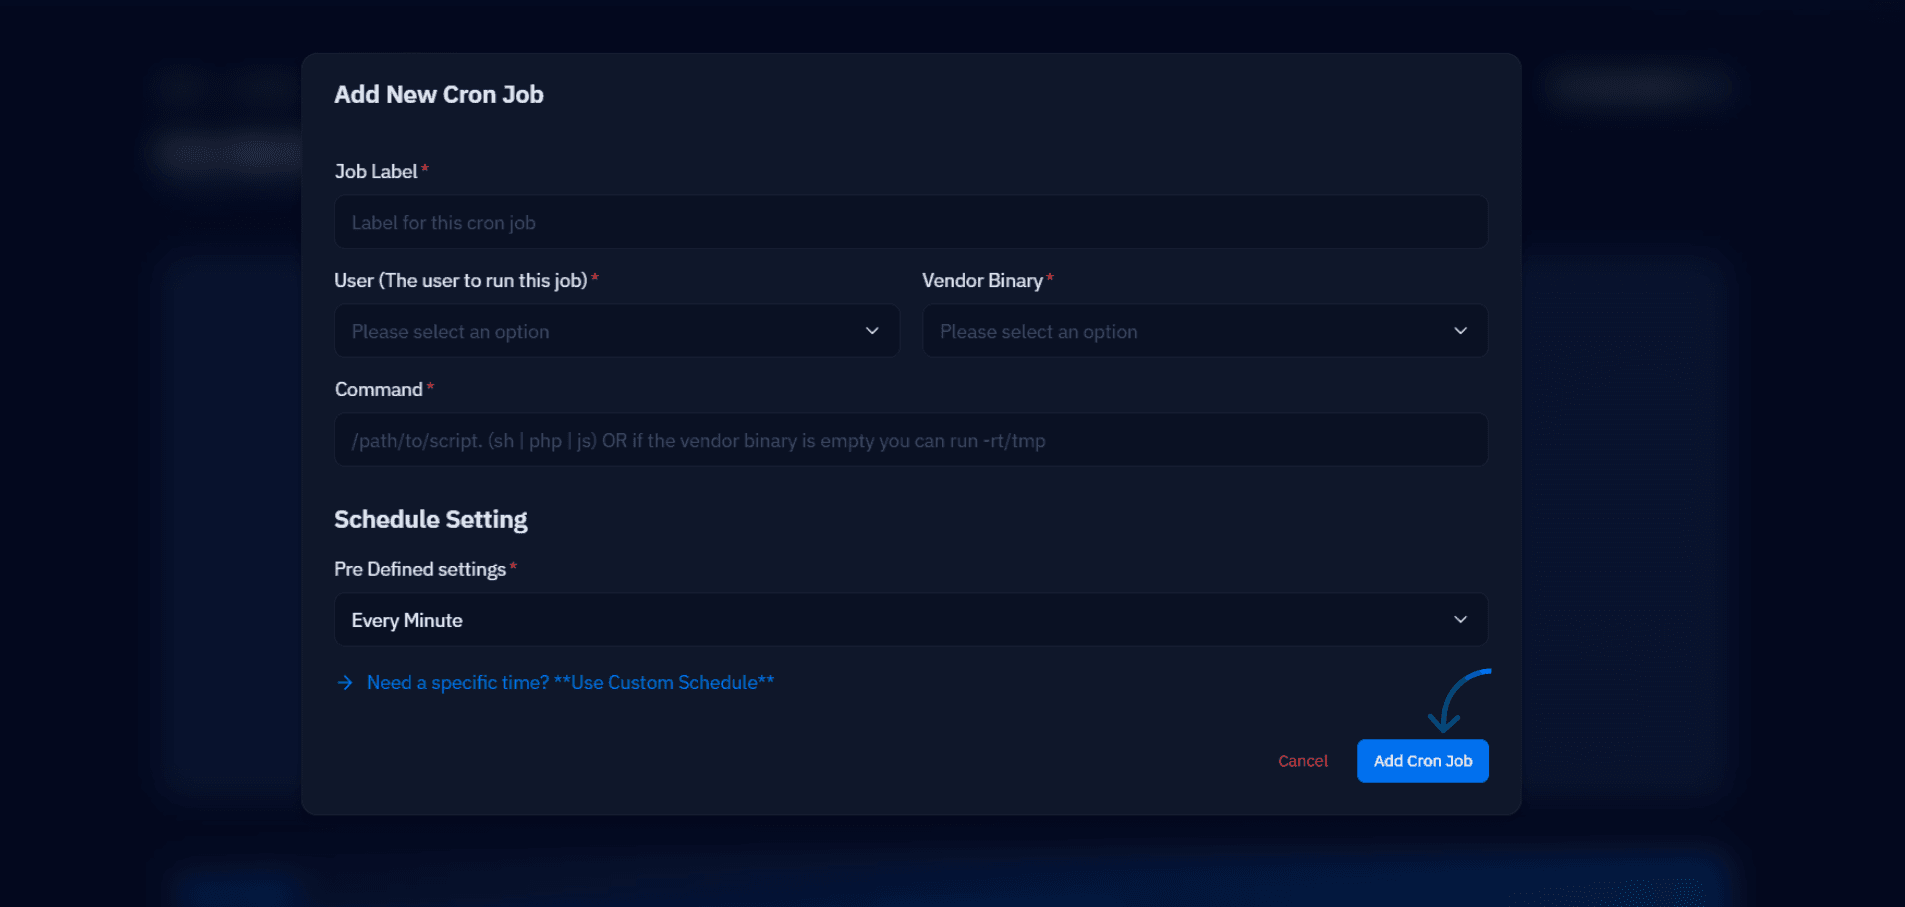
Fig. 03 — Add New Cron Job form showing Job Label, User, Vendor Binary, Command, and Schedule Setting fields.