How to Delete Your Account in CloudStick
Overview
Deleting your CloudStick account permanently removes your account along with all associated data — including connected servers, website configurations, backup records, and team settings. Because CloudStick manages live infrastructure, this action cannot be undone and all server connections managed through your account will be severed.
This guide walks you through how to initiate account deletion from the Security & Privacy section of your profile, including the identity verification and final confirmation steps.
This action is irreversible. Before proceeding, download any important backup files, note your server credentials, and remove any active subscriptions you wish to cancel. CloudStick support cannot recover a deleted account.
Step 1: Open Your Profile
Account deletion is accessed through the profile menu — the same place you manage your password, API keys, and subscription settings.
1. Log in: Sign in to your CloudStick account at app.cloudstick.io.
2. Click your profile avatar: At the bottom-left corner of the dashboard, click your profile avatar or account name to open the profile popup.
3. Enter Account Settings: Click the arrow icon next to your name to navigate into the full profile settings view.
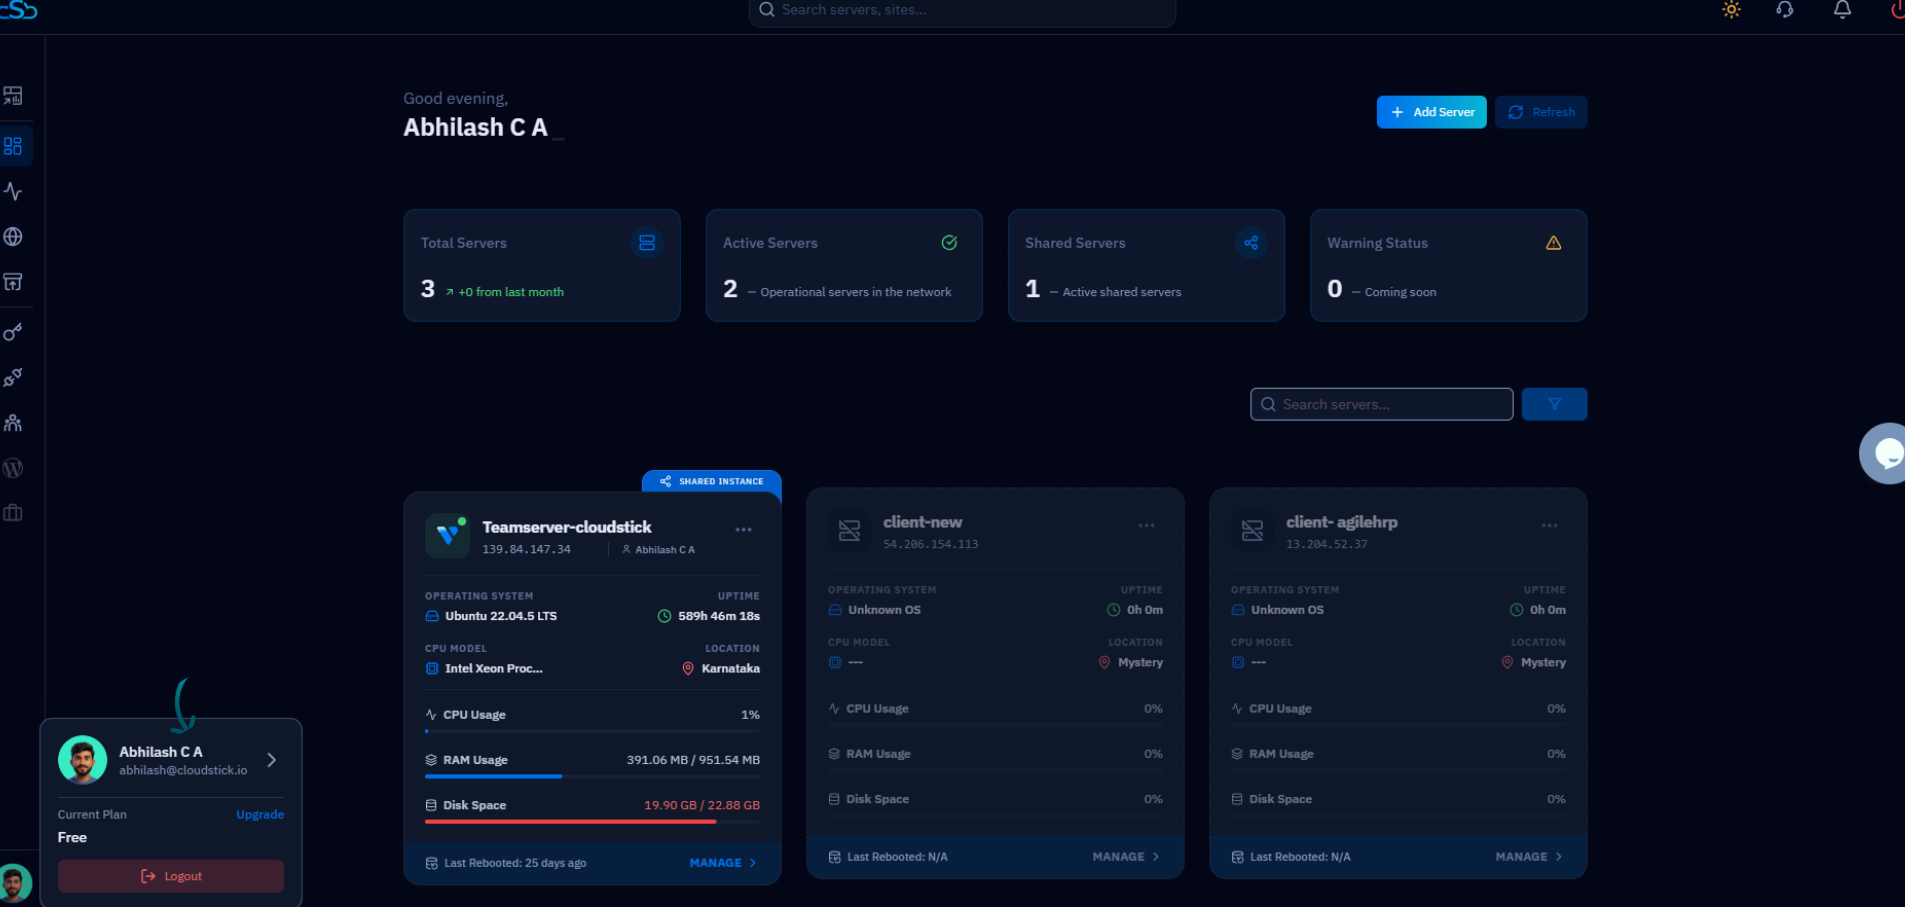
Fig. 01 — CloudStick dashboard with the profile popup open at the bottom-left corner.
Step 2: Navigate to Security & Privacy
The Delete Account option is located in the Security & Privacy section of your profile — the same section that contains your password and Two-Factor Authentication settings.
1. Click Security & Privacy: In the right-hand navigation panel on your profile page, click Security & Privacy.
2. Scroll down: Scroll to the bottom of the Security & Privacy section. Below the Change Password and Terms & Conditions cards, you will see the Delete Account card shown in red.
The Delete Account option is intentionally placed at the bottom of the security settings — below less destructive actions — to reduce the chance of accidental clicks.
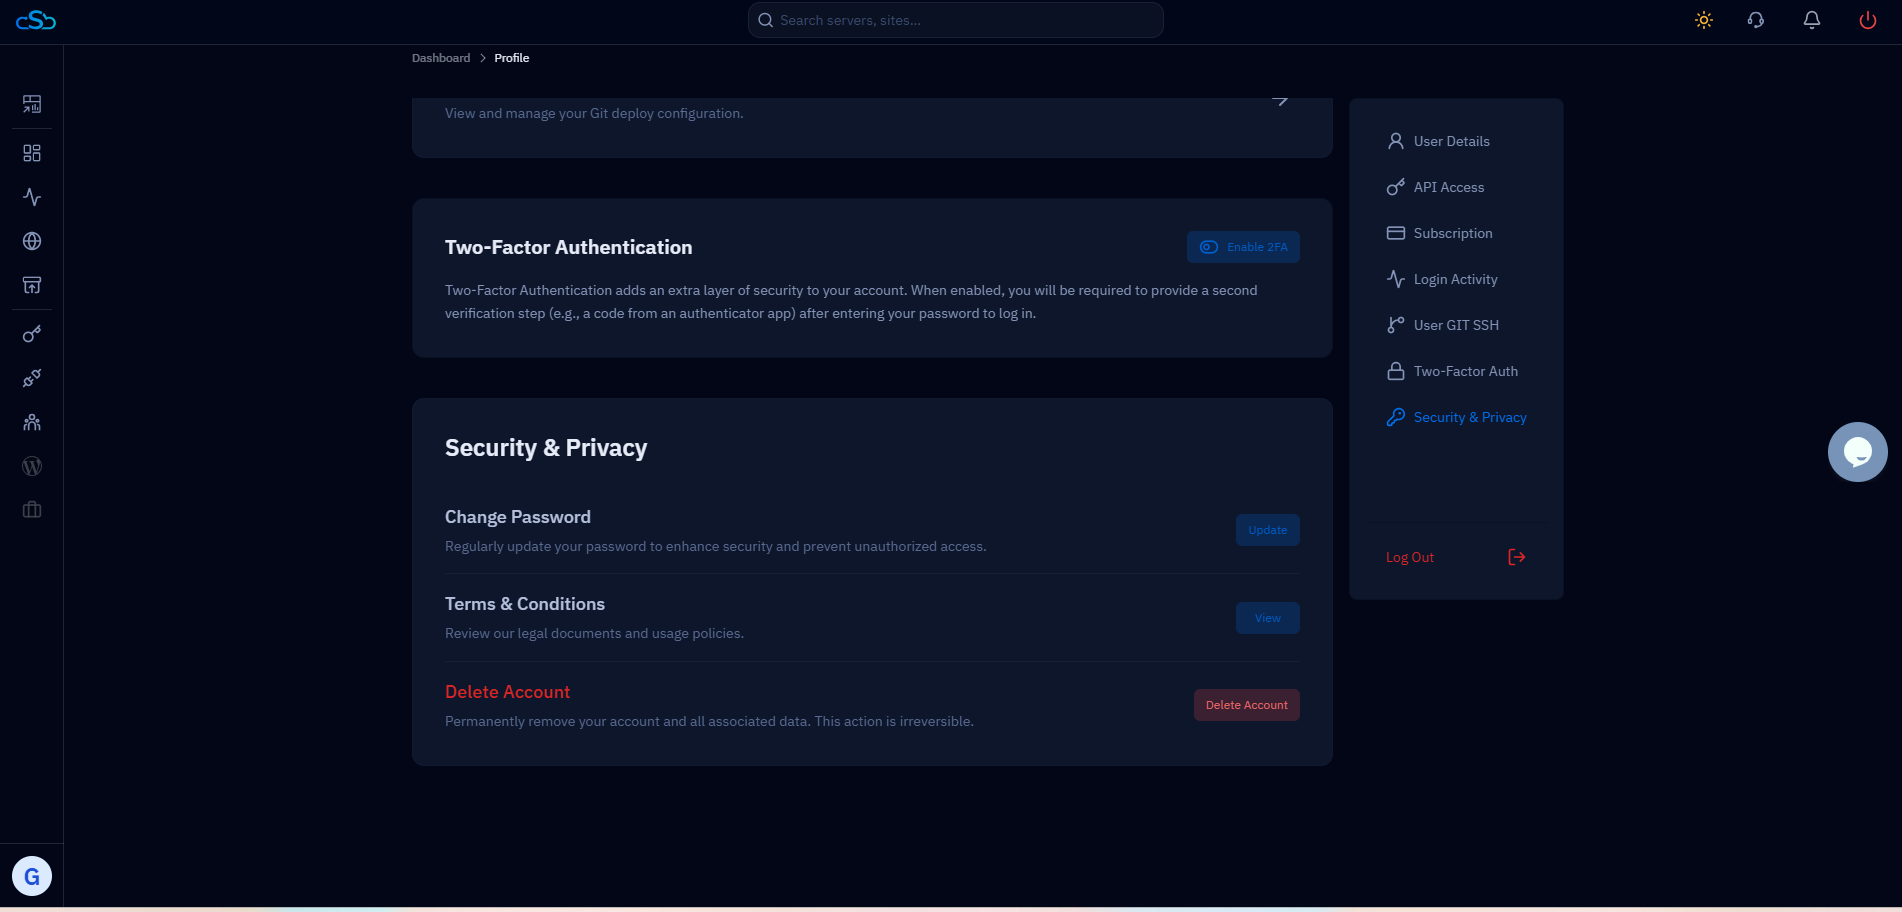
Fig. 02 — Profile Security & Privacy page showing the Delete Account card at the bottom of the section.
Step 3: Confirm and Delete Your Account
CloudStick requires multiple confirmation steps before deleting an account to prevent accidental data loss. Work through each step carefully.
1. Click Delete Account: Click the red Delete Account button on the Delete Account card. This opens the confirmation flow.
2. Verify your identity: You will be prompted to confirm your identity — either by entering your current password or completing a Two-Factor Authentication (2FA) verification step if 2FA is enabled on your account.
3. Confirm deletion: After identity verification, click Delete Account again to confirm. This is the final confirmation before deletion proceeds.
4. Account removed: Once confirmed, your account and all associated data — servers, websites, backups, team members, and billing records — are permanently removed and cannot be recovered.
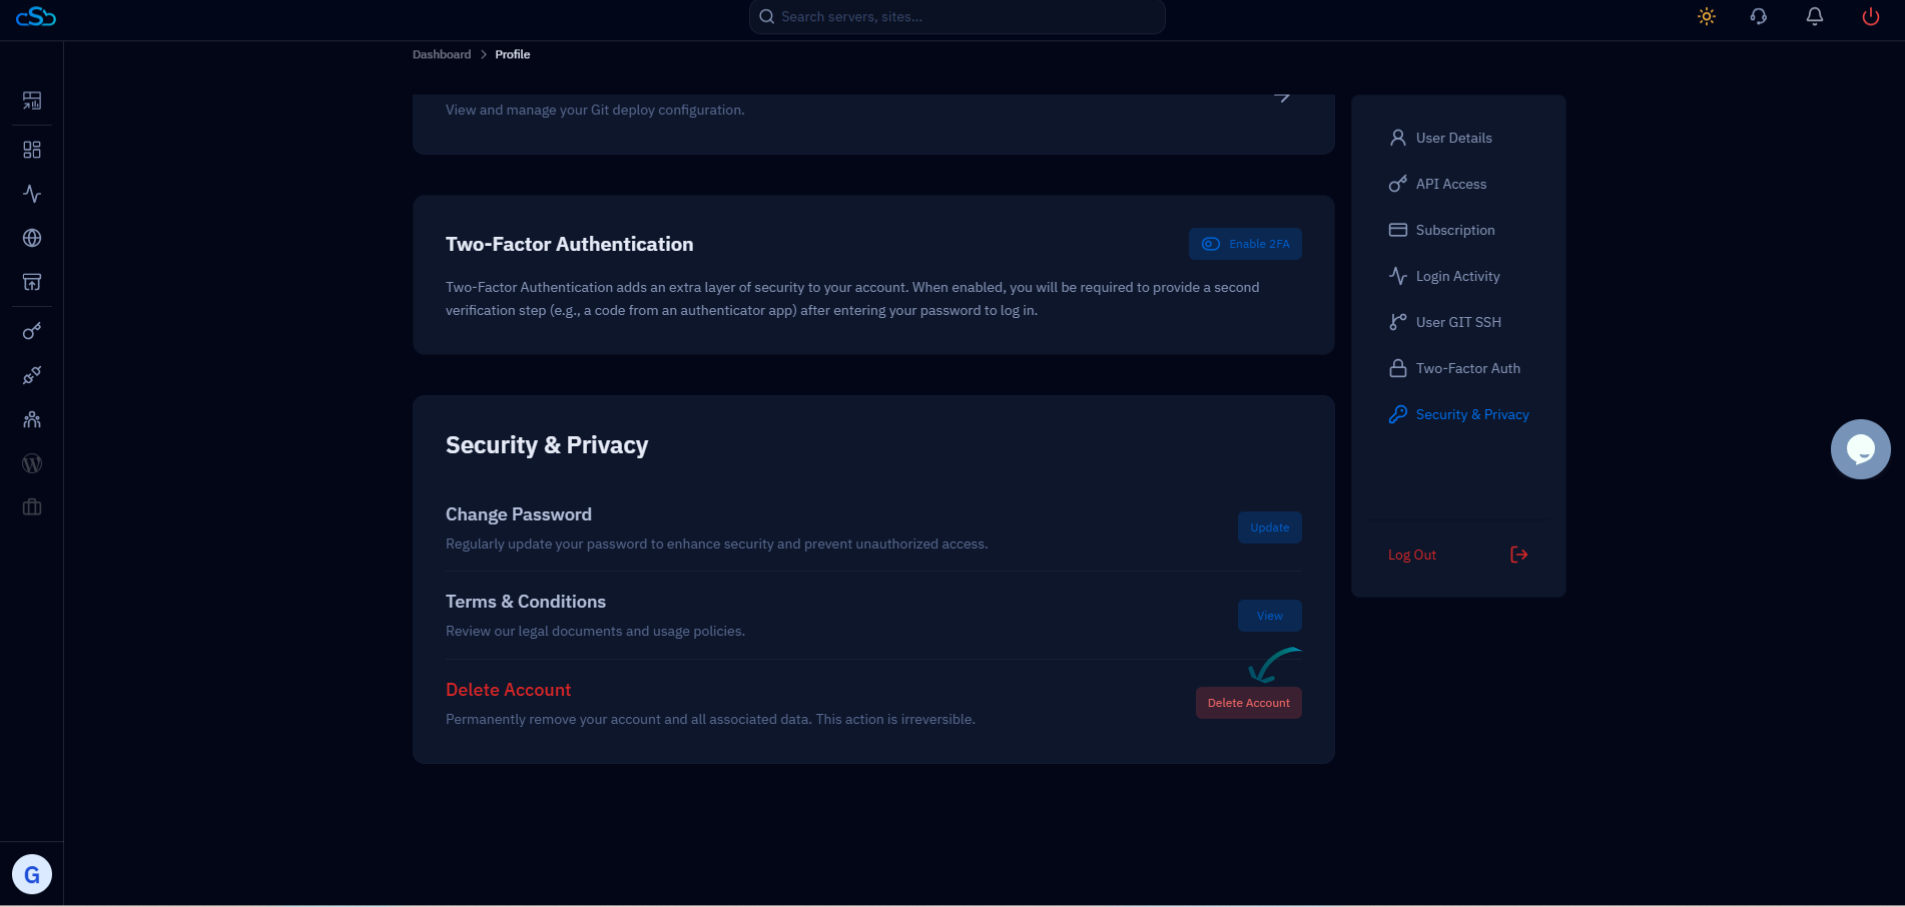
Fig. 03 — Security & Privacy page with the Delete Account button highlighted, ready to initiate deletion.
After deletion, your servers themselves are not automatically terminated — only the CloudStick management connection is removed. If you provisioned servers through a third-party provider (AWS, DigitalOcean, Hetzner, etc.), log in to those providers separately and terminate any instances you no longer need to avoid ongoing cloud charges.