How to Enable Auto Updates
Overview
Servers exposed to the internet are constantly targeted, and the single most effective defense is keeping the operating system and installed packages patched. Security vulnerabilities are discovered and fixed regularly, but a fix only protects you once it is actually installed. Applying these patches manually across every server is easy to forget and time-consuming, which is exactly how servers drift into an outdated, vulnerable state.
CloudStick's Auto Update feature solves this by automatically installing security updates and third-party software updates on your server, without manual intervention. This guide walks you through selecting your server, opening Server Settings, and enabling auto updates so your server stays secure and current on its own.
Auto updates help keep your server secure and up to date without manual intervention. It is recommended to keep this feature enabled for better security and stability.
Step 1: Select Your Server
Start from the CloudStick Dashboard, where all of your connected servers are listed.
1. Open the Dashboard: Sign in to your CloudStick account to view all connected servers.
2. Select the server: Click the server you want to configure to open its server panel.
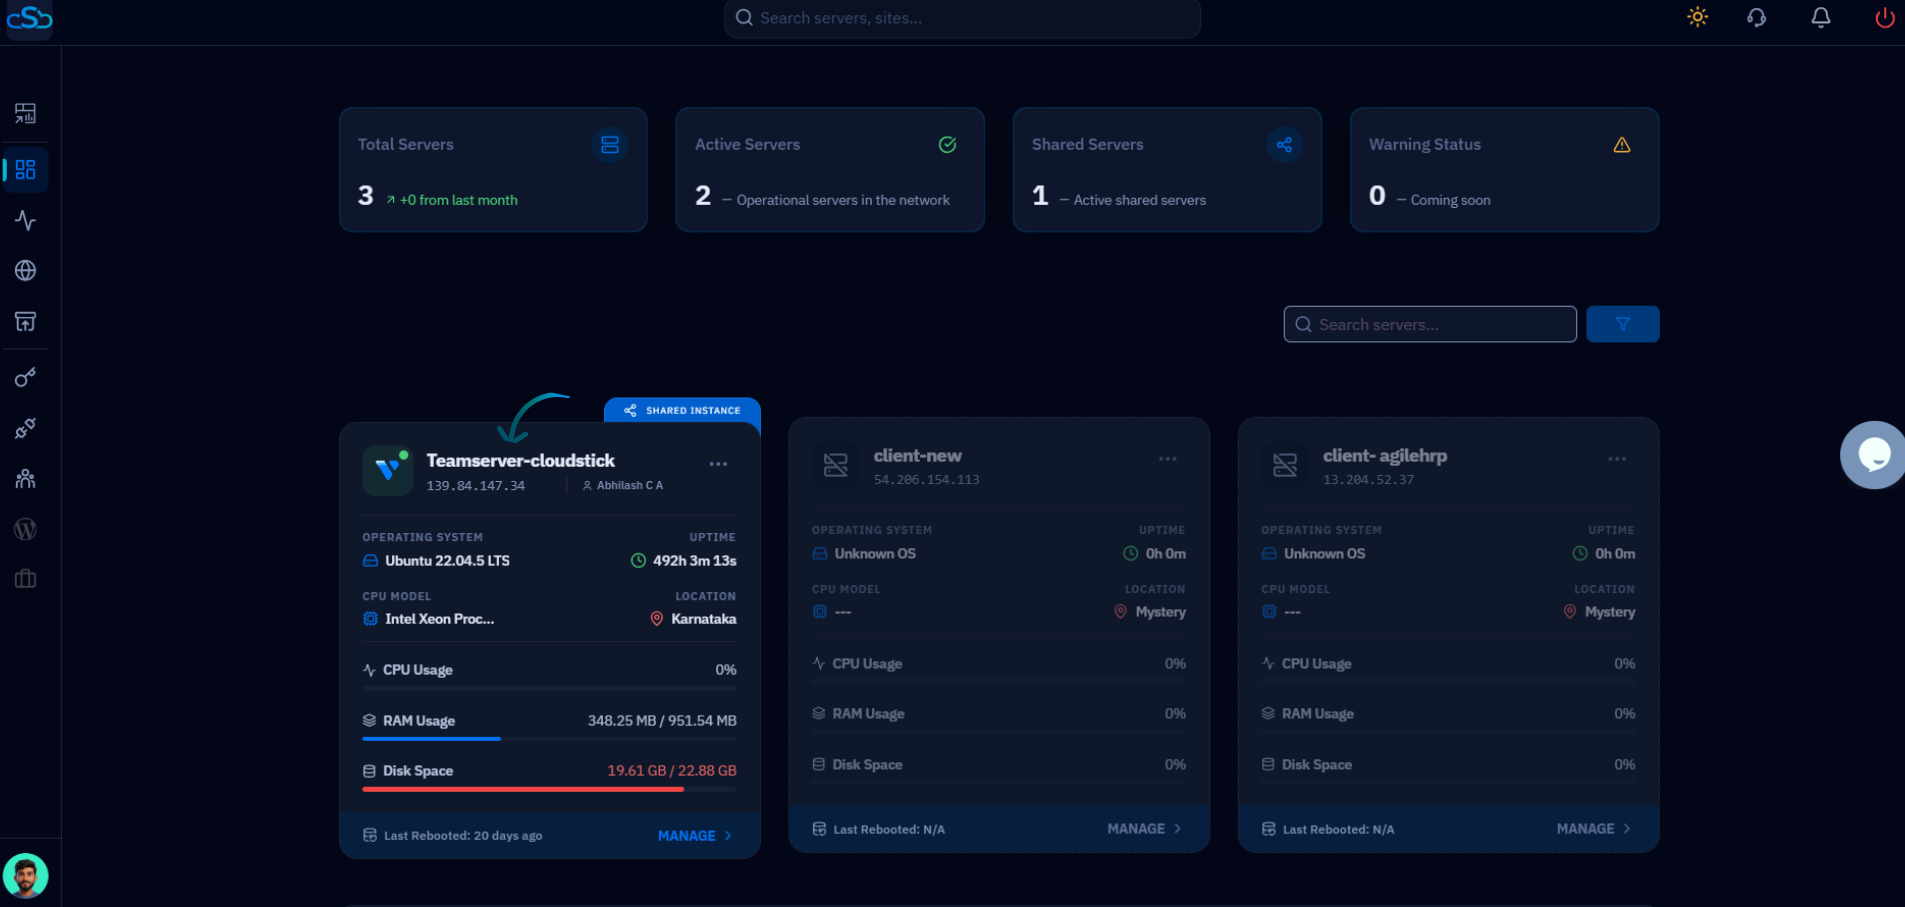
Fig. 01 — The CloudStick Dashboard listing connected servers; click the server card to open its management panel.
Step 2: Open Server Settings
The auto update control lives in the server's settings area, alongside other server-level options such as Cleanup disk space and Change PHP CLI Version.
1. Scroll to Server Settings: Within the server panel, scroll down to the Server Settings section.
2. Locate the Auto Update card: Find the Auto Update card, which enables automatic security updates and third-party software updates for your server.
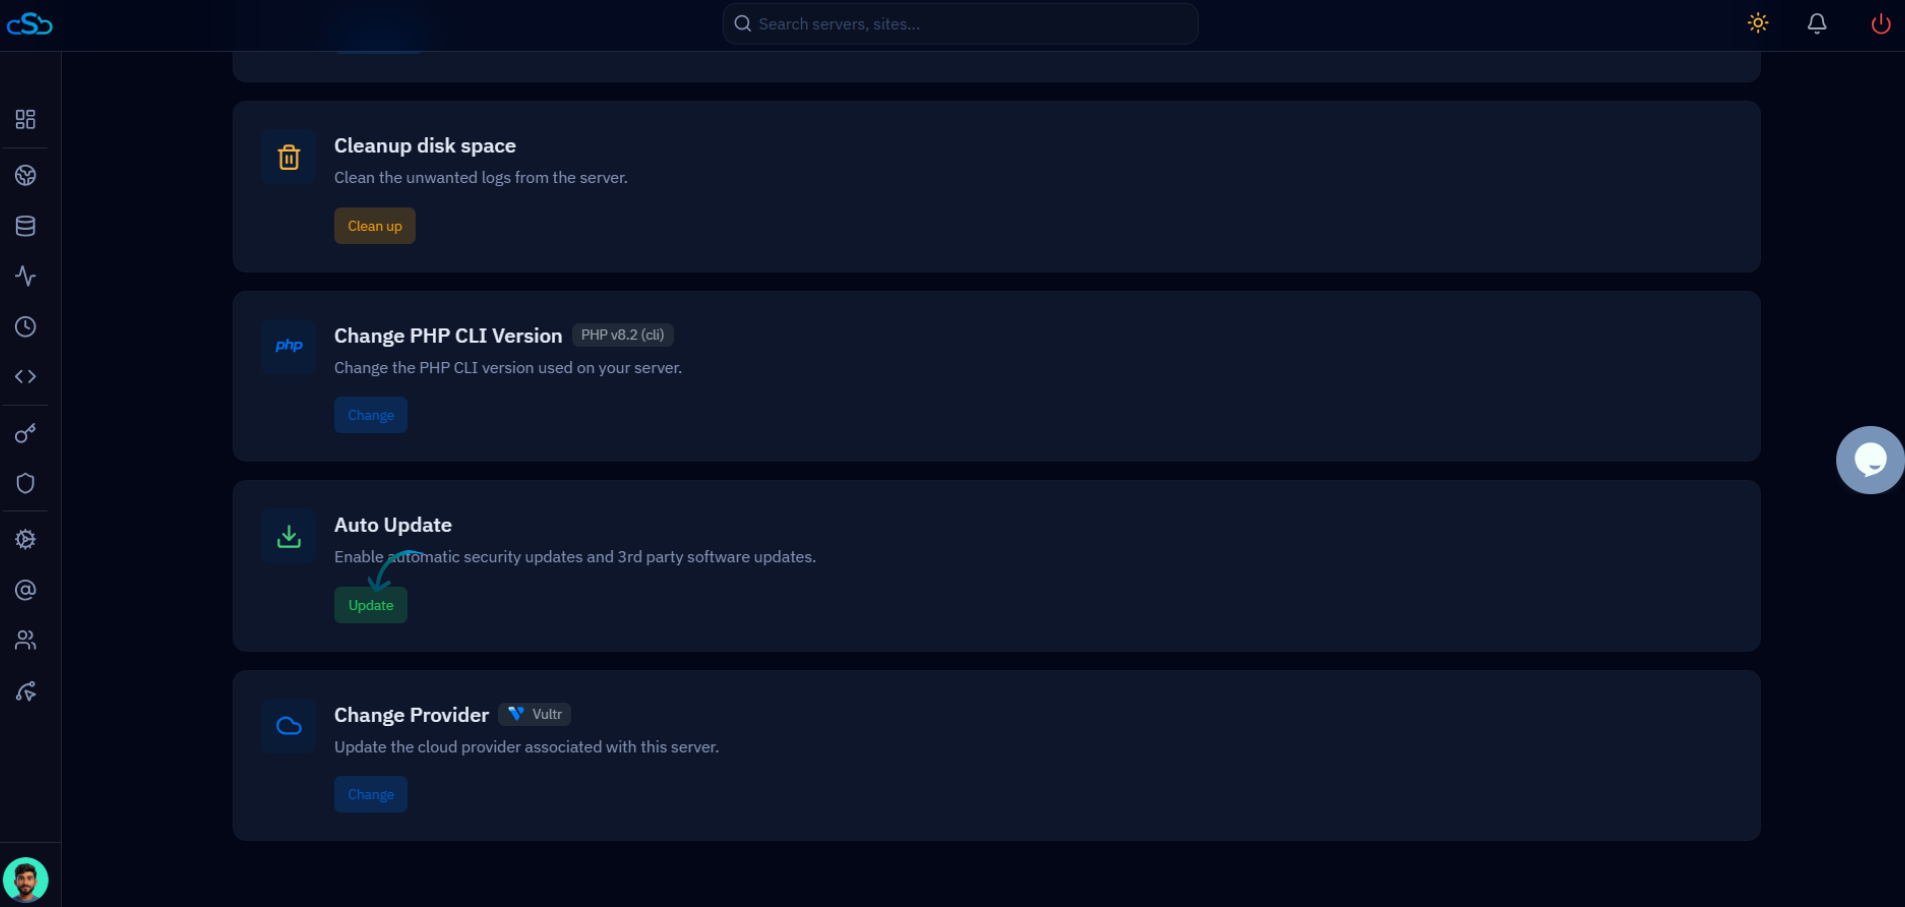
Fig. 02 — The Server Settings section showing the Auto Update card and its Update button.
Step 3: Enable and Save
Turn the feature on so CloudStick begins applying updates automatically going forward.
1. Turn on auto updates: Enable the auto updates option within the Auto Update card.
2. Save the change: Click Save (Update) to apply the changes and activate automatic updates on the server.
Once enabled, CloudStick will automatically install security patches and software updates on your server, keeping it protected without any manual action.