How to Enable Email Backup in CloudStick
Overview
Email is often the most critical — and most easily overlooked — data on a server. A misconfigured client, an accidental deletion, or a migration gone wrong can wipe out years of correspondence in seconds. CloudStick lets you protect the mailboxes hosted on your server with automated email backups, scheduled on your terms and stored against your account's backup quota.
This guide walks you through enabling email backup from the Backups section: selecting the server and website, choosing which email accounts to protect, setting the backup frequency and retention period, turning on success and failure notifications, and finally viewing and restoring your email backups whenever you need them.
Before you begin, make sure your server is connected, the website hosting your email accounts is created, and your account has an active backup plan with available storage quota.
Step 1: Log In to CloudStick
Everything starts from your CloudStick dashboard, where all of your connected servers are listed.
Sign in to your account: Open CloudStick and log in with your credentials to land on the main dashboard showing every server in your network.
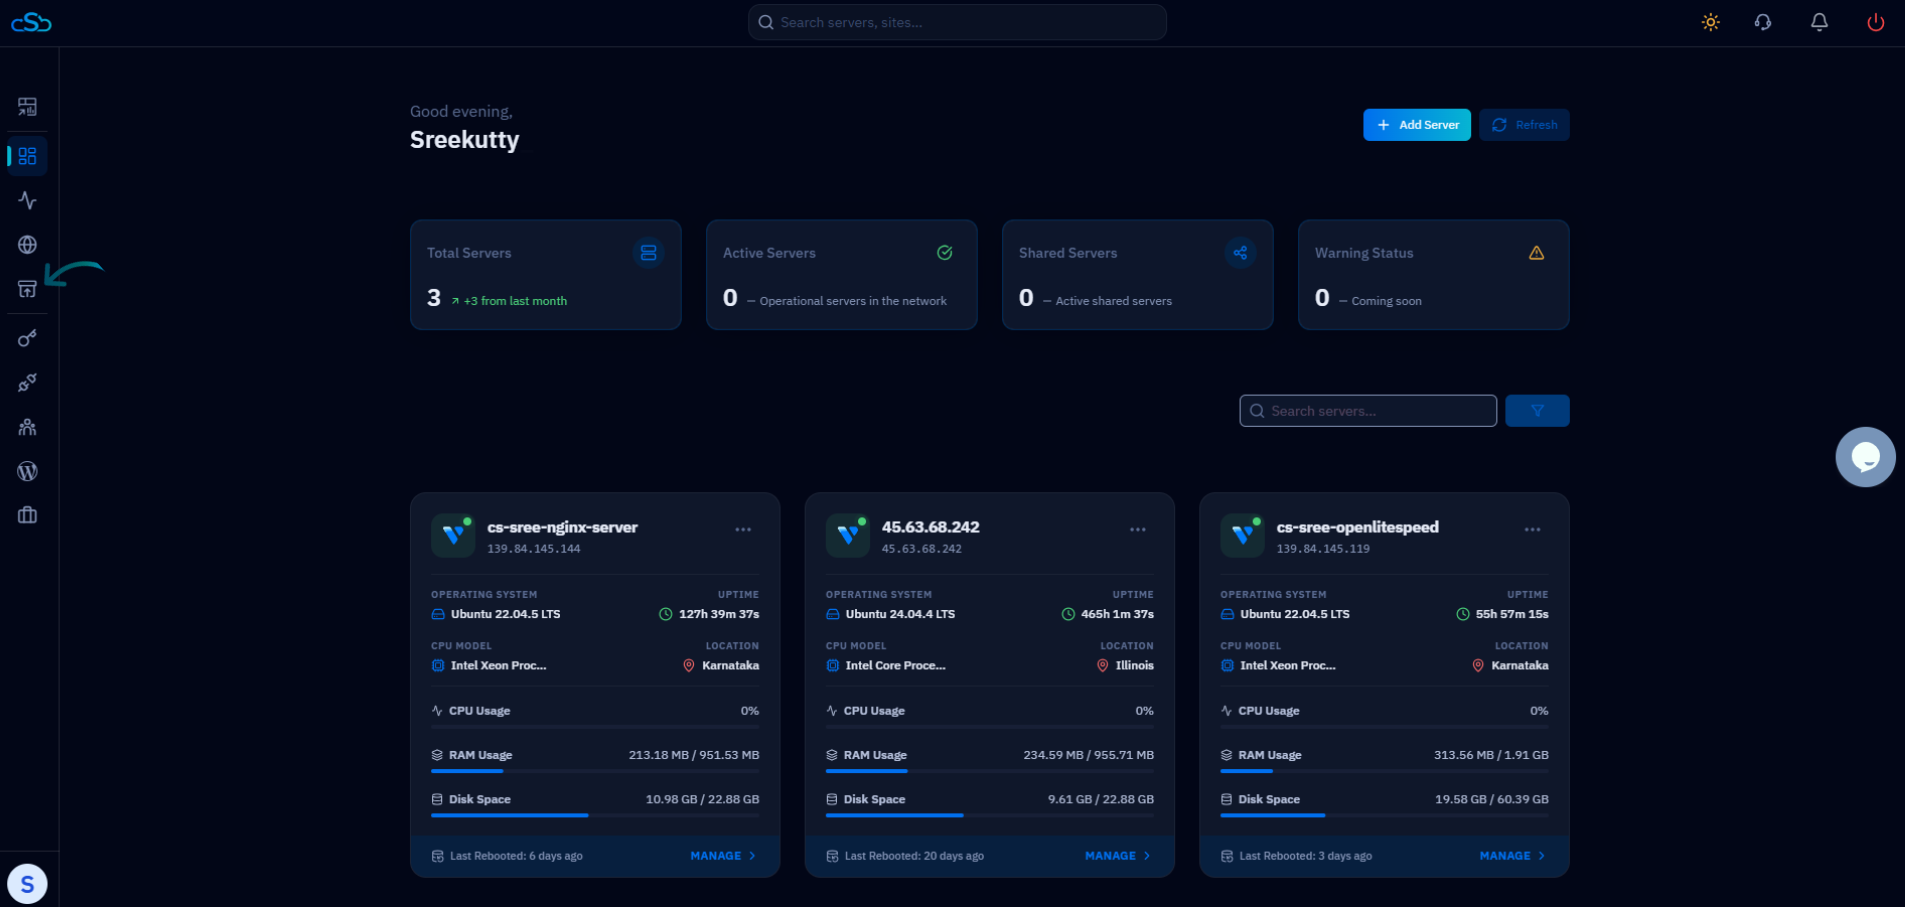
Fig. 01 — The CloudStick dashboard after signing in, listing all connected servers.
Step 2: Open Backups
Email backups are managed alongside website, database, and archived backups in one central place.
Click Backups: From the left-hand navigation menu, open the Backups section. The Backup Management page shows your current plan, storage used, and a Backup Assets Summary covering Websites, Databases, Archived Backups, and Emails.
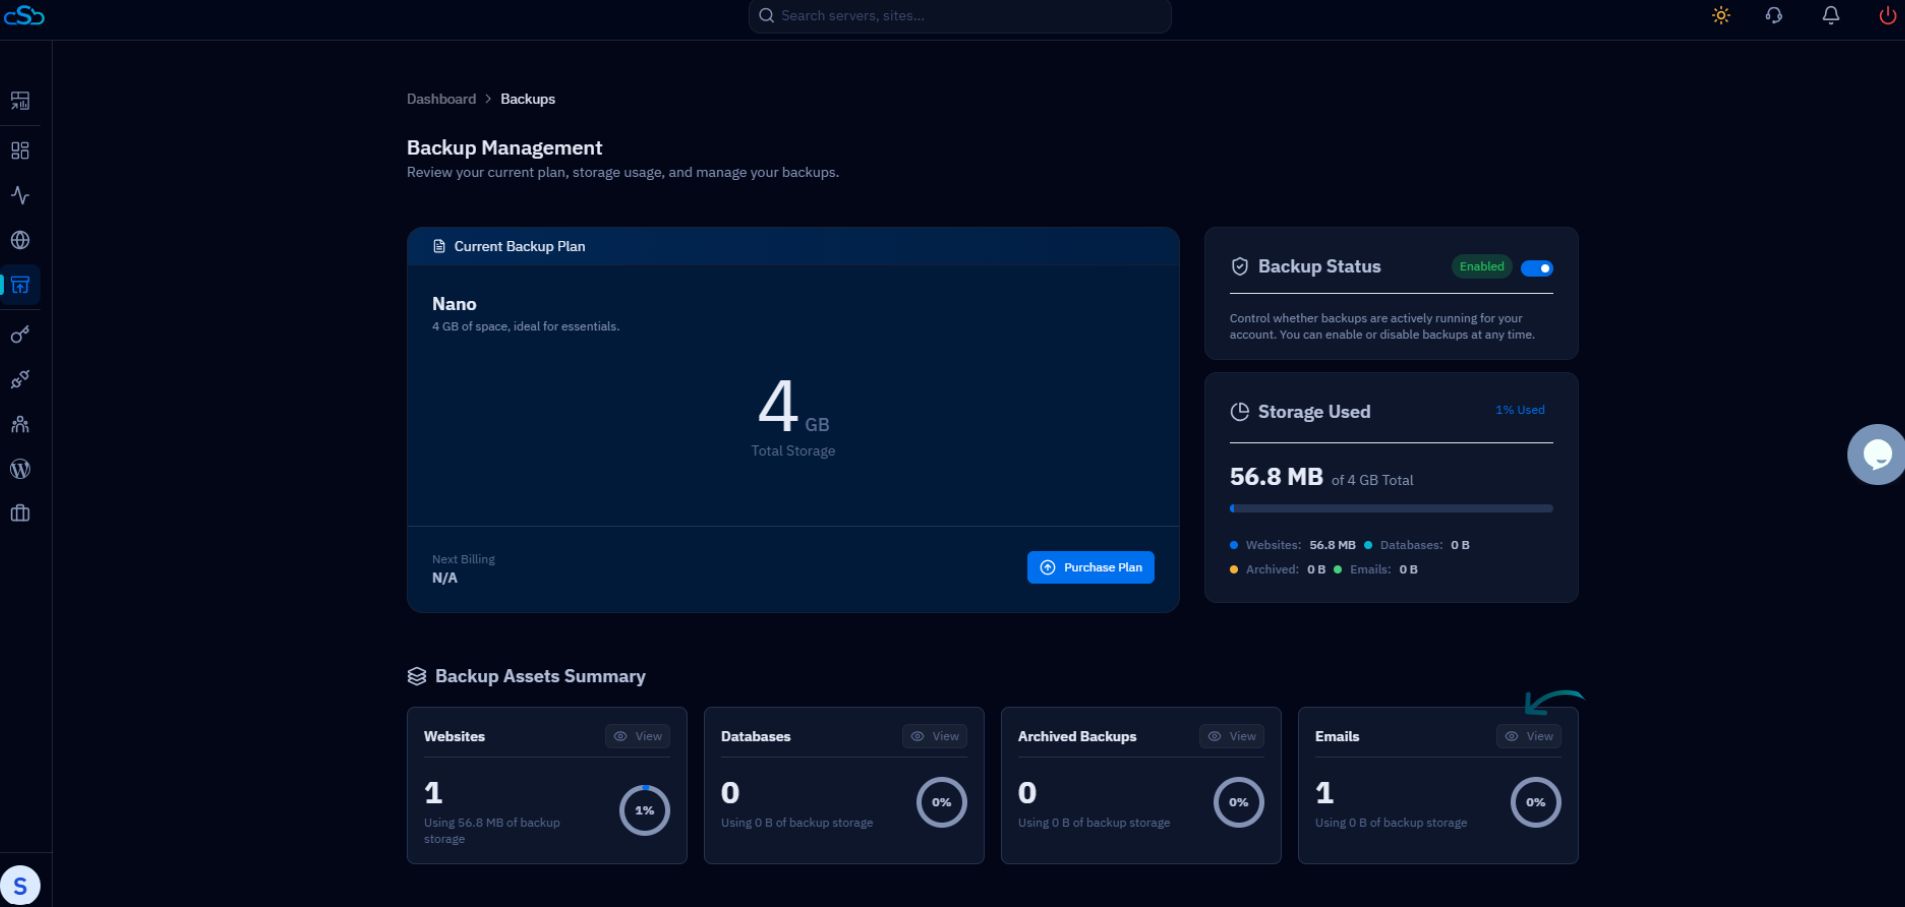
Fig. 02 — The Backup Management page with the current plan, storage usage, and the Emails asset card.
The Storage Used panel shows how much of your backup quota is consumed. Confirm you have free space before enabling new email backups.
Step 3: Open the Email Backup Settings
Within the Backups section, the assets are split across tabs so you can focus on one backup type at a time.
Select the Email tab: Switch to the Email tab to open the Email Backup List — an overview of every configured email backup schedule, grouped per domain.
Step 4: Add Email Backup
Creating a new schedule begins with a single action on the Email Backup List.
Click Add Email Backup: Use the Add Email Backup button at the top-right of the Email Backup List to open the Enable Email Backup dialog.
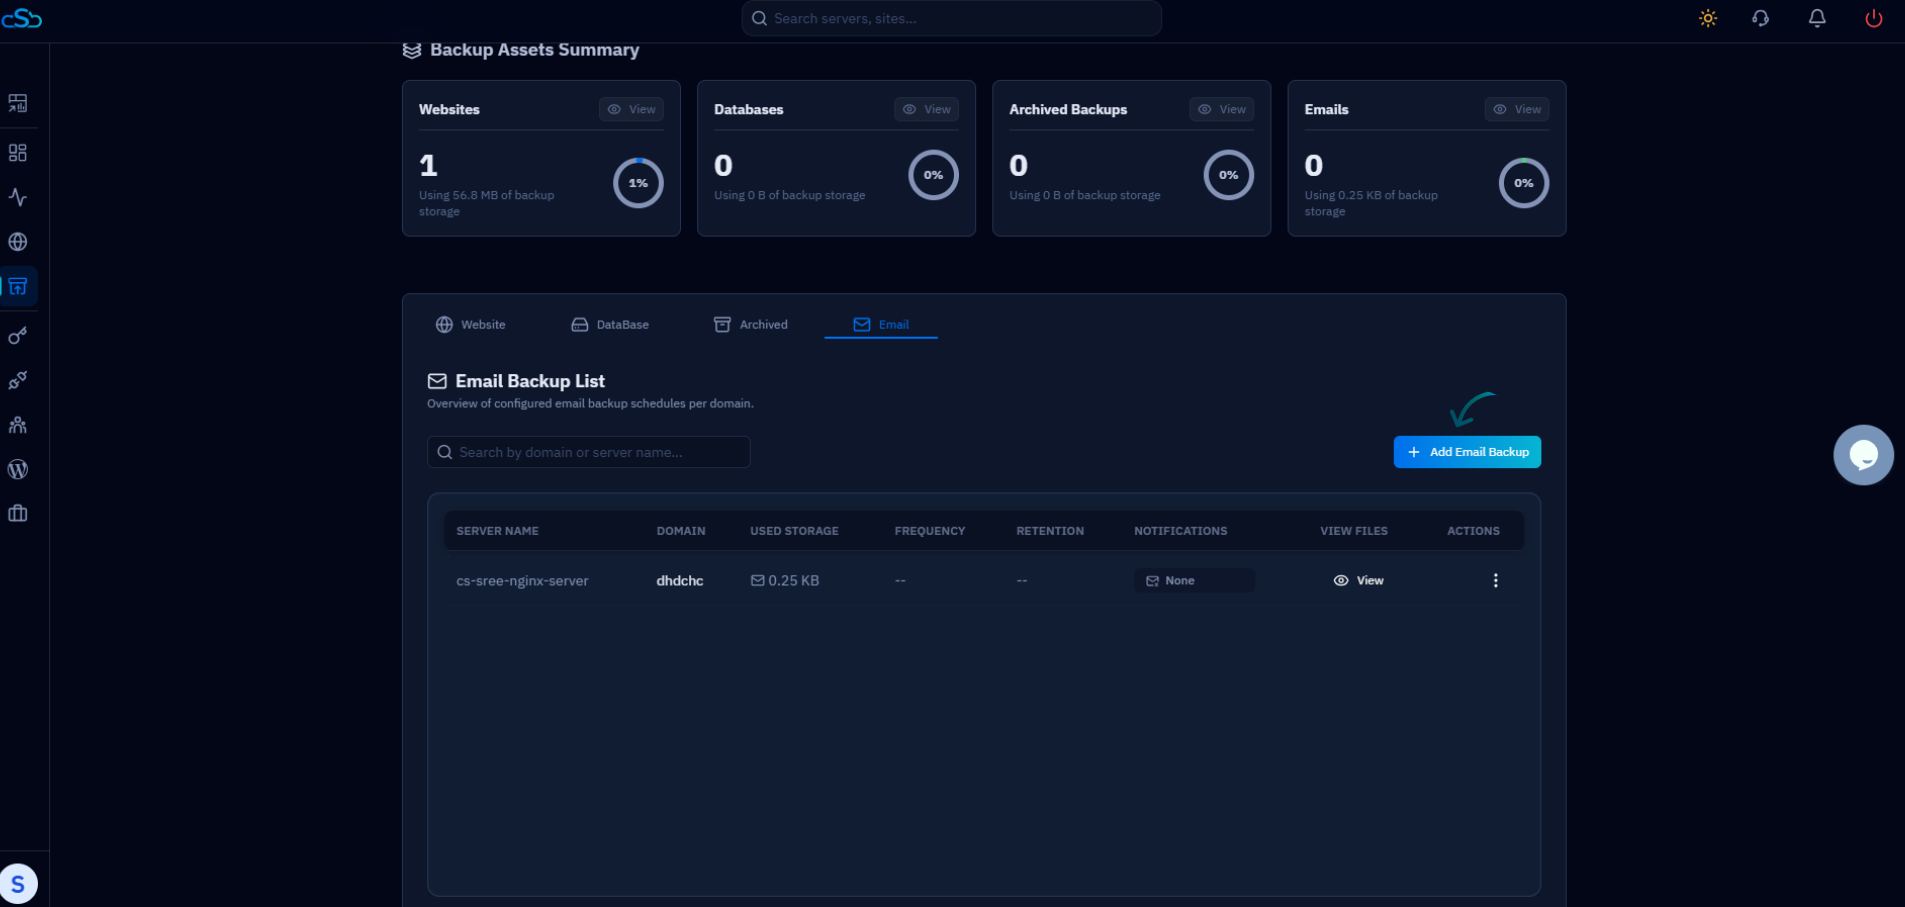
Fig. 03 — The Email Backup List with the Add Email Backup button highlighted.
Step 5: Configure Backup Settings
In the Enable Email Backup dialog, fill in the required details to define exactly what gets backed up and how often.
Select Server: Choose the server that hosts the mailboxes you want to protect.
Select Website / Domain: Pick the website whose email accounts should be backed up.
Choose Email Accounts: Select the specific email address (or addresses) to include in the backup.
Set Backup Frequency: Decide how often a backup snapshot should be created — for example, every hour.
Set Retention Period: Define how long each backup is kept before CloudStick automatically removes it to free up storage.
Enable notifications (optional): Turn on Successful Backup Email Notification and Failed Backup Email Notification to be alerted about each backup run.
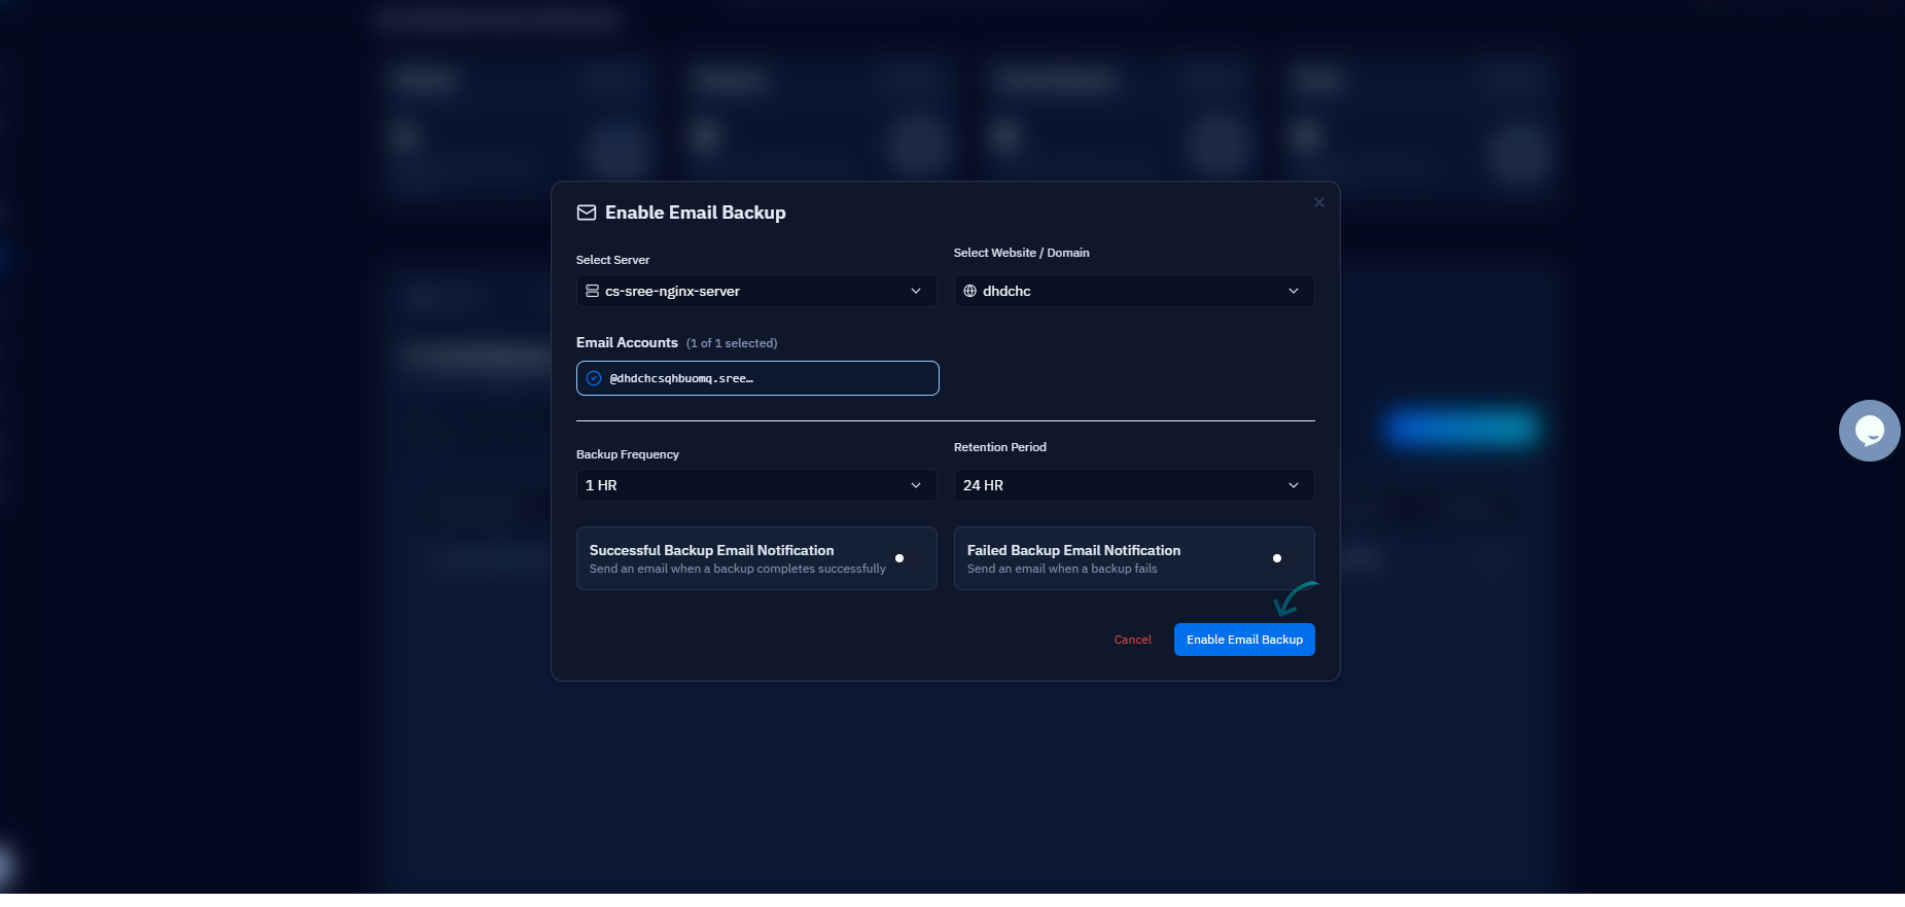
Fig. 04 — The Enable Email Backup dialog with server, website, email accounts, frequency, retention, and notification options.
Shorter backup intervals and longer retention periods both consume more of your backup quota. Choose values that balance recovery needs against available storage.
Step 6: Save the Configuration
Once every field is set, commit the schedule to activate email backups for the selected accounts.
Click Enable Email Backup: Confirm your settings with the Enable Email Backup (Create / Save) button. CloudStick activates the schedule and adds the new entry to your Email Backup List.
After saving, the new schedule appears in the Email Backup List with its server, domain, frequency, retention, and notification preference. The first backup runs according to the frequency you selected.
Step 7: View Email Backups
Each configured schedule keeps a record of the backup files it has created, which you can open at any time.
Locate the backup entry: In the Email Backup List, find the row for the schedule you want to inspect — it shows the server name, domain, used storage, frequency, retention, and notification status.
Click View: Use the View (eye) icon in the View Files column to open the list of backup files for that domain.
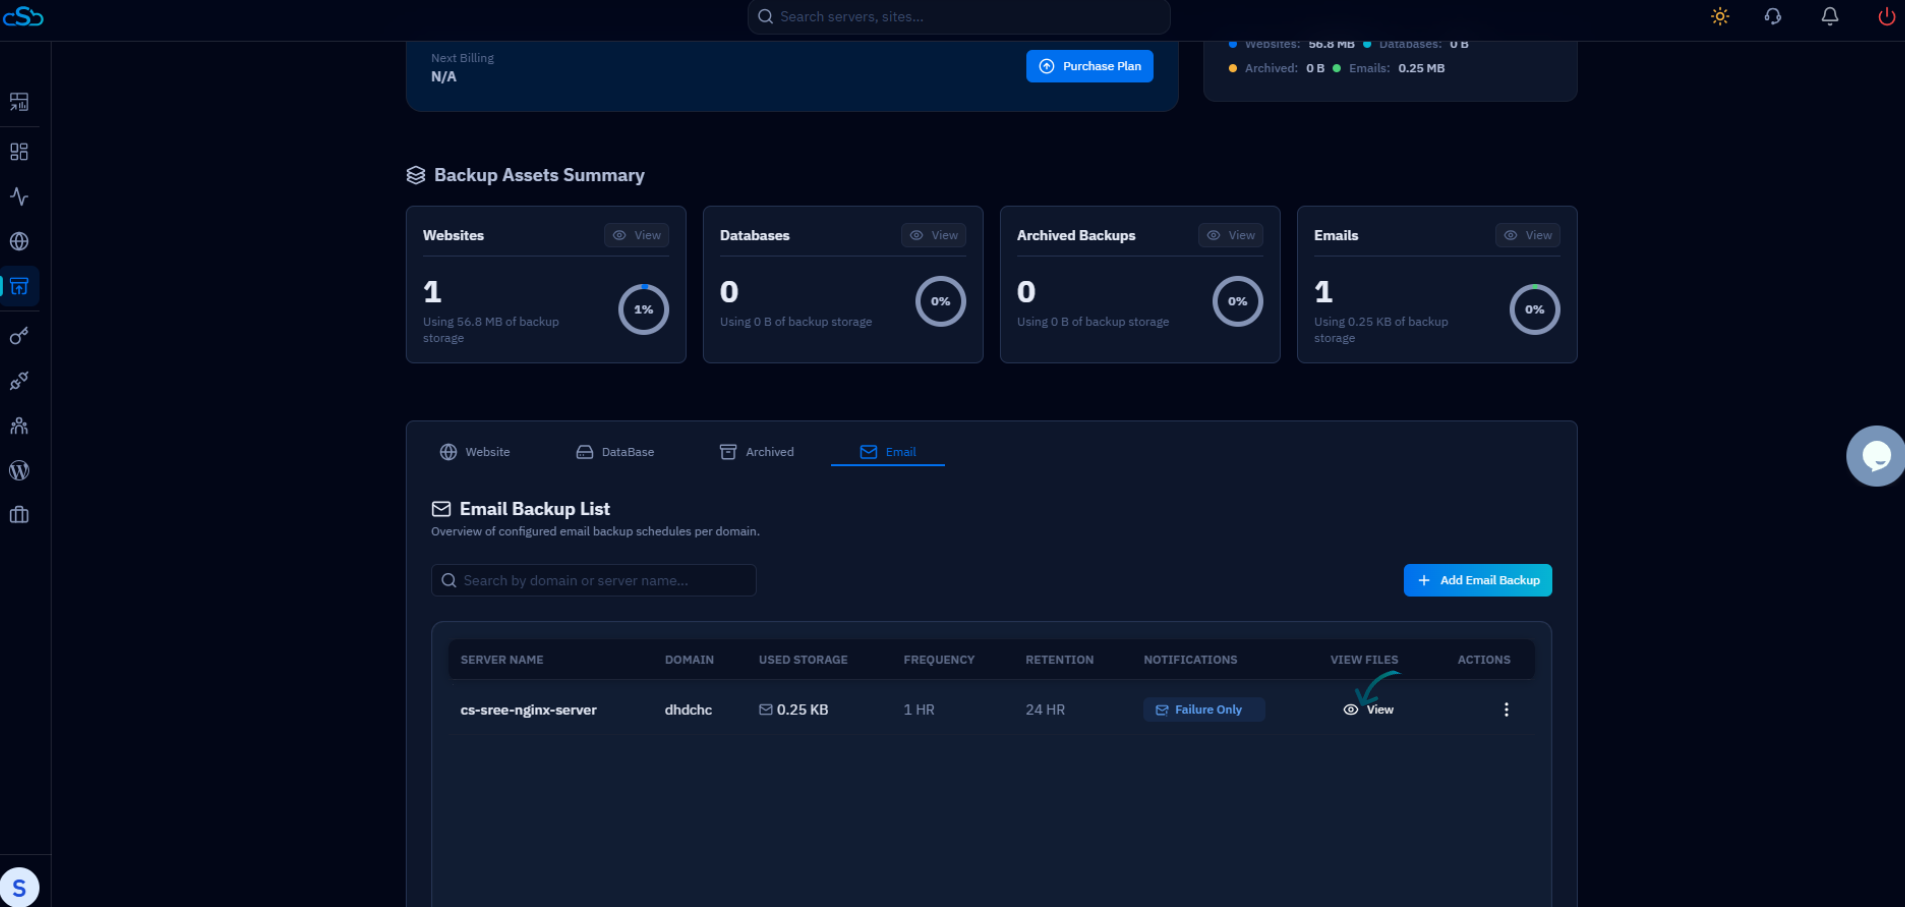
Fig. 05 — The Email Backup List with the View icon highlighted for a configured schedule.
Step 8: Manage Email Backups
The Email Backup Files view groups snapshots per email account, letting you restore or clean up any individual backup.
Restore a backup: For any backup row, click Restore to recover that email account from the selected snapshot — each backup shows its backup time, size, status, retention date, and creation date.
Remove a backup: Use the delete (trash) icon to remove a backup file you no longer need and reclaim its storage.
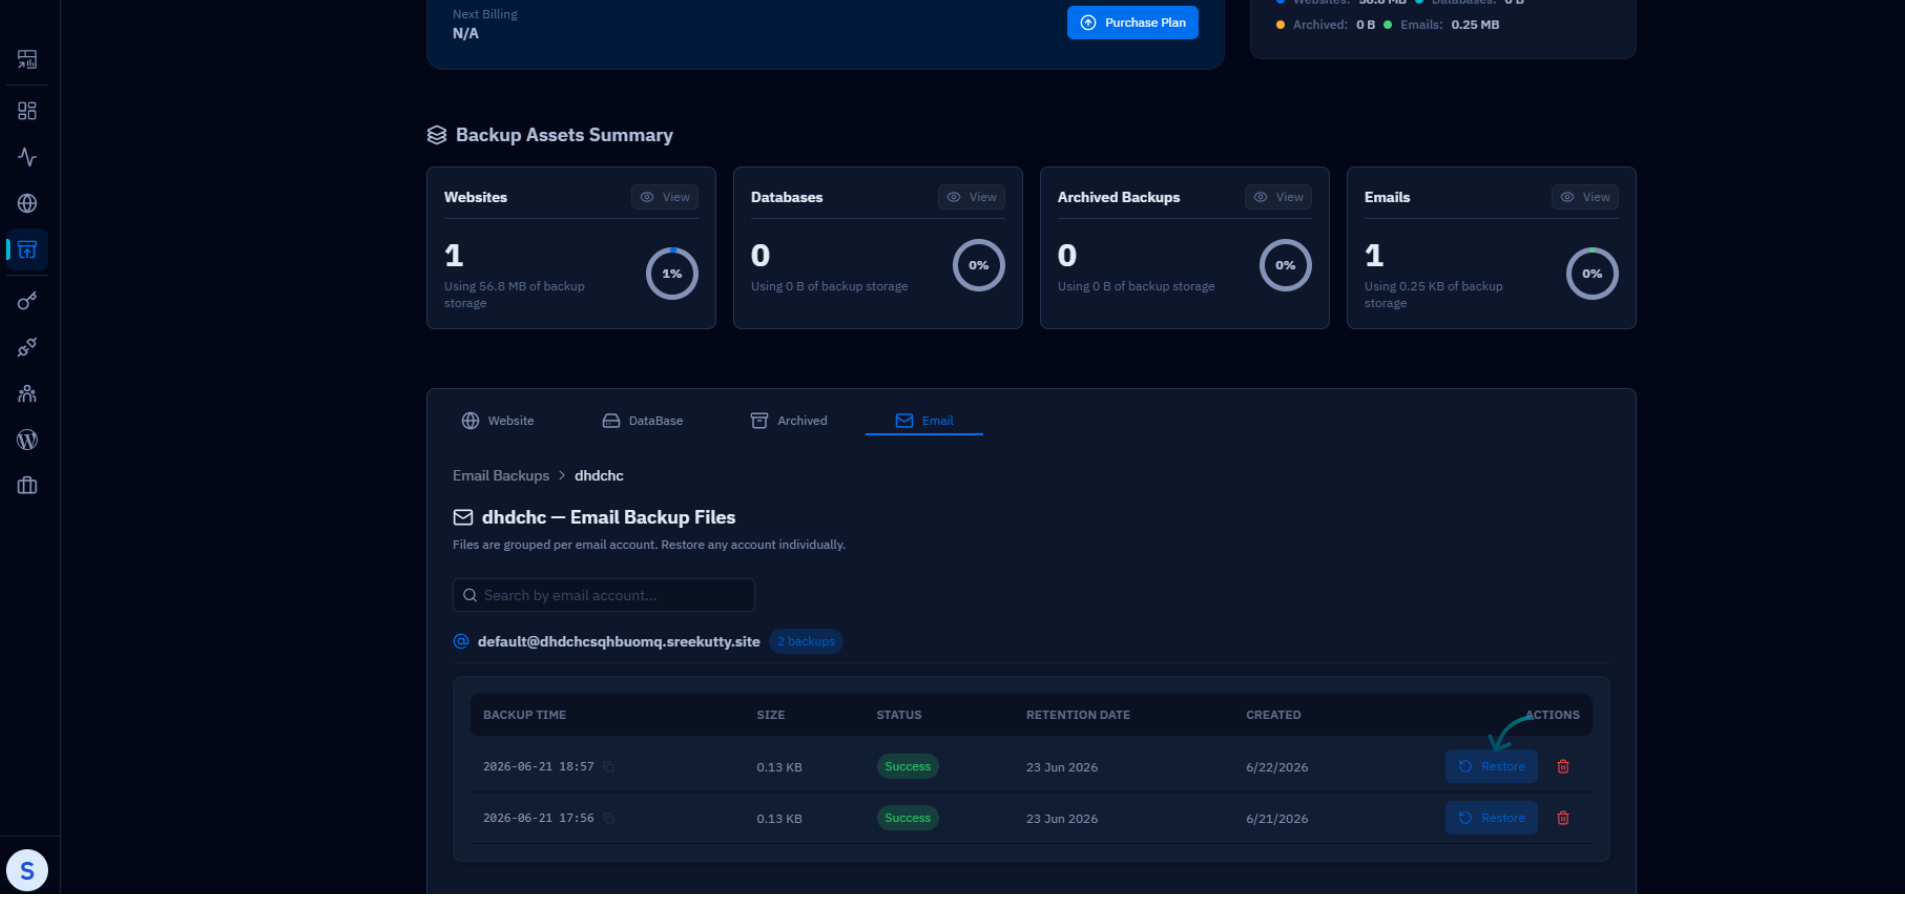
Fig. 06 — The Email Backup Files view, with per-account snapshots and the Restore action highlighted.
Restoring a backup overwrites the current state of that email account with the contents of the selected snapshot. Confirm you have chosen the correct backup time before restoring.