How to Restore a Backup in CloudStick
Overview
A backup is only as valuable as your ability to restore from it. Whether a deployment went wrong, a plugin broke your site, or content was accidentally deleted, CloudStick lets you roll a website back to a previous snapshot in just a few clicks — straight from the Backups dashboard, with no SSH or manual file copying required.
This guide walks you through restoring a website backup end to end: opening the Backups section, navigating to Website Backups, viewing a website's backup files, and using the Restore action to bring back your files and data exactly as they were at the chosen point in time.
Restoring a backup overwrites your website's current files and data with the contents of the selected snapshot. Anything created after that backup was taken will be replaced, so make sure you have selected the correct backup version before confirming.
Step 1: Log In to CloudStick
Start from your CloudStick dashboard, the home base that lists every server connected to your account and gives you access to all backup tools.
Sign in to CloudStick: Log in with your account credentials to open the main dashboard.
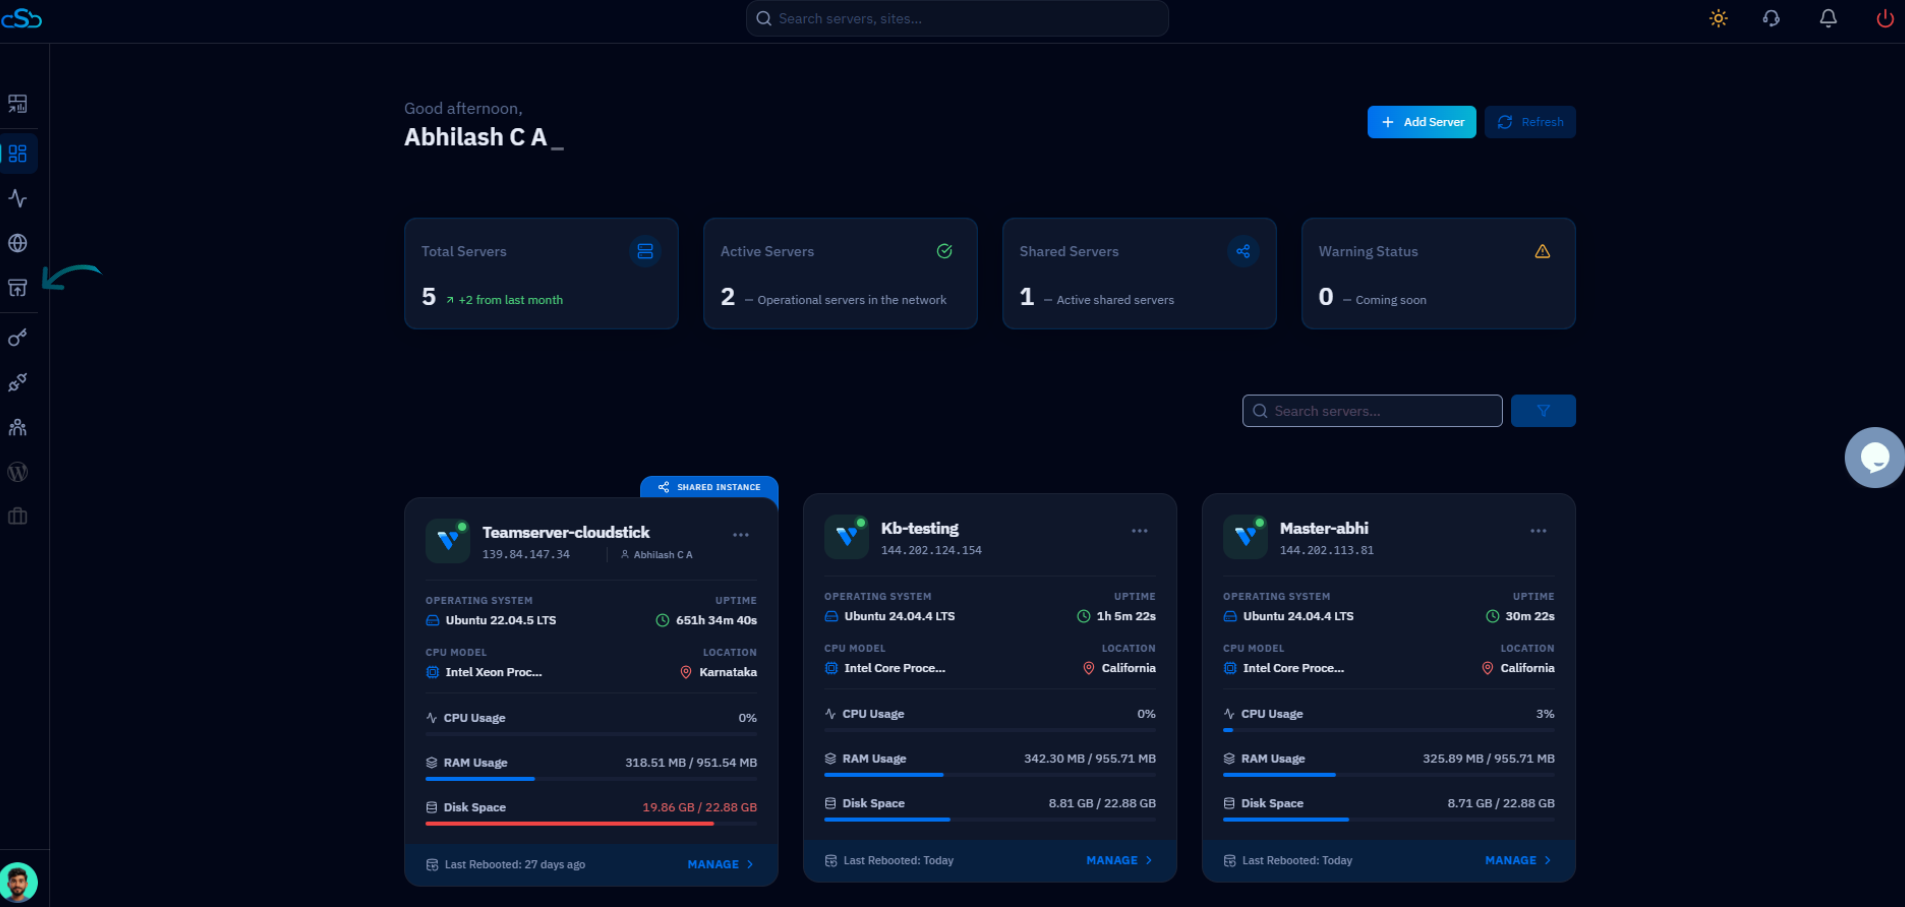
Fig. 01 — The CloudStick dashboard shown after login, listing your connected servers.
Step 2: Open Backups
The Backups area is the central hub for your backup plan, storage usage, and every backed-up website, database, archive, and email account.
Click Backups: From the left-side navigation menu, click the Backups icon to open the Backup Management page.
Here you can review your Current Backup Plan, Backup Status, and Storage Used before drilling into a specific backup.

Fig. 02 — The Backup Management page showing the current plan, backup status, and storage usage.
Step 3: Navigate to Website Backups
Backups are organized by type. Since you're restoring a website, switch to the Website tab to see every site with backups configured.
Open Website Backups: In the Backup Assets Summary, select the Website tab to load the Website Backup List.
The Website Backup List shows each site's server, used storage, backup frequency, and retention period.
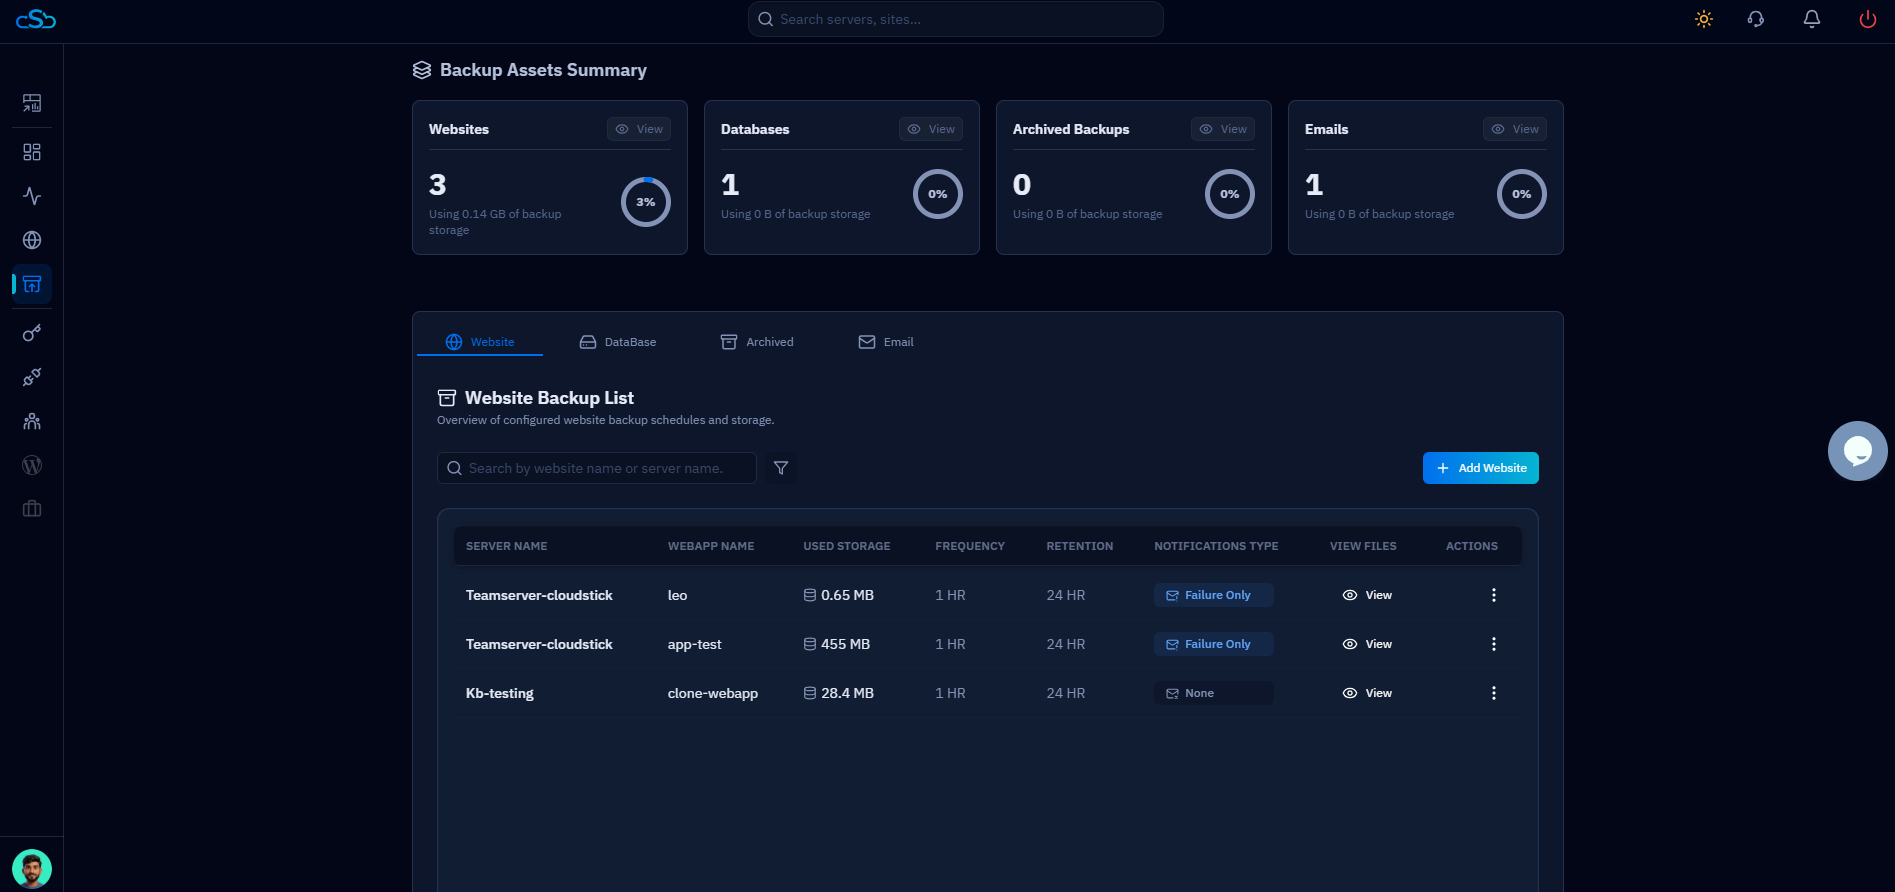
Fig. 03 — The Website Backup List, showing each website's backup schedule, storage, and a View link per row.
Step 4: Select a Backup
Open the backup file list for the website you want to restore so you can pick the exact snapshot to roll back to.
Locate the website: Find the website you want to restore in the Website Backup List.
Click View: Click the View (eye) icon in that row to open the Backup Files list for the website.
Each backup file is listed with its name, status, size, and retention date — for example clone-webapp_20260621_090905.tar.gz.
Step 5: Open the Actions Menu
Each backup file has its own actions menu where the restore option lives.
Open the actions menu: Click the three dots (⋮) in the Actions column next to the backup file you want to restore.
A small menu appears with the available options — Restore and Delete.
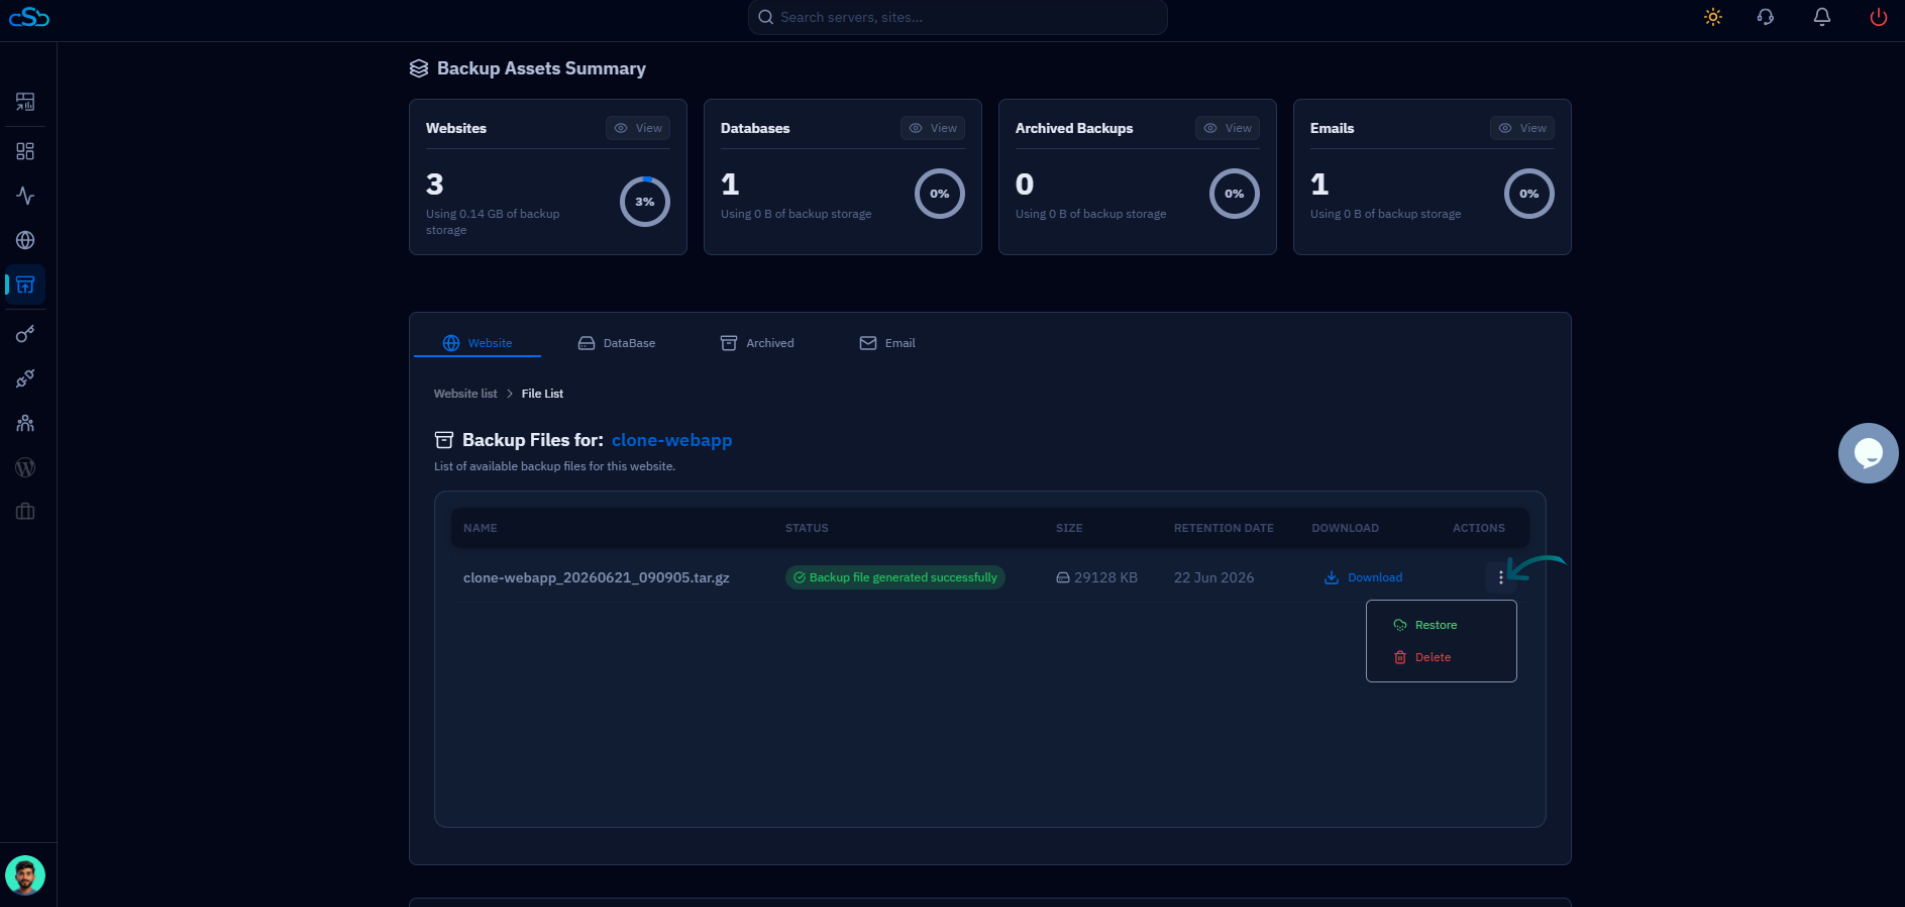
Fig. 04 — The Backup Files list for a website with the three-dot Actions menu open, showing the Restore and Delete options.
Step 6: Restore the Backup
With the actions menu open, trigger the restore for the selected snapshot.
Select Restore: Click Restore from the available options to begin restoring the website to that backup version.
Step 7: Confirm Restoration
Because a restore overwrites current data, CloudStick asks you to confirm before proceeding — your safeguard against an accidental rollback.
Review the restore details: Check that the website and backup version shown are the ones you intend to restore.
Confirm the action: Confirm the restoration to start the process.
This action cannot be undone. Any changes made to the website after the selected backup was created will be overwritten by the restored snapshot.
Step 8: Wait for Completion
Once confirmed, CloudStick handles the rest automatically — no further action is needed on your part.
Restoration runs automatically: CloudStick begins restoring the selected backup in the background.
When the process finishes, your website files and data are restored to the selected backup version, and your site is back to that point in time.
Once the restore completes, your website files and data will be restored to the selected backup version. Visit your site to verify everything is working as expected.