How to Enable Website Backup in CloudStick
Overview
CloudStick allows you to enable automated backups for individual websites directly from the server dashboard. Once enabled, backups run on your configured schedule and retain snapshots for as long as you specify — giving you a reliable restore point without any manual intervention.
This guide walks you through enabling website backup and configuring the backup type, schedule, and retention period for your web application.
Make sure your server has an active backup plan before proceeding. If you have not yet activated a backup quota, refer to the How to Enable Free Backup Quota article first.
Step 1: Enable Website Backup
Follow these steps to enable backup for your web application:
1. Login to your CloudStick Dashboard and select your server.
2. Click on the Websites section from the left-hand navigation of the server panel. You will see the list of websites available on your server.
3. Click on the 3-dot menu next to the required web application.
4. Select Enable Backup from the available options.
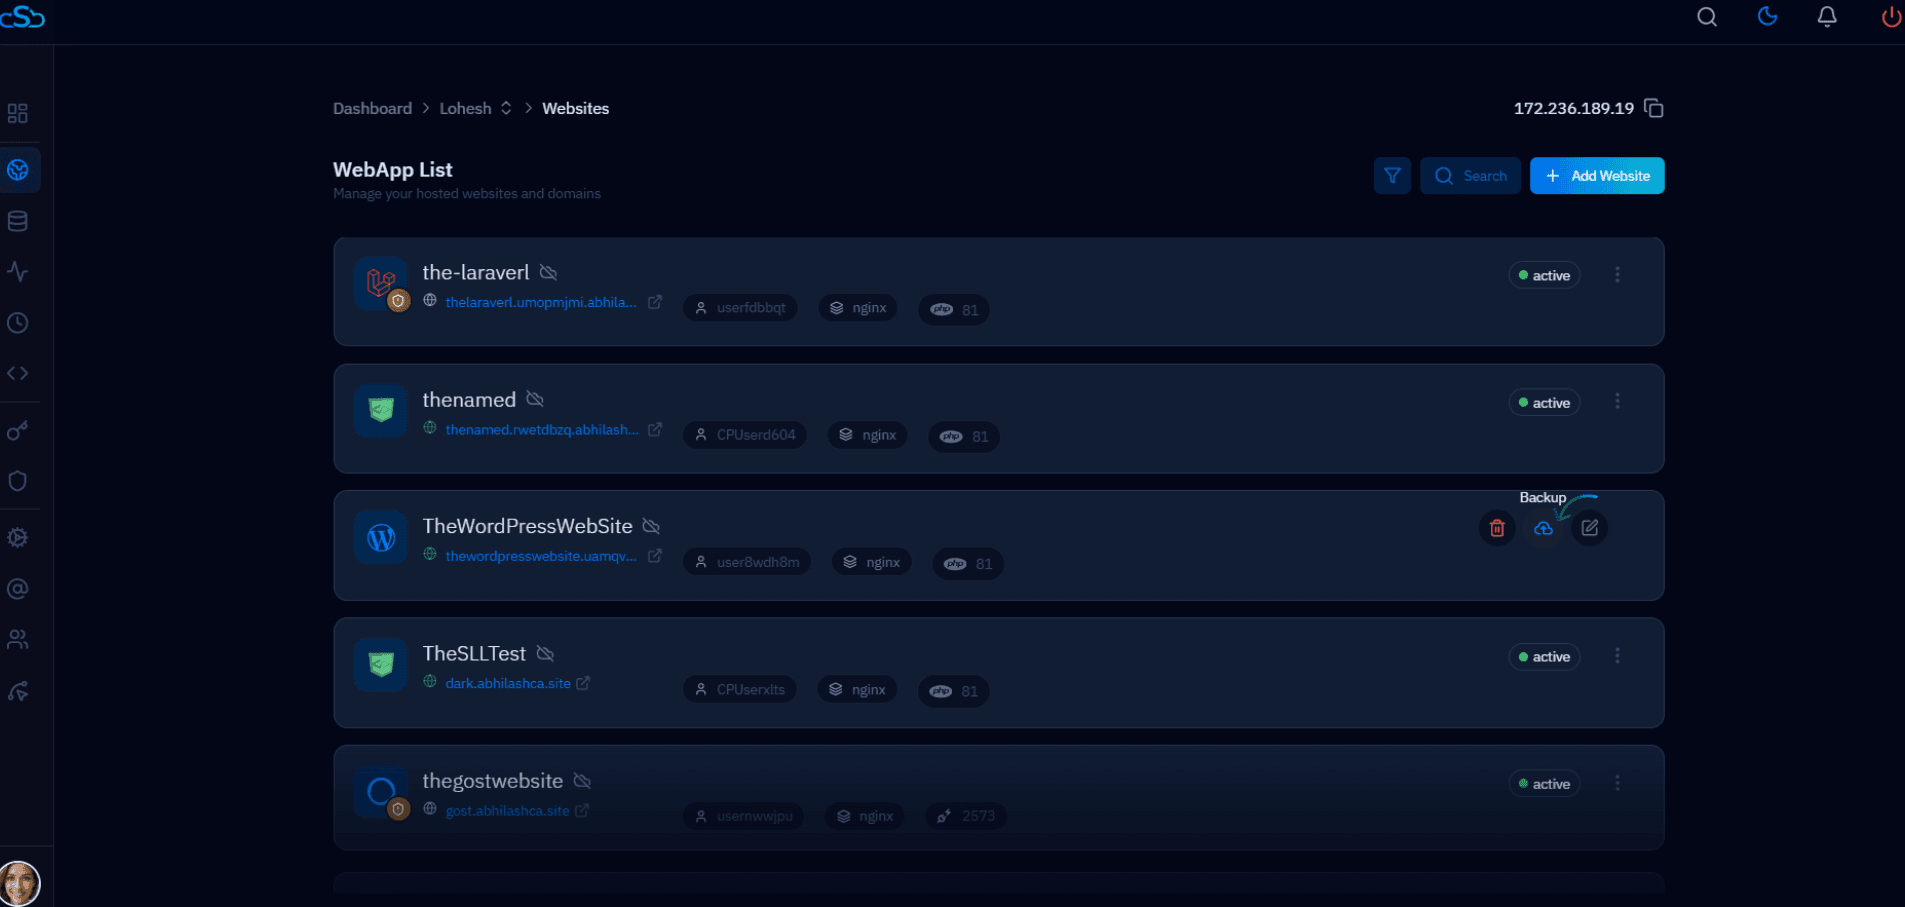
Fig. 01 — Websites list with the 3-dot context menu open, showing the Enable Backup option.
Once enabled, website backups will start automatically based on the backup schedule you configure in the next step.
Step 2: Configure Backup Settings
After enabling backup, configure the backup settings — including the backup type, schedule, and retention period.
Backup Types
There are two types of website backups available:
Full Backup – Compresses and backs up all of your website source files and data.
Custom Backup – Allows you to include or exclude specific files and directories based on your requirements.
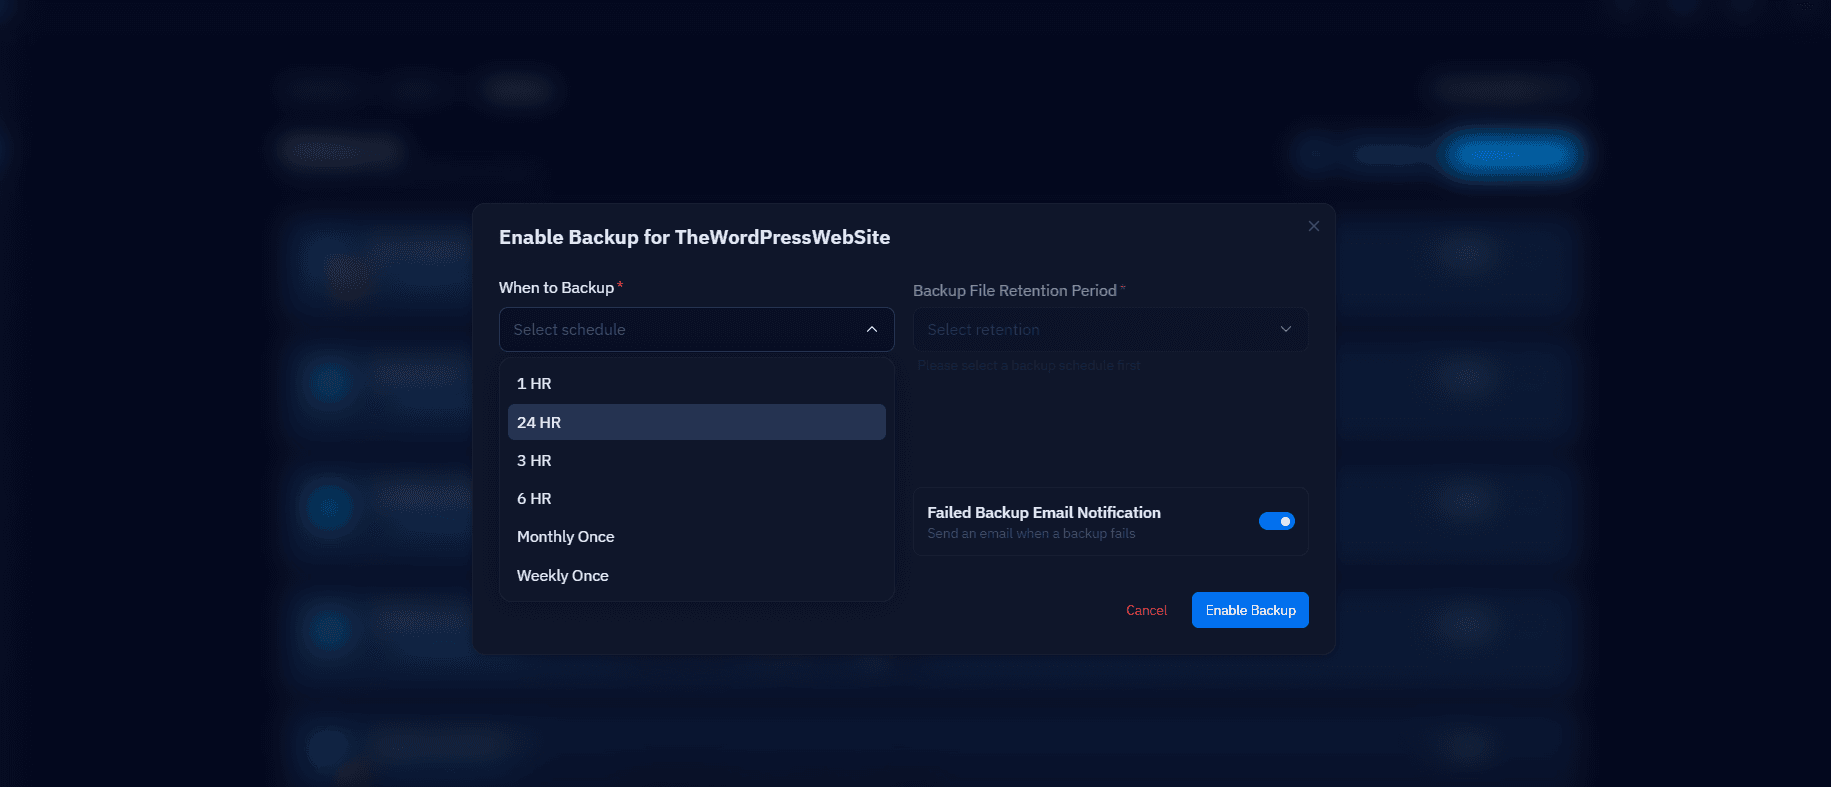
Fig. 02 — Backup configuration panel showing backup type, schedule, and retention settings.
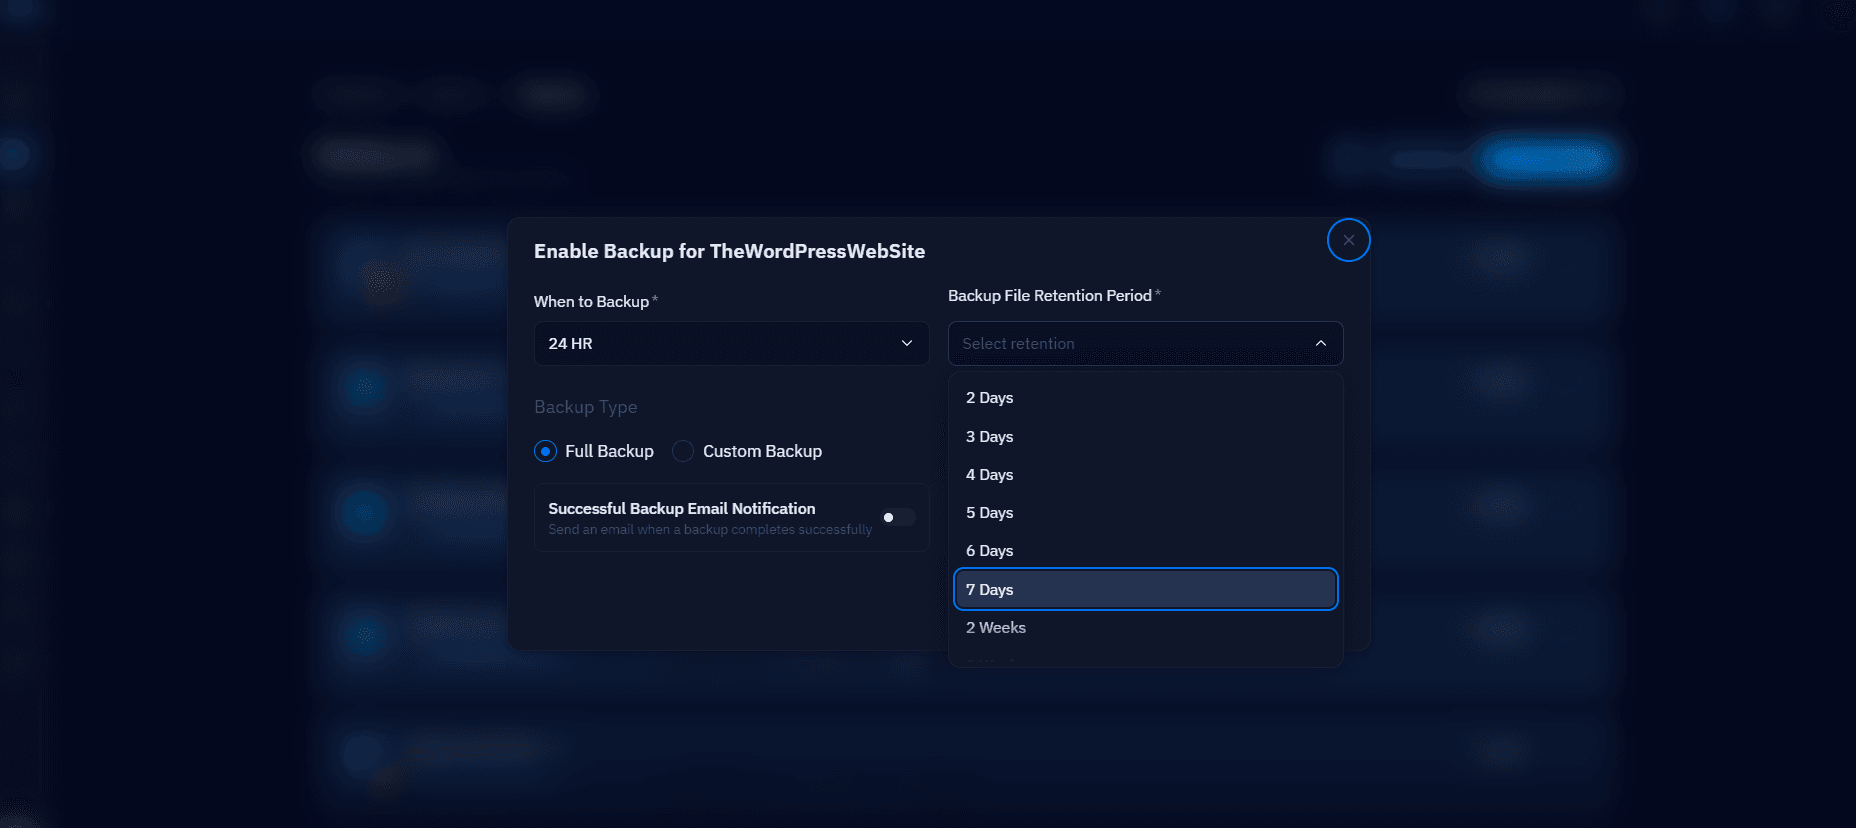
Fig. 03 — Backup schedule and retention period configuration.
After selecting the required backup type and configuring the schedule and retention period, click the Enable button to activate the backup service successfully.