How to Enable Free Backup Quota, Backup, and Archived Backups
Overview
CloudStick includes a free backup storage quota that protects your databases and server data without any additional cost — but it must be explicitly enabled before use. Once activated, you gain access to automated backup scheduling, on-demand snapshots, and a dedicated Archived Backups section where you can browse and restore previous backup points.
This guide walks you through enabling your free backup quota, selecting and activating the free backup plan, and managing your archived backups — all from within the CloudStick dashboard.
The free backup quota is available on all plans except Trial and Free plans. If you need additional backup storage beyond the free quota, you can purchase extra storage using your account credit — upgrade options are visible directly in the Backup section.
Step 1: Access the Backups Section
Start by navigating to the Backups section of the server you want to protect. This is where all backup settings, plans, and archived snapshots are managed.
1. Log in to CloudStick: Open the CloudStick Dashboard and sign in with your account credentials.
2. Open your server: From the main dashboard, click on the server or service for which you want to enable backup.
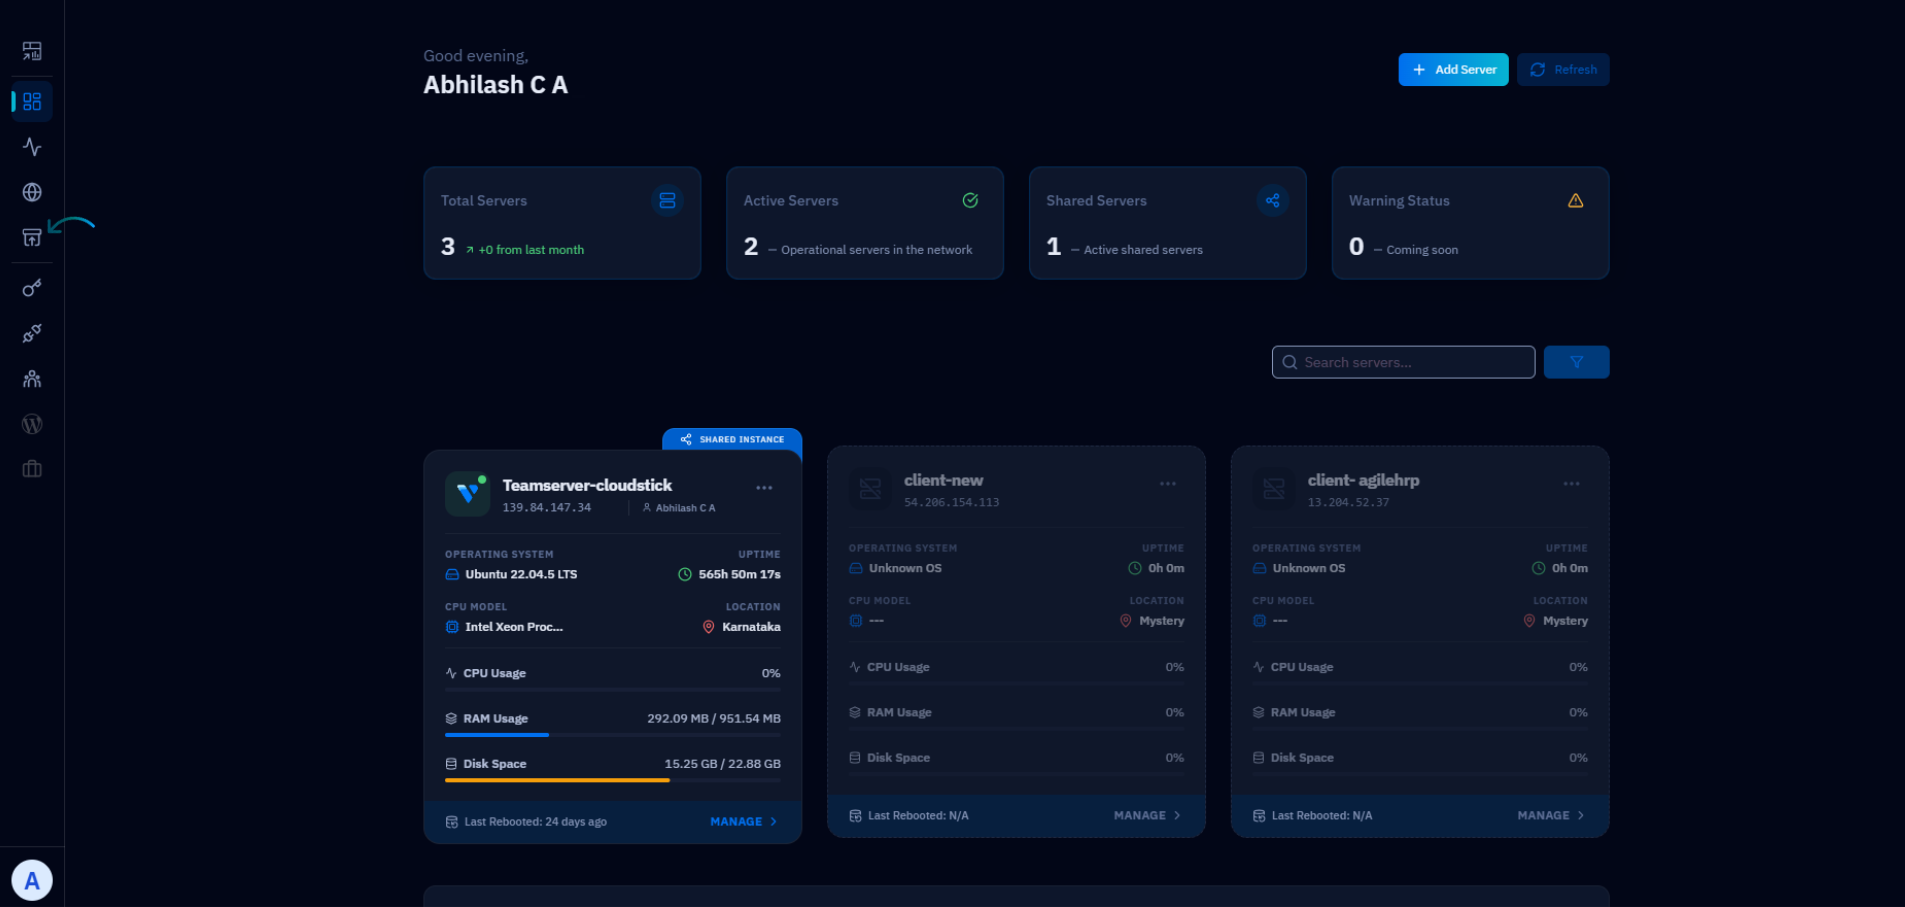
Fig. 01 — CloudStick dashboard showing available servers. Click your target server to open its management panel.
3. Navigate to Backups: In the server management panel, locate and click "Backups" in the left-hand navigation menu. This opens the Backup management page where you can view quota status and available plans.
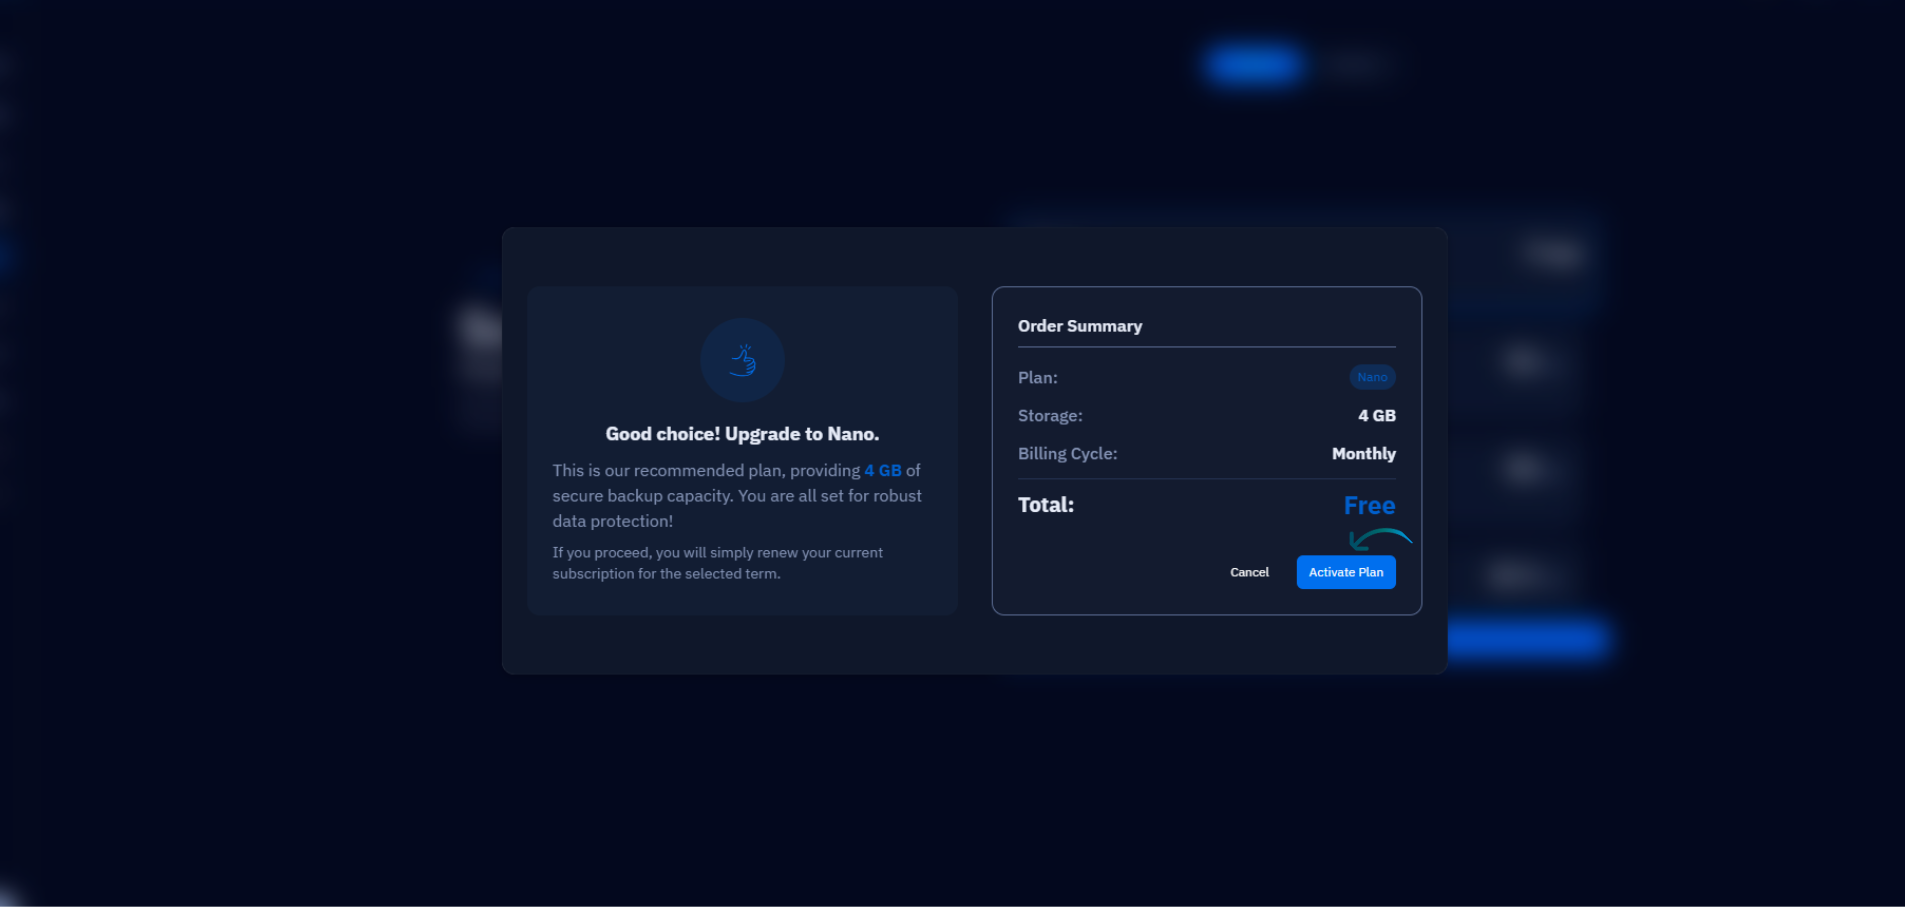
Fig. 02 — Server management panel with the Backups section highlighted in the left navigation.
Step 2: Activate the Free Backup Plan
With the Backups section open, you can now select and activate the free backup plan. The backup feature is disabled by default — follow these steps to turn it on.
1. Click Purchase Plan: On the Backups page, click the "Purchase Plan" button. This opens the available backup storage plans for your account.
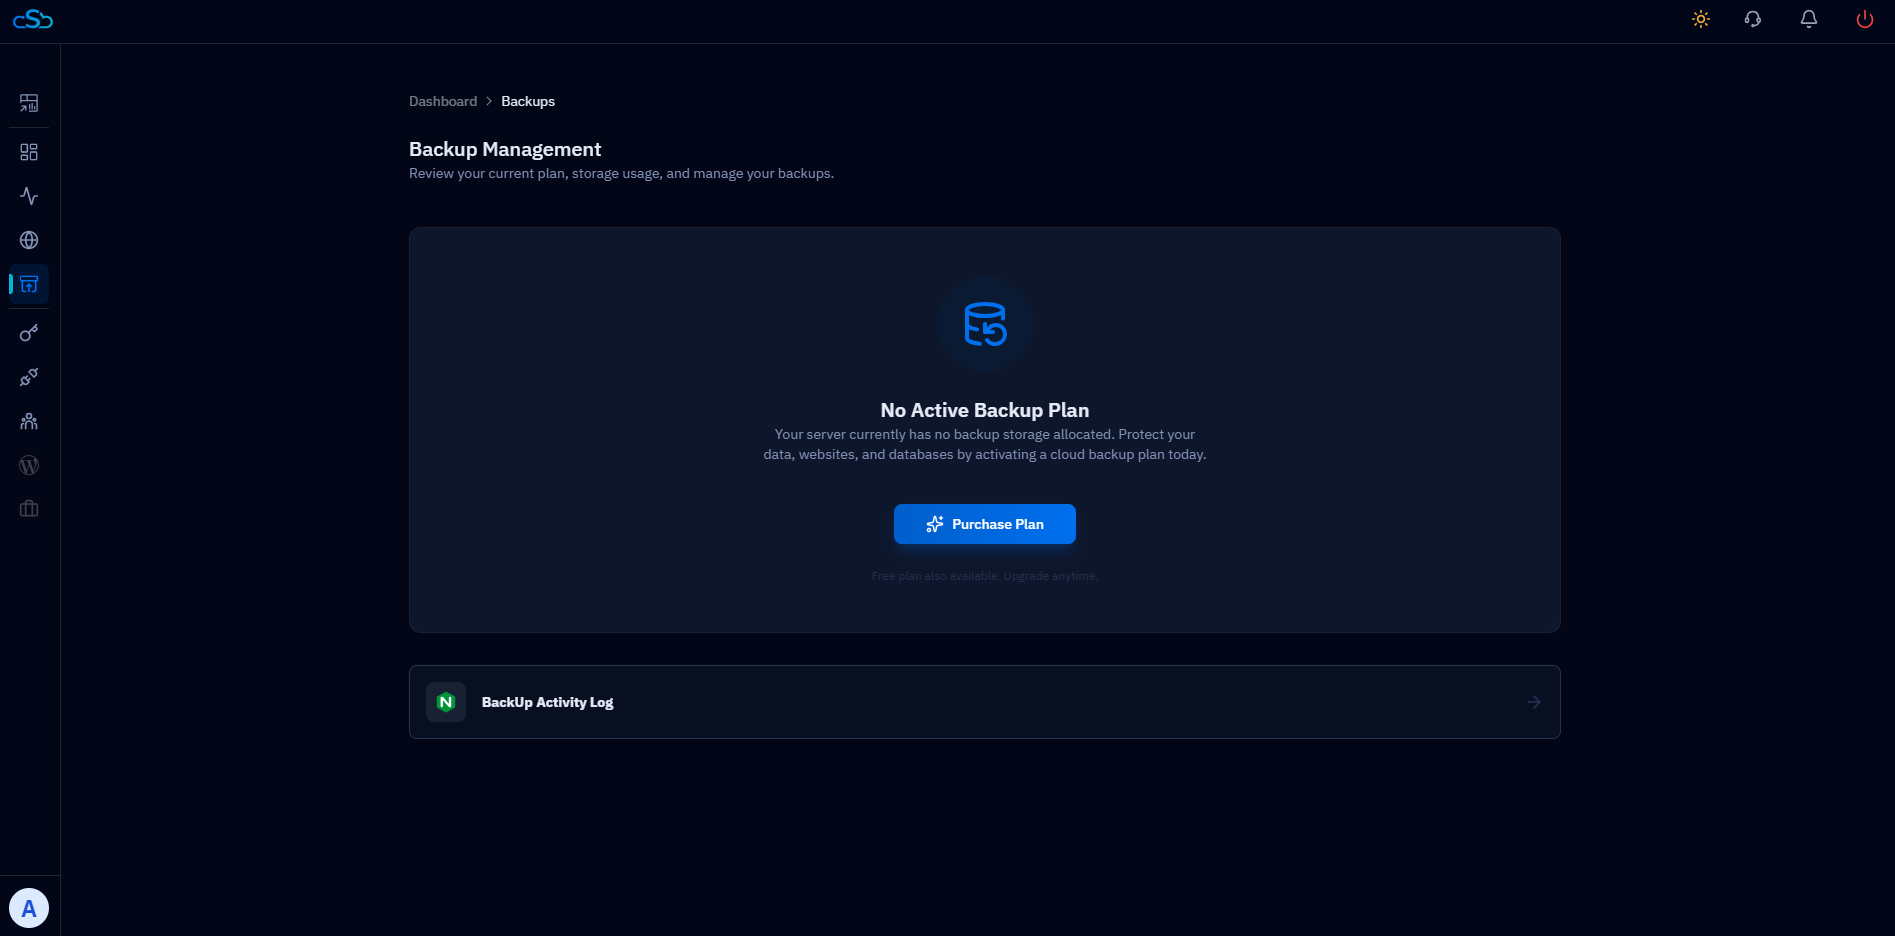
Fig. 03 — Backup page with the Purchase Plan button. Eligible accounts will see the Free Backup Plan listed.
2. Choose the Free Backup Plan: From the list of available plans, select the Free Backup Plan. This plan is shown automatically for all eligible accounts (all paid plans excluding Trial and Free).
3. Click Activate: Click the "Activate" button to enable the backup status. CloudStick will immediately provision your free backup quota and activate all associated backup services.
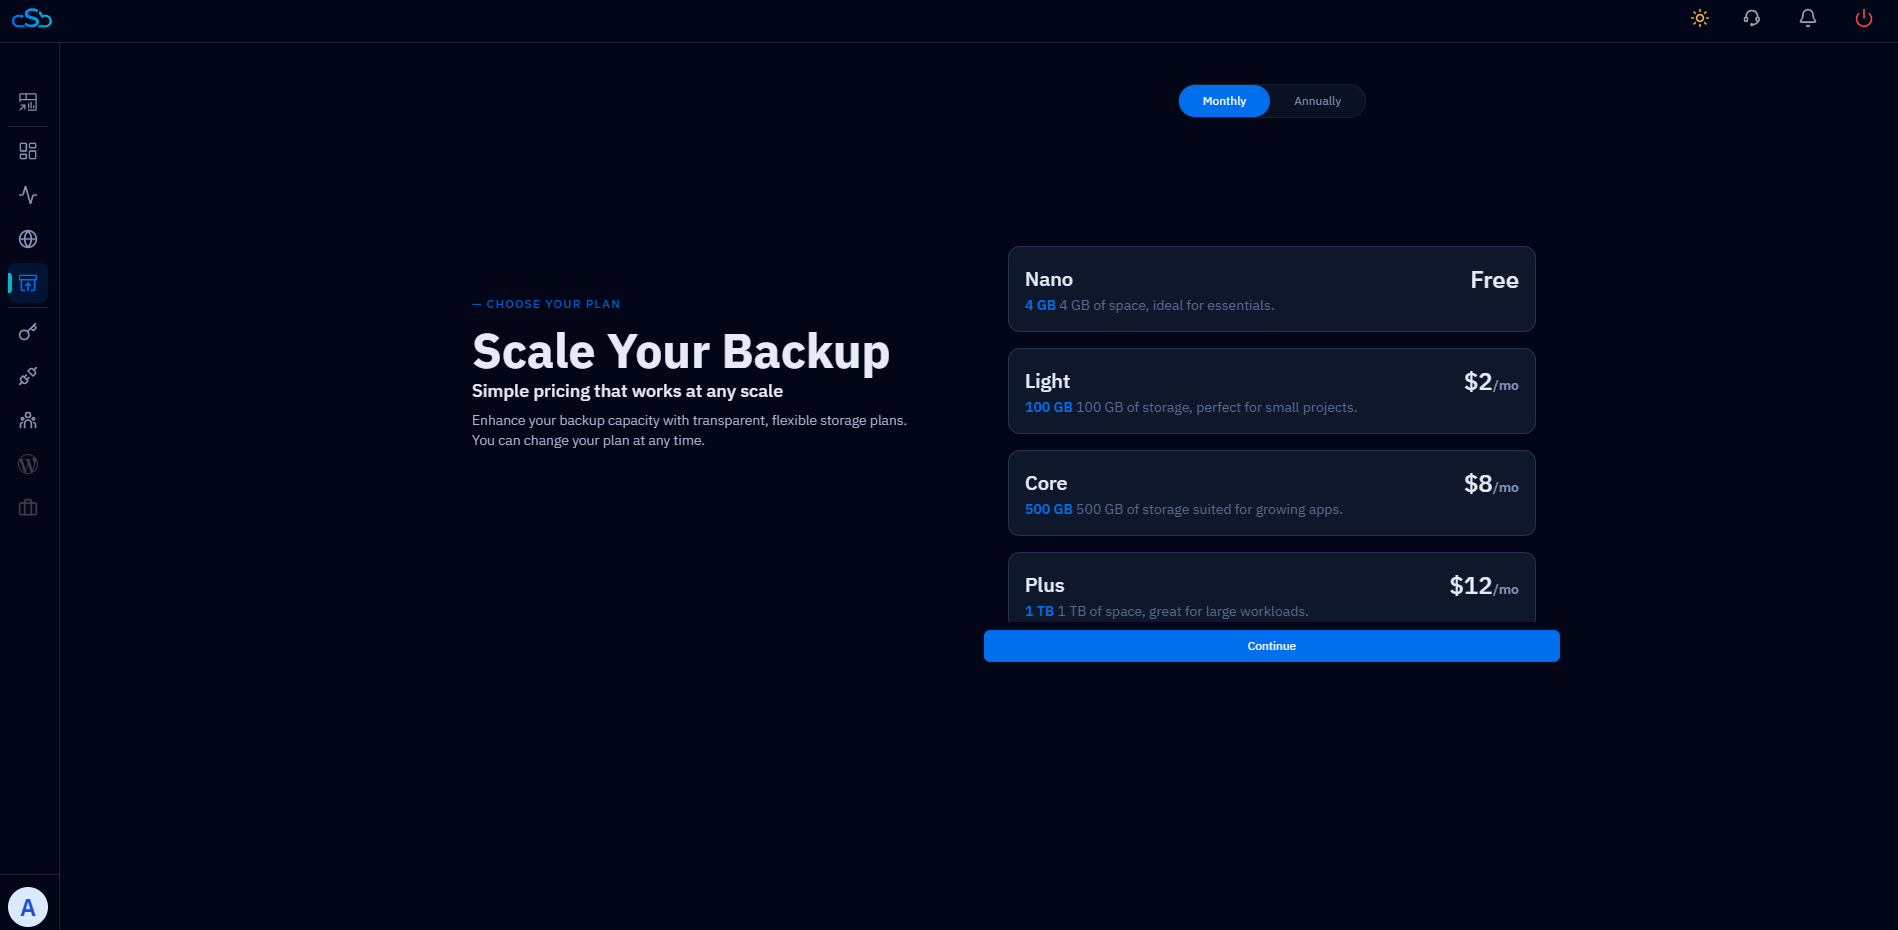
Fig. 04 — Free Backup Plan selection with the Activate button highlighted.
Once activated, your free backup quota and backup services will be confirmed with a success message. The Backup section will update to reflect your active plan and available storage.
Step 3: Manage Archived Backups
Once your backup plan is active, CloudStick automatically begins creating backup snapshots according to your configured schedule. All previous snapshots are accessible from the Archived Backups section on the same Backups page.
What You Can Do in Archived Backups
Browse snapshots — view a chronological list of all backup points with timestamps and sizes.
Restore from a specific point — roll back your database or server files to any archived snapshot.
Delete old backups — manually remove snapshots to free up quota when storage is limited.
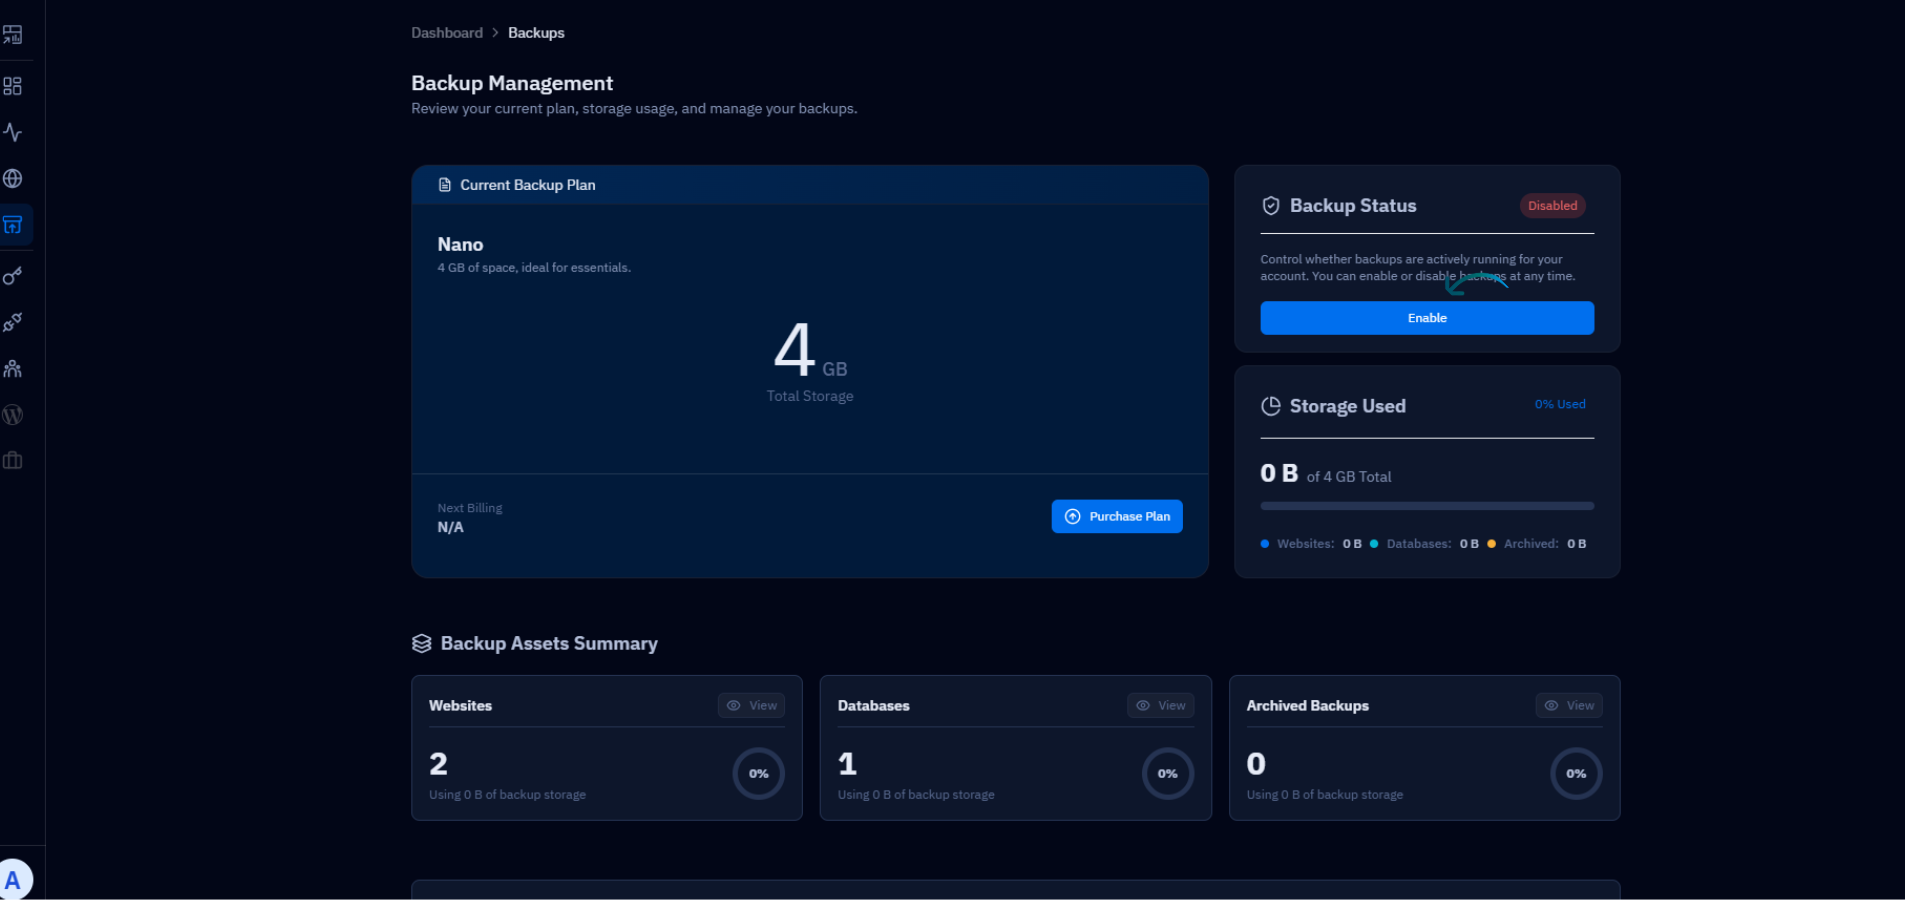
Fig. 05 — Archived Backups section showing a list of available backup snapshots with restore and delete options.
Archived backups consume your available backup quota. If you need more storage than the free plan provides, upgrade options are available directly on the Backups page using your account credit.