How to Enable Two-Factor Authentication in CloudStick
Overview
Two-Factor Authentication (2FA) adds a critical second layer of security to your CloudStick account. When enabled, logging in requires both your password and a time-based verification code generated by an authenticator app on your phone — so even if your password is compromised, your account remains protected.
This guide walks you through enabling 2FA in CloudStick using an authenticator app such as Google Authenticator, Microsoft Authenticator, or Authy. The process takes under two minutes and significantly reduces the risk of unauthorized access to your servers and hosted applications.
Before you begin, install an authenticator app on your mobile device — Google Authenticator, Microsoft Authenticator, or Authy all work. You will need it in Step 4 to scan the QR code or enter the setup key.
Step 1: Open Your Profile
Two-Factor Authentication is managed from your CloudStick profile settings. Access your profile from the main dashboard.
1. Log in: Sign in to your CloudStick account at app.cloudstick.io.
2. Click your profile avatar: At the bottom-left corner of the dashboard, click your profile avatar or account name to open the account popup.
3. Enter Account Settings: Click the arrow icon (→) next to your name in the popup to navigate to the full profile settings page.
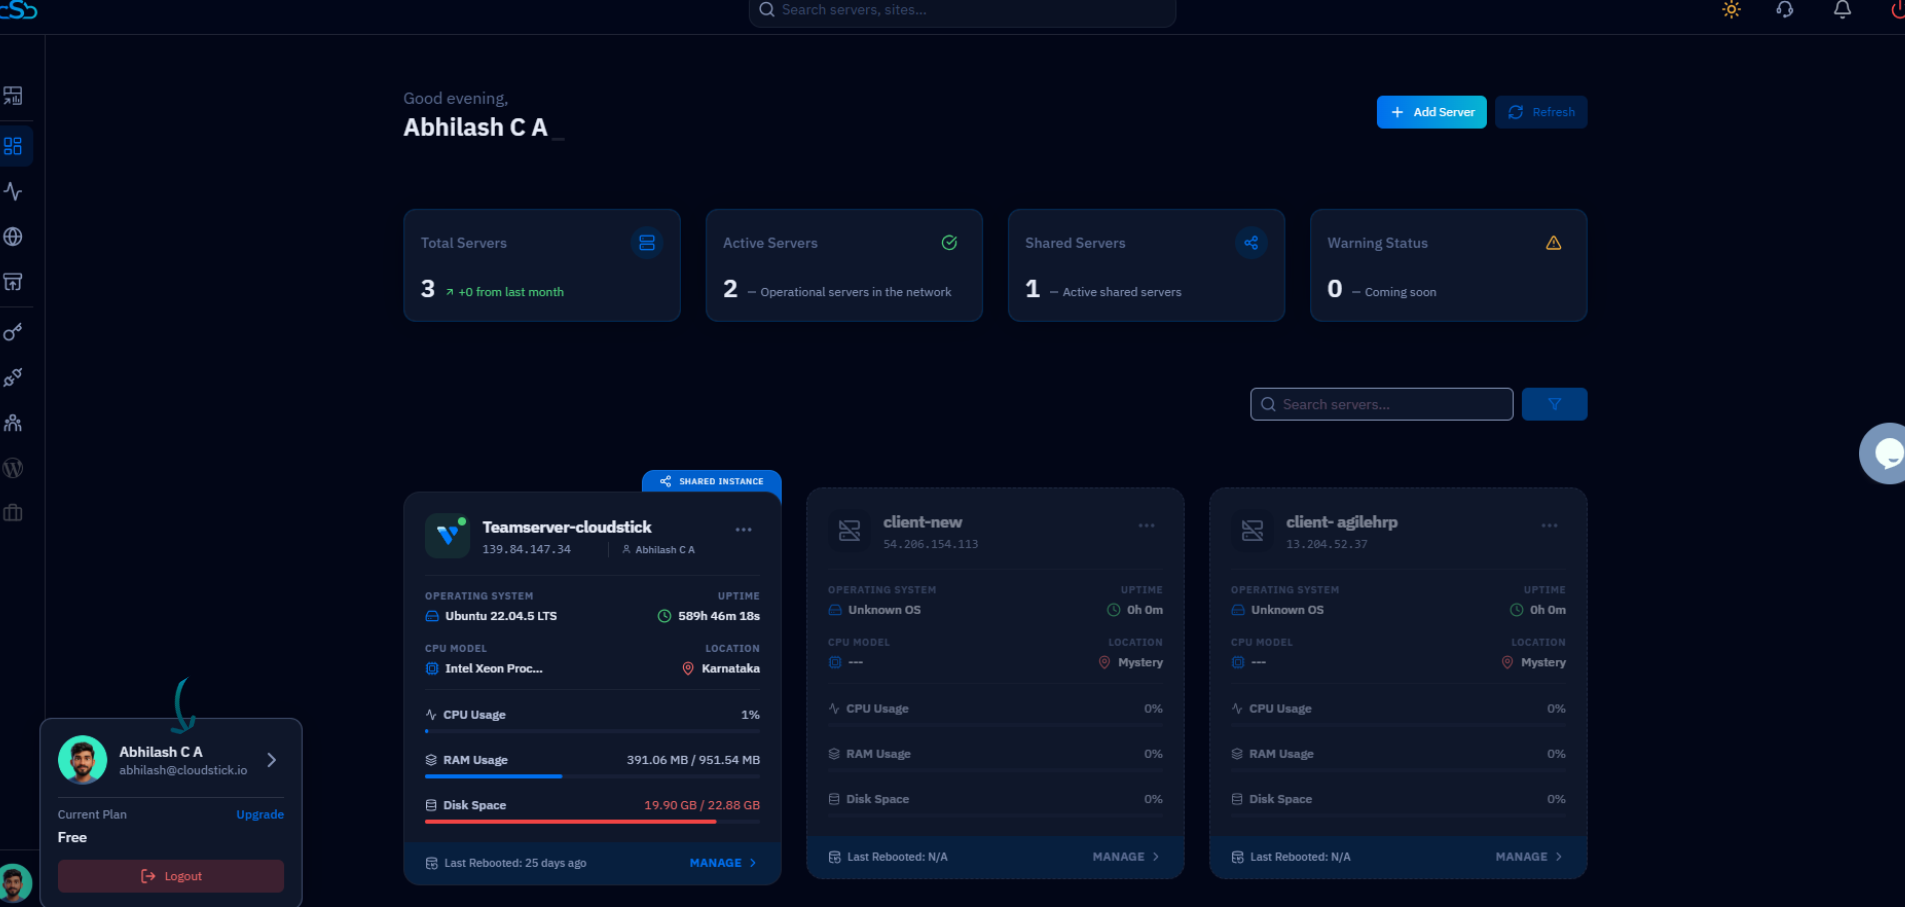
Fig. 01 — CloudStick dashboard with the profile popup open at the bottom-left, showing account name and navigation arrow.
Step 2: Open Two-Factor Authentication
The profile page displays all account sections as cards. Locate the Two-Factor Authentication card to proceed.
1. Find the Two-Factor Authentication card: On the profile page, find the card labelled "Two-Factor Authentication" with the description explaining how it adds an extra verification step after your password.
2. Use the right navigation: You can also click Two-Factor Auth in the right-hand navigation panel to jump directly to the section.
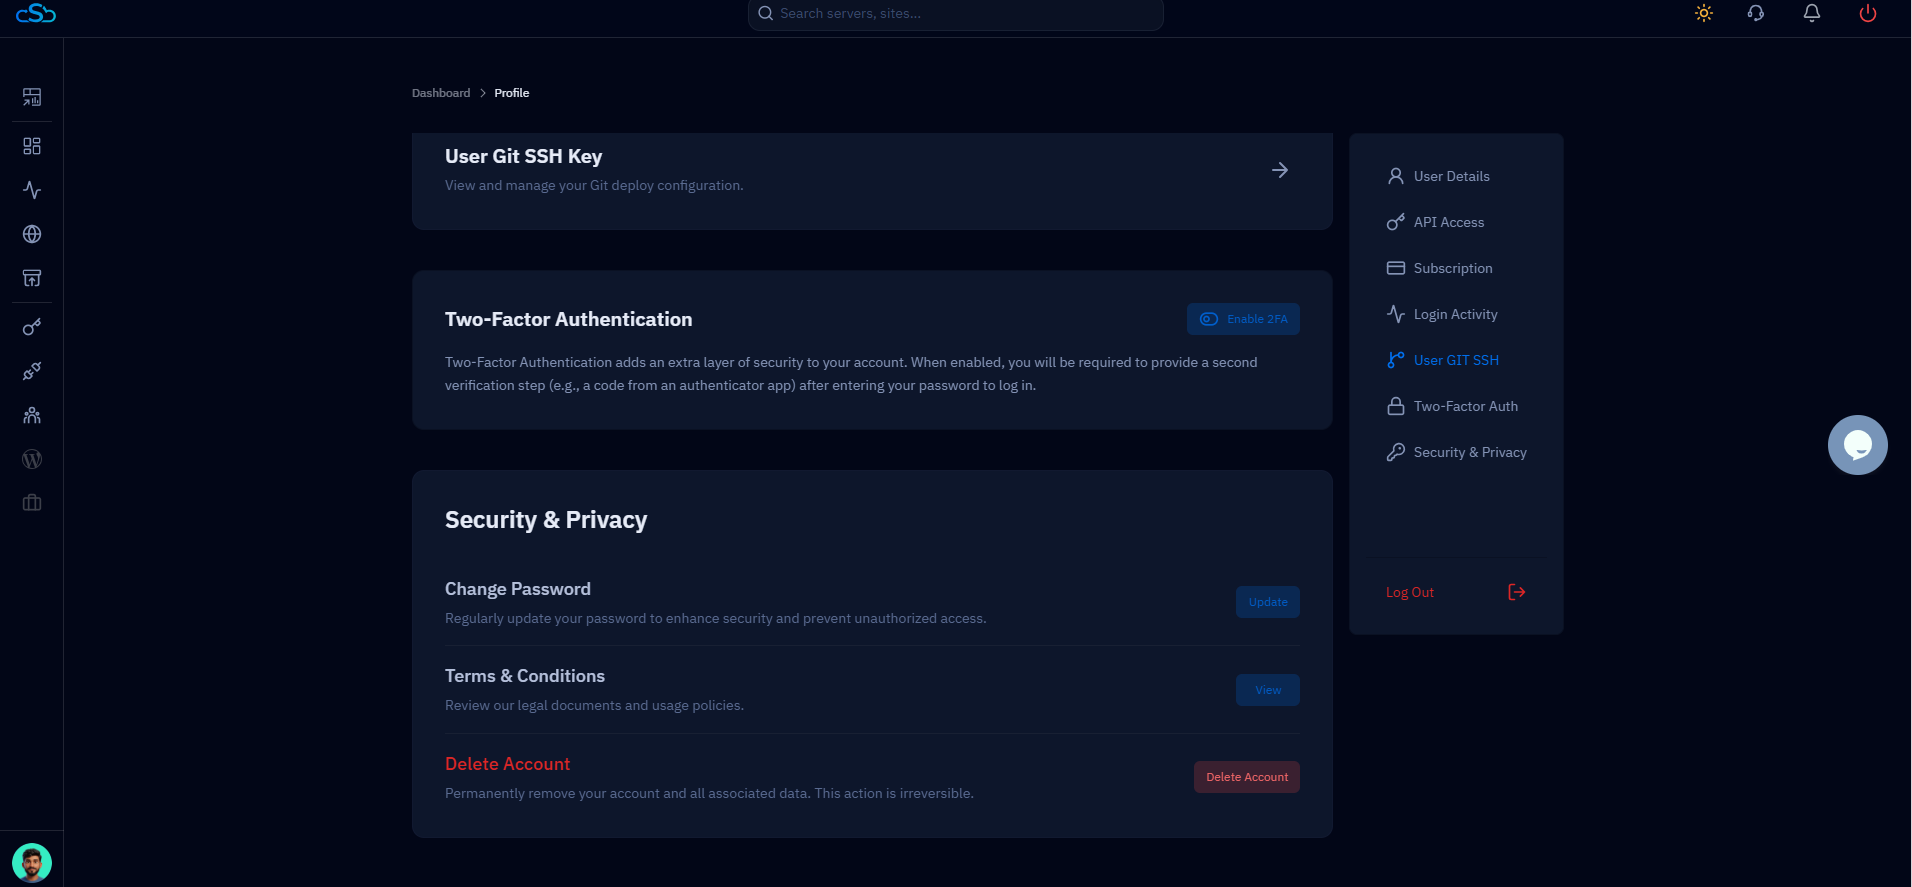
Fig. 02 — Profile page showing the Two-Factor Authentication card with the Enable 2FA button and Two-Factor Auth link in the right navigation.
Step 3: Enable Two-Factor Authentication
Click the Enable 2FA button on the Two-Factor Authentication card to begin the setup process.
1. Click Enable 2FA: Click the blue "Enable 2FA" button on the Two-Factor Authentication card. This opens the 2FA setup dialog.
2. QR code and setup key: The setup dialog displays a QR code and a text-based setup key. You will use one of these in your authenticator app in the next step.
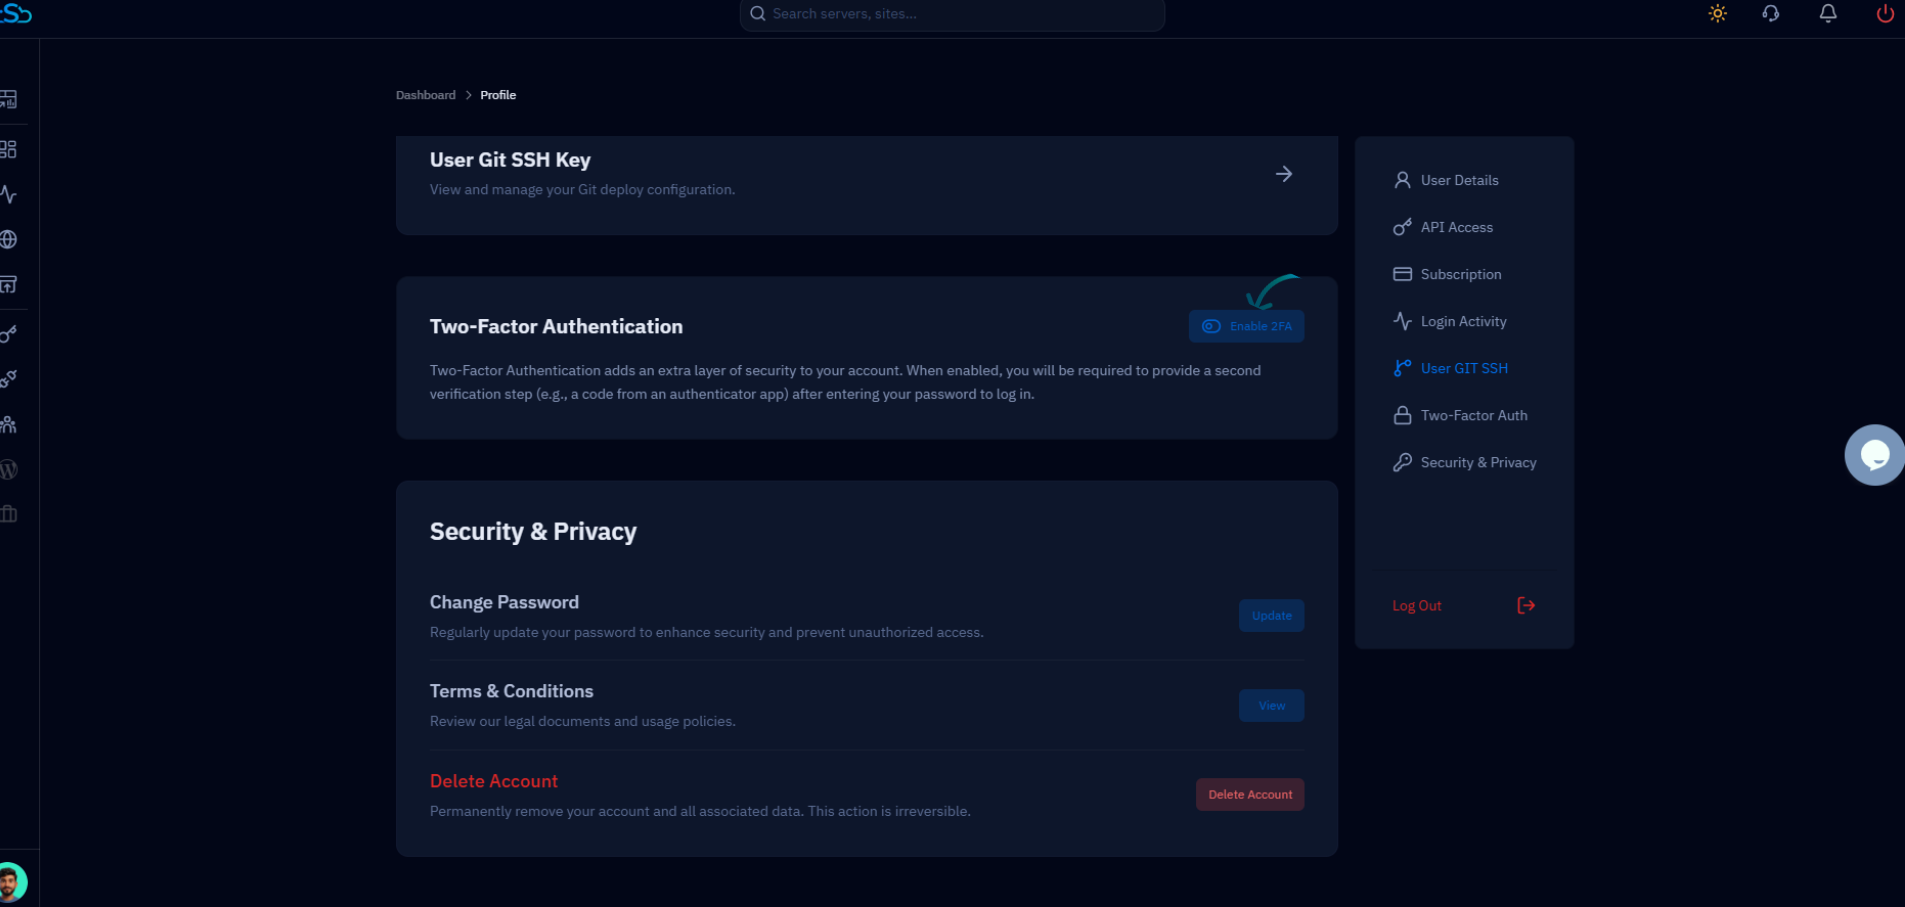
Fig. 03 — Two-Factor Authentication card with the Enable 2FA button highlighted, ready to begin the setup process.
Step 4: Configure Your Authenticator App
Open your authenticator app and add your CloudStick account by scanning the QR code or entering the setup key manually.
Option A: Scan the QR Code
Open your authenticator app (Google Authenticator, Microsoft Authenticator, or Authy).
Tap Add Account or the + button in the app.
Select Scan a QR code and point your camera at the QR code displayed in CloudStick.
Your CloudStick account will be added automatically and start generating 6-digit codes.
Option B: Enter Setup Key Manually
Tap Add Account or the + button in your authenticator app.
Select Enter a setup key or Enter manually.
Type a name (e.g., CloudStick) and paste the setup key shown in the CloudStick dialog.
Set the type to Time-based and save.
Keep the setup key in a secure place as a backup. If you ever lose access to your authenticator app, you may need this key to recover access to your account.
Step 5: Verify and Save
After adding CloudStick to your authenticator app, enter the current verification code to confirm the setup is working correctly.
1. Get the code: Open your authenticator app and note the current 6-digit verification code displayed for your CloudStick account. Codes refresh every 30 seconds.
2. Enter the code: Type the 6-digit code into the verification field in the CloudStick 2FA setup dialog.
3. Click Verify / Enable: Click the "Verify" or "Enable" button to confirm the code and activate Two-Factor Authentication on your account.
Enter the code promptly — TOTP codes are time-sensitive and expire after 30 seconds. If the code has nearly expired (under 5 seconds remaining), wait for the next code to appear before entering it.
Step 6: Confirm Activation
Once your code is verified, CloudStick confirms that Two-Factor Authentication is now active on your account.
1. Success confirmation: CloudStick displays a confirmation message indicating that 2FA has been successfully enabled.
2. Next login: From this point forward, every time you log in to CloudStick you will be prompted to enter a verification code from your authenticator app after entering your password.
3. Disabling 2FA: To disable 2FA in the future, return to the Two-Factor Authentication card in your profile settings and click the toggle or disable button.
2FA is strongly recommended for all CloudStick accounts, especially those managing production servers. It is the single most effective step you can take to prevent unauthorized access.