How to Fix TLS Version and Cipher Suite Mismatch
Overview
If your site is throwing handshake errors or visitors can't connect securely, a TLS version or cipher suite mismatch is a common cause. This happens when the browser or client supports a different set of encryption algorithms than what your server is configured to accept — resulting in errors like SSL_ERROR_NO_CYPHER_OVERLAP or ERR_SSL_VERSION_OR_CIPHER_MISMATCH.
CloudStick lets you update your TLS protocol version and cipher suite directly from the SSL Configuration page — no SSH or server-level config editing required. This guide walks through navigating to that page and making the right adjustments to resolve the mismatch.
Step 1: Navigate to SSL Configuration
The SSL Configuration editor is accessed through your website's Manage SSL tab. Follow these steps to reach it from the CloudStick dashboard.
Open your server
1. Go to the CloudStick dashboard: You'll see all your connected servers listed as cards.
2. Find your server: Locate the server card (e.g., noble-test-finale) and click the MANAGE button to open its management panel.
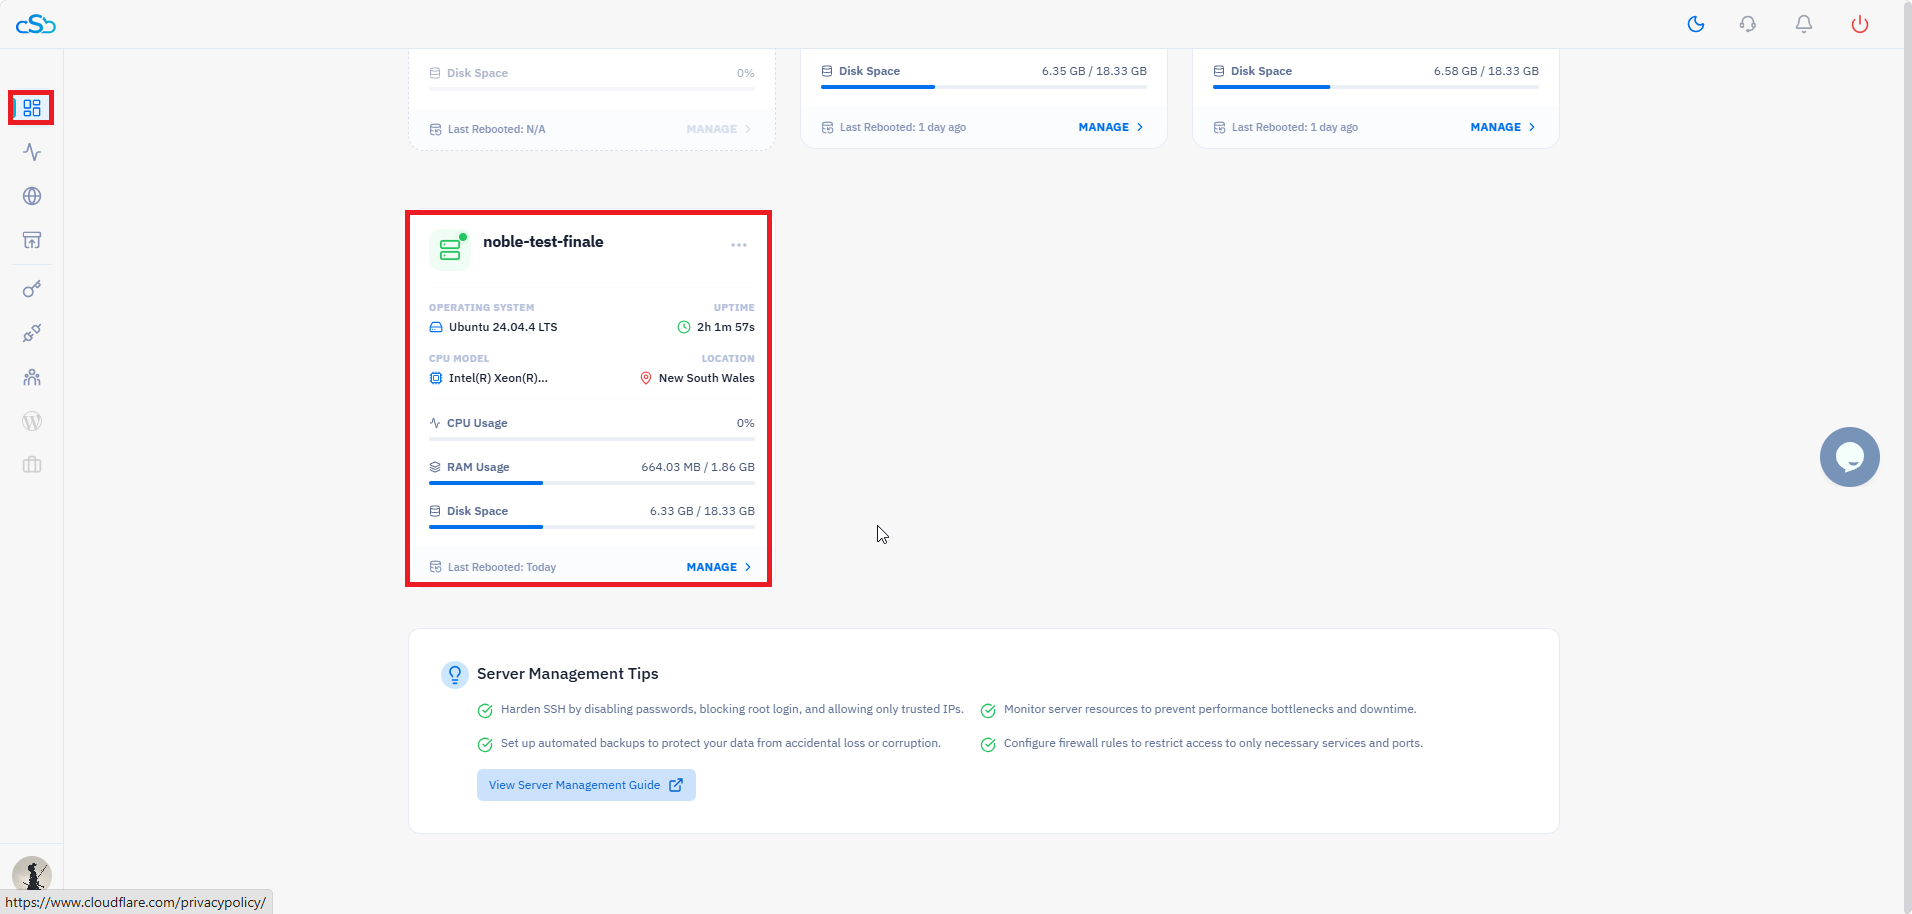
Fig. 01 — CloudStick dashboard with the server card highlighted and the MANAGE button visible.
Go to Websites
3. Locate Server Resources: Inside the server management panel, scroll to the Server Resources section.
4. Click the Websites tile: This opens the list of all websites hosted on this server.
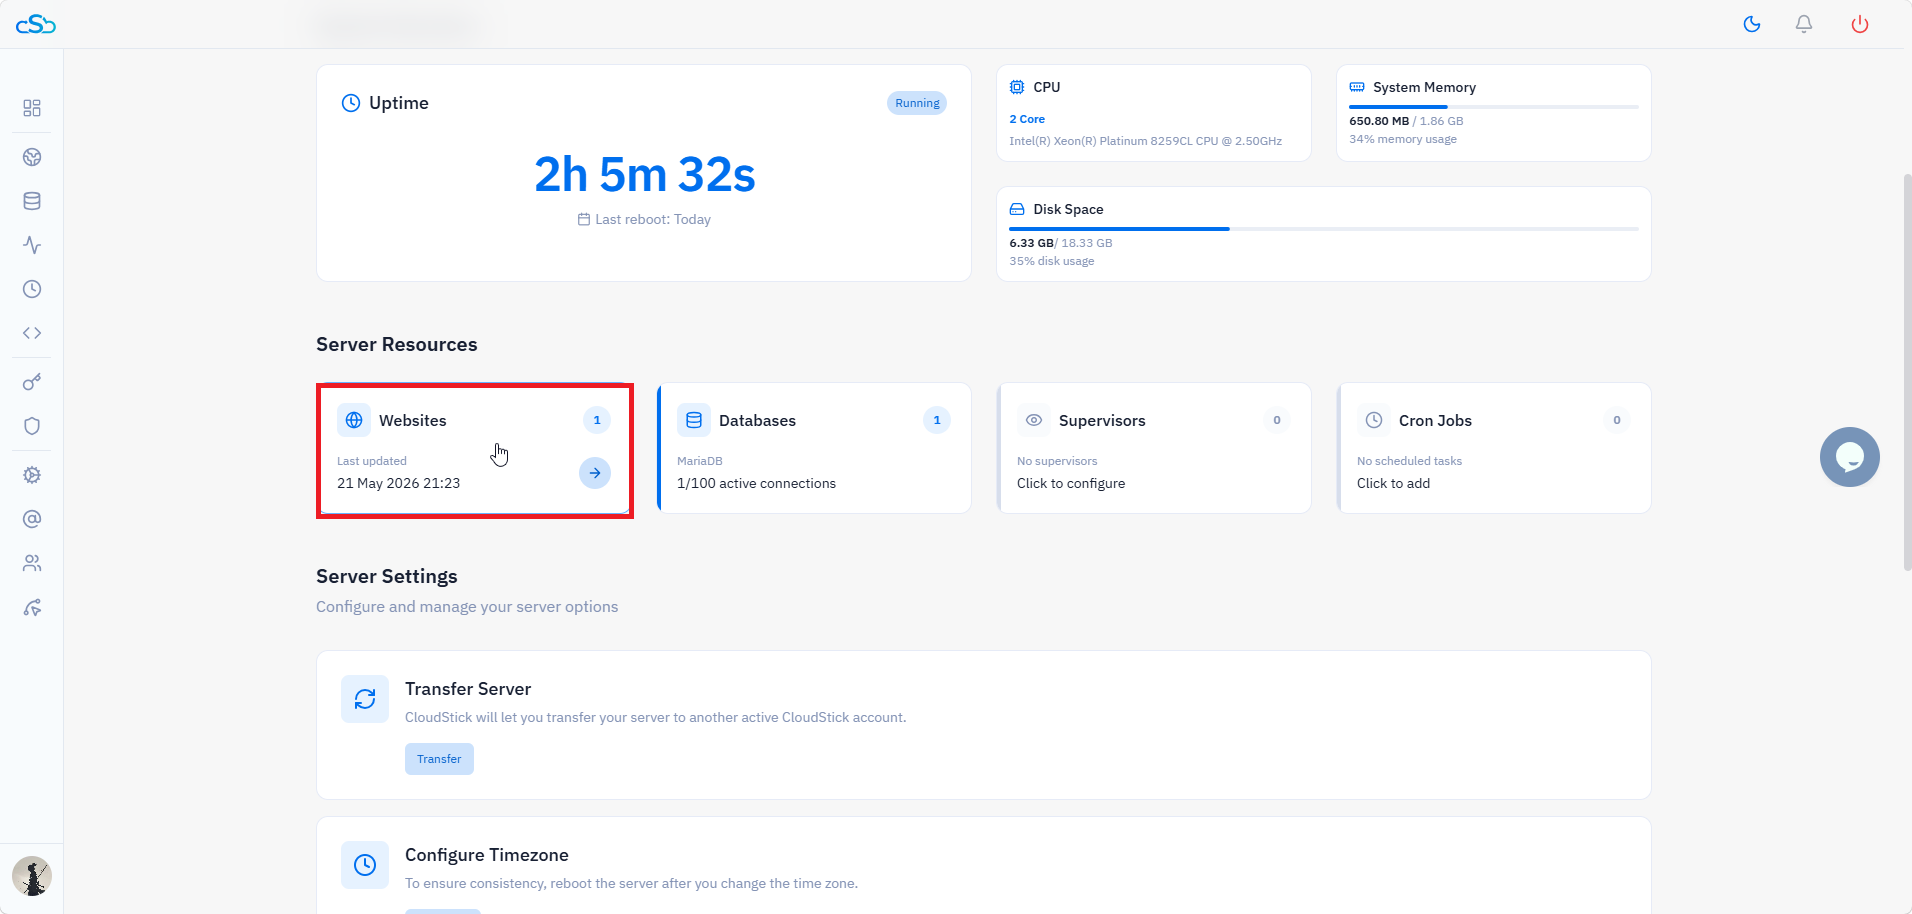
Fig. 02 — Server management page with the Websites tile highlighted in the Server Resources section.
Select your website
5. Click on the website: From the WebApp List, click the website you need to fix (e.g., test-finale).
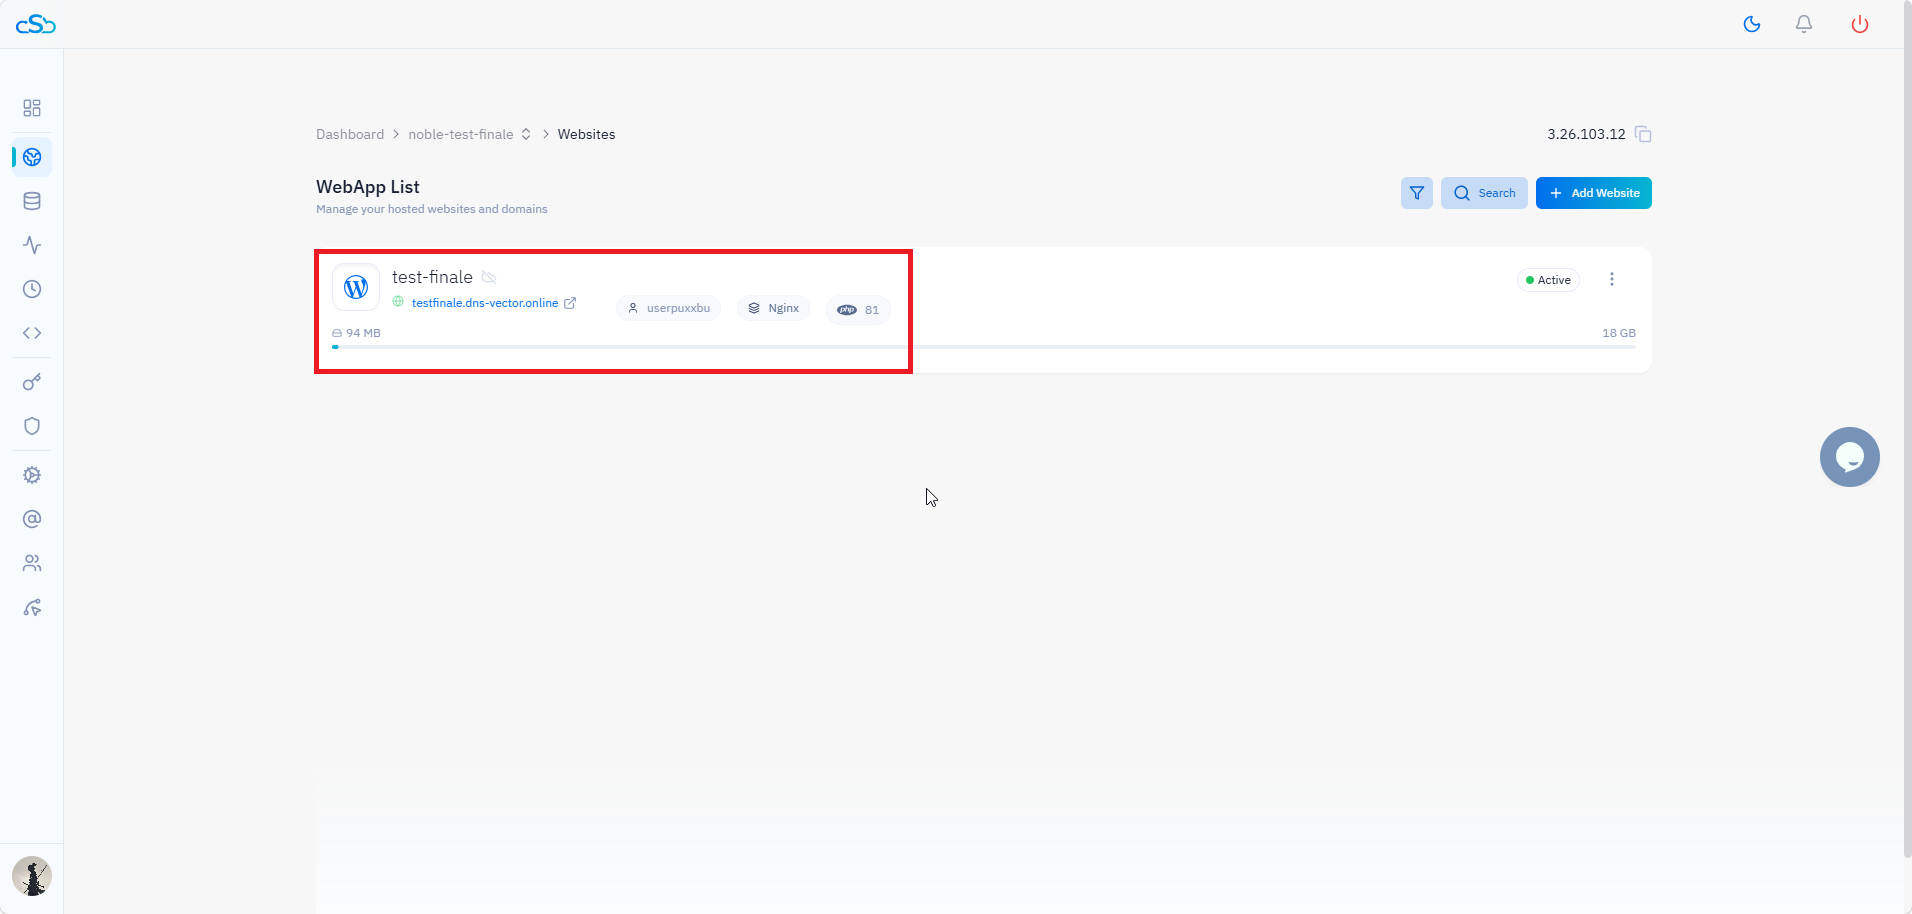
Fig. 03 — WebApp List with the target website highlighted.
Open Manage SSL
6. Click Manage SSL: In the top navigation tabs of the website panel, click the Manage SSL tab.
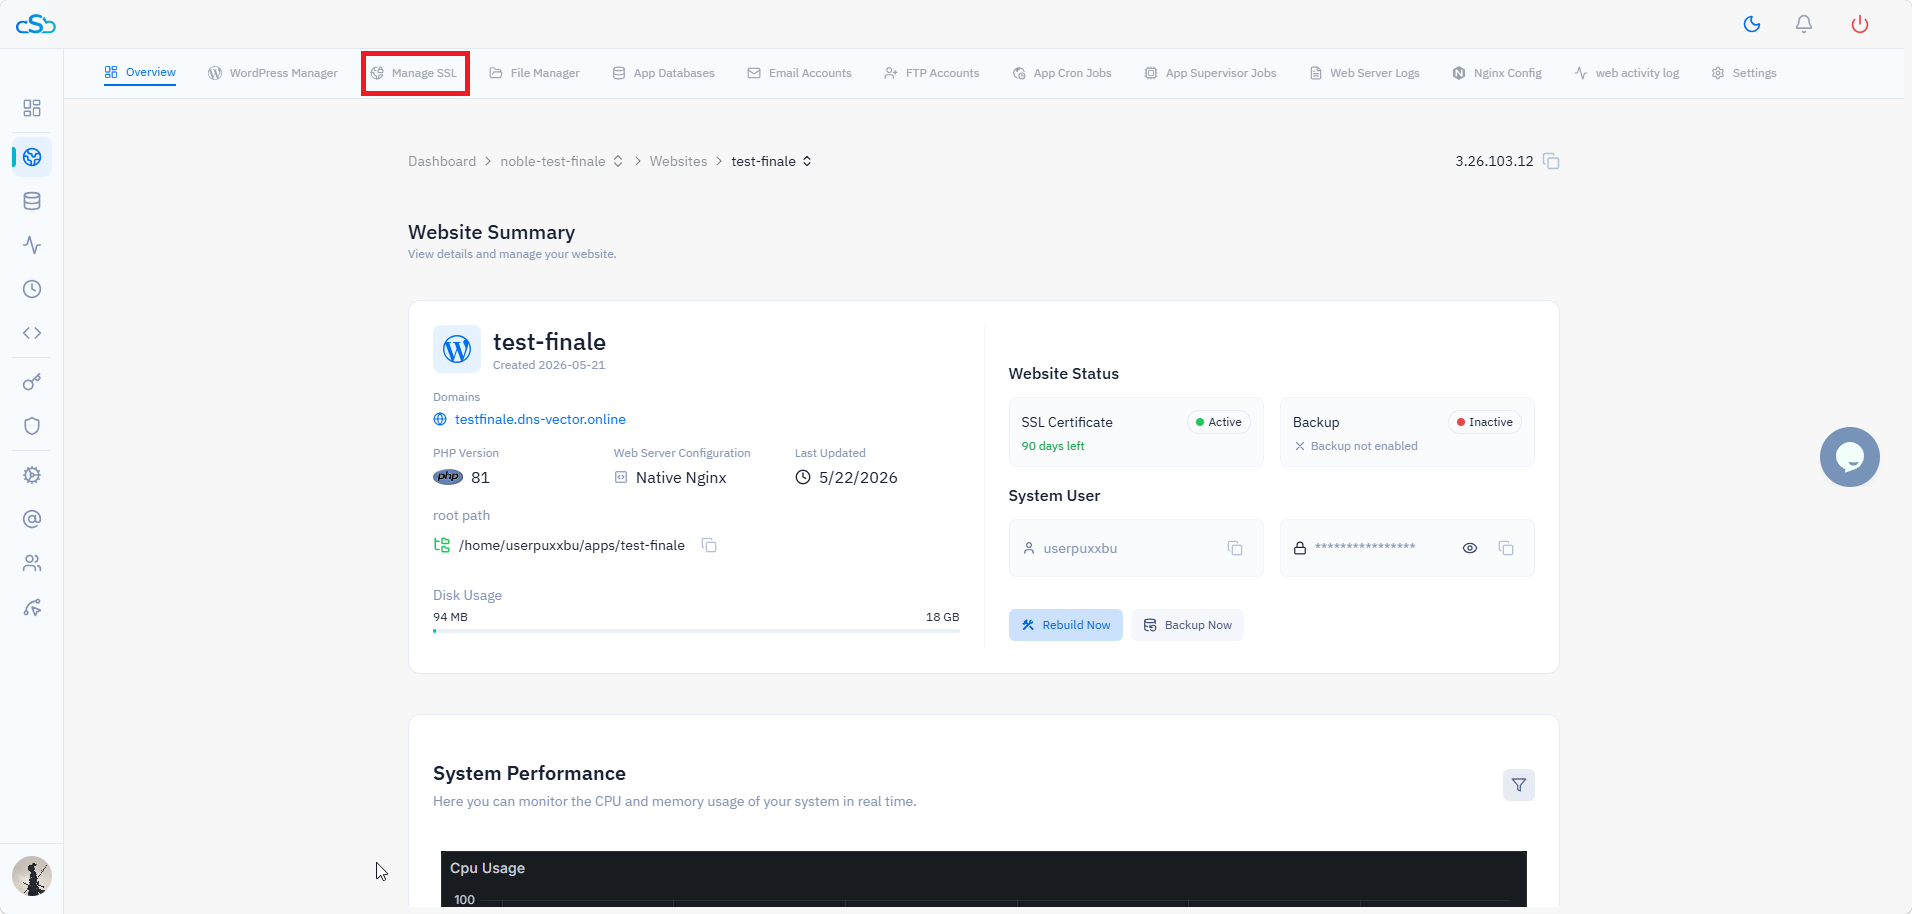
Fig. 04 — Website overview with the Manage SSL tab highlighted in the top navigation.
Open SSL Configuration
7. Click the edit (pencil) icon: On the SSL Management page, locate your active certificate showing SSL Active and Secured. Click the pencil icon next to it to open the SSL Configuration editor.

Fig. 05 — SSL Management page with the edit (pencil) icon highlighted next to the active certificate.
Step 2: Update TLS Protocol Version and Cipher Suite
The SSL Configuration page gives you direct control over two key settings that determine how your server negotiates encrypted connections with clients.
TLS Protocol Version
Locate the TLS Protocol Version dropdown: Select the protocol version your server should support.
Recommended: TLSv1.2, TLSv1.3 — the modern standard supported by all current browsers and clients.
Legacy support: If you need to support older enterprise clients or systems that require TLSv1.0 or TLSv1.1, you can temporarily enable those versions. However, this is not recommended for production sites as they have known vulnerabilities.
Cipher Suite
Locate the Cipher Suite text area: This field lists the encryption algorithms your server will accept during the TLS handshake, in priority order.
Editing the cipher suite: If you need to add or remove specific algorithms to match what the connecting client supports, update this field directly. In most cases the default cipher suite resolves mismatch errors without modification.
The default cipher suite in CloudStick already excludes weak algorithms (MD5, RC4, DES, PSK, EXPORT). Only modify it if you have a specific compatibility requirement from the connecting client or security team.
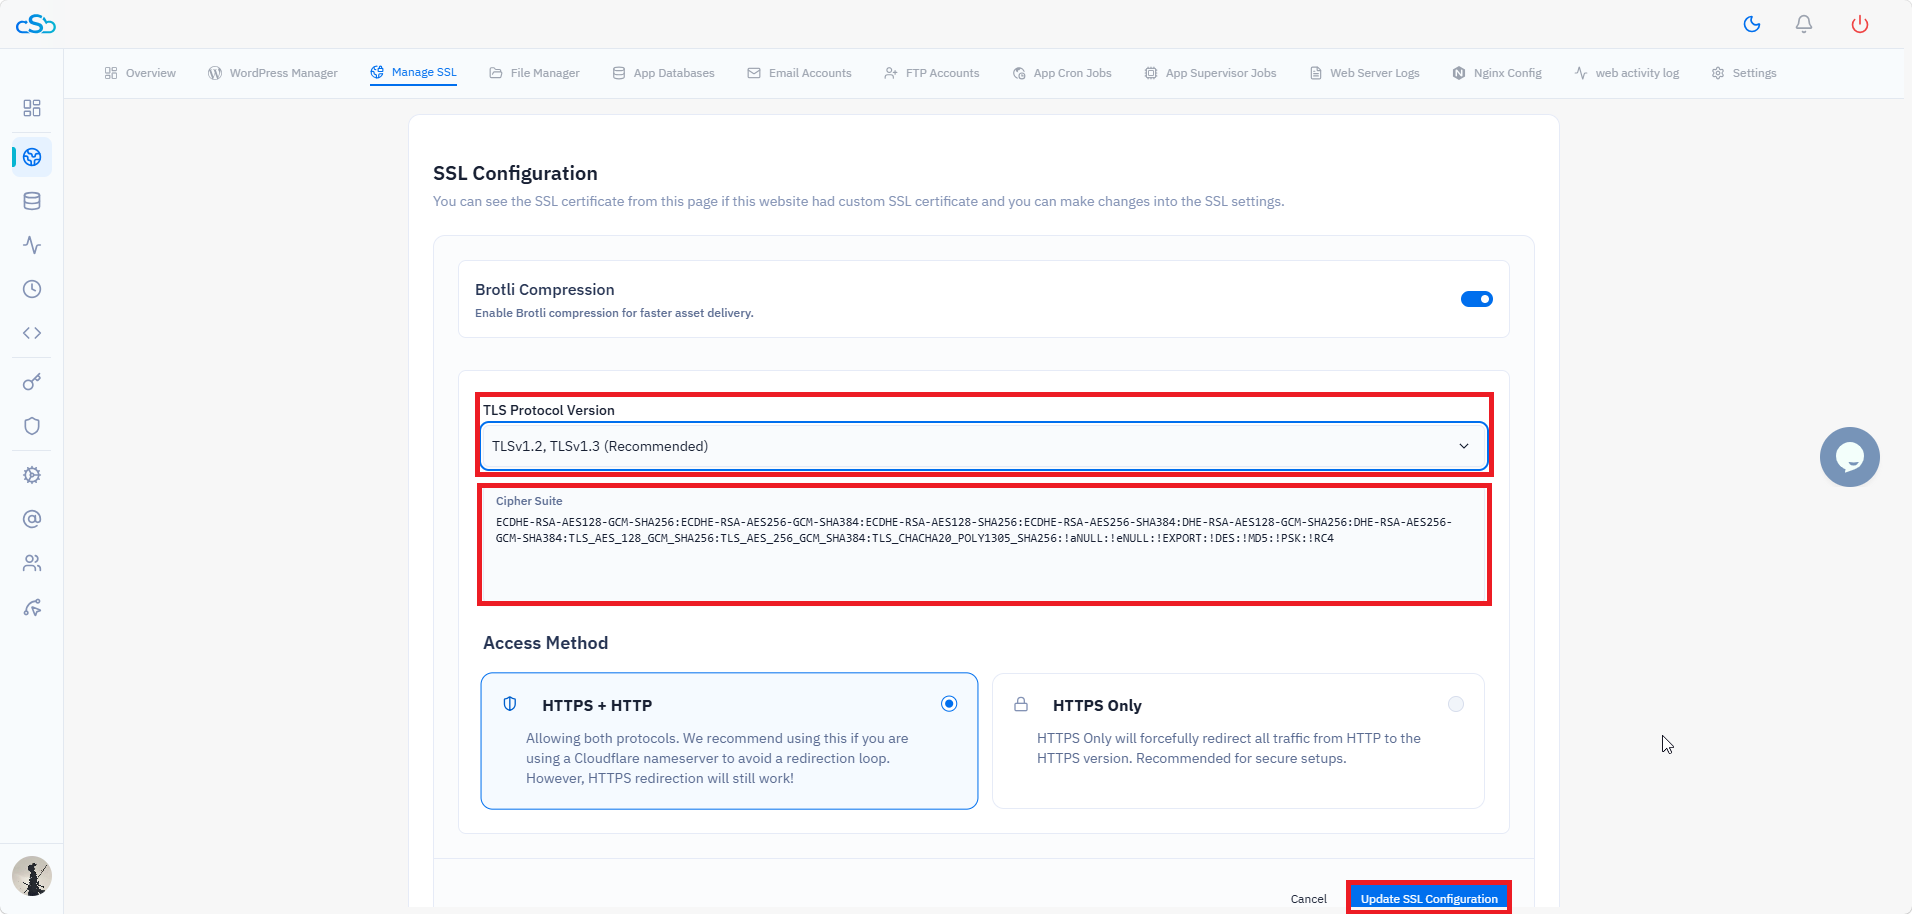
Fig. 06 — SSL Configuration page showing the TLS Protocol Version dropdown, Cipher Suite field, and the Update SSL Configuration button.
Step 3: Save and Verify
After adjusting the TLS version and cipher suite, apply the changes and confirm they have resolved the handshake error.
1. Click Update SSL Configuration: Scroll to the bottom of the SSL Configuration page and click the Update SSL Configuration button.
2. Wait for the configuration to apply: This typically takes under 30 seconds.
3. Test in a browser: Visit your site and check that the padlock icon appears as secure with no certificate or handshake warnings.
If the error persists after updating TLS and cipher settings, the root cause may be a Cloudflare proxy conflict. Proceed to Step 4.
Step 4: If the Mismatch Persists — Cloudflare Orange Cloud Fix
If the cipher mismatch error continues even after updating the TLS settings, the Cloudflare proxy (orange cloud) is likely the cause. When the Cloudflare proxy is active during SSL issuance, the certificate gets issued against Cloudflare's edge rather than your actual server — creating a mismatch when clients try to connect directly.
Temporarily disable the Cloudflare proxy
1. Open your Cloudflare dashboard: Navigate to DNS → Records.
2. Turn the orange cloud grey: Click the orange cloud icon on your domain's A record to switch it to DNS Only (grey cloud). Wait about a minute for the change to propagate.
Reissue the SSL certificate
3. Go to Manage SSL in CloudStick: Navigate to your website panel and click the Manage SSL tab.
4. Delete the current certificate: Click the delete (trash) icon next to the active certificate and confirm deletion.
5. Deploy a fresh certificate: Click Deploy New SSL and issue a new Let's Encrypt certificate with the Cloudflare proxy disabled.
Re-enable the proxy
6. Confirm the certificate is active: Wait until the SSL Management page shows SSL Active and Secured.
7. Turn the orange cloud back on: Return to your Cloudflare DNS settings and re-enable the proxy (orange cloud) on the A record if you were using it before.
Only re-enable the Cloudflare proxy after confirming the certificate is issued and showing as SSL Active and Secured. Re-enabling it too early can cause the same mismatch to reappear.