How to Reboot Server
Overview
A server reboot is sometimes required after major configuration changes — such as updating the timezone, installing kernel updates, or applying certain system-level changes — to ensure all services restart cleanly with the new settings. CloudStick lets you trigger a reboot from the dashboard without SSH access, making it safe and convenient for any team member to perform.
This guide shows you how to reboot a CloudStick-managed server from the dashboard.
Rebooting will temporarily interrupt all services on the server. Ensure you have no critical operations in progress before initiating a reboot.
Step 1: Log In and Open the Server Details Page
Navigate to the server you want to reboot from the CloudStick Dashboard.
1. Log in: Sign in to your CloudStick account at app.cloudstick.io.
2. Select the server: From the Dashboard, click on the server you want to reboot to open its server details page.
3. Locate the Reboot option: In the top header area of the server details page, find the Reboot button.
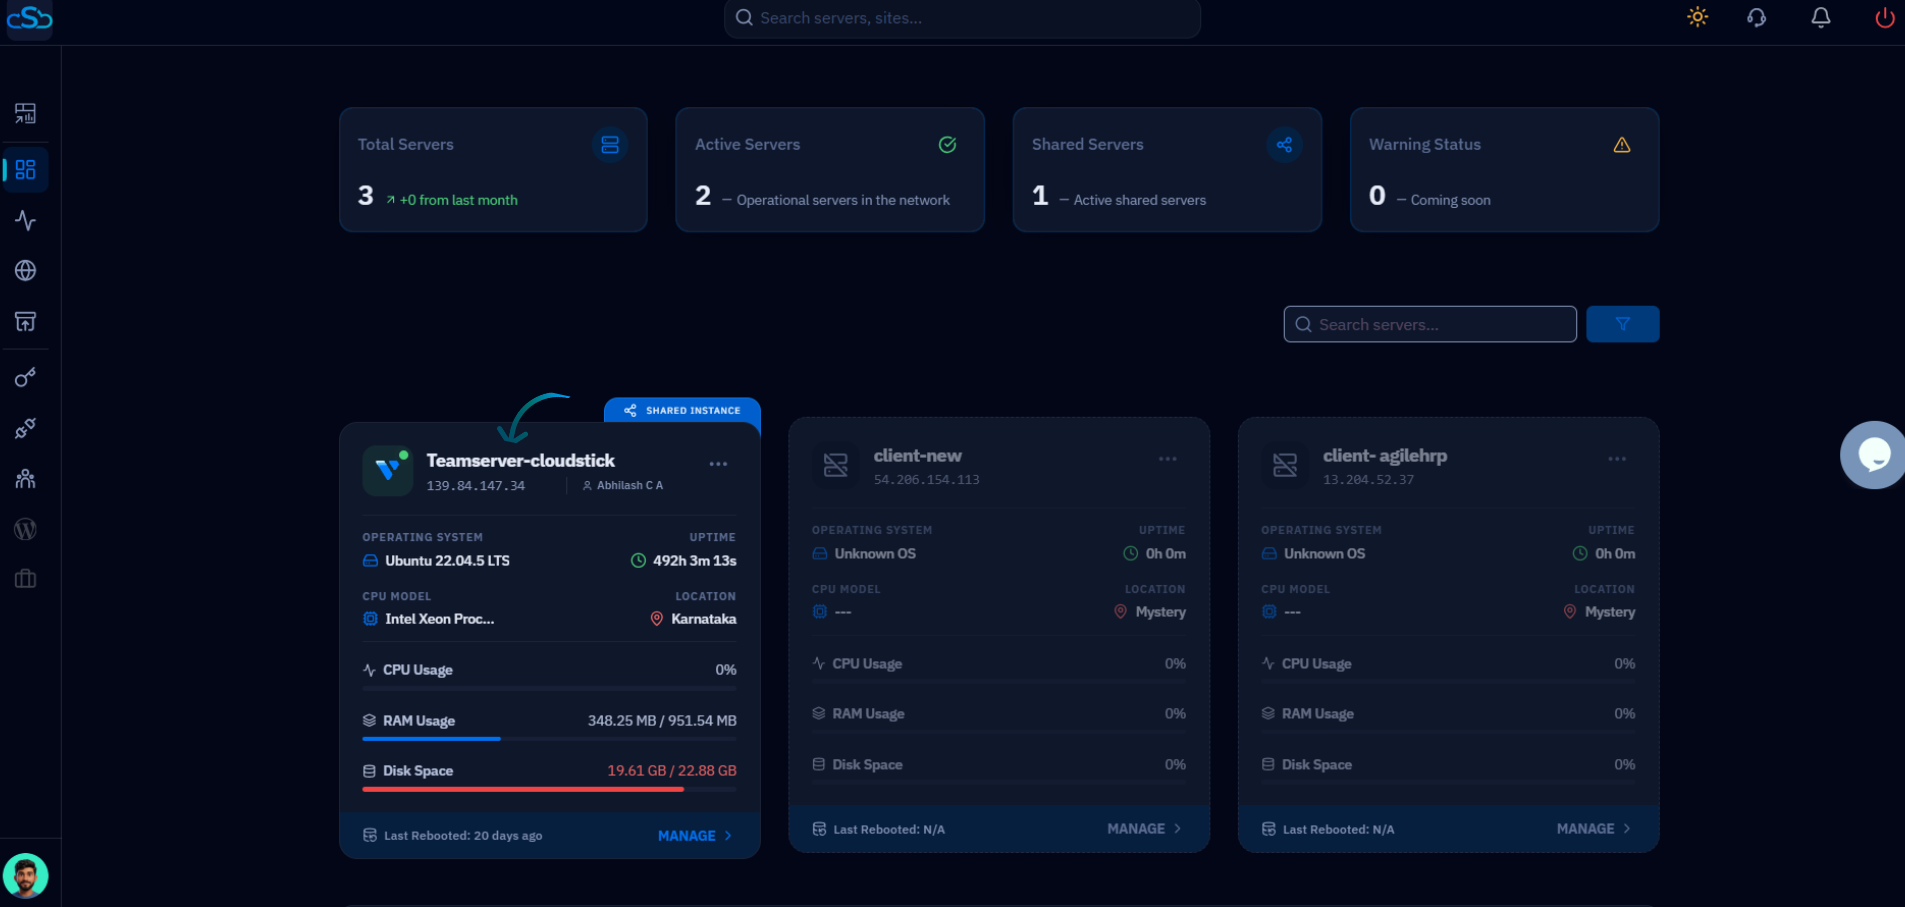
Fig. 01 — Server details page header showing the Reboot option in the top action area.
Step 2: Initiate and Confirm the Reboot
CloudStick prompts you to confirm before rebooting to prevent accidental restarts.
1. Click Reboot: Click the Reboot option in the server header area.
2. Confirm the action: When the confirmation prompt appears, confirm the reboot action to proceed.
3. Wait for restart: CloudStick initiates the reboot. The server will go offline briefly and come back online once the restart is complete. Services will resume automatically.
If the server does not come back online within a few minutes, check your cloud provider's console to verify the server's power state. The CloudStick dashboard will show the server as active once the connection is re-established.
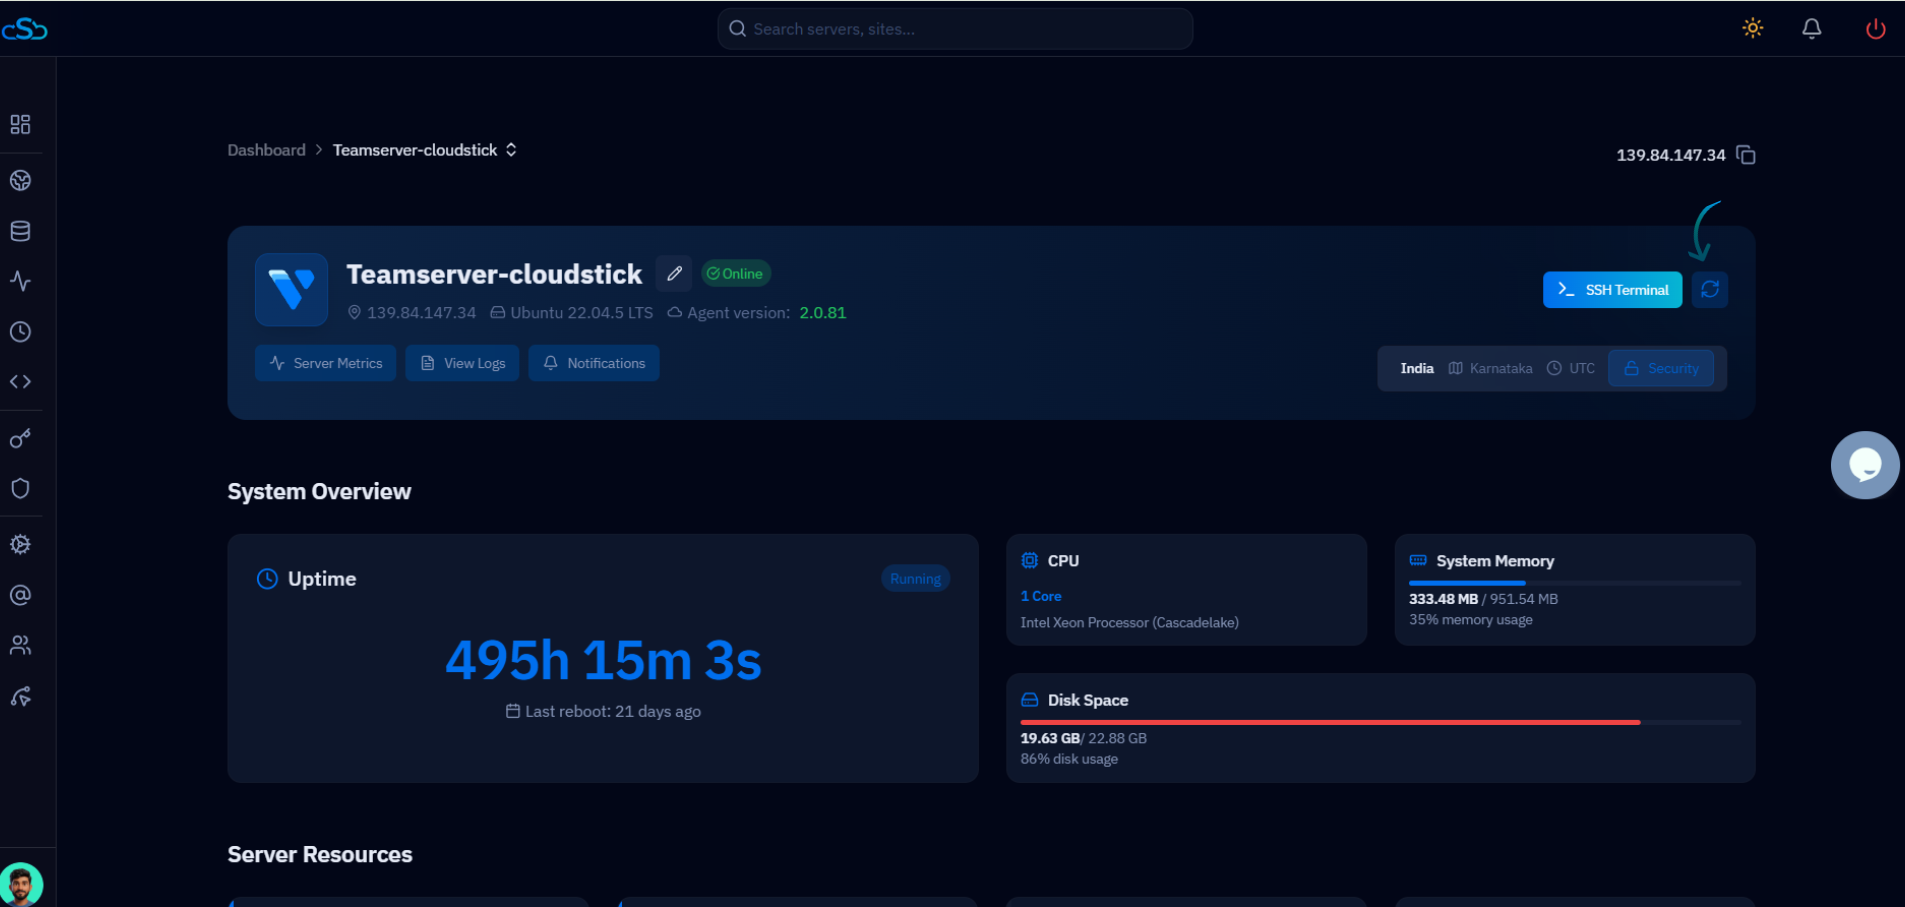
Fig. 02 — Server details page header showing the reboot icon (↺) next to the SSH Terminal button.