How to Remove an SSL Certificate in CloudStick
Overview
There are times when you need to remove an SSL certificate from a website — for example, before replacing a certificate with a new one, when migrating a domain, when retiring a site, or when troubleshooting a misconfigured or mismatched certificate. CloudStick lets you remove a certificate directly from the website's Manage SSL section without touching the command line.
This guide walks through the complete process of removing an SSL certificate using the CloudStick dashboard — from selecting your server and website, to opening Manage SSL, reviewing the installed certificate, and confirming its removal.
Removing an SSL certificate means your website will no longer be served over HTTPS, and visitors may see browser security warnings. Only proceed if you intend to replace the certificate or take the site offline — if you want to keep secure connections, install a new certificate afterwards.
Step 1: Log In and Select Your Server
Start from the CloudStick main dashboard, where all your connected servers are listed. This is the first screen you see after logging in.
1. Log in to CloudStick: Sign in to your CloudStick account to open the main dashboard.
2. Locate your server: Find the server card for the server hosting the website you want to update.
3. Click MANAGE: Click the MANAGE button on the server card to open the server management panel.
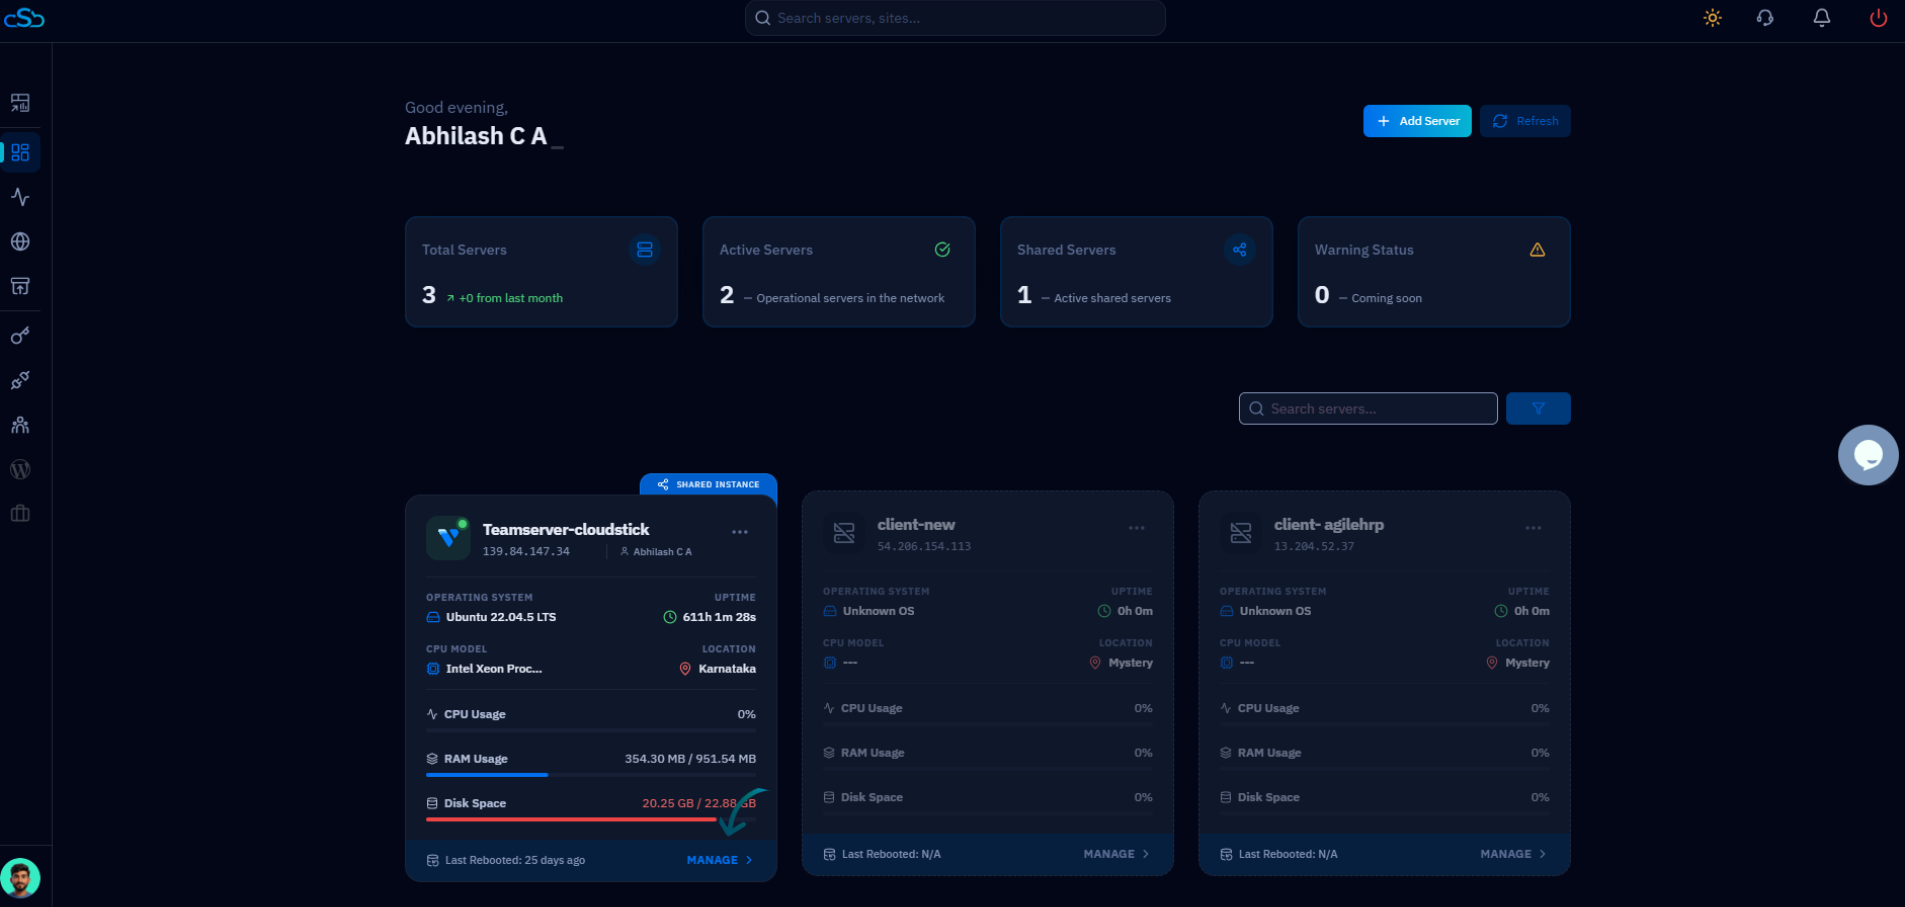
Fig. 01 — CloudStick main dashboard showing connected servers, each with a MANAGE button to open its panel.
Step 2: Open Websites
Inside the server management panel, you can see all the resources hosted on this server. Navigate to the Websites section to find the site whose certificate you want to remove.
1. Scroll to Server Resources: In the server overview, locate the Server Resources section showing Websites, Databases, Supervisors, and Cron Jobs.
2. Click Websites: Click the Websites resource card to view every website hosted on this server.
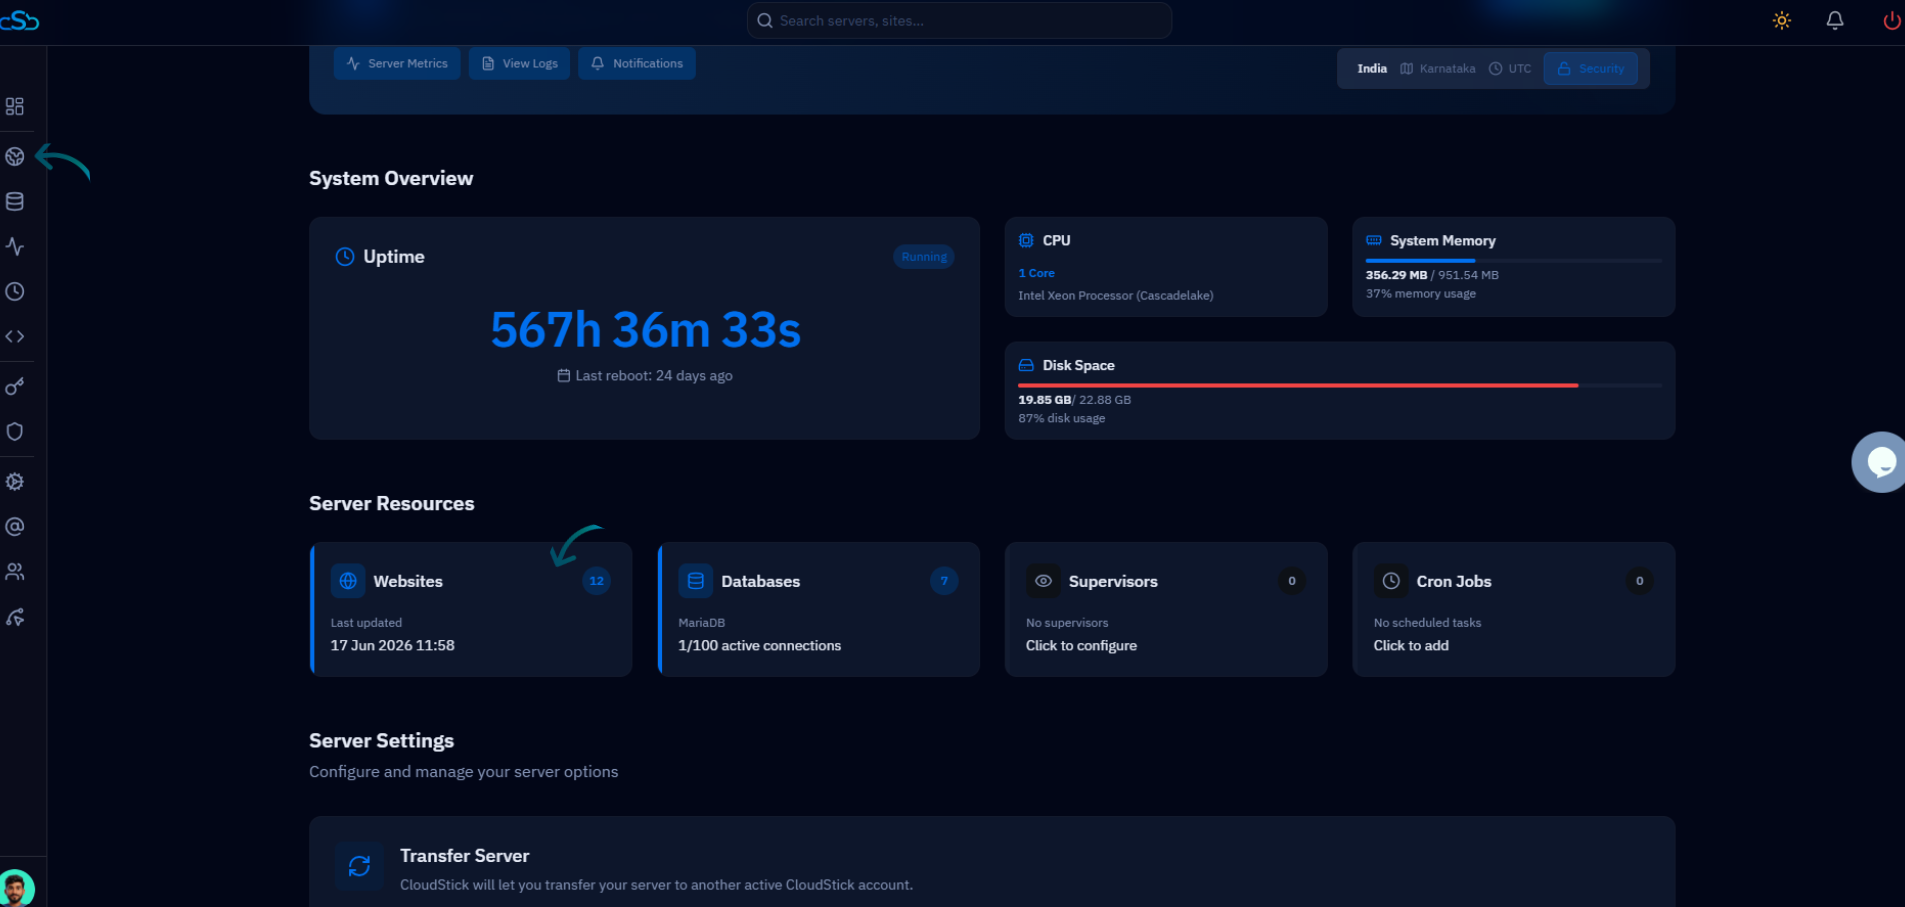
Fig. 02 — Server overview with the Websites resource card highlighted in the Server Resources section.
Step 3: Select the Website
From the list of hosted web applications, choose the specific website from which you want to remove the SSL certificate.
1. Find your site: In the WebApp List, locate the website by its name or domain.
2. Open the website: Click the website to open its management page, where all per-site settings — including SSL — are available.
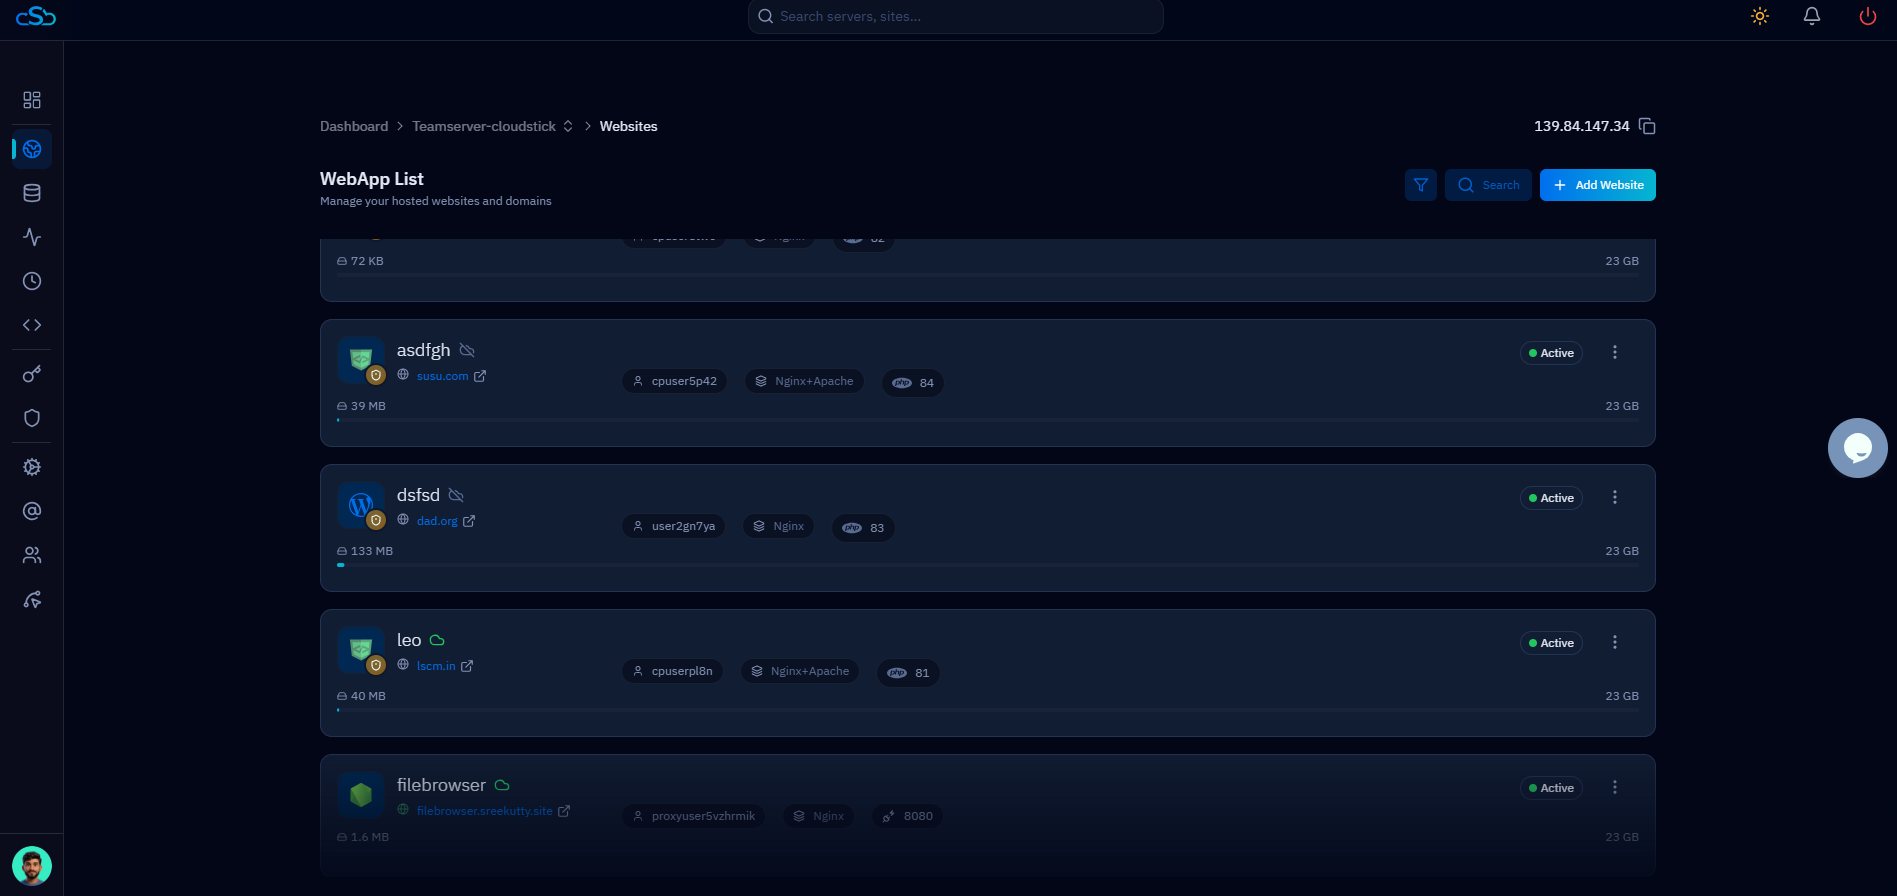
Fig. 03 — The WebApp List showing all websites hosted on the server; click one to open its management page.
Step 4: Open Manage SSL and View the Certificate
Each website in CloudStick has its own SSL Management section, accessible from the top navigation tabs. Open it to review the certificate that is currently installed before removing it.
1. Click Manage SSL: In the top navigation tabs of the website page, click the Manage SSL tab to open the SSL Management section.
2. Review the installed certificate: The page displays the current certificate's status (e.g. SSL Active and Secured) along with its Certificate Life Cycle, issuer, issue and expiry dates, and supported security protocols.
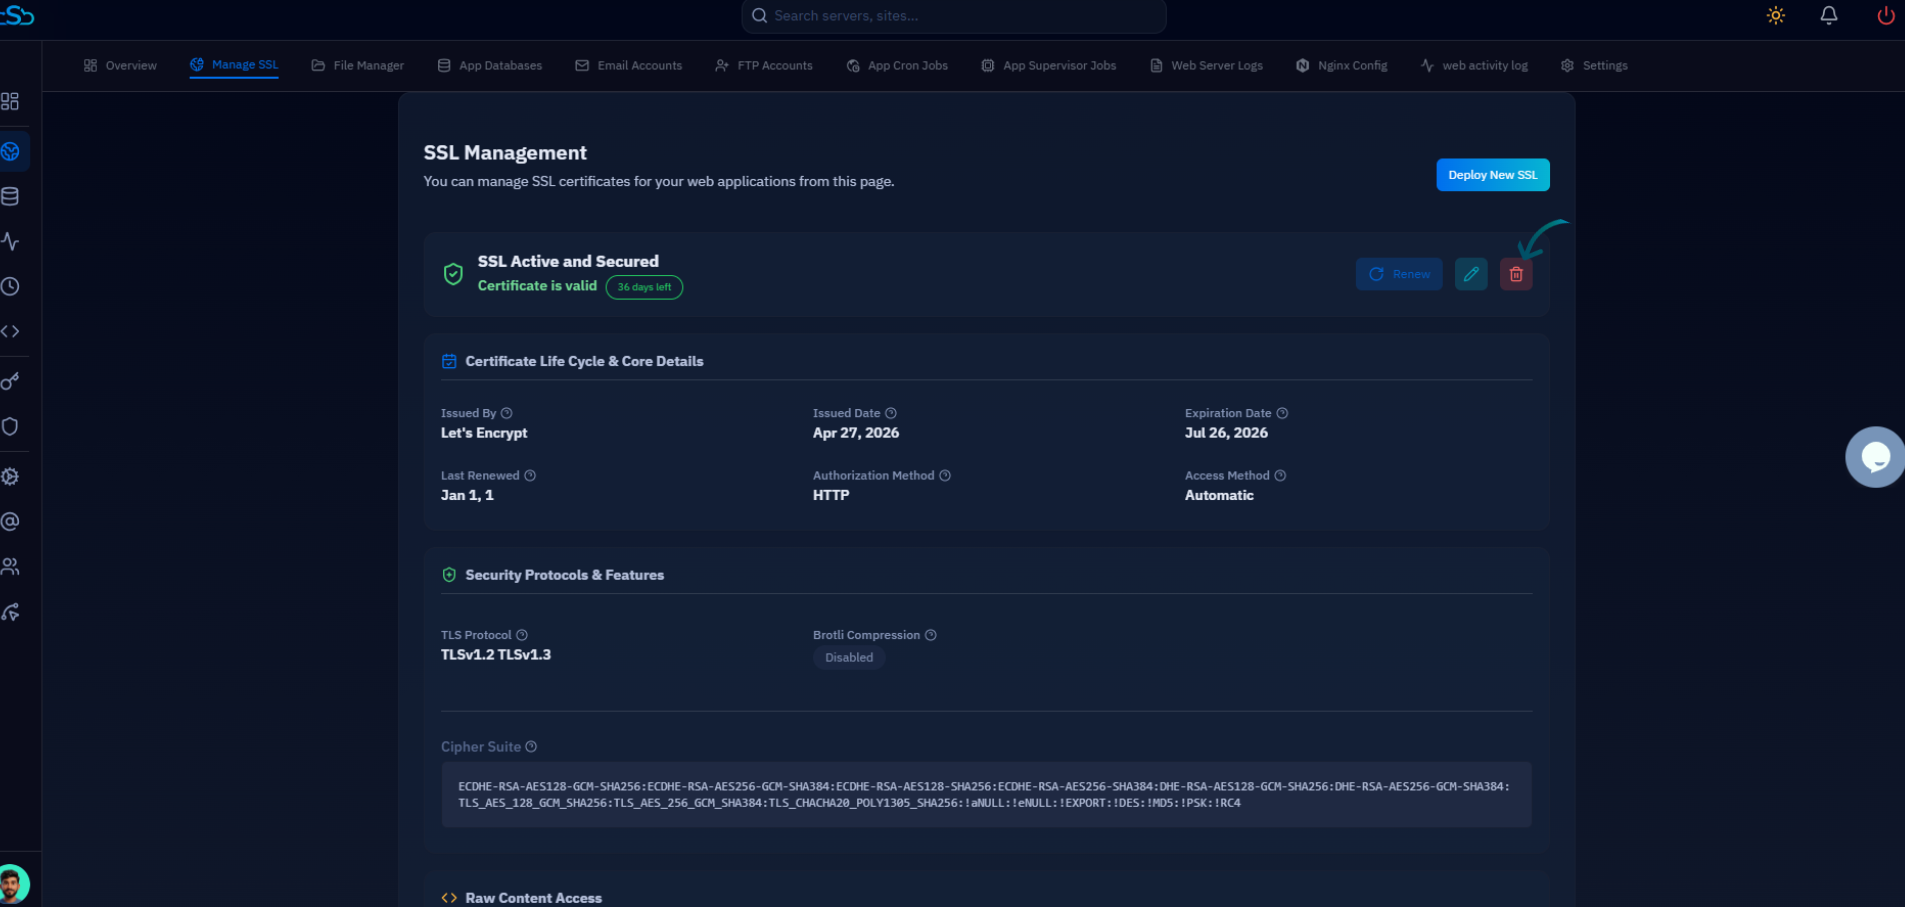
Fig. 04 — The SSL Management section showing the installed certificate details and the Remove SSL option.
Step 5: Remove the SSL Certificate
With the certificate details on screen, remove it and confirm the action. CloudStick uninstalls the certificate and updates the SSL Management section to reflect that no certificate is installed.
1. Click Remove SSL: In the SSL Management section, click the Remove SSL button to begin removing the installed certificate.
2. Confirm the removal: A confirmation prompt appears. Confirm the action to proceed with removing the SSL certificate.
3. Removal complete: CloudStick removes the certificate from the website, and the SSL Management section updates to show that no SSL is installed.
Once removed, the website is no longer served over HTTPS. To restore secure connections, deploy a new certificate from the same Manage SSL section.
After removing the SSL certificate, your website may no longer be accessible over HTTPS and visitors may receive security warnings. Make sure another SSL certificate is installed if you want to continue using secure HTTPS connections.