How to Switch Between Dark Mode and Light Mode
Overview
CloudStick's dashboard supports both Dark Mode and Light Mode, letting you choose the visual theme that best suits your workflow and environment. The theme toggle is always accessible from the top bar of your dashboard — no settings page required. Once you switch, CloudStick automatically saves your preference so the same theme is applied every time you log back in.
This guide walks you through logging in to your CloudStick account and using the theme toggle to switch between Dark Mode and Light Mode in two quick steps.
Step 1: Log In to Your CloudStick Account
The theme toggle is part of the main dashboard, so you need to be logged in before you can switch your display mode.
Go to the CloudStick dashboard: Open your browser and navigate to app.cloudstick.io. Enter your credentials and sign in to your account.
Confirm you can see the dashboard: Once logged in, the main dashboard will display your connected servers along with their status, CPU, memory, and disk metrics.
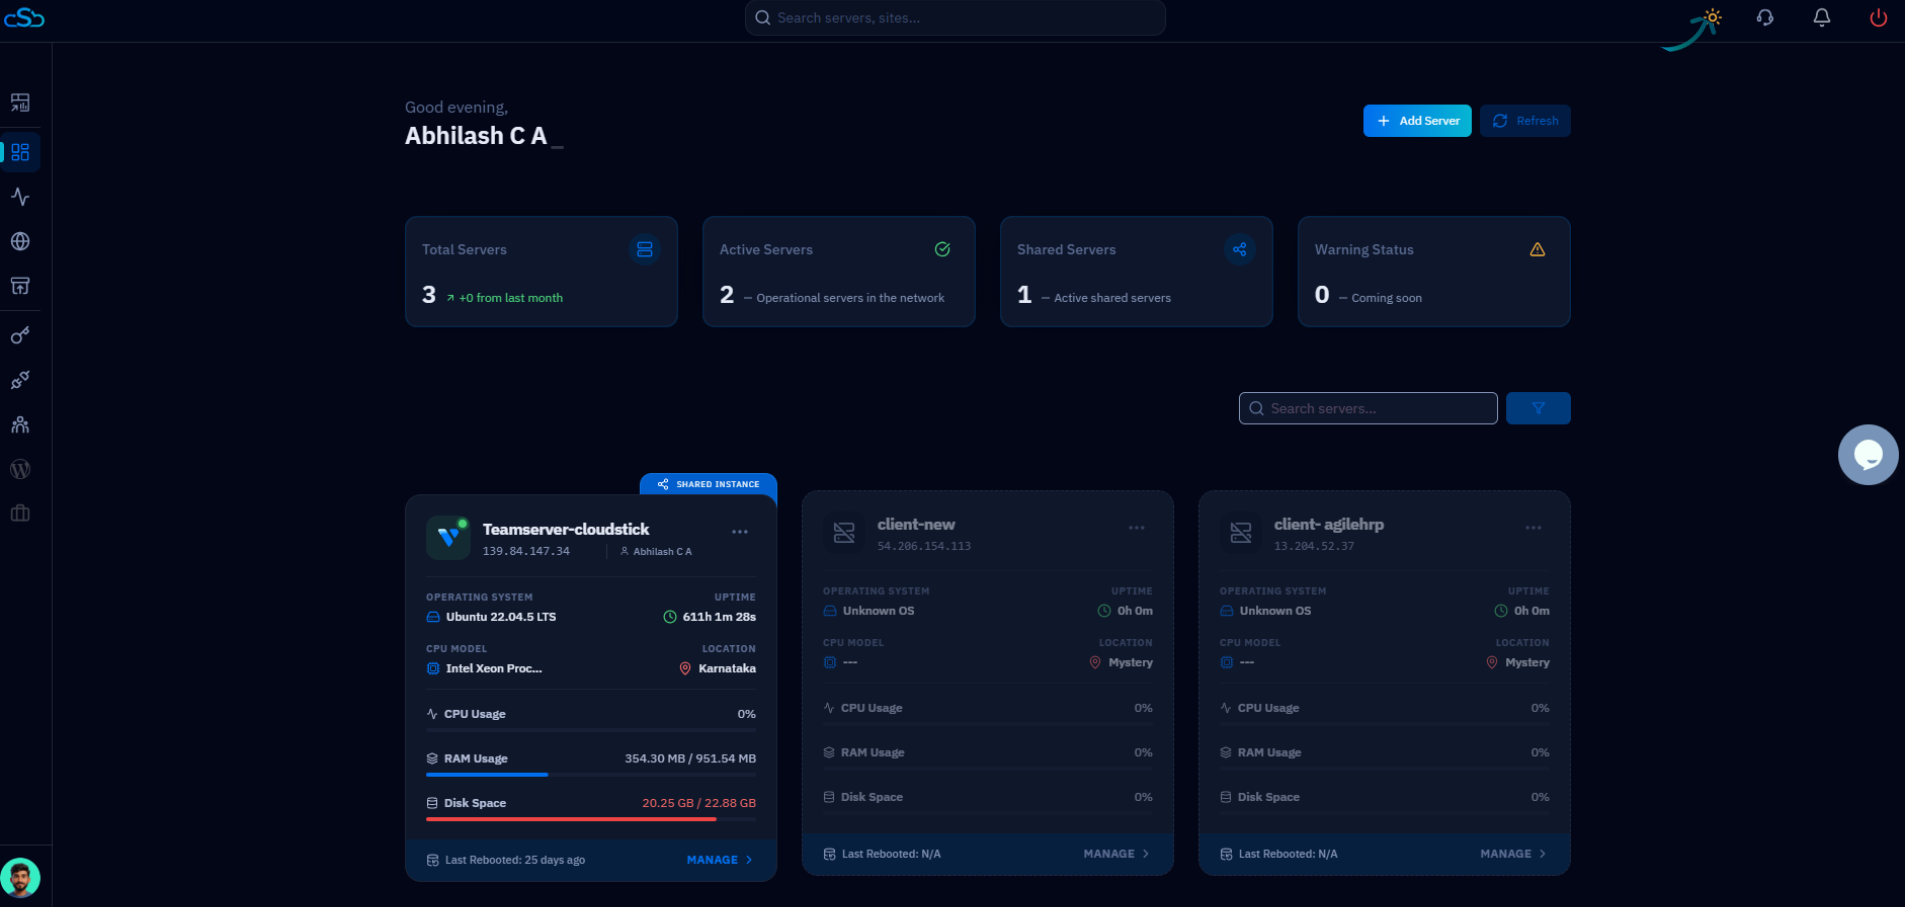
Fig. 01 — CloudStick dashboard in Dark Mode showing connected servers with real-time resource usage.
Step 2: Change the Theme
The Dark Mode / Light Mode toggle is located in the top navigation bar of the dashboard. Clicking it instantly applies the new theme without a page reload.
Locate the theme toggle: At the top of the dashboard, find the Dark Mode / Light Mode toggle icon in the top-right area of the navigation bar.
Click the toggle to switch: Click the toggle once to switch between Dark Mode and Light Mode. The interface will update immediately.
Your selected theme preference is automatically saved for future sessions — you will not need to change it again on your next login.
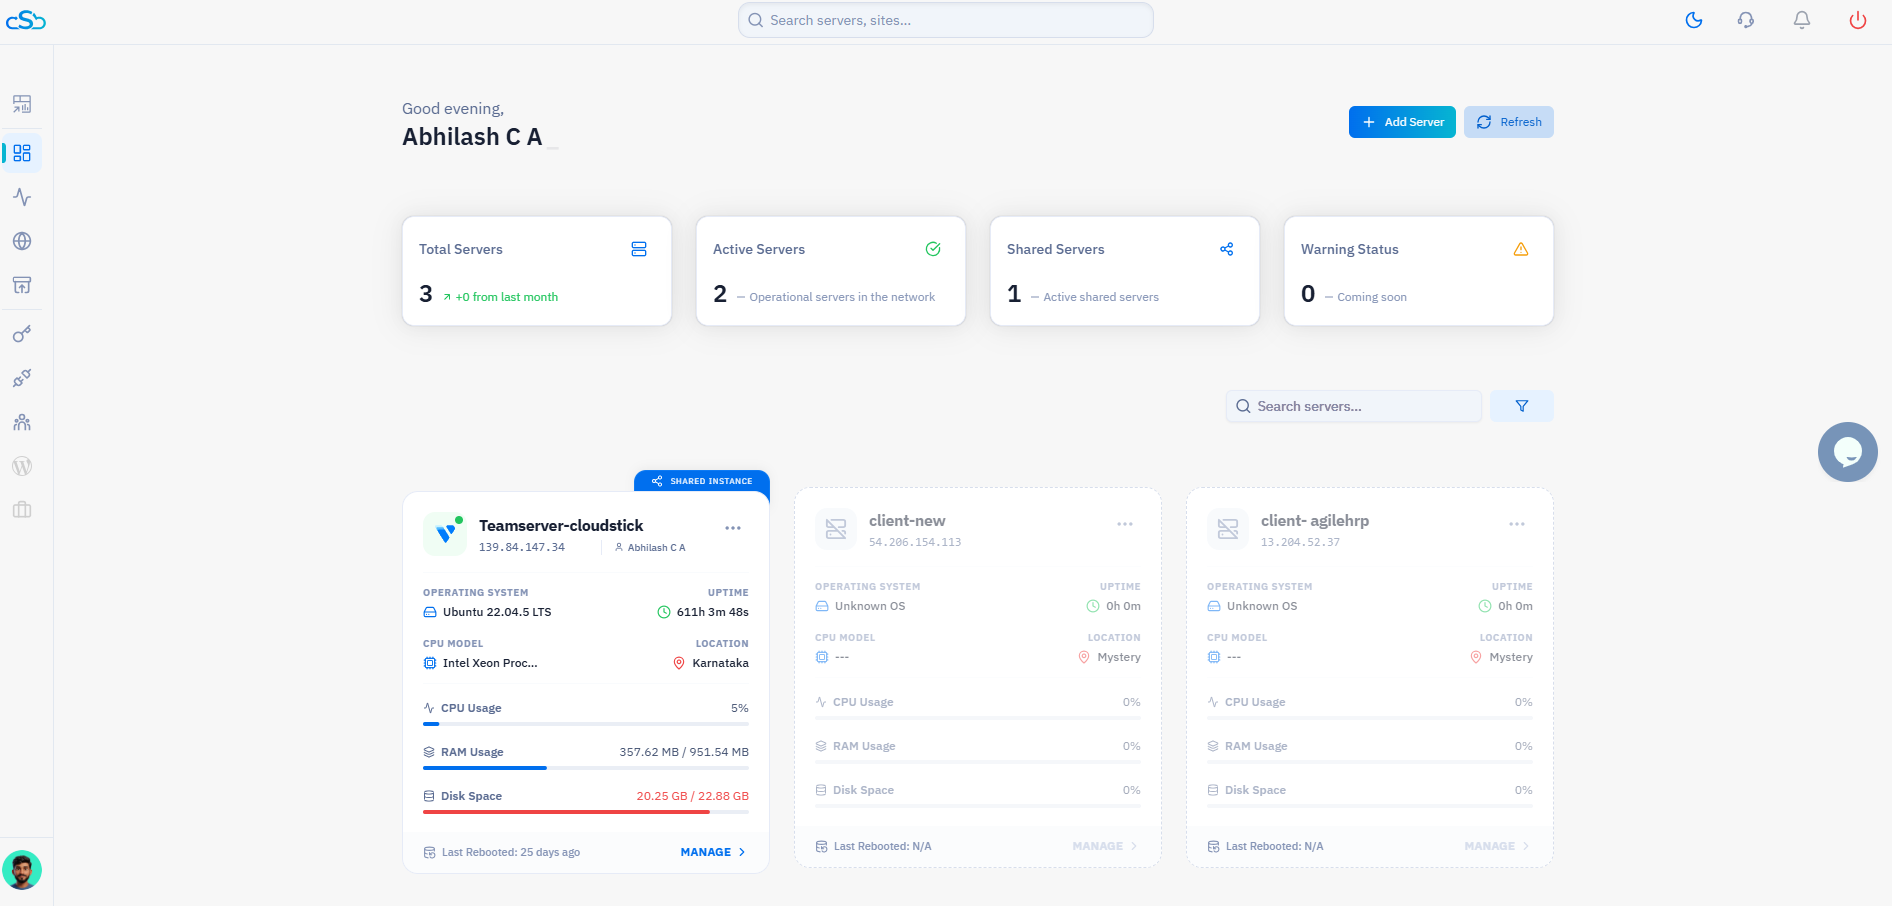
Fig. 02 — CloudStick dashboard switched to Light Mode after clicking the theme toggle in the top navigation bar.