How Do I See All Websites on a Server?
Overview
CloudStick organizes all websites and web applications at the server level. Each server has a dedicated Websites section — a centralized list of every site hosted on that server, showing its domain, web server type (Nginx, Apache, OpenLiteSpeed), PHP version, system user, and current status at a glance.
This guide shows you how to navigate to the Websites section for any of your servers, view the complete WebApp List, and open an individual site to access its detailed configuration and management options.
You must have at least one server connected to your CloudStick account before you can view websites. If you haven't set up a server yet, refer to the How to Deploy Your Own Server guide first.
Step 1: Open Your Server
Websites in CloudStick live inside individual servers, so you begin from the main Dashboard and navigate into the server that hosts the sites you want to view.
1. Log in to your CloudStick account: Go to app.cloudstick.io and sign in. The main Dashboard shows all your connected servers as cards, each displaying real-time CPU, memory, and disk usage.
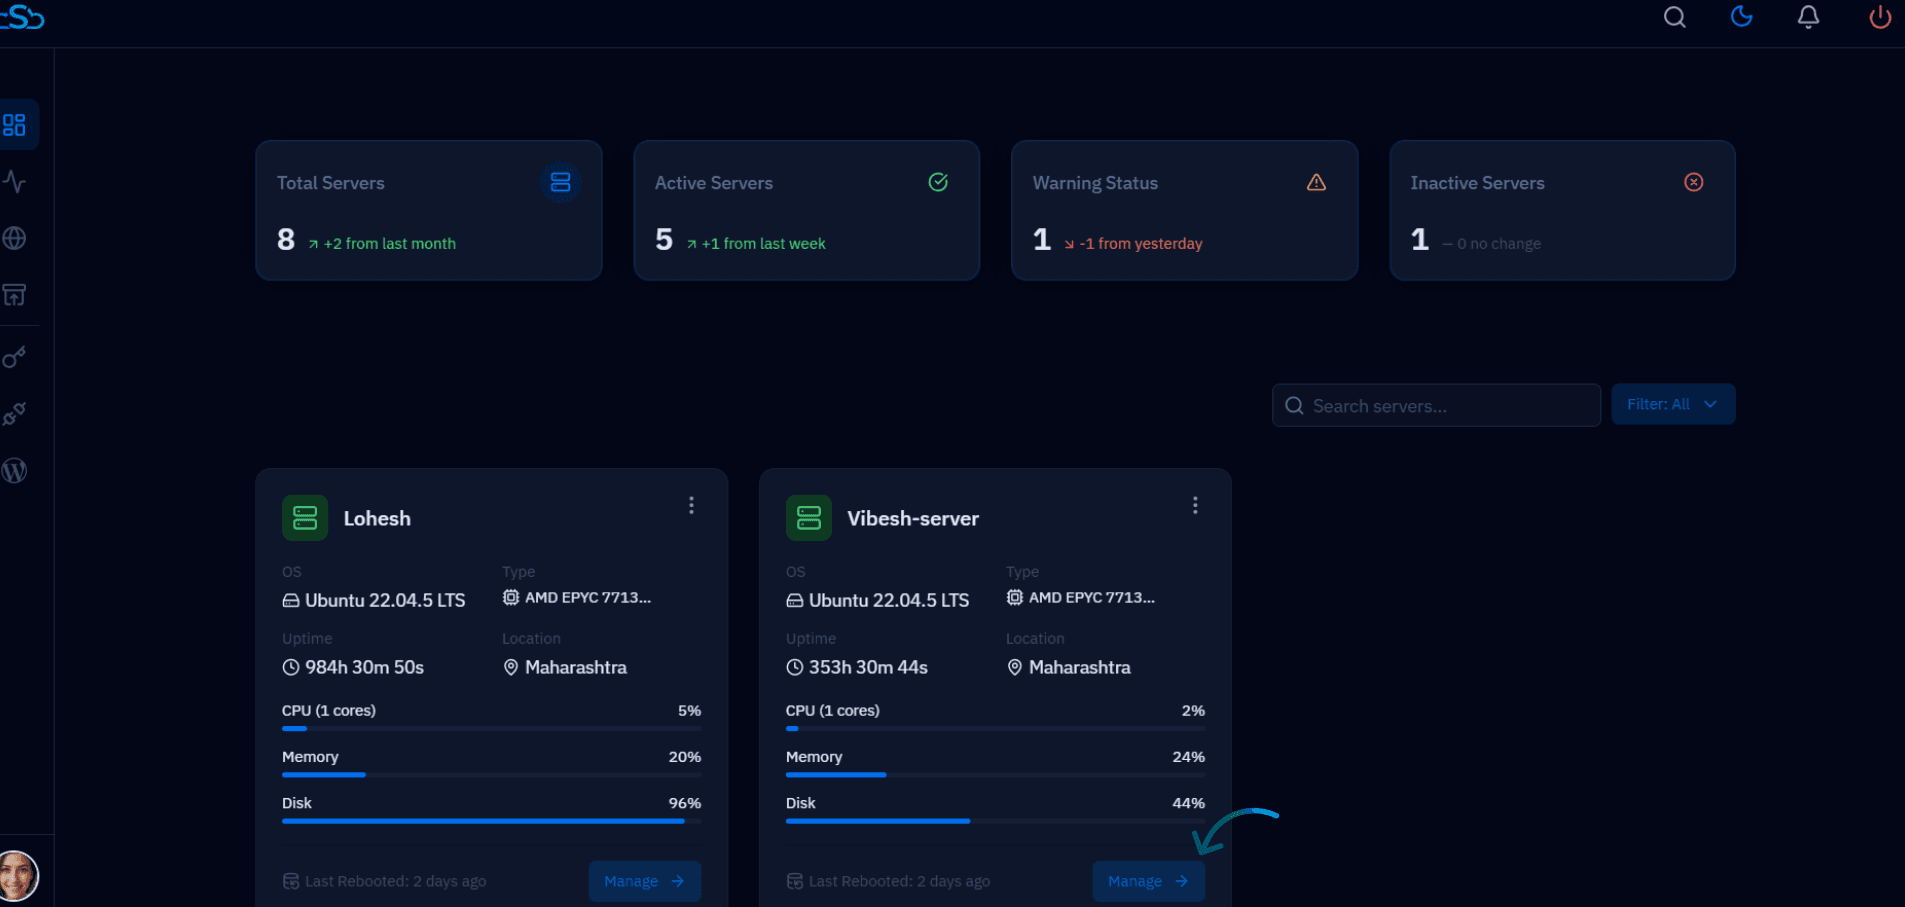
Fig. 01 — CloudStick Dashboard showing all connected servers with resource usage and uptime information.
2. Select the server you want to manage: Find the server card that hosts the websites you want to view, then click the MANAGE button on that card. This opens the server panel.
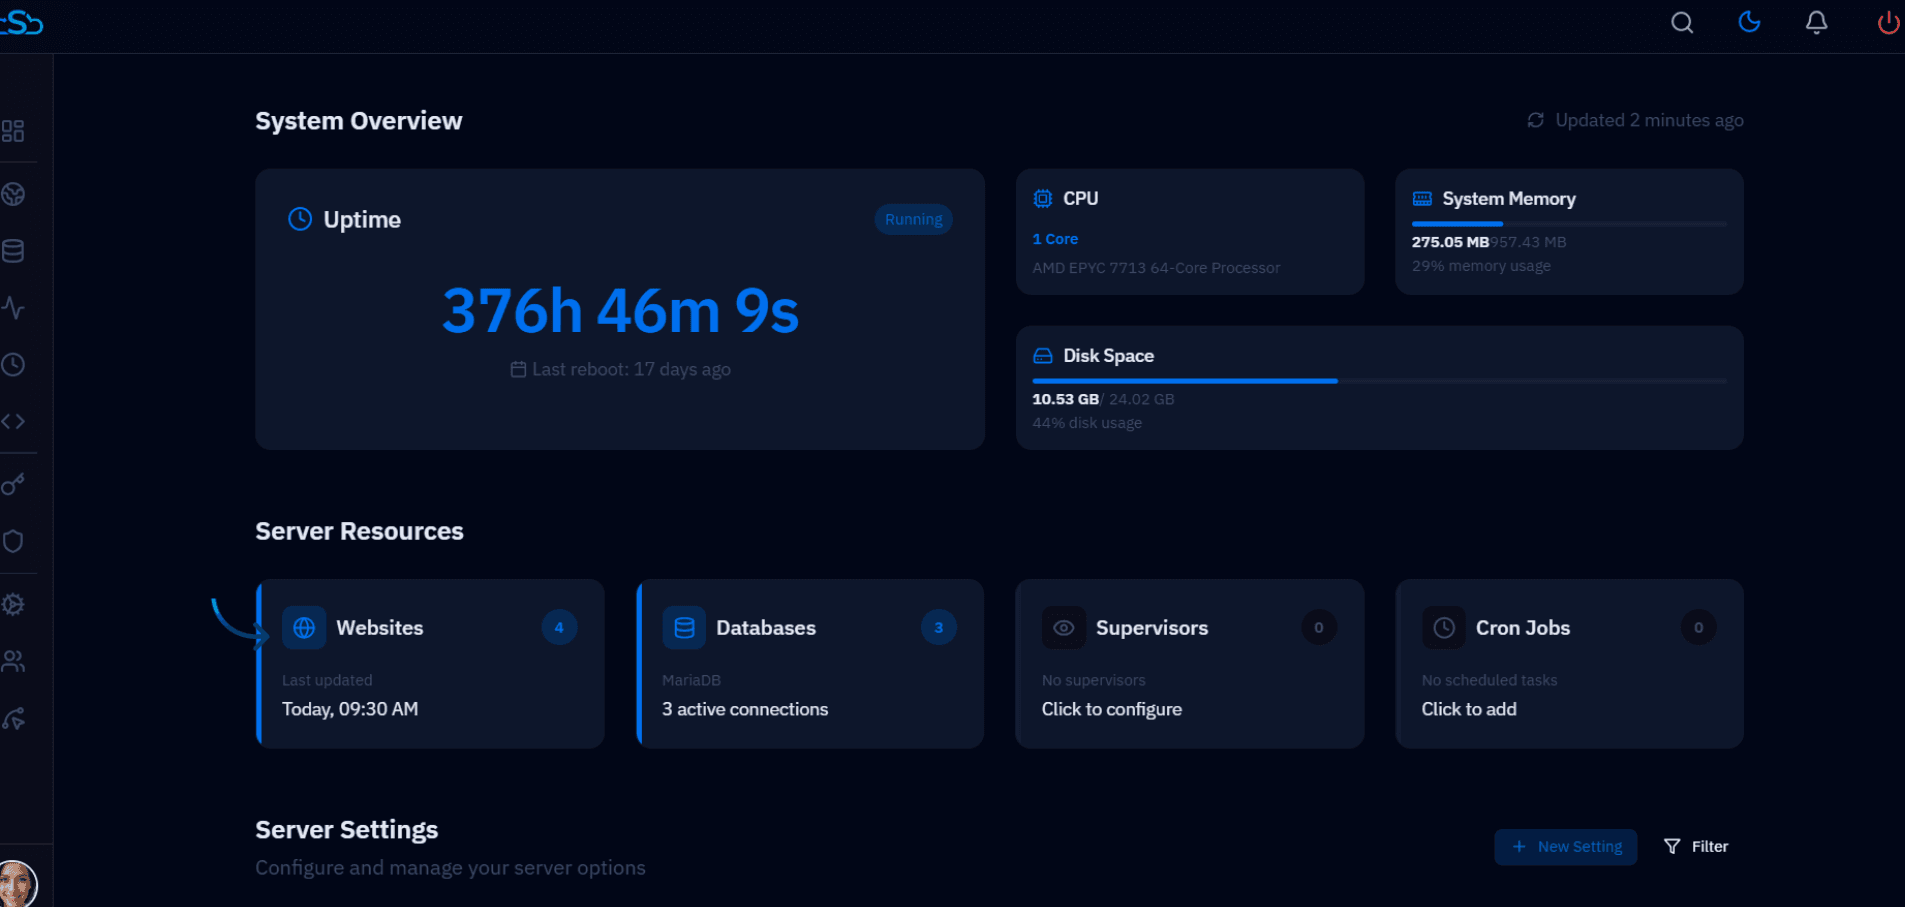
Fig. 02 — Server panel showing System Overview with the Websites card in Server Resources highlighted.
The Websites card in Server Resources shows the total number of web applications currently hosted on the server. Click it directly to jump straight to the WebApp List.
Step 2: View All Websites
Once you are inside the server panel, the Websites section provides a complete, searchable list of every application running on that server.
3. Click Websites from the left-side menu: In the server panel's left-hand navigation, click the Websites icon (globe icon). The WebApp List loads, showing every website and web application hosted on this server.
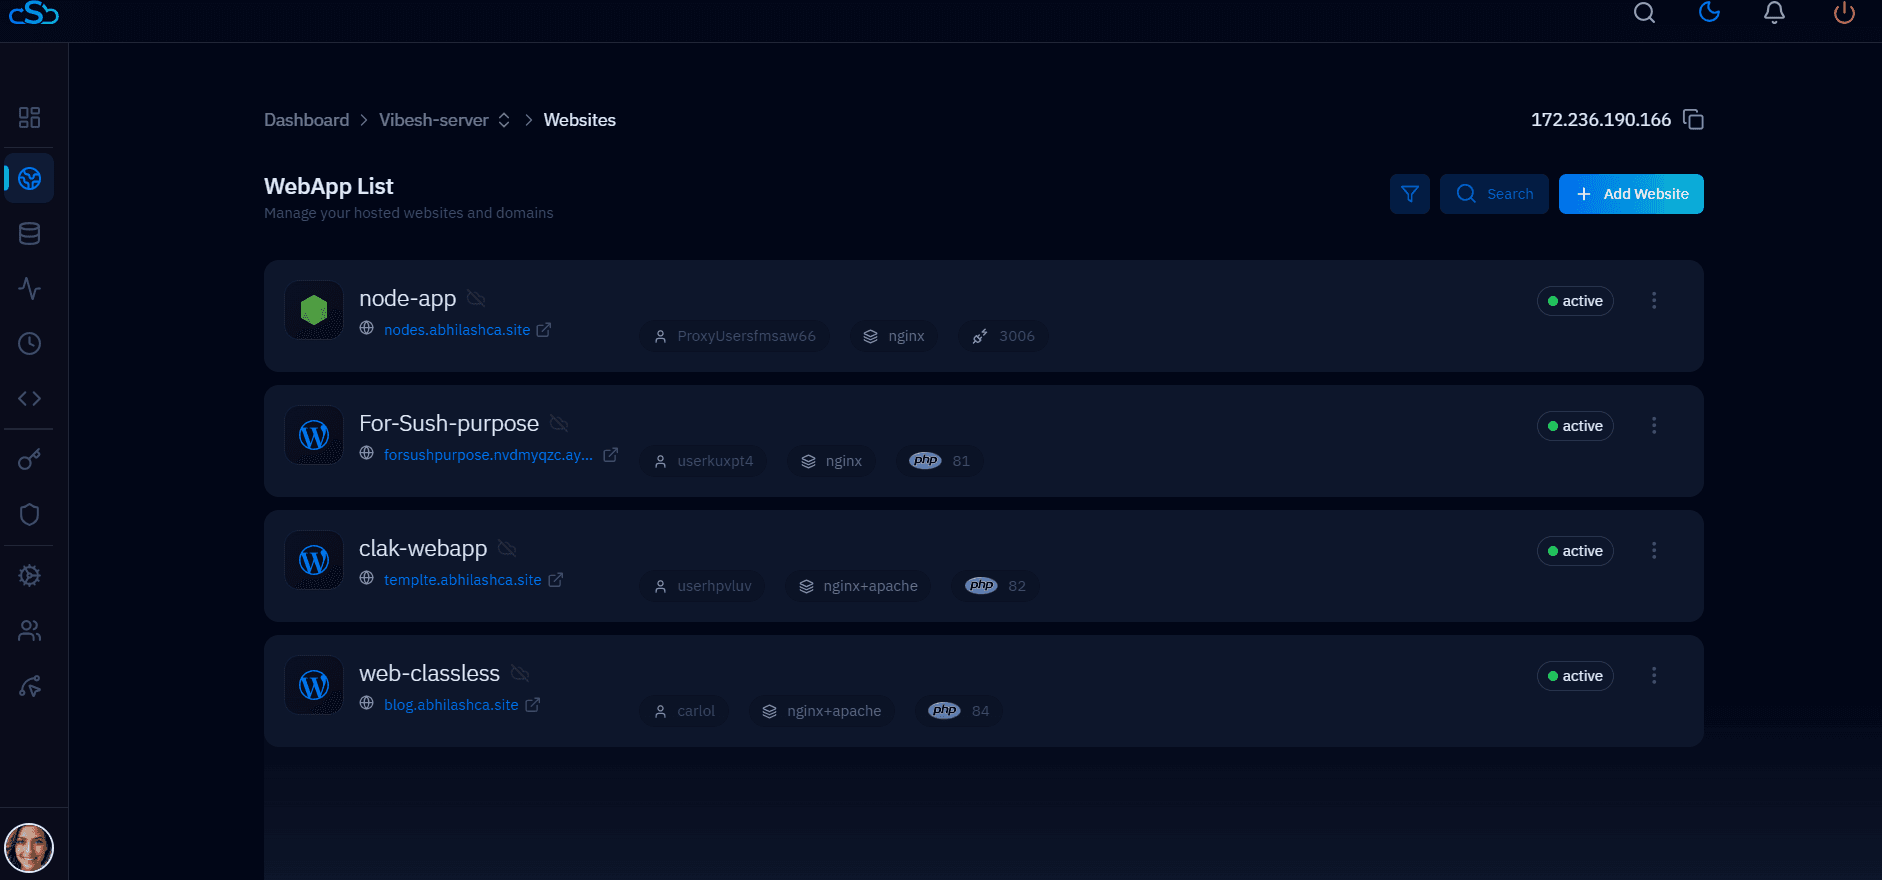
Fig. 03 — WebApp List displaying all websites on the server with their domain, web server type, PHP version, and active status.
4. Explore an individual website: Click on any website name in the list to open its dedicated management panel. There you can access its configuration, domains, deployment settings, activity logs, environment variables, CronJobs, and more.
What the WebApp List Shows
Each row displays the site name, primary domain, assigned system user, web server stack, and PHP version.
The status indicator on the right shows whether the site is Active or suspended.
Use the Search box in the top-right to quickly filter sites by name when a server hosts many applications.
Click + Add Website to create a new web application directly from this view.
The Websites section provides a centralized view of all applications running on your server, making website management simple and efficient — no SSH or command-line access required.