How to Add an SSH Key
Overview
SSH key authentication is the most secure way to connect to your server. Instead of relying on a password — which can be guessed or brute-forced — an SSH key pair lets you authenticate using a private key you keep on your local machine and a matching public key stored on the server. Once a key is in place, you can log in over SSH without typing a password every time.
CloudStick lets you manage these public keys directly from the dashboard through the SSH Keys section, so you never have to edit ~/.ssh/authorized_keys by hand. This guide walks you through adding an SSH key to a system user on your server.
SSH Key Management is available on the Basic plan and above. You will need an existing SSH key pair on your local machine — if you don't have one, generate it first with ssh-keygen before continuing.
Step 1: Log In to Your CloudStick Account
Start from the CloudStick Dashboard and open the server you want to add the key to.
1. Log in: Sign in to your CloudStick account at app.cloudstick.io.
2. Select your server: From the Dashboard, click the server you want to manage to open its server details page.
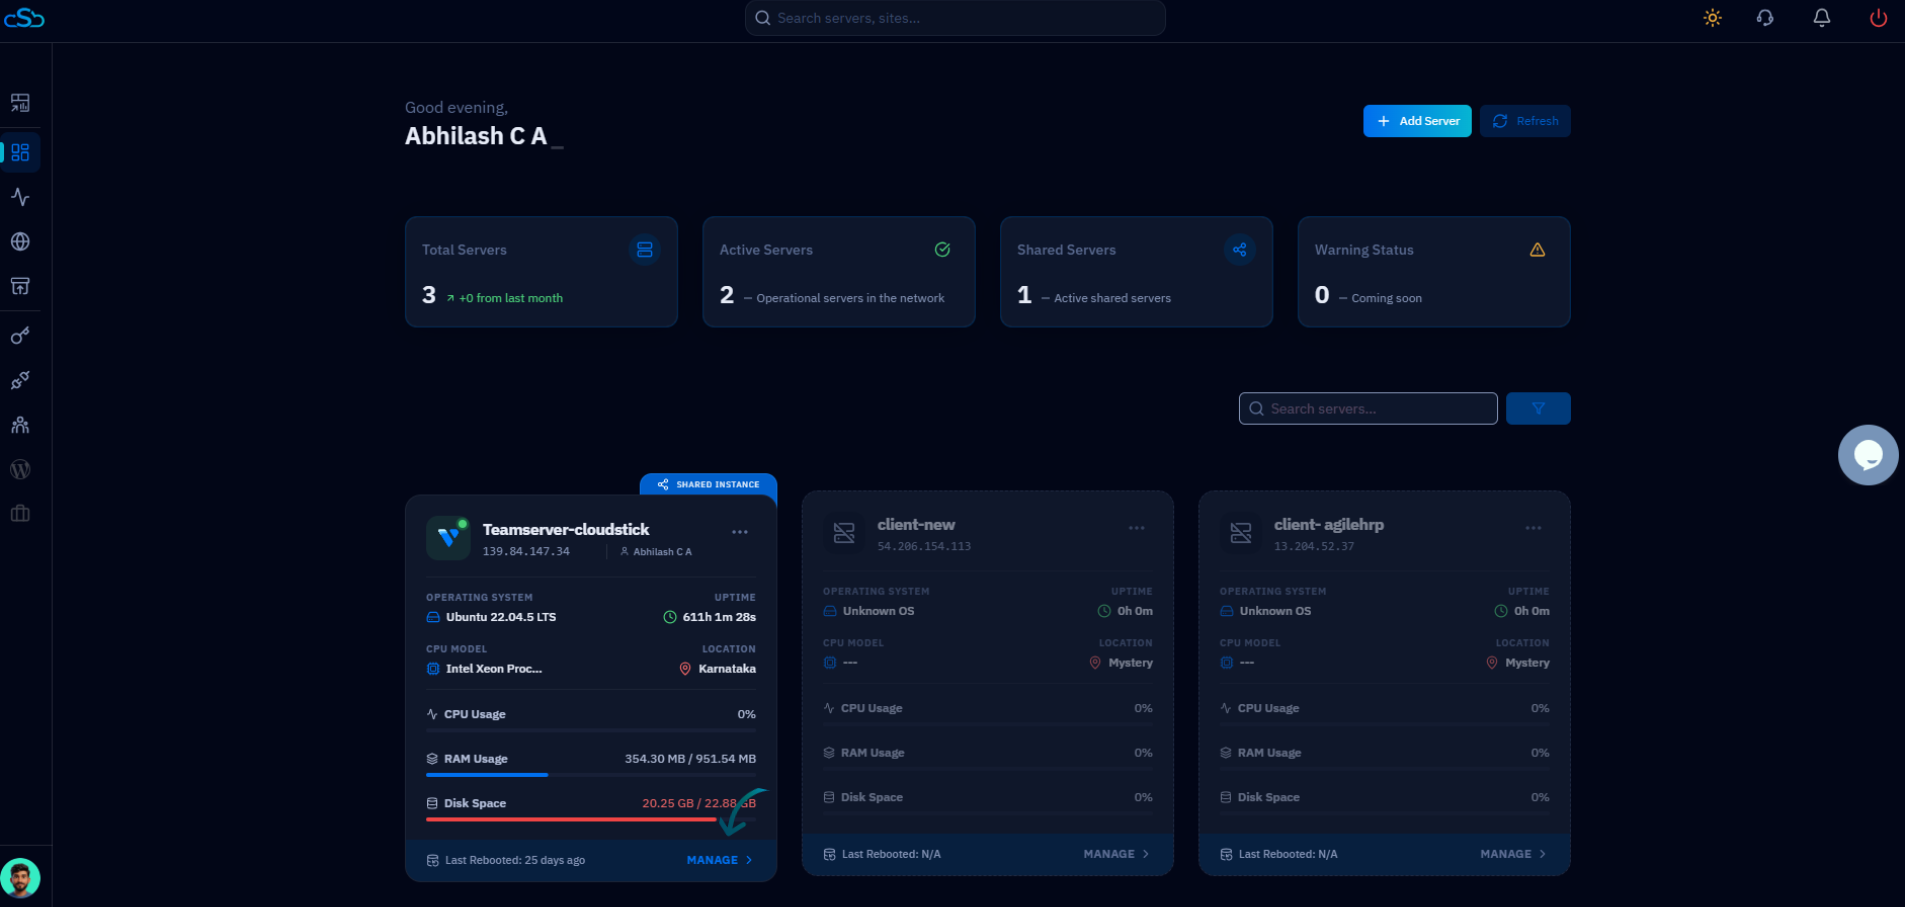
Fig. 01 — The CloudStick Dashboard showing your connected servers. Select the server you want to add an SSH key to.
Step 2: Open SSH Keys
The SSH key manager lives in the left-hand navigation of the server panel.
1. Open the menu: From the left-side menu of the server panel, locate the SSH-related icons.
2. Click SSH Keys: Click on SSH Keys to open the page where public keys for this server are managed.
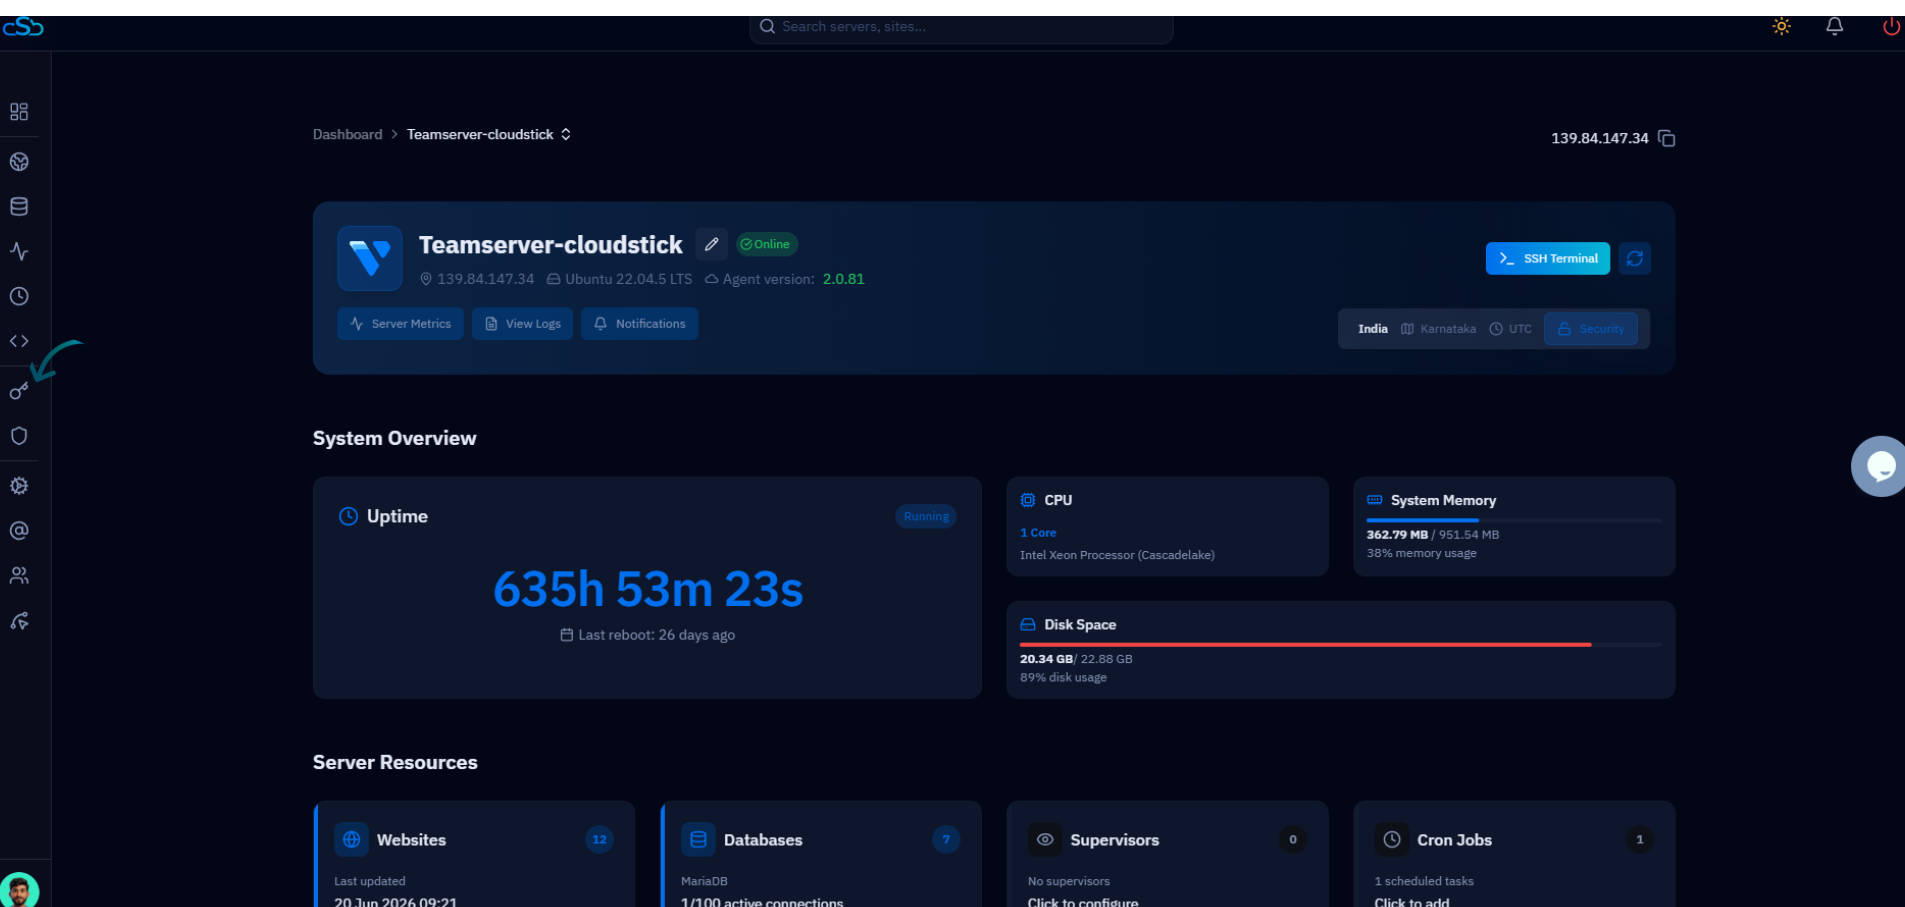
Fig. 02 — The server panel with the SSH Keys option highlighted in the left-hand navigation.
Step 3: Add a New SSH Key
The SSH Keys page lists every public key already authorized for this server. To authorize a new one, start the add flow.
1. Review existing keys: The list shows the label, user, and public key for each authorized key.
2. Click Add SSH Key: Click the Add SSH Key button in the top-right of the page to open the add key form.
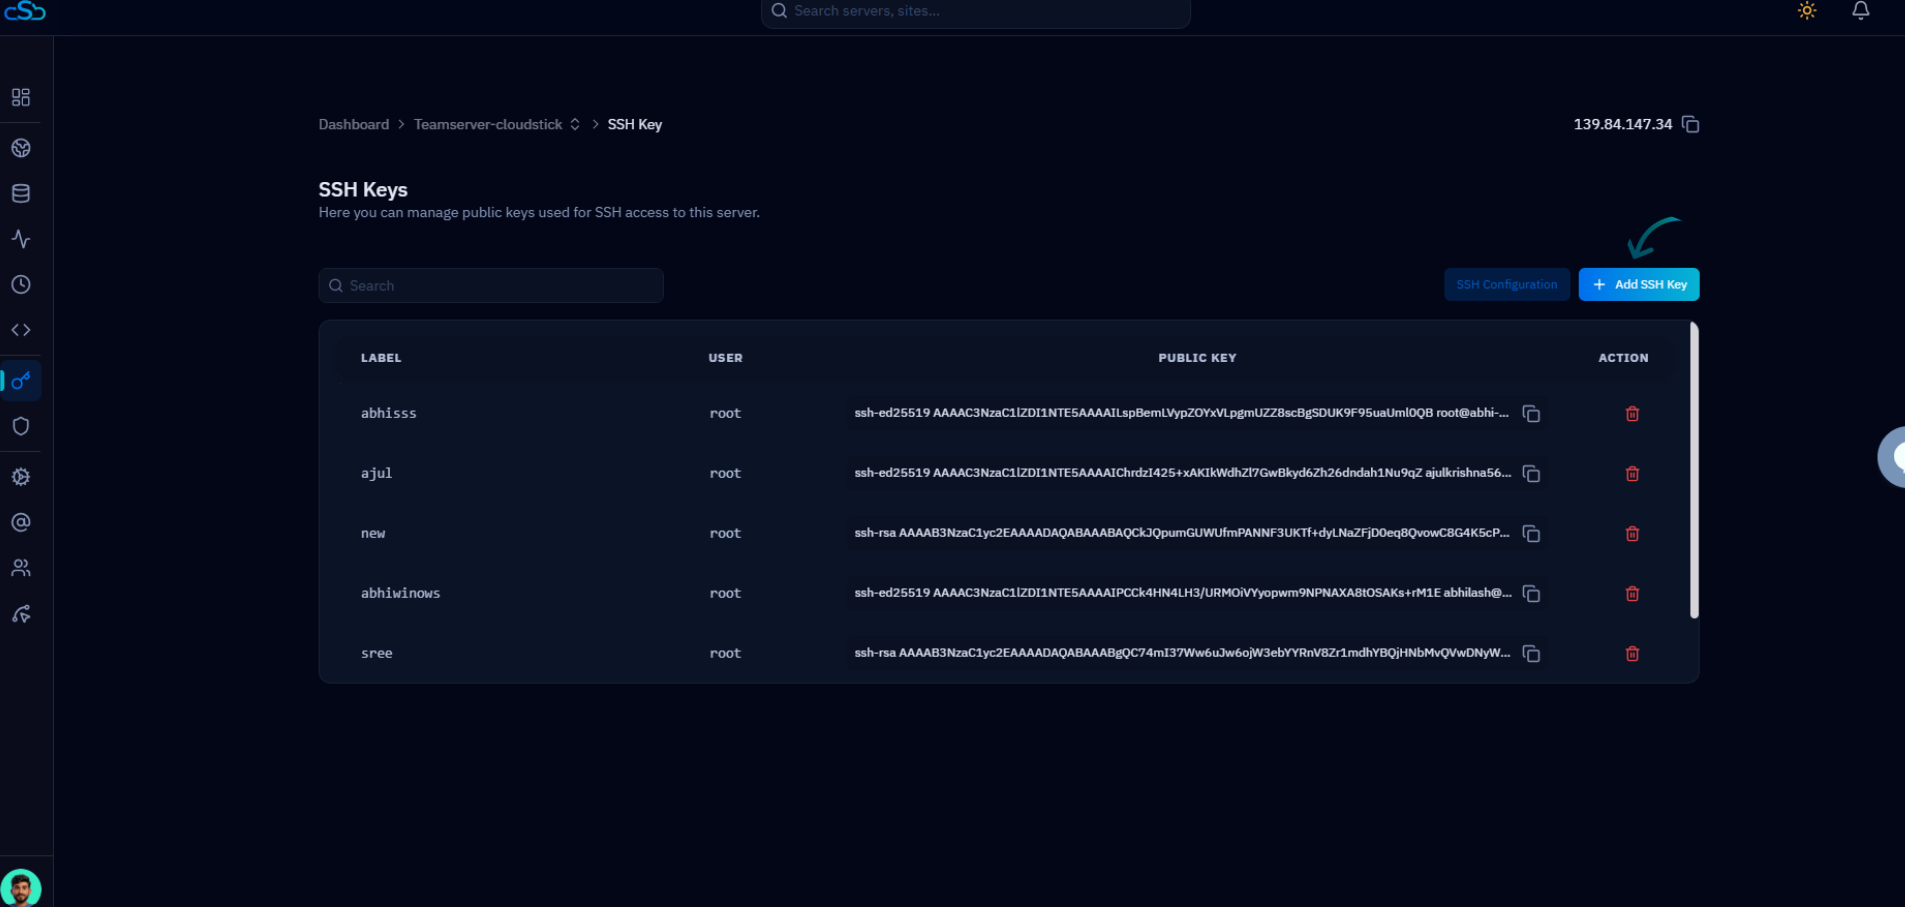
Fig. 03 — The SSH Keys list. Click the Add SSH Key button to authorize a new key.
Step 4: Enter SSH Key Details
In the Add New SSH Key form, identify the key and choose which system user it belongs to.
1. Key Label: Enter a descriptive name for the key (for example, my_laptop_key) so you can recognize it later in the list.
2. System User: Select the system user this key should authenticate as. The key will only grant access to the user you choose here.

Fig. 04 — The Add New SSH Key form with the Key Label, System User, and Public Key fields.
Step 5: Paste the Public Key
Copy the contents of your public key file and paste it into the form.
1. Copy your public key: On your local machine, open your public key file (usually ~/.ssh/id_ed25519.pub or ~/.ssh/id_rsa.pub) and copy the entire line.
2. Paste into Public Key: Paste the copied key into the Public Key field. A valid key starts with a type prefix such as ssh-ed25519 or ssh-rsa.
Paste your public key (the file ending in .pub) — never your private key. Your private key must stay on your local machine and should never be shared with anyone.
Step 6: Save the SSH Key
Confirm the details and add the key to the selected user.
1. Click Add key: Click the Add key button to save the SSH key to the selected system user.
2. Wait for confirmation: CloudStick writes the key to the user's authorized keys on the server and confirms once it is saved.
Step 7: Verify the SSH Key
Confirm the key was added and is ready to use.
1. Check the list: Once saved, the new SSH key appears in the SSH Keys list alongside its label and user.
2. Test the connection: You can now connect to the server over SSH as that user using your private key — no password required.
If the connection still asks for a password, make sure you are connecting as the correct system user and that your local SSH client is using the matching private key.