How to Change Web Stack (Web Application)
Overview
CloudStick lets you choose the web server stack that powers each of your web applications independently. You can run one site on Native Nginx for pure performance and another on Nginx + Apache for .htaccess compatibility — all on the same server, without any command-line work. Switching stacks is fully managed through the CloudStick dashboard and the change takes effect as soon as the services restart.
This guide walks you through locating your web application, navigating to the Change Web Stack section in App Settings, and selecting the stack that best suits your application's requirements.
Switching web stacks causes a brief service restart on the application. Plan the change during a low-traffic window if your site is in production.
Step 1: Open Websites and Select Your Web Application
Web stack settings are configured per application, so the first step is to navigate to the specific site you want to modify.
Log in to your CloudStick Dashboard: Go to app.cloudstick.io and sign in to your account.
Open the Websites section: In the left-hand navigation of your server panel, click Websites to open the WebApp List.
Select your web application: Find the application you want to manage and click on its name to open the application management view.
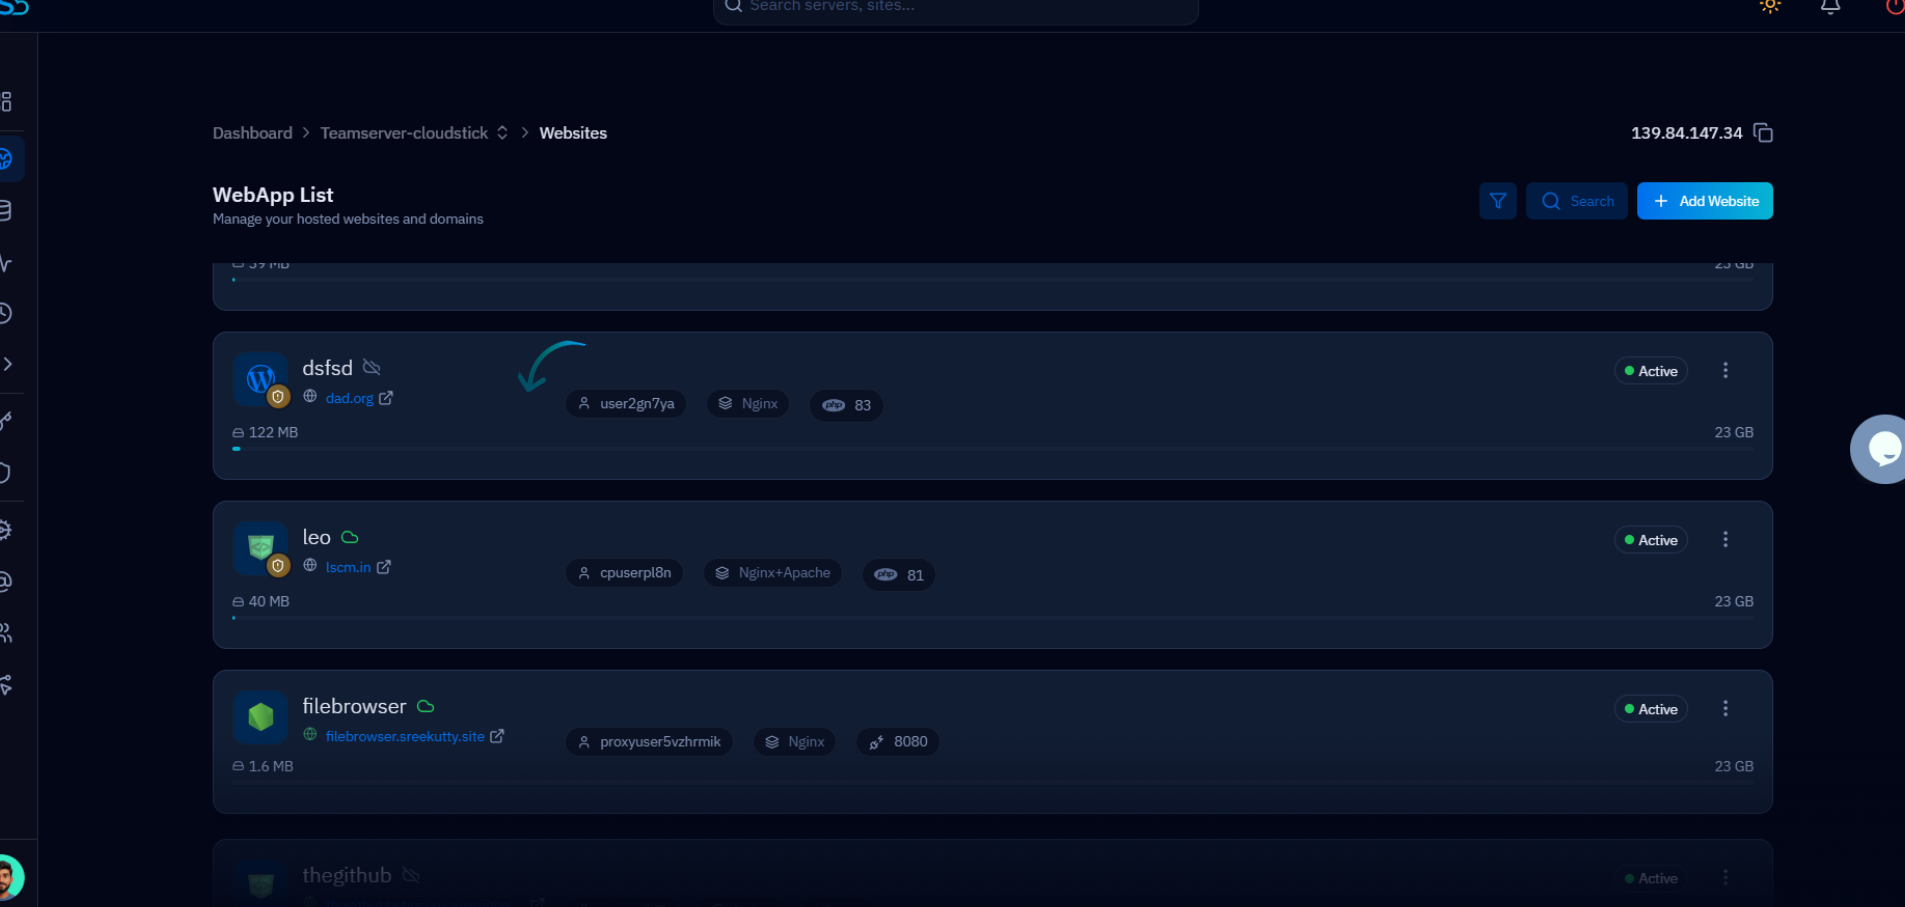
Fig. 01 — WebApp List showing all hosted websites and their current web stack configurations.
Step 2: Open App Settings
The App Settings panel is where all per-application server configuration lives — including the web stack, PHP version, domains, public path, and NGINX settings.
Click the Settings tab: In the top navigation bar of your web application, click Settings. This opens the App Settings page.
Locate Change Web Stack: The second card on the App Settings page is Change Web Stack. It displays the description "Change Web Stack allows you to select and switch the web server stack used by the application."
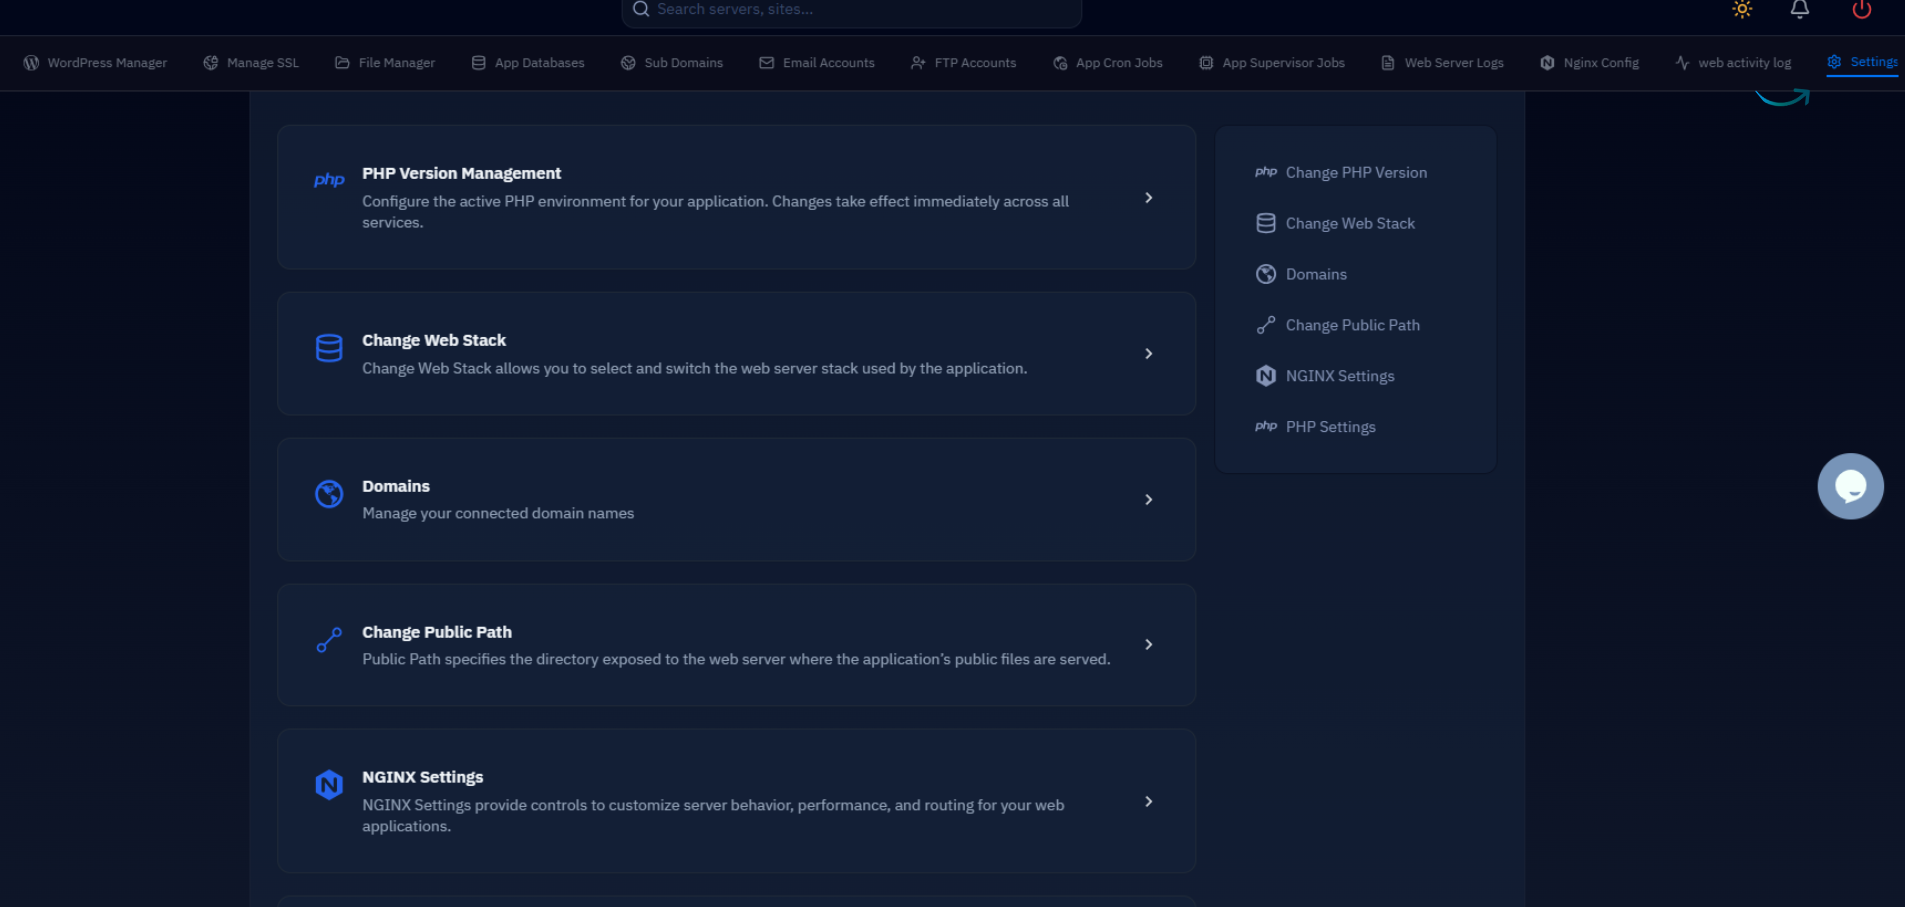
Fig. 02 — App Settings page showing the Change Web Stack card alongside other configuration options.
Step 3: Select the Web Stack
Expanding the Change Web Stack card reveals a dropdown listing all stacks available on your server. Select the one that suits your application and save the change.
Click on Change Web Stack: Click the Change Web Stack card to expand it and reveal the Web Stack dropdown.
Choose the required stack: The dropdown lists available options — for example Native Nginx (for maximum performance) or Nginx + Apache (for full .htaccess support). Select the stack your application requires.
Save the changes: Click the Save / Apply Changes button to confirm. CloudStick will reconfigure the application and restart the relevant services automatically.

Fig. 03 — Change Web Stack dropdown expanded showing Native Nginx and Nginx + Apache options.
The stack change takes effect after a short service restart. The transition is automatic — no manual Nginx or Apache commands are required.