How to Configure the Server Timezone
Overview
Every server keeps its own system clock, and the timezone it runs on affects far more than the time shown in a terminal. Log timestamps, scheduled CronJobs, backup windows, SSL renewal checks, and application date functions all follow the server's configured timezone. If a server is left on the default UTC while your team and customers operate in a different region, scheduled tasks can fire at unexpected hours and logs become harder to correlate with real-world events.
CloudStick lets you set the correct timezone directly from the dashboard — no SSH access or command line needed. This guide walks you through selecting your server, opening Server Settings, choosing a timezone, saving, and rebooting so the change is applied consistently across every service.
A reboot is required at the end of this process so that all running services pick up the new timezone. Plan this change for a low-traffic window, as the server will be briefly offline. See How to Reboot Server for details on the reboot step.
Step 1: Select Your Server
Start from the CloudStick Dashboard, where all of your connected servers are listed.
1. Open the Dashboard: Sign in to your CloudStick account to view all connected servers.
2. Select the server: Click the server whose timezone you want to change to open its server panel.
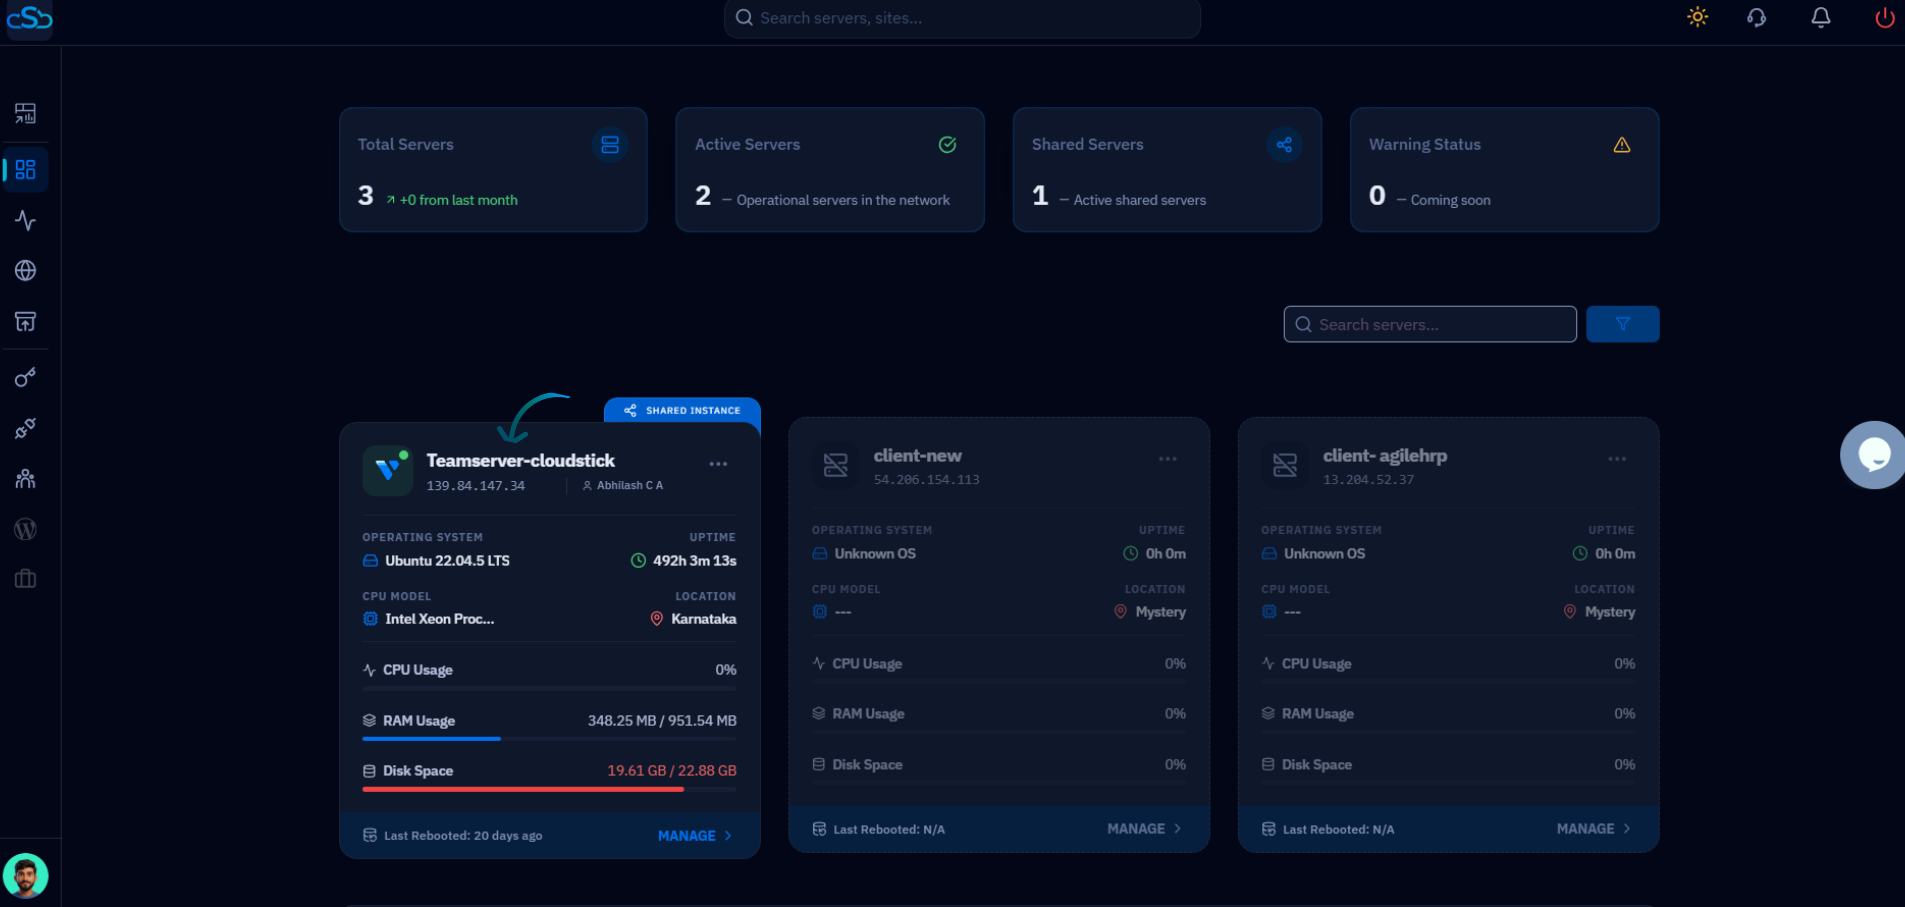
Fig. 01 — The CloudStick Dashboard listing connected servers; click a server card to open its management panel.
Step 2: Open Server Settings
The timezone control lives in the server's settings area, alongside other server-level options.
1. Scroll to Server Settings: Within the server panel, scroll down to the Server Settings section.
2. Open Configure Timezone: Locate the Configure Timezone card and click the Configure button to expand the timezone selector.
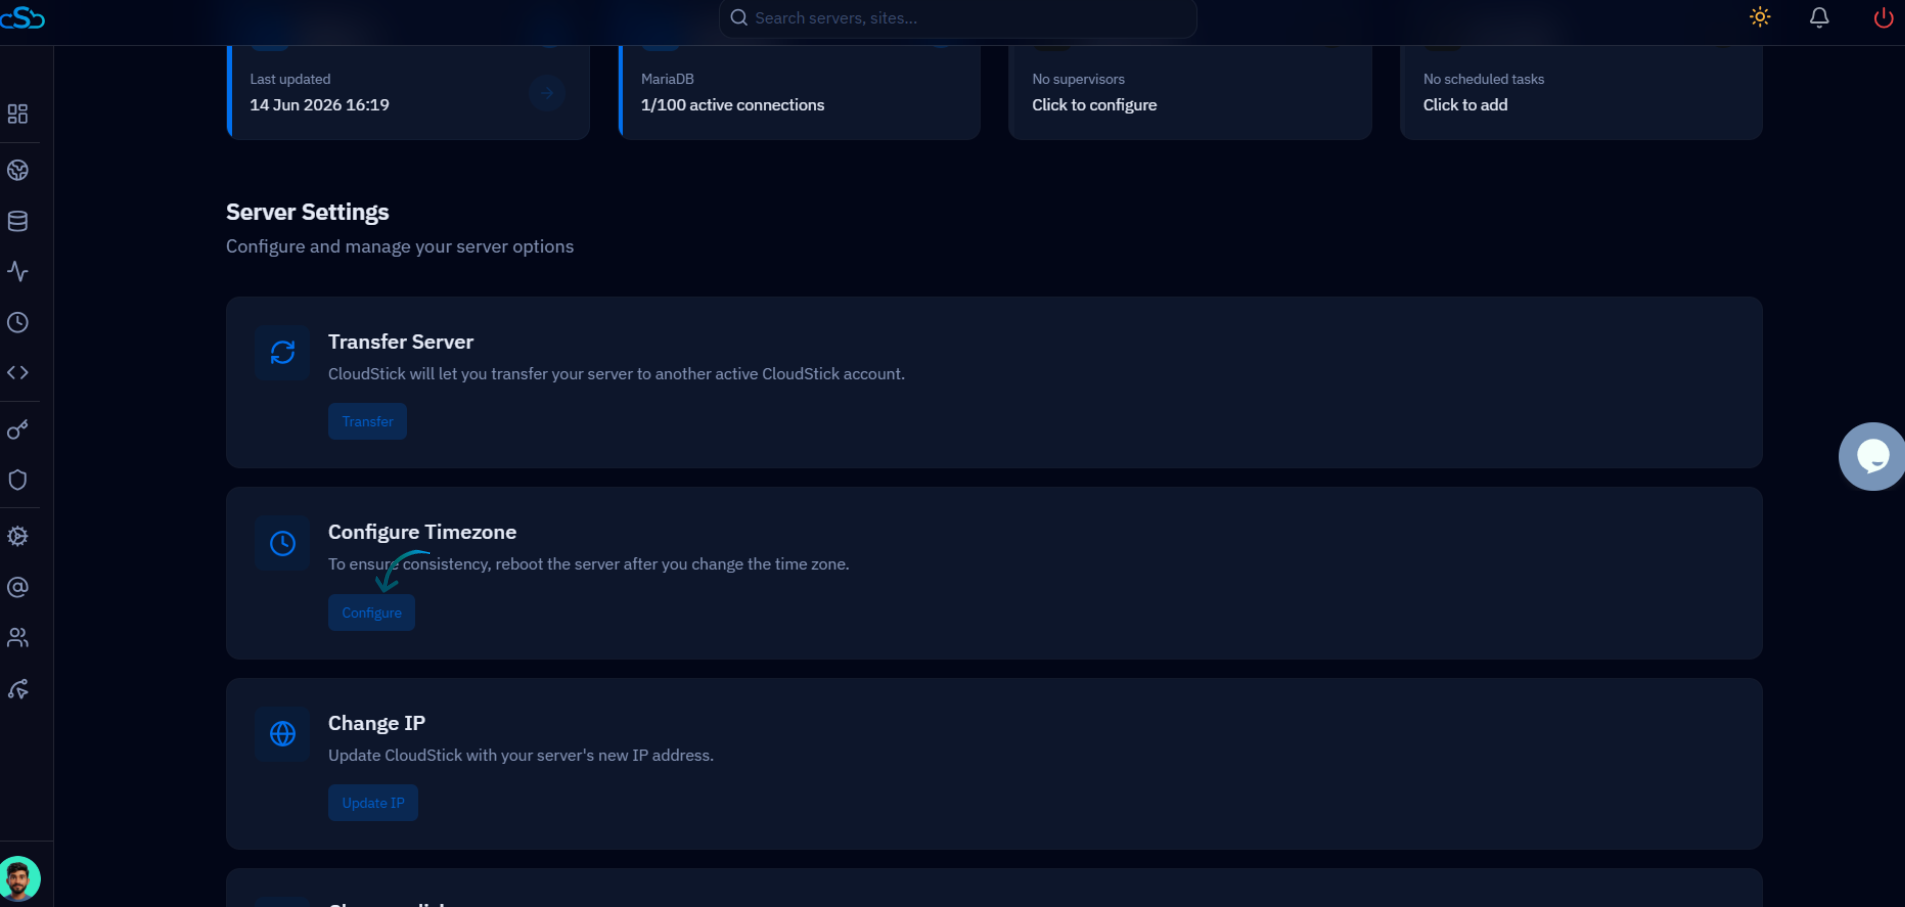
Fig. 02 — The Server Settings section showing the Configure Timezone card and its Configure button.
Step 3: Choose Your Timezone
CloudStick provides the full list of standard IANA timezones so you can match your server to any region.
1. Open the dropdown: Click the Select Timezone dropdown to reveal the available timezones.
2. Pick your timezone: Choose your preferred timezone from the list — for example, a region such as Asia/Kolkata or America/New_York that matches where your team or audience is located.

Fig. 03 — The Select Timezone dropdown expanded, listing the available IANA timezones to choose from.
Step 4: Save Changes
Confirm your selection so CloudStick can update the server's timezone setting.
1. Click Save: With your timezone selected, click Save to apply the new timezone to the server.
The new timezone is now recorded, but running services and scheduled tasks will continue using the old timezone until the server is rebooted in the next step.
Step 5: Reboot the Server
A reboot ensures the timezone change takes effect uniformly across the operating system and all services.
1. Reboot the server: Trigger a reboot from the server panel so the kernel, system clock, and all services reload with the updated timezone.
2. Wait for the server to return: The server will go offline briefly and come back online automatically once the restart completes.
After the reboot, all server logs, scheduled tasks, and system processes will follow the updated timezone.