How to Delete a Cron Job in CloudStick
Overview
Over time, a server can accumulate cron jobs that are no longer needed — a task tied to a removed application, a one-off script, or a schedule that has been replaced. Leaving obsolete jobs in place wastes resources and can cause unexpected behaviour, so it is good practice to remove them once they have served their purpose. CloudStick's visual Cron Jobs Manager lets you delete any scheduled task directly from the dashboard, with no terminal or SSH access required.
This guide walks you through removing a cron job in CloudStick: selecting the correct server, opening the Cron Jobs section, locating the job in the list, and removing it from the Action menu.
Deleting a cron job is permanent and cannot be undone. Once removed, the job stops running immediately — so double-check that you have selected the correct job before confirming.
Step 1: Log In and Select Your Server
Cron jobs are managed per server, so the first step is to open the server where the job was created.
1. Log in to CloudStick: Sign in to your CloudStick dashboard with your account credentials.
2. Select your server: From the Servers section on the dashboard, click the server where the cron job is configured to open its server panel.
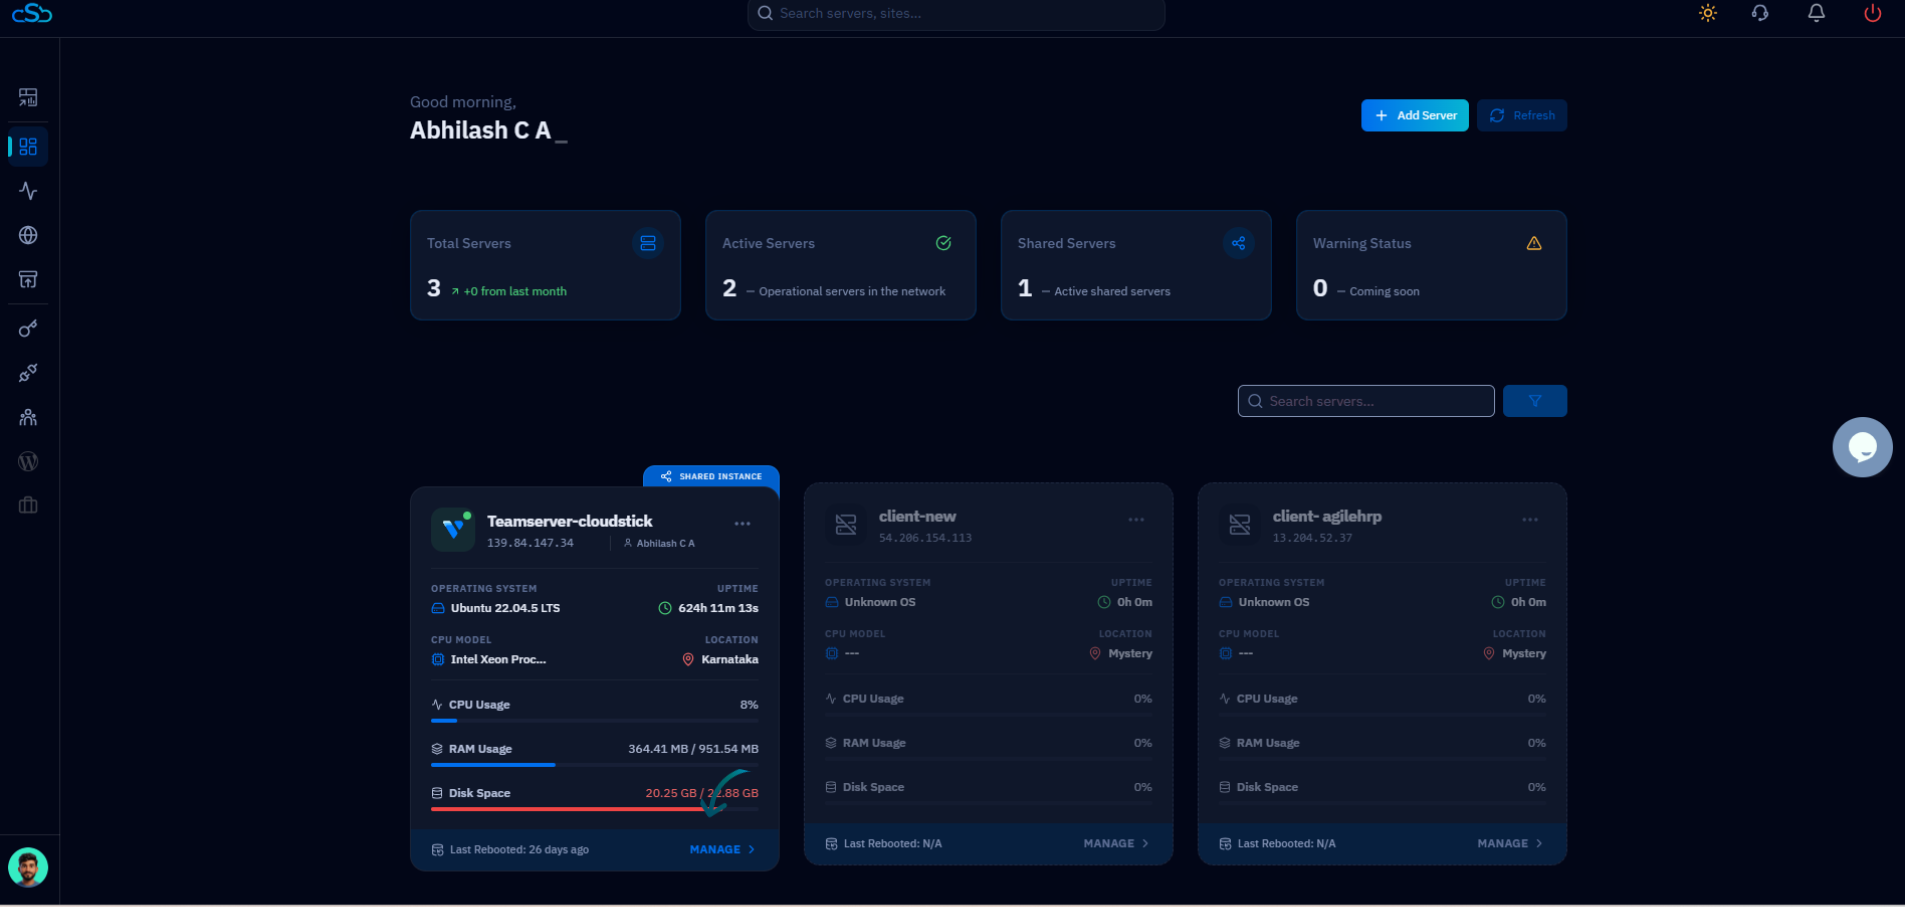
Fig. 01 — CloudStick dashboard showing connected servers; click the server that hosts the cron job.
Step 2: Open the Cron Jobs Section
The Cron Jobs Manager lives inside the server panel, in the left-hand navigation.
1. Open the Cron Jobs section: In the left-hand navigation of the server panel, click the clock icon labelled Cron Jobs. This opens the Cron Jobs Management page.
2. Review the existing jobs: The page lists every active cron job on the server, showing each job's name, the user it runs as, its command, and its schedule.
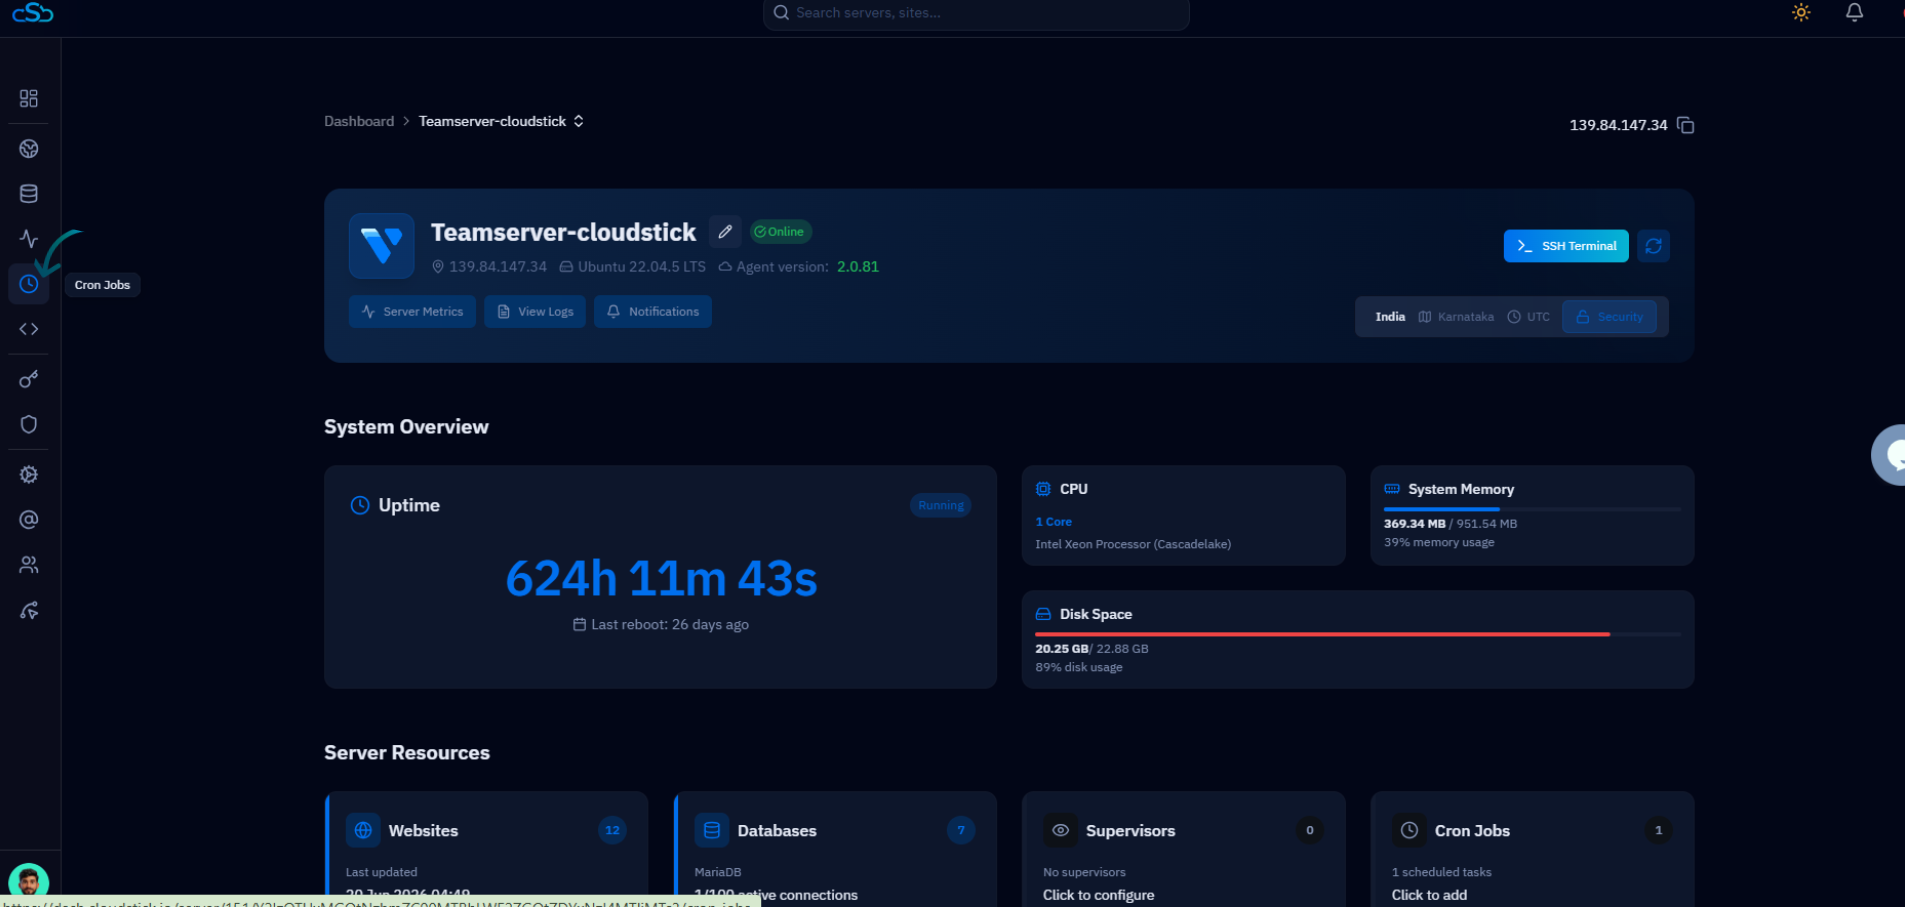
Fig. 02 — Server panel with the Cron Jobs icon highlighted in the left-hand navigation.
Step 3: Locate and Remove the Cron Job
Find the job you want to remove in the list, then use its Action menu to delete it.
1. Locate the cron job: Scan the list (or use the search field) to find the job you want to delete. Confirm its command and schedule so you are certain it is the right one.
2. Open the Action menu: Click the three-dot (⋮) Action menu at the end of that job's row to reveal its options.
3. Click Remove Job: Select Remove Job from the menu to begin deleting the cron job.
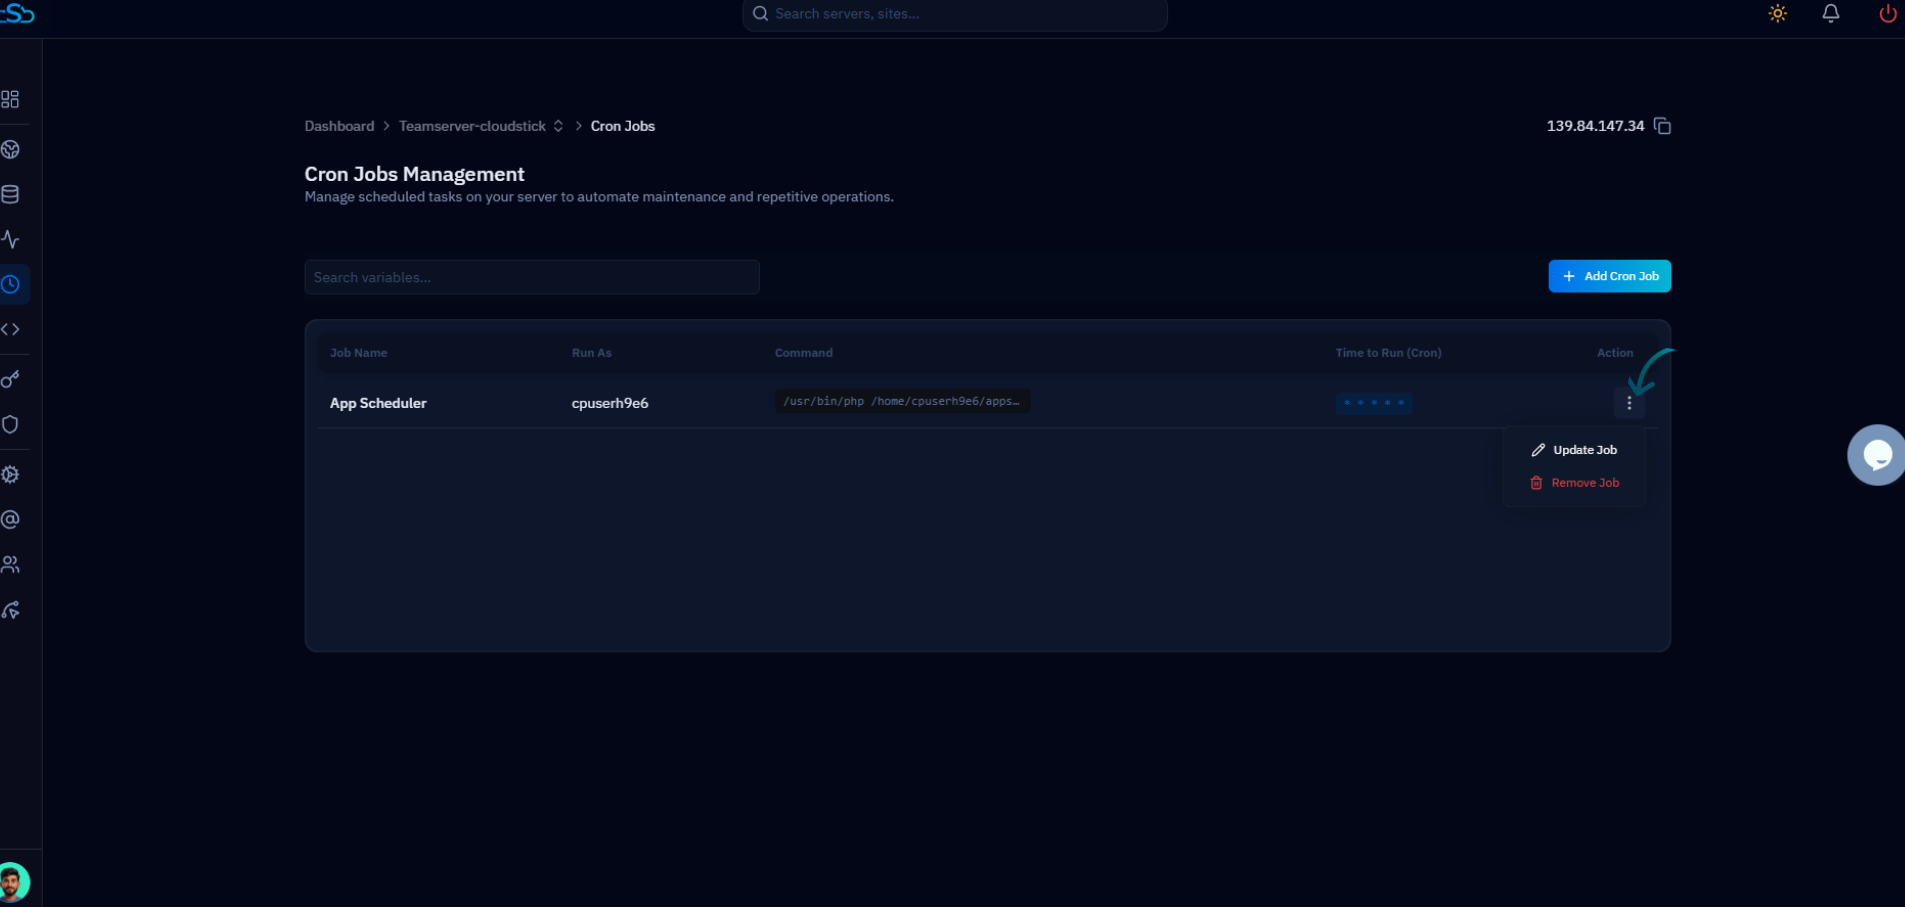
Fig. 03 — Cron Jobs Management page with the Action menu open, showing the Remove Job option.
Step 4: Confirm the Deletion
CloudStick asks you to confirm before permanently removing the job, protecting you from accidental deletions.
1. Confirm the action: When the confirmation prompt appears, confirm that you want to permanently remove the cron job.
2. Verify it is gone: The job disappears from the Cron Jobs Management list, confirming it has been removed and will no longer run.
Once deleted, the cron job stops running immediately. This action cannot be undone — if you only need to pause a job temporarily or change its timing, use Update Job instead of removing it.