How to Enable Remote MySQL Access
Overview
By default, MySQL on a CloudStick-managed server only accepts connections from localhost — this is the most secure configuration for production sites. However, there are legitimate scenarios where you need to connect to your database from an external machine: running database migrations from your local development environment, using a GUI client like MySQL Workbench, or connecting a remote application server.
CloudStick lets you enable remote MySQL access with a single toggle in the MySQL Settings panel, and then restrict that access to specific trusted IP addresses. This guide covers every step from enabling the toggle to making a successful connection from an external client.
Only enable remote MySQL access when genuinely needed. Always restrict access to specific, trusted IP addresses — never expose port 3306 to the public internet. Ensure your firewall allows outbound connections on port 3306/TCP from the remote IP before you begin.
Step 1: Enable Remote MySQL
The Remote MySQL toggle is found inside the MySQL Settings panel in your server's Databases section. Turning it on instructs MySQL to start accepting connections from non-localhost addresses.
From the CloudStick dashboard, open your server and navigate to Databases in the left-hand navigation.
Click the settings (gear) icon in the top-right corner of the Databases page to open the MySQL Settings dropdown.
Find the Remote MySQL option and toggle it ON.
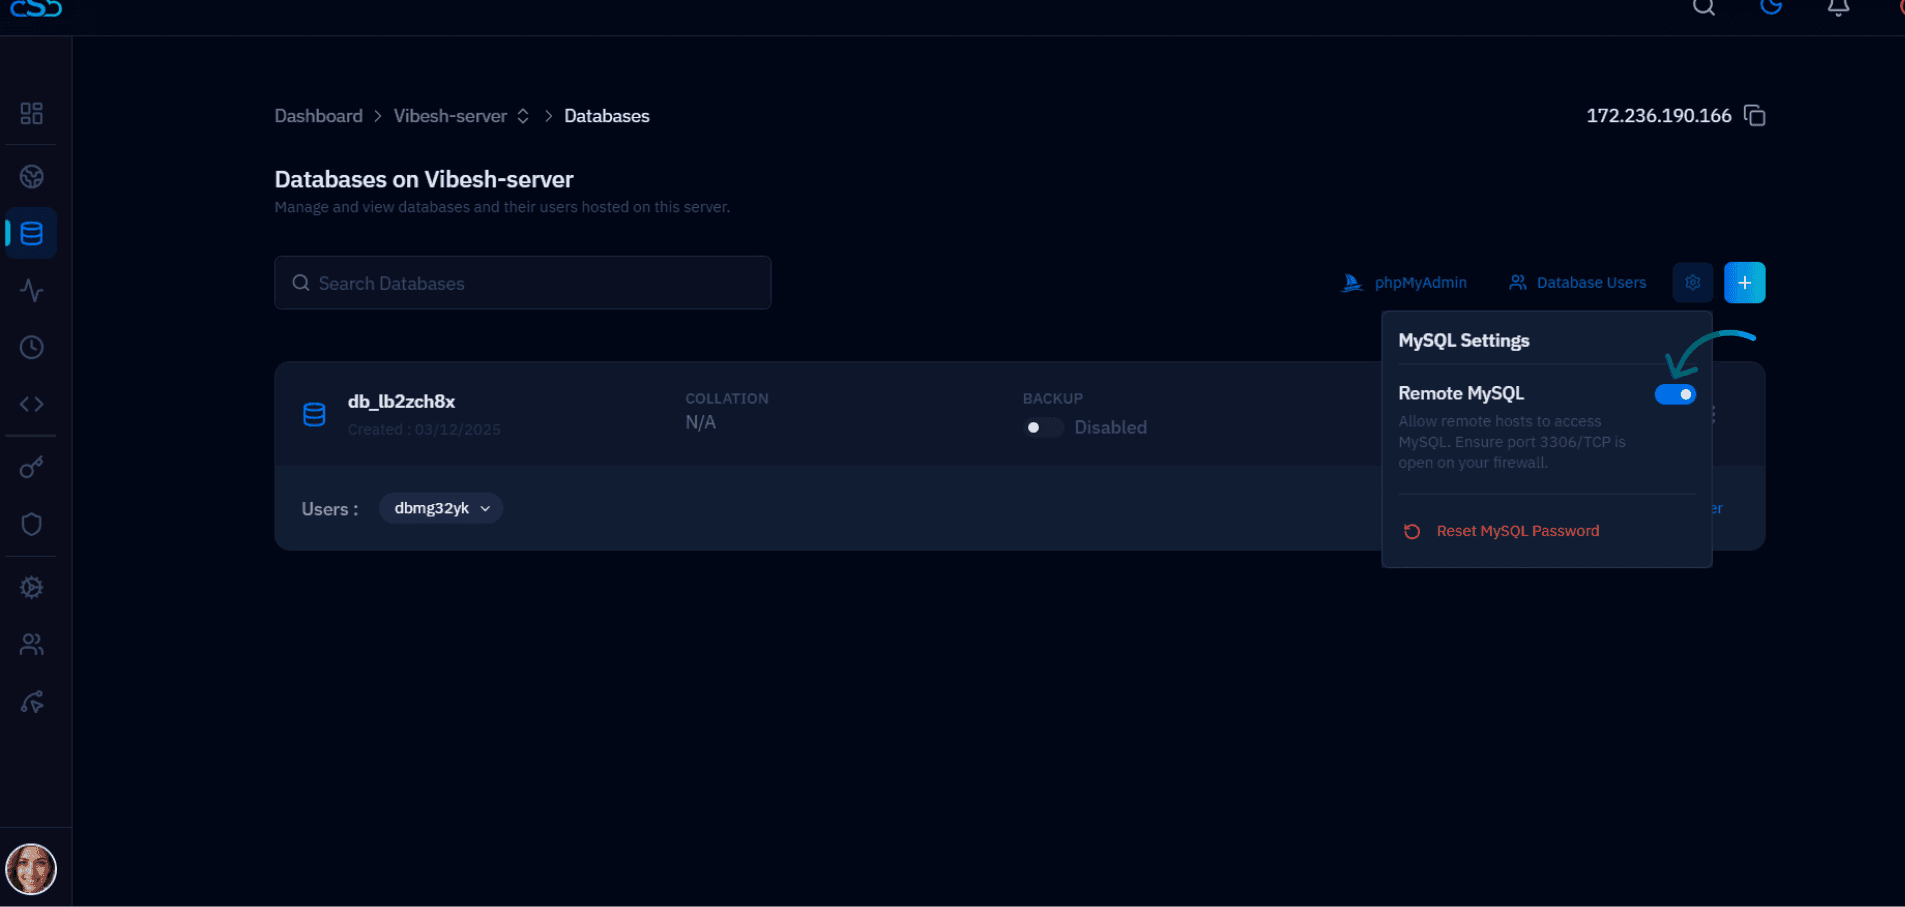
Fig. 01 — Databases section with the MySQL Settings panel open, showing the Remote MySQL toggle turned on.
Step 2: Add a Trusted Remote IP
After enabling Remote MySQL, you must specify which IP addresses are permitted to connect. CloudStick will not allow all remote connections by default — you need to whitelist each trusted IP explicitly.
In the Remote MySQL settings, locate the field to add a remote IP address.
Enter the public IPv4 address of the machine that needs remote access (e.g. your local development machine or application server).
Save the entry. Repeat for each additional IP address that requires access.
Only add IP addresses you own and trust. Using 0.0.0.0 or a wildcard to allow all IPs exposes your database to the entire internet and is a serious security risk.
Step 3: Verify Database User Permissions
A database user created with the host set to localhost can only connect from the server itself. For remote connections, the user must be configured to allow access from the remote IP or from % (any host).
Go to Databases and click Database Users in the top navigation of the Databases page.
Review the user that will be used for the remote connection and confirm its Host is set to the remote IP address or %.
Confirm the user has the necessary privileges (typically ALL PRIVILEGES) on the target database.
If you need to create a new user specifically for remote access, use the Database Users section and set the Host to the specific remote IP rather than localhost.
Step 4: Connect from an External Client
With remote access enabled and your IP whitelisted, you can now connect to your database from any MySQL-compatible client. Use the following connection details:
Connection details
Host: Your server's public IPv4 address (e.g. 172.236.190.166)
Port: 3306 (default MySQL port)
Username: Your database user (the one configured in Step 3)
Password: The password for that database user
Database: The name of the database you want to connect to (optional at login)
Compatible clients
MySQL Workbench — GUI tool for schema management and query execution
phpMyAdmin — web-based GUI (if installed on a separate server)
Command Line (CLI) — mysql -h YOUR_SERVER_IP -u YOUR_USER -p
TablePlus, DBeaver, DataGrip — any client that supports standard MySQL connections
If the connection fails, check that port 3306/TCP is open in CloudStick's CSF Firewall for your remote IP, and confirm the Remote MySQL toggle is still on and your IP is in the whitelist.