How to Install CloudStick on a Cloud Server
Overview
CloudStick is a lightweight SaaS server control panel that lets you manage your VPS or dedicated server entirely from a web dashboard — no command-line expertise required. Once the CloudStick agent is installed on your server, you gain full control over websites, databases, SSL certificates, backups, and firewall rules from a single interface.
This guide walks you through every step of connecting a fresh Ubuntu server to your CloudStick account — from clicking + Add Server on your dashboard all the way through to monitoring the live installation and confirming your server is online.
Step 1: Prerequisites
Before connecting your server to CloudStick, make sure your environment meets the following requirements to avoid installation failures.
Operating System: Ubuntu LTS only — versions 20.04, 22.04, or 24.04. Other distributions are not supported.
Fresh Server: The server must be a clean install with no existing web stack (Apache, Nginx, MySQL, or any other services). Installing CloudStick on a used server may cause data loss.
Dedicated IP Address: The server must have a static, publicly accessible IPv4 address.
Open Ports: Inbound traffic must be allowed on ports 22/tcp, 80/tcp, and 443/tcp before starting installation.
No NAT or VPN: CloudStick will not work if the server is behind a NAT or VPN. If behind an external firewall, ensure ICMP-IPv4 ports are open.
No OpenVZ: OpenVZ-based VPS hosting is not supported. Use KVM or any full-virtualisation provider.
Do NOT attempt to connect a server that already runs ServerPilot, Ploi, RunCloud, or Laravel Forge. Doing so will cause that existing server to crash. Always start with a completely fresh Ubuntu install.
Step 2: Add Your Server
With your server ready, log into your CloudStick dashboard and start the server connection flow.
Click + Add Server: Locate the blue "+ Add Server" button in the top right corner of your dashboard and click it.
Choose Your Pathway: You will be taken to the server setup screen where you can either purchase a new server through CloudStick or connect your own existing server.
To bring your own VPS or dedicated server, click Connect your server → in the top right of the screen.
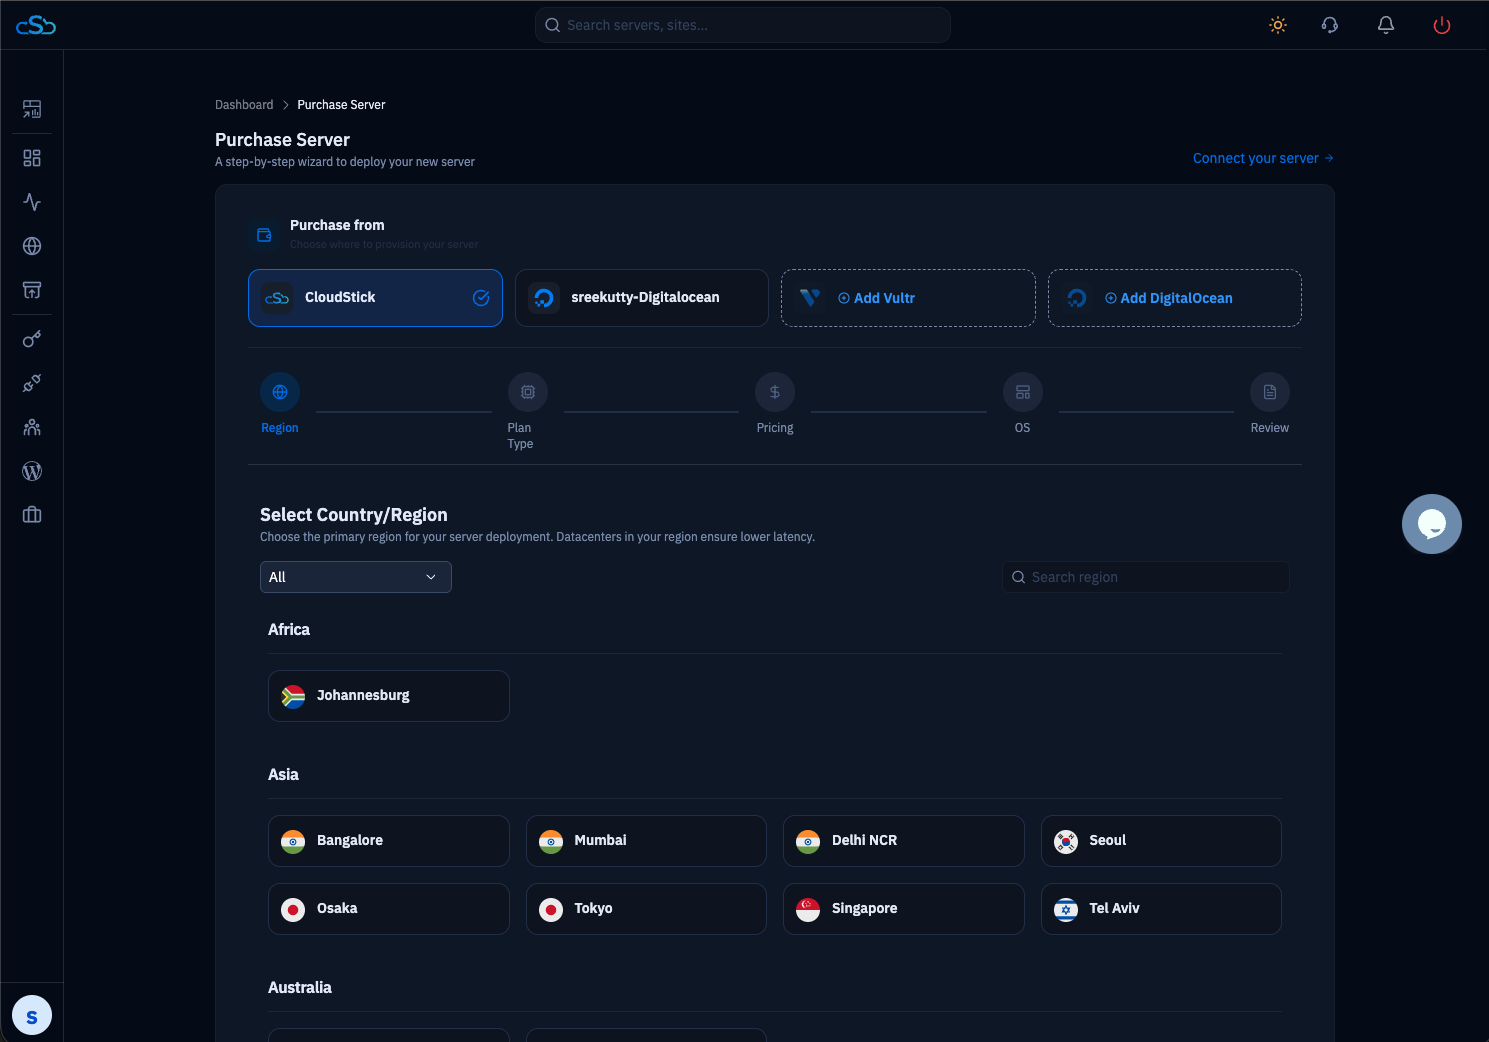
Fig. 01 — Server setup screen showing the option to purchase a new server or connect your own existing server.
Step 3: Select Your Provider
This is Step 1 of the 3-step connection wizard. Selecting your provider correctly allows CloudStick to tailor the installation script for your network environment.
You will see a grid of the most common cloud hosting providers — Akamai (Linode), Vultr, DigitalOcean, Hetzner Cloud, Contabo, RackNerd, AwsLightsail, and more. If your provider is not listed, select Other Provider.
Click your provider card (or Other Provider if not listed).
Click the blue Next → button to proceed to the details step.
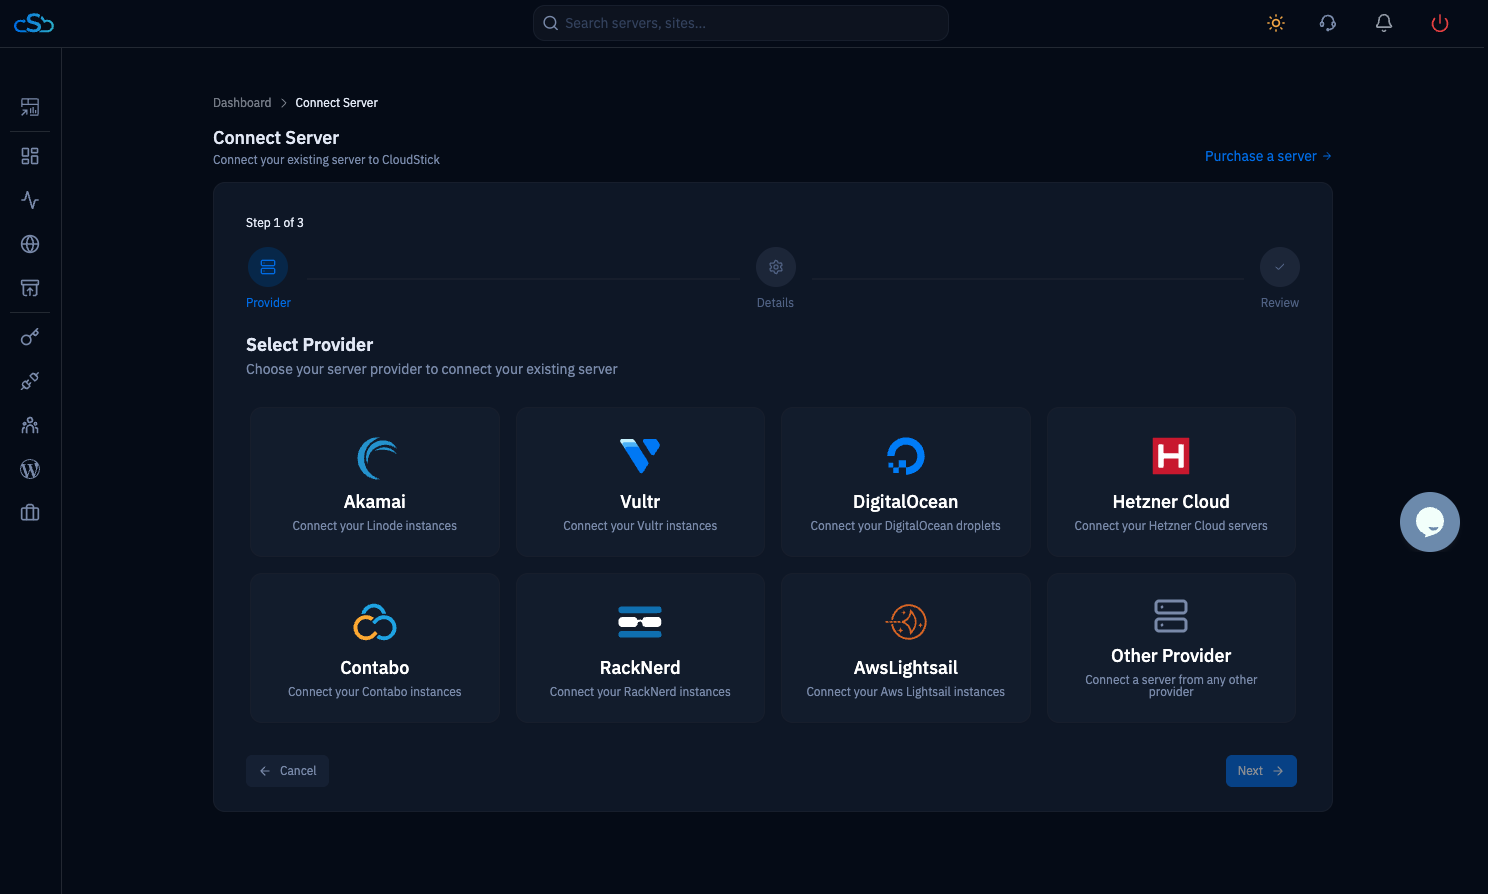
Fig. 02 — Provider selection grid (Step 1 of 3) showing all supported cloud providers.
Step 4: Enter Server Details & Choose Installation Method
This is Step 2 of 3. Enter your server's network information and choose how CloudStick will connect to install the agent.
Server Information
Server IP Address: Enter the public IPv4 address of your server instance.
Server Name: Assign a descriptive label to identify this server in your dashboard.
Installation Type
Direct Installation (Recommended): CloudStick connects to your server automatically via SSH using the root password you provide and completes the entire setup without any manual steps.
Manual Installation: CloudStick generates a command for you to copy and paste into your own terminal. Use this if your server uses SSH key-based login (common with AWS EC2 and Google Cloud) where root password login is disabled.
Select Direct Installation and enter your server's Root Password in the field below.
CloudStick uses these credentials only for the initial handshake. After installation, SSH keys replace password login for all future access.
If you purchased your server from AWS or Google Cloud, root password login is typically disabled. In that case, select Manual Installation and paste the generated command into your server terminal.
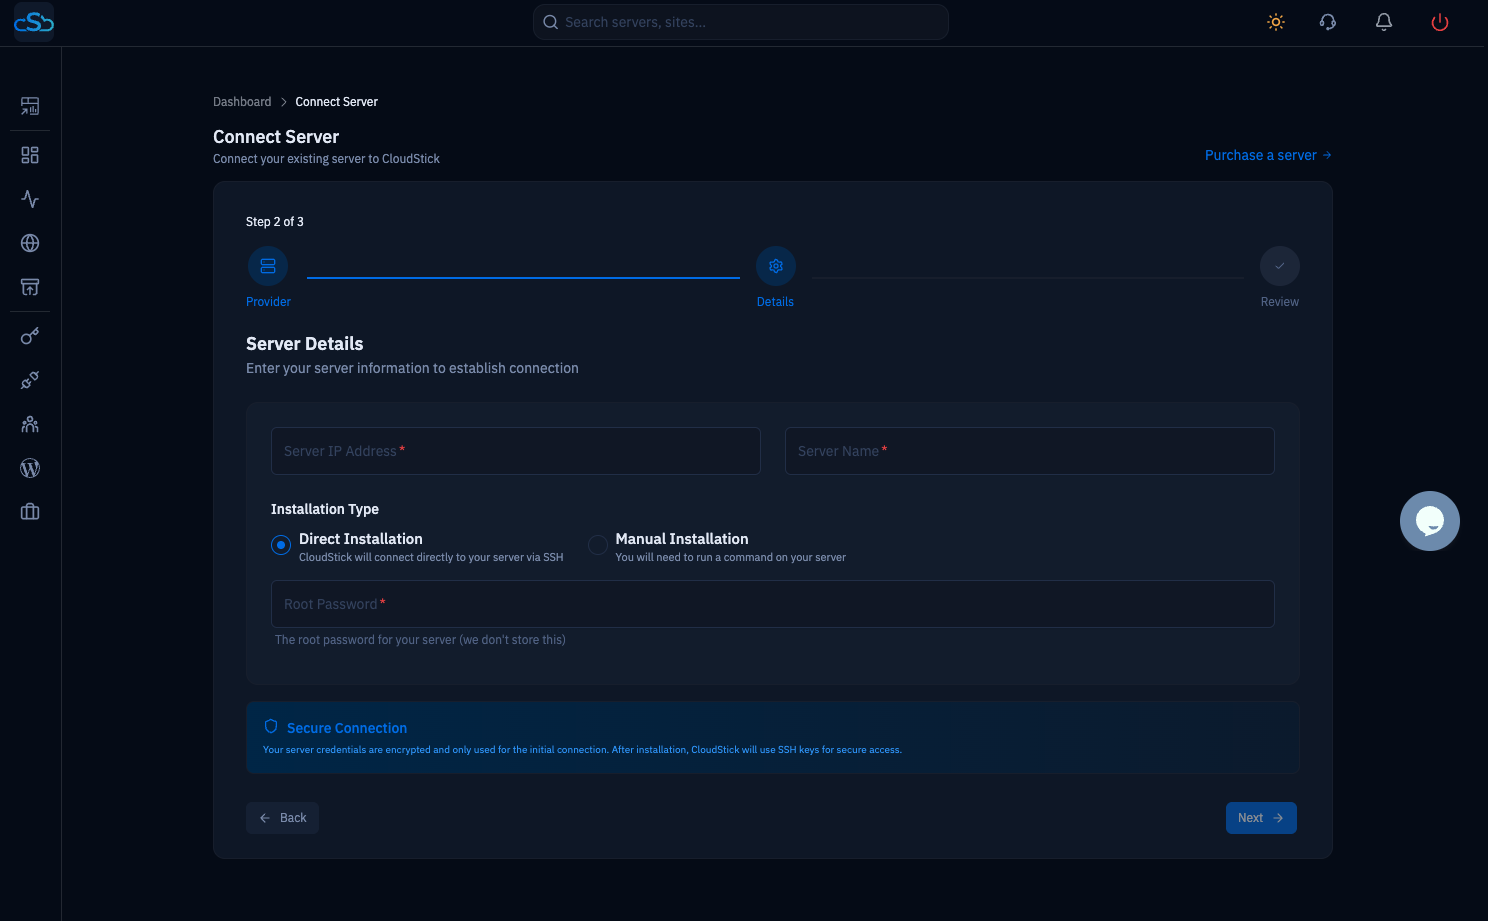
Fig. 03 — Server Details form (Step 2 of 3) showing IP address, server name, installation type toggle, and root password field.
Step 5: Review & Connect
This is Step 3 of 3. Before CloudStick begins the installation, a summary screen lets you verify everything is correct.
Verify Your Configuration
Provider Information: Confirm the selected cloud provider is correct.
Server Name: Ensure the label you assigned is accurate.
Server IP Address: Double-check the public IPv4 address — an incorrect IP will cause the installation to fail.
Installation Method: Confirm whether Direct or Manual installation is selected.
Start the Installation
Once all details are confirmed:
Click the blue Connect Server button at the bottom right of the review screen.
CloudStick will immediately begin connecting to your server and running the installation script.
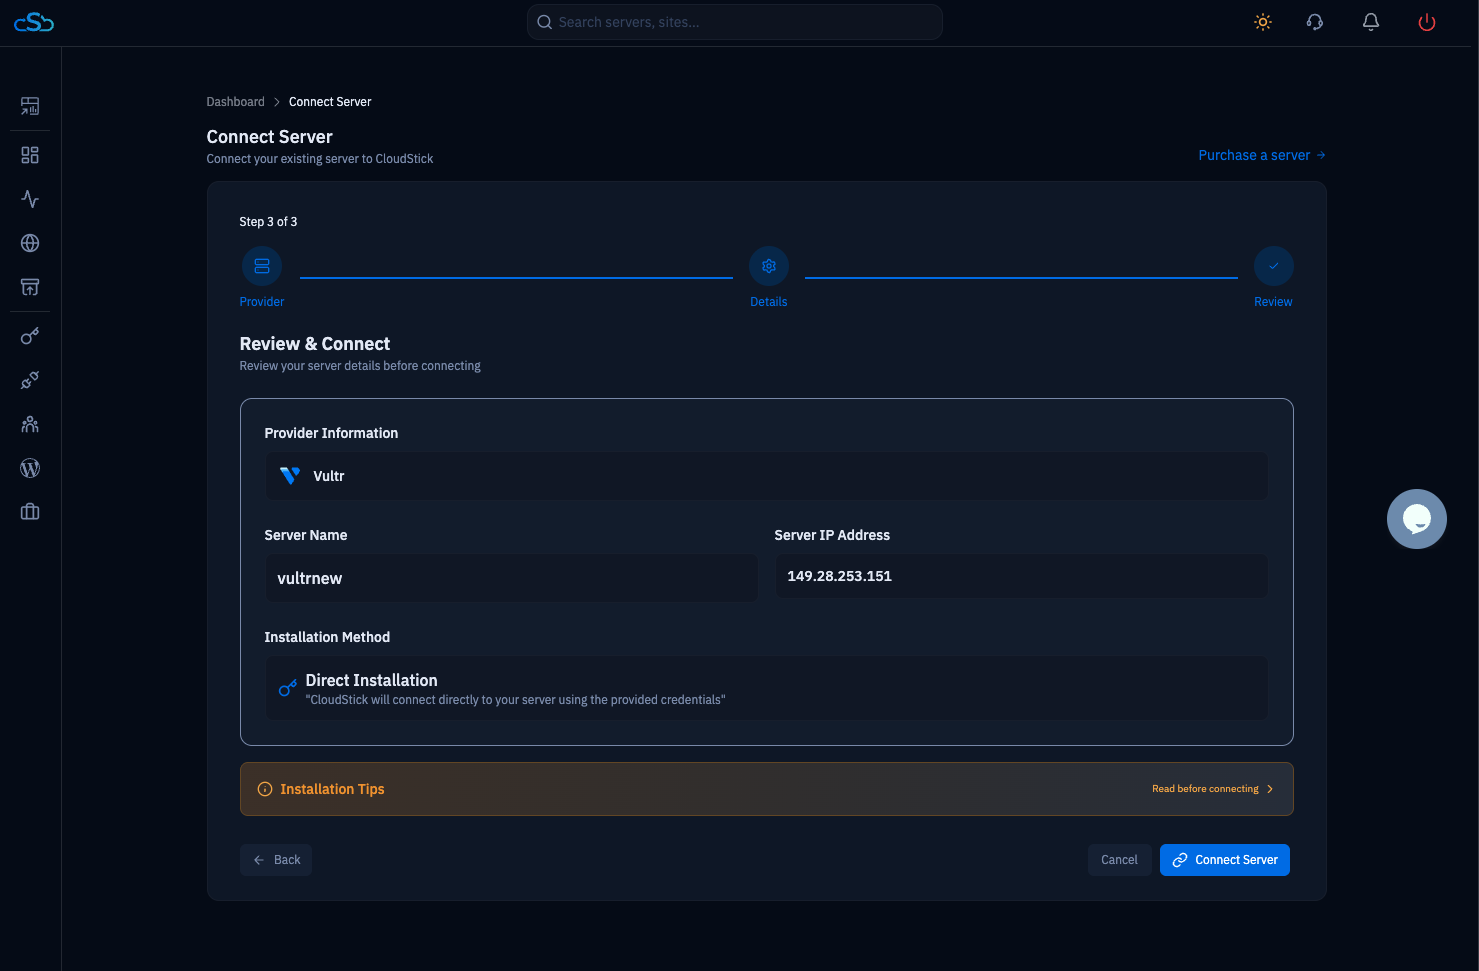
Fig. 04 — Review & Connect screen (Step 3 of 3) showing provider, server name, IP address, and installation method summary.
Step 6: Monitor the Installation
After clicking Connect Server, you are redirected to the main dashboard. Your server card will show a Provisioning status while the installation runs in the background.
Access the Live Installation Logs
An Installation Status bar appears at the bottom right corner of your screen, labeled with your server name.
Click View Installation Logs on the server card, or click the status bar at the bottom right to expand the live log view.
The Installation Logs modal shows a real-time terminal feed of everything CloudStick is doing on your server — configuring the repository, installing packages, setting up the CSF Firewall, and more.
A progress indicator at the bottom shows the current completion percentage.

Fig. 05 — Main dashboard showing the server card in Provisioning state with the installation status bar at the bottom right.
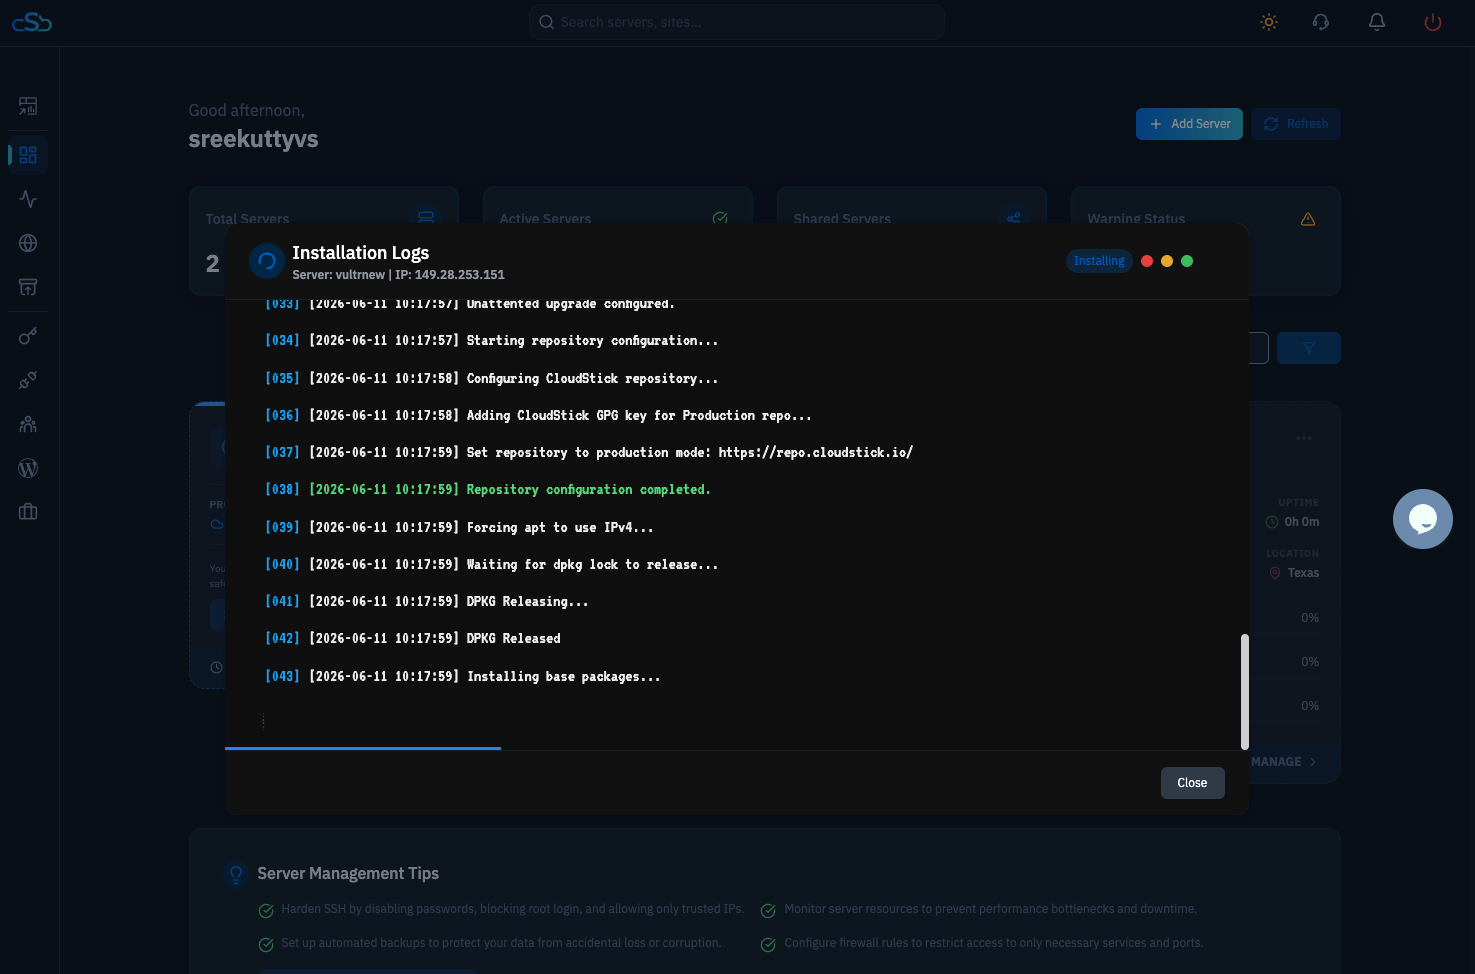
Fig. 06 — Installation Logs modal expanded showing live terminal output during the agent installation process.
Step 7: Confirm Installation Complete
Once the installation finishes, the logs modal will display an Installation Complete confirmation. All setup tasks — firewall configuration, SSH key deployment, and web stack installation — will be marked as done.
Review the final log entries to confirm all tasks completed successfully.
Click the Complete button to close the installation view.
Your server will now appear as Online in the dashboard — ready to host websites, manage databases, and issue SSL certificates.
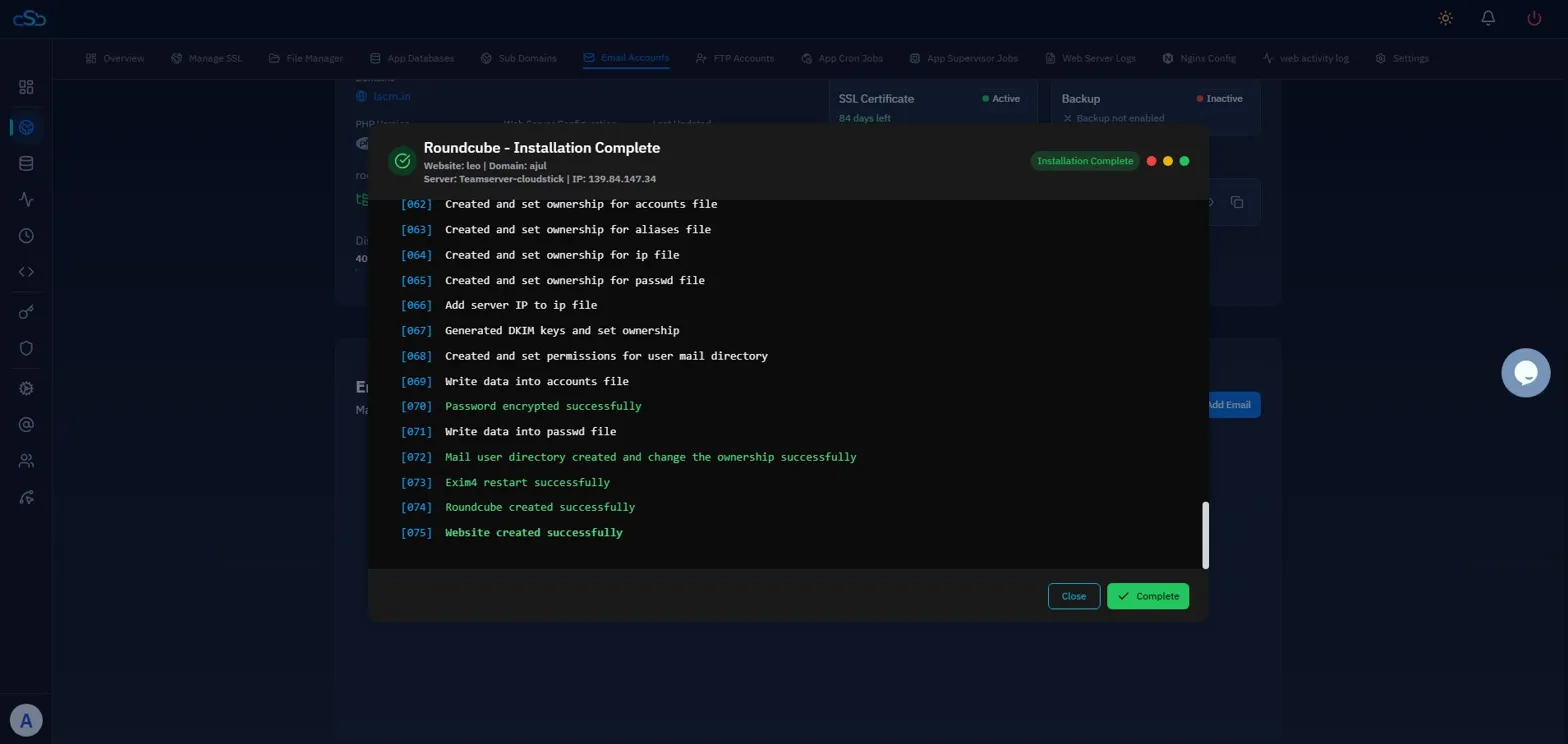
Fig. 07 — Installation Complete screen showing all setup tasks finished successfully.