How to Log In to Your Server from Linux
Overview
SSH keys provide the most secure way to access your server from a Linux or macOS terminal — no password required after setup, and no risk of brute-force credential attacks. CloudStick integrates SSH key management directly into the dashboard so you can add, manage, and revoke keys without editing authorized_keys files manually.
This guide walks you through generating an SSH key pair on Linux (or macOS), registering the public key in CloudStick, and using it to log in to your server securely.
Step 1: Open the Terminal Application
On Linux and macOS, the built-in Terminal provides everything you need to generate and manage SSH keys.
1. Launch Terminal: Open the Terminal application from your system — search for it in your application launcher or use the keyboard shortcut for your desktop environment.

Fig. 01 — Terminal window open and ready for SSH key generation commands.
Step 2: Generate an SSH Key Pair
The ssh-keygen command creates a public/private key pair. The private key stays on your machine; the public key goes to CloudStick.
1. Run the command:
ssh-keygen -t rsa
2. Enter file location: Press Enter to accept the default location (/root/.ssh/id_rsa) or specify a custom path.
3. Set a passphrase: Enter a passphrase for additional security, or press Enter twice to skip. The public key is saved at /root/.ssh/id_rsa.pub.

Fig. 02 — Terminal showing the ssh-keygen command with prompts for file location and passphrase.
Step 3: Copy Your Public Key
You need the contents of the public key file to paste into CloudStick.
1. Read the public key:
cat /root/.ssh/id_rsa.pub
2. Copy the output: Select and copy the entire output — it starts with ssh-rsa and ends with your machine identifier.

Fig. 03 — Terminal showing the public key content ready to be copied.
Step 4: Add the SSH Key in CloudStick
Register the public key in CloudStick so it can be deployed to your servers.
1. Go to SSH Key in CloudStick: Log in to your CloudStick account and navigate to Dashboard → SSH Key.
2. Click + Add SSH Key: Click the + Add SSH Key button to open the key registration form.
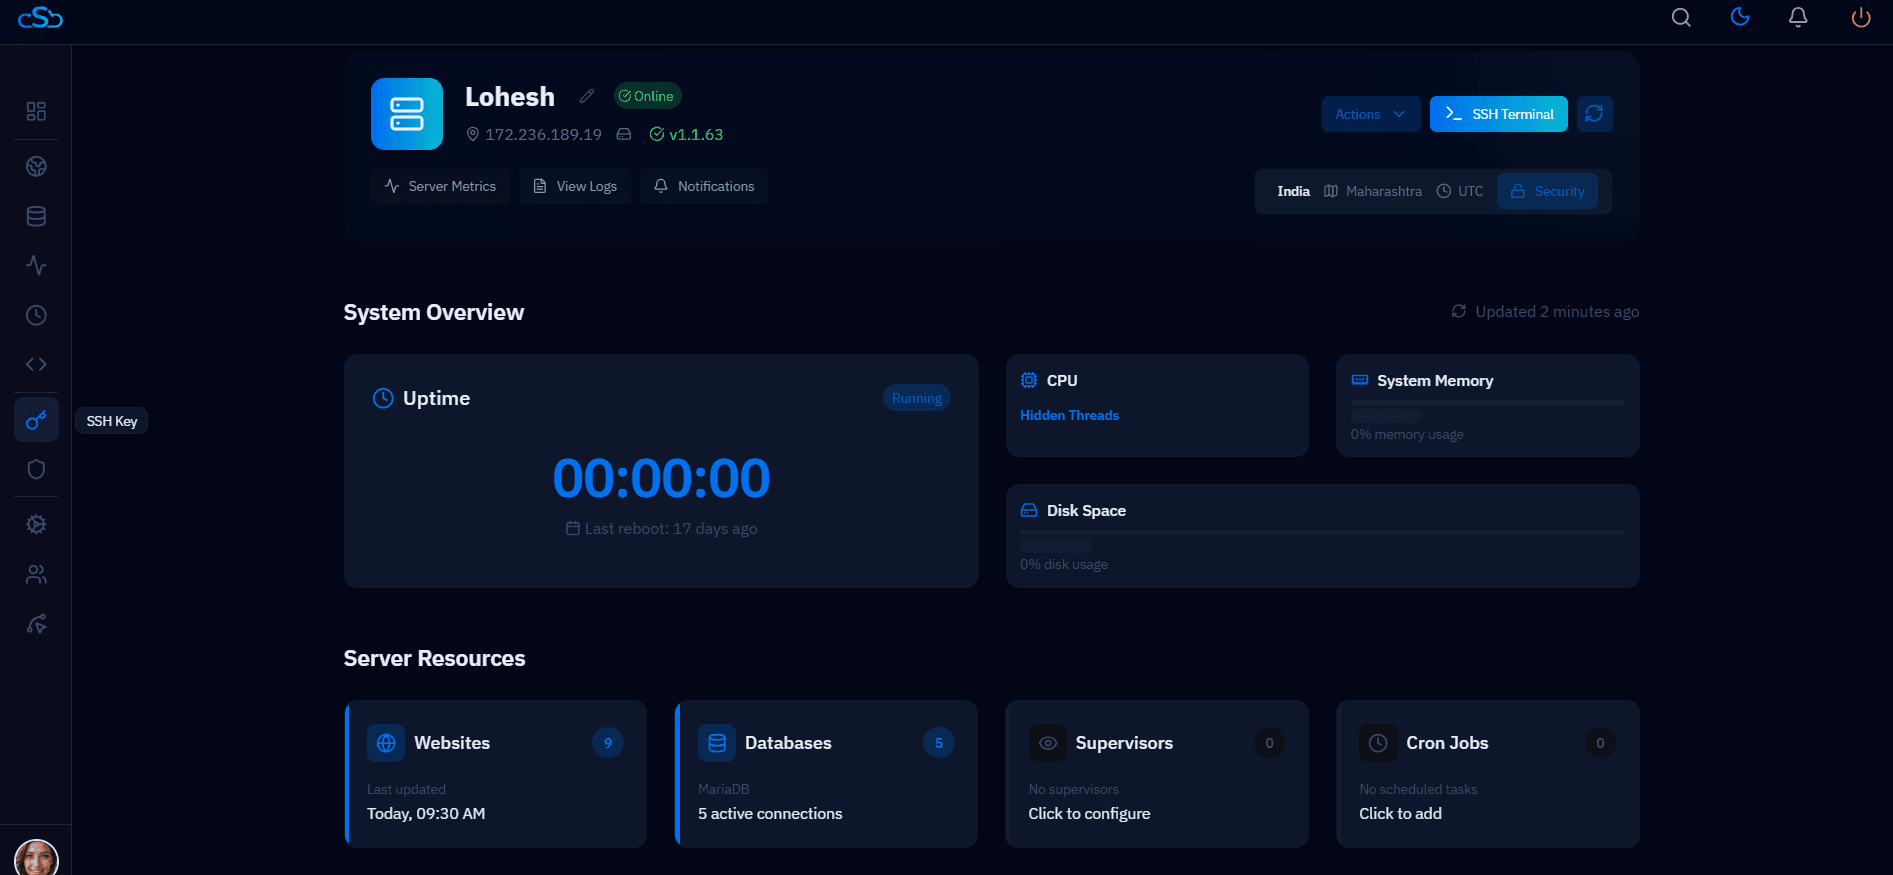
Fig. 04 — CloudStick Dashboard SSH Key section with the + Add SSH Key button highlighted.
3. Paste the public key: Paste the copied public key into the key field.
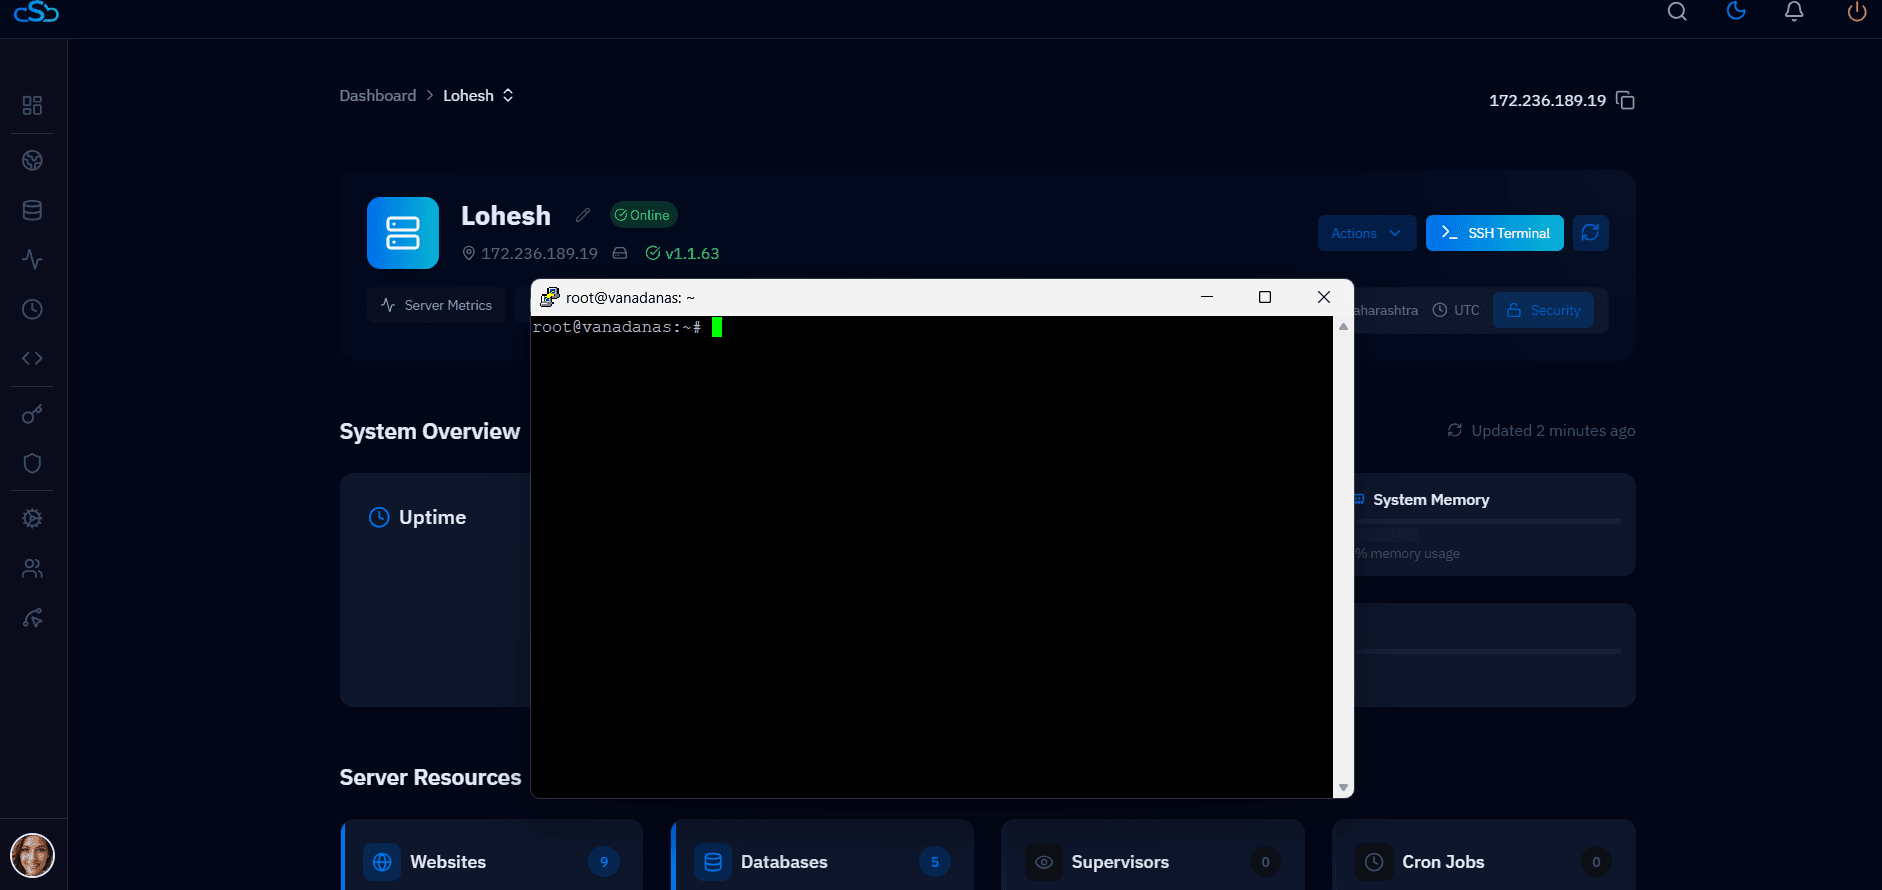
Fig. 05 — Add SSH Key form with the public key pasted into the key field.
4. Enter details and click Add: Give the key a descriptive name (e.g. My Laptop), fill in any required fields, and click Add to save.
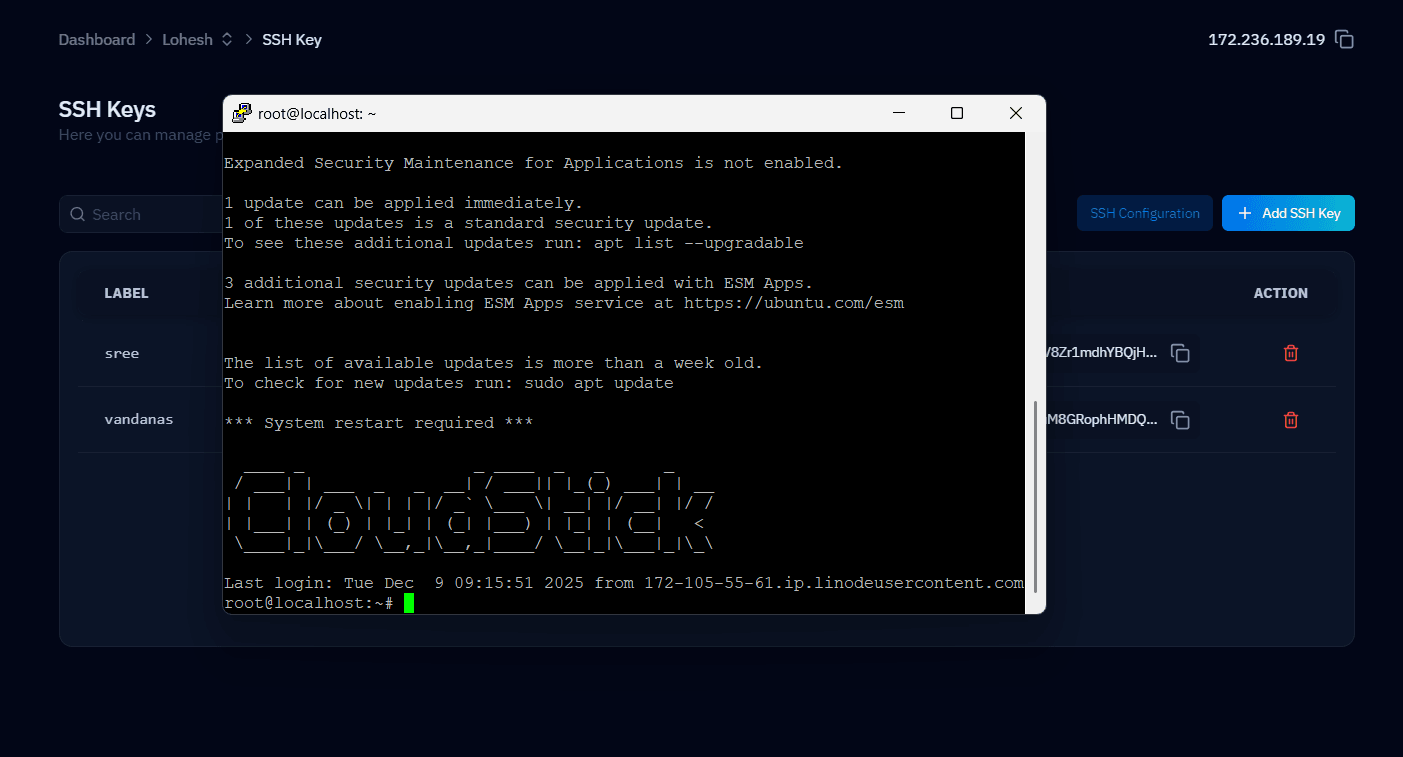
Fig. 06 — SSH Key form with name and key filled in, ready to be saved.
Once added, the SSH key is available for deployment to any server in your CloudStick account. You can push it to a server from the server's SSH Keys section.
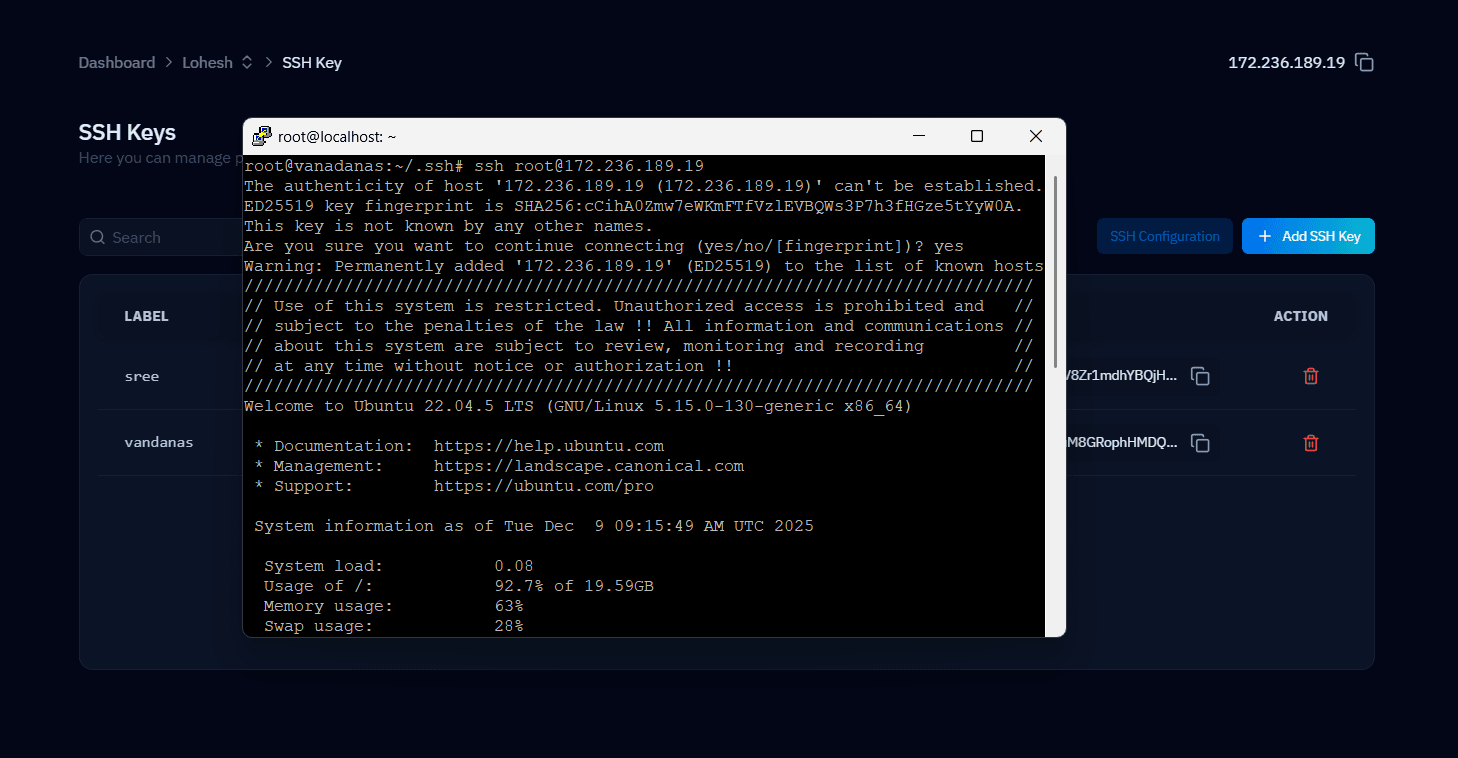
Fig. 07 — CloudStick SSH Keys list showing the newly added key.
Step 5: Log In to Your Server via SSH
With the key deployed to your server, you can now log in from your terminal without a password.
1. Use the SSH command: In your terminal, run:
ssh root@YOUR_SERVER_IP
2. Authenticated access: Your SSH client will use the private key to authenticate automatically. No password is needed.
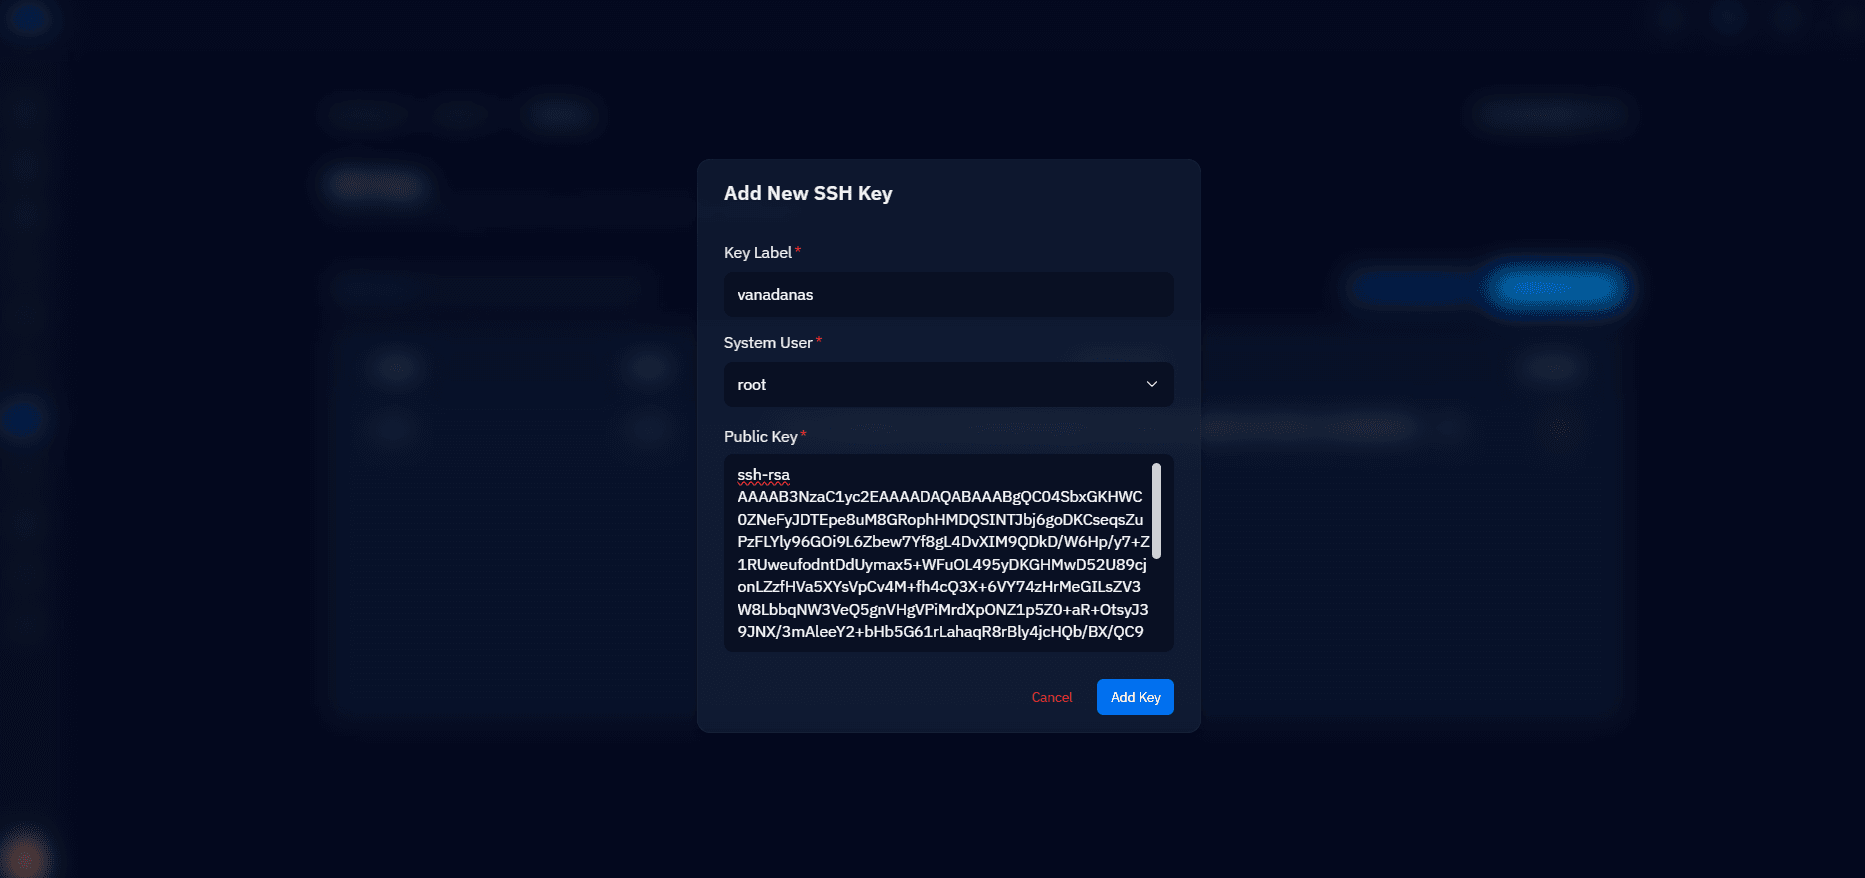
Fig. 08 — Terminal showing a successful SSH login to the server using the registered key.