How to Manage Files in CloudStick File Manager
Overview
Routine file housekeeping — duplicating a folder, downloading a backup copy, clearing out old assets, or zipping a directory for transfer — usually means logging in over SSH and remembering the right commands. CloudStick removes that friction with the built-in File Manager, a visual interface that lets you copy, download, delete, move, and compress files on your web application directly from the dashboard.
This guide shows you how to open the File Manager for any website, understand the file detail columns, select single or multiple files at once, and perform bulk actions using the top action bar — all without touching the command line.
The Advanced File Manager is available on the Basic plan and above. Make sure your server is connected and the target website is active before you begin.
Step 1: Log In to CloudStick
Every file operation starts from your dashboard, which lists all of the servers connected to your account.
Sign in: Visit app.cloudstick.io and log in with your CloudStick account credentials to land on your main dashboard.
Step 2: Select Your Server
File Manager works on a per-website basis, so first open the server that hosts the site whose files you want to manage.
Choose the server: From the dashboard, locate the server card that hosts your website and click Manage to open its server panel.
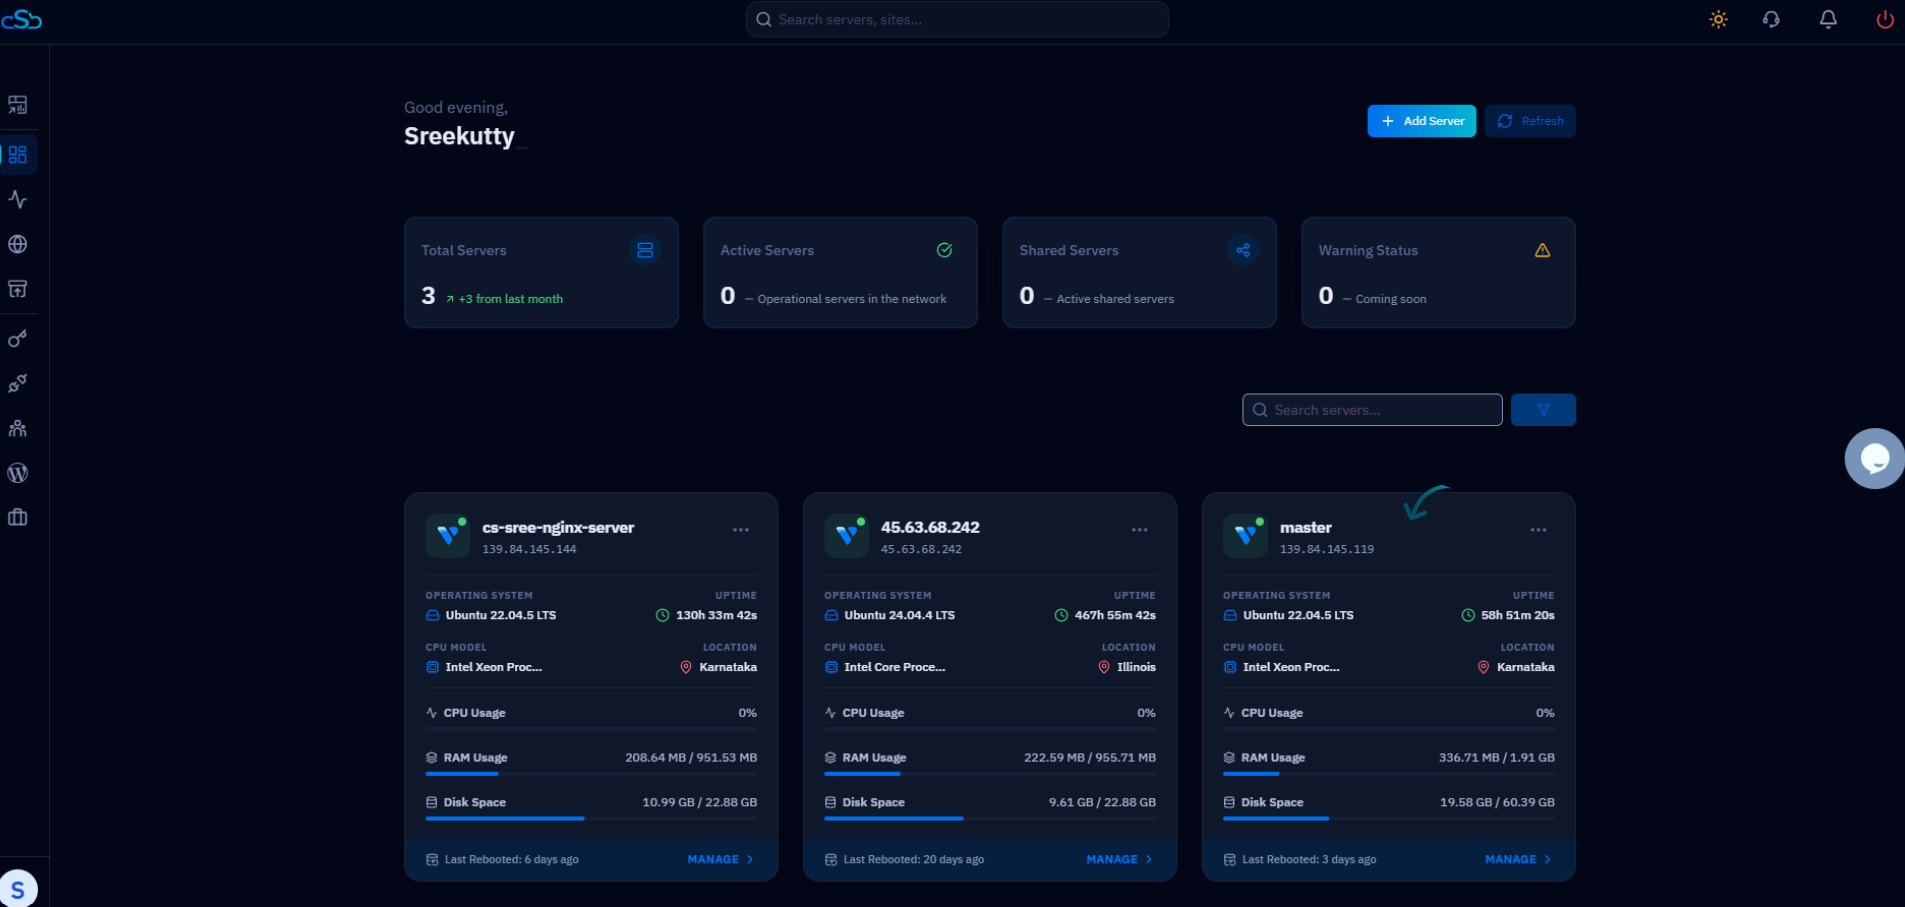
Fig. 01 — Dashboard showing connected servers. Select the server that hosts the website whose files you want to manage.
Step 3: Open the Websites Section
Inside the server panel, the Websites section lists every web application hosted on the server.
Click Websites: From the left-side menu — or the Websites card under Server Resources — click Websites to open the list of hosted web applications.
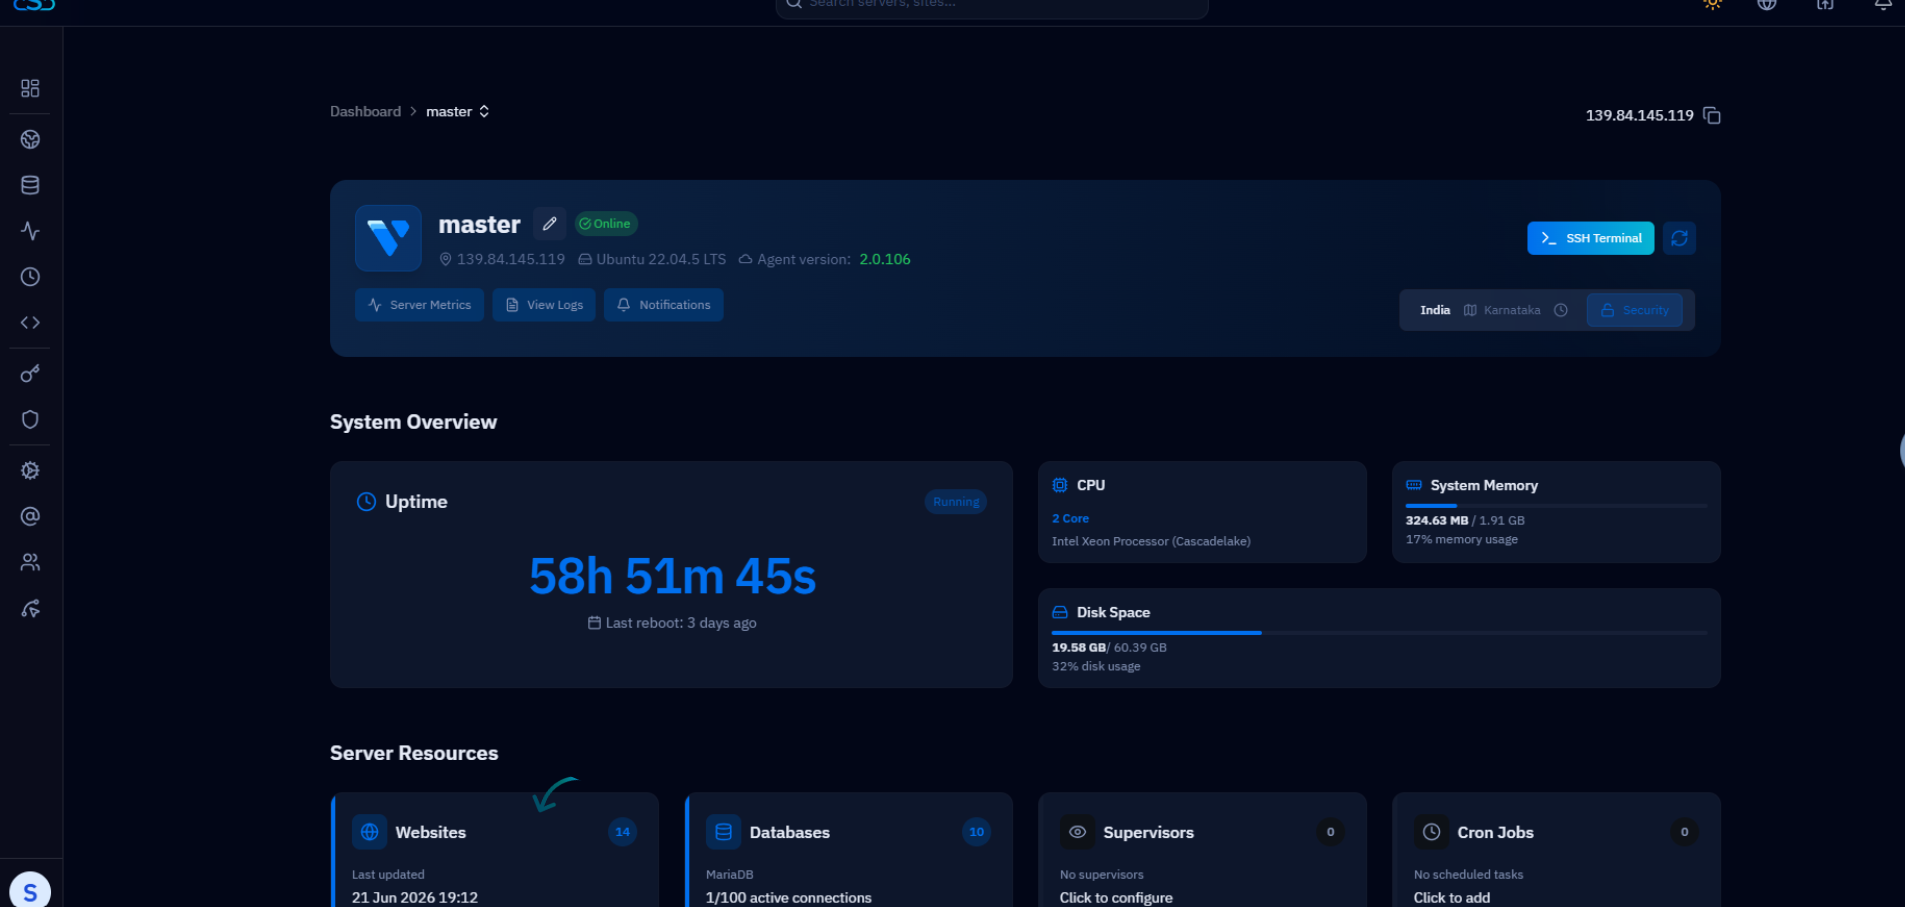
Fig. 02 — The server panel with the Websites section, where all web applications on the server are listed.
Step 4: Open the File Manager
From the website's management view you can jump straight into its file system using the File Manager.
Select your website: Click the website you want to work with to open its Website Summary.
Open File Manager: Click File Manager to load the file system for that web application.
Step 5: File Manager Columns Overview
Inside the File Manager, each file and folder is displayed with key details similar to what you would see in a Linux terminal — making it easy to review files before acting on them.
Name: Shows the file or folder name.
Size: Displays the file size in KB, MB, or GB.
Permissions & Ownership: Shows Linux permissions (e.g. -rw-r--r--) along with the file owner and group.
Modified: Shows the date and time the file was last updated.
Actions: Provides per-file options such as edit, copy, move, delete, download, and more.

Fig. 03 — File Manager listing showing the Name, Size, Permissions & Ownership, Modified, and Actions columns.
Step 6: Select Files
Before performing an action, choose which files or folders you want to work with. CloudStick supports both individual and bulk selection.
Select a single file: Click the checkbox beside any one file or folder.
Select multiple files: Tick the checkboxes of several items to act on them together.
Select all files: Use the header checkbox to select every item in the current directory at once.
Step 7: Manage Your Files
Once your files are selected, use the action bar at the top of the File Manager to apply an operation to all selected items.
Copy: Duplicate the selected files to another location.
Download: Download the selected files directly to your computer.
Delete: Permanently remove the selected files from the server.
Move: Relocate the selected files to another directory.
Compress: Create a ZIP archive of the selected items for easy transfer.

Fig. 04 — Files selected in the File Manager with the action options (Rename, Copy, Cut, Compress, Change Permission, Delete) available.
Step 8: Confirm the Action
For operations that change or remove data, CloudStick asks you to confirm before proceeding — a safeguard against accidental changes.
Confirm when prompted: Review the confirmation dialog and approve the action, especially for delete or overwrite operations.
Delete operations are permanent. Double-check your selection before confirming a deletion.
Step 9: Completion
Once confirmed, CloudStick processes your selected files based on the action you chose, and the File Manager refreshes to reflect the result.
Action applied: Your selected files are copied, downloaded, deleted, moved, or compressed as requested.
Be careful when deleting or moving multiple files, as it may affect your website's functionality. Always double-check file size, ownership, and permissions before making changes.